
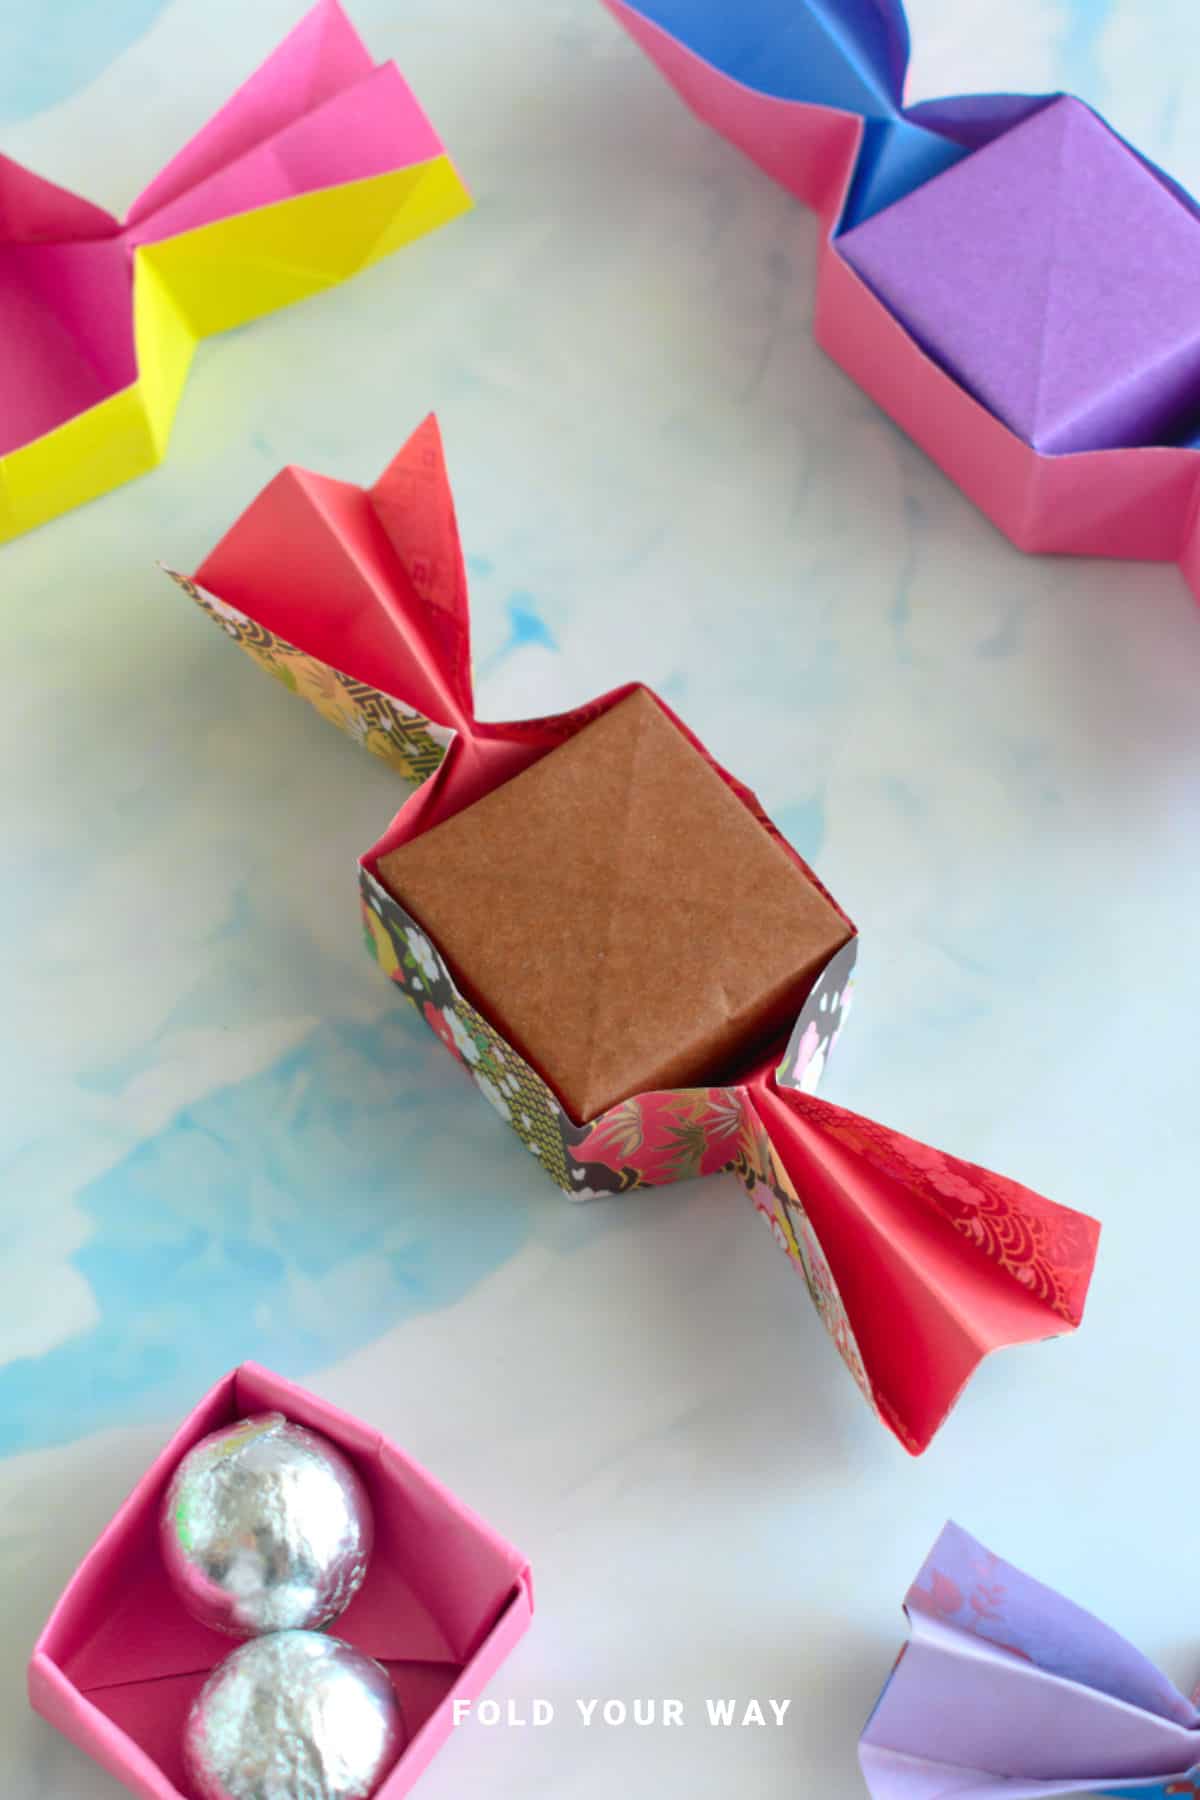
Get ready to add a sweet touch to your Valentine’s Day, Halloween or Christmas decorations with this candy origami box!
Made with two sheets of paper, it folds into a delightful candy-shaped box that’s perfect for holding treats, small gifts, or just for fun table decor.
Whether for parties, holiday treats, small gifts, or as a unique gift wrap, this candy box will certainly add some festive flair to any occasion!

Jump to:
Looking for a fun and festive way to decorate for Halloween or Christmas?
A candy origami box is a small folded paper container designed to hold sweets or treats, often shaped with playful, rounded edges.
It is commonly used for party favors, gift packaging, and festive crafts. The design is beginner-friendly and can be customised with colorful paper.
Whether you want to surprise someone with a tiny sweet gift or dress up your table, this project has you covered.
Perfect for Halloween and Christmas, you can create these candy boxes to match your theme colors and add a playful twist to your seasonal decor.
The best part? The process is fun and easy, making it perfect for crafters of all ages, including kids.
You’ll be able to customize the colors, patterns, and designs of your candy boxes to match any theme, whether spooky or festive.
This candy origami box is also a fantastic idea for classroom crafts, teacher gifts, or just as a quirky addition to your own collection of homemade decor.

Why You'll Love This Pattern
- Fun to make – simple origami folds that result in a cute candy-shaped box.
- Versatile – great for Halloween, Christmas, or as part of any party or celebration
- Great for gifting – perfect for holding small treats or presents.
- Easy to customize – use different colors and patterns of paper to match the season or your theme.
- Kid-friendly – a fun and easy project for younger crafters to enjoy.
Skill Level
★☆☆☆☆ (Very Easy)
Materials Needed
- 2 sheets of square paper (choose any color or pattern to match your occasion, e.g., orange and black for Halloween, red and green for Christmas). See below for paper size guide
Note: the outer wrapper paper will need to be 0.40 inches (1 cm) larger than the inner box.
| Outer Wrapper Paper Size | Inner Box Paper Size | Final Candy Origami Box Size | |
| Small Candy Origami Box | 4.5 inches x 4.5 inches (12 cm x 12 cm) | 4 inches x 4 inches (11 cm x 11 cm) | 4 inches x 1.20 inches (10 cm x 3 cm) |
| Medium Candy Origami Box | 6 inches x 6 inches (15 cm x 15 cm) | 5.5 inches x 5.5 inches (14 cm x 14 cm) | 5 inches x 1.30 inches (12 cm x 3.5 cm) |
| Large Candy Origami Box | 8 inches x 8 inches (21 cm x 21 cm) | 7.5 inches x 7.5 inches (20 cm x 20 cm) | 7 inches x 2 inches (18 cm x 5.5 cm) |
Instructions
Making the Outer Candy Wrapper
Step 1: Start with the color you want your outer wrapper to be facing down.
Step 2: Fold the paper in half from left to right.
Step 3: Unfold previous step.
Step 4: Fold both the left and right edges in to meet the middle crease.
Step 5: Unfold previous step.
Step 6: Fold the paper in half from top to bottom.

Step 7: Unfold previous step.
Step 8: Fold both the bottom and top edges in to meet the middle crease.
Step 9: Flip your paper over and arrange it to sit as shown.
Step 10: Fold the bottom edge up to meet the 1st horizontal crease from the top.
Step 11: Unfold previous step.
Step 12: Fold the top edge down to meet the 1st horizontal crease from the bottom.

Step 13: Unfold previous step.
Step 14: Fold both the left and right edges in to meet the middle crease.
Step 15: Fold the upper left edge down on a diagonal to meet the 2nd horizontal crease from the top.
Step 16: Unfold previous step.
Step 17: Fold the upper right edge down on a diagonal to meet the 2nd horizontal crease from the top.
Step 18: Unfold previous step.

Step 19: Holding the top part of your paper as shown, collapse the edges in along the existing creases then flatten as shown.
Step 20: Working on that same flap you just folded down, open up the top layer as shown.
Step 21: Still working on the same flap, flatten the paper upward.
Step 22: Rotate your paper 180 degrees and repeat steps 15 to 21.
Step 23: Flip your paper over from left to right.

✨ You're almost there! ✨
To unlock the final steps and complete your pattern, create a free account with Grow.me. below.
Make sure you tick the box to subscribe to our newsletter and stay up to date with the latest patterns, tips, and more!
Once you're signed up, you'll get instant access to finish your project and enjoy exclusive content in the future.
Already signed up? Hit the button below and select ‘Switch to Log In’ to pick up where you left off and finish your project!
Step 24: Gently open out your box, re-creasing along the edges as needed.
Step 25: Pinch the sides together as shown.
Step 26: Open out the sides slightly. Completed outer wrapper.

Making the Inner Box
Step 1: Start with the color you want your inner box to be facing down.
Step 2: Fold the bottom left point up to meet the top right point.
Step 3: Unfold previous step.
Step 4: Fold the bottom right point up to meet the top left point.
Step 5: Unfold previous step.
Step 6: Fold all 4 corners in to meet the middle point.

Step 7: Once again, fold all 4 corners in to meet the middle point.
Step 8: Fold both the bottom and top edges in to meet the middle.
Step 9: Unfold previous step.
Step 10: Fold both the left and right edges in to meet the middle.
Step 11: Unfold previous step.
Step 12: Unfold both the left and right sides as shown.

Step 13: Re fold the bottom and top edges to the middle.
Step 14: Lift the edges you just folded inwards up by 90 degrees so they stand upright.
Step 15: Lift the left most point upwards, you will find that the existing sides will naturally collapse inward to points.
Step 16: Fold the point down into the box and match the point with the centre.
Step 17: Repeat steps 15 and 16 for the other side. Completed base.

Tips For Success
- Paper size: Square paper works best for this project. For larger boxes, you can use bigger sheets of paper, and for smaller ones, try smaller squares (e.g., 6x6 inches).
- Customization: Experiment with different paper colors or patterns. For a Halloween theme, use orange, purple, and black. For Christmas, go for red, green, or metallic colors for a festive feel.
- Ribbon addition: Add a ribbon or string tied around the “wrapped” ends of the candy box for an extra decorative touch.

Color, Paper Ideas, and Variations
- Halloween: Orange and black paper, spooky patterns like skulls or pumpkins.
- Christmas: Red, green, gold, and silver paper, or holiday-themed prints.
- Pastels: For a spring celebration, use pastel-colored paper for a soft, sweet look.
- Metallics: Shiny metallic paper adds a fun sparkle for special occasions like New Year’s or birthdays.
- Decorative Paper: Try using patterned origami paper for a unique twist, such as stripes, polka dots, or floral designs.
FAQ
Yes! In fact, patterned paper adds a fun touch to the box and makes it even more festive.
Other Paper Crafts You Might Like To Try:
Helpful Tips and Common Mistakes For Paper Crafts
Paper crafting and origami can be hard sometimes. Which is why we've made this printable PDF just for you.
It outlines helpful tips so that you can successfully complete your craft, and some of the most common mistakes people come across.
You can download the helpful tips and common mistakes for paper crafts printable PDF here.
Stay Connected
Made this pattern? Let us know how it went in the comments below!
Pin this post - Pin now to take your paper crafting skills to the next level.
Share on Instagram or Facebook - Capture the beauty of your finished paper craft project and share it on Instagram or Facebook! Tag us @foldyourway so we can see your work!
Other Patterns You Might Like To Try:
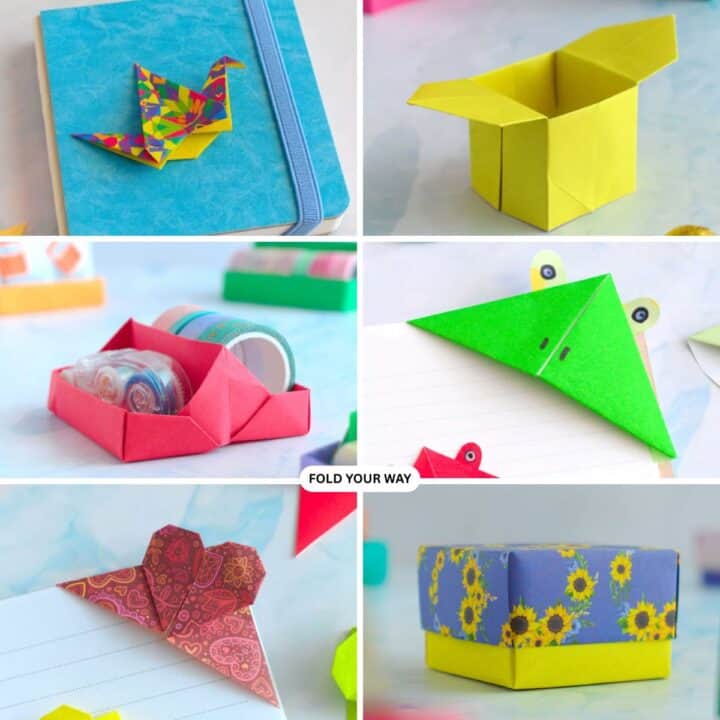
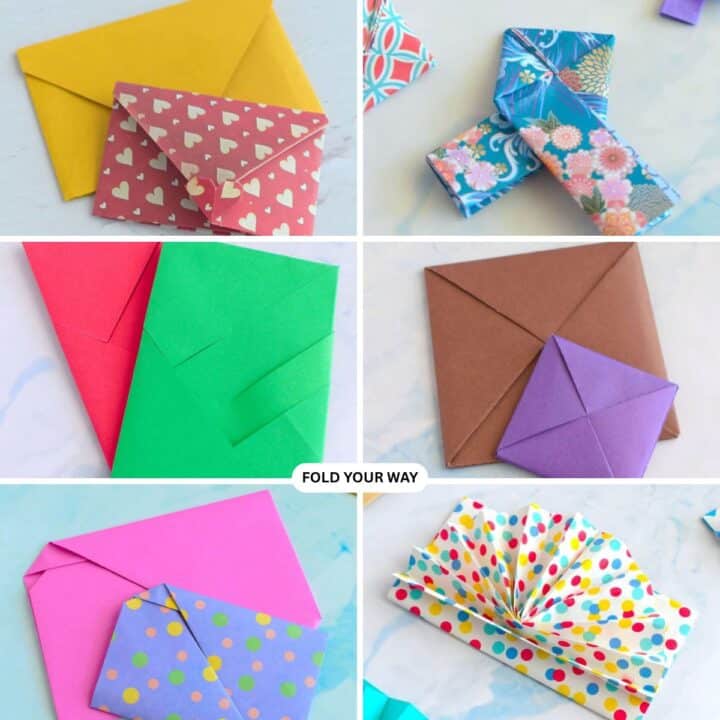
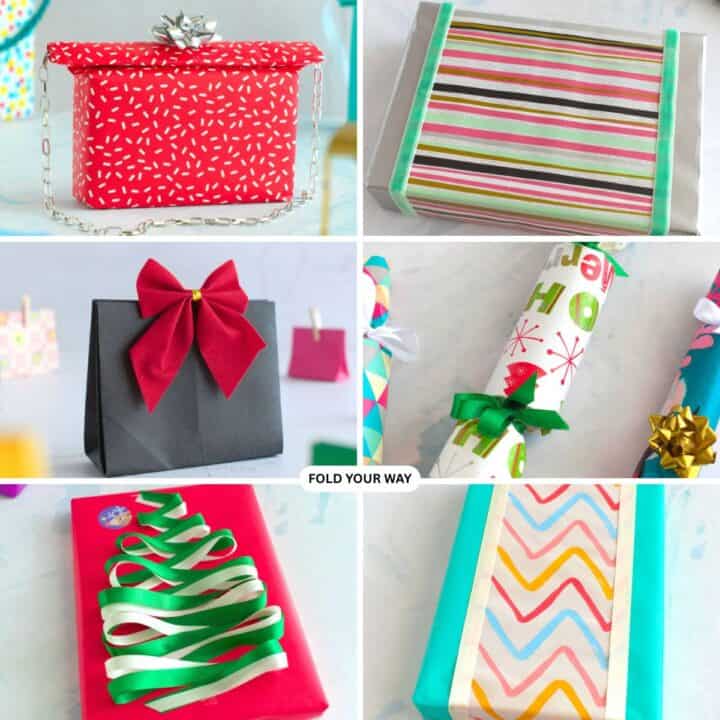
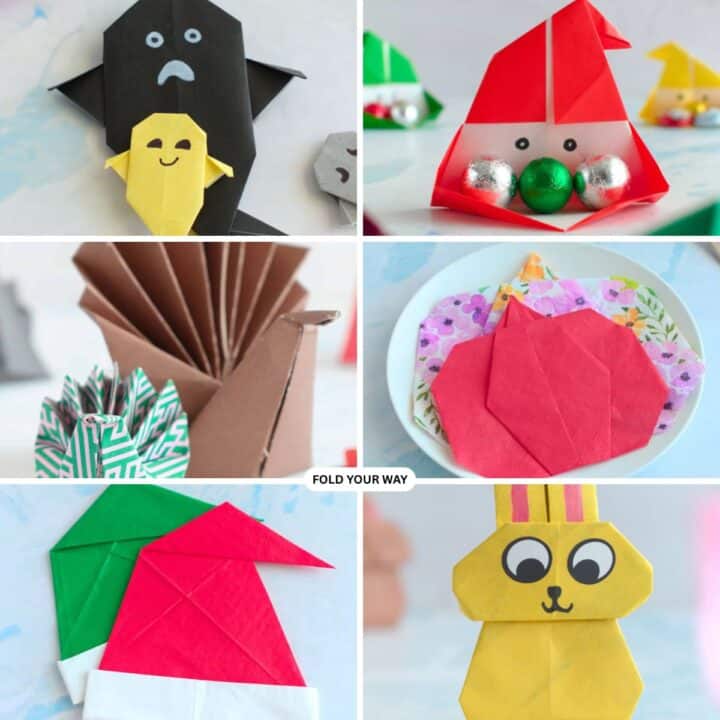
Looking for other easy patterns like this? Try these:
- Easy Origami and Simple Paper Craft Ideas
- Cute Origami Ideas
- Easy Origami Animals and Insect Crafts
- Easy Origami Boxes, Bookmarks, and Small Paper Crafts
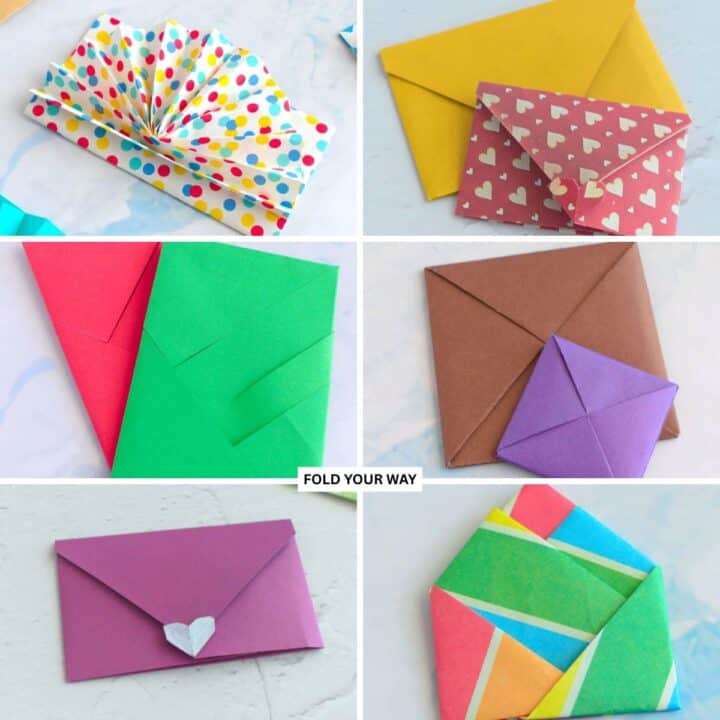
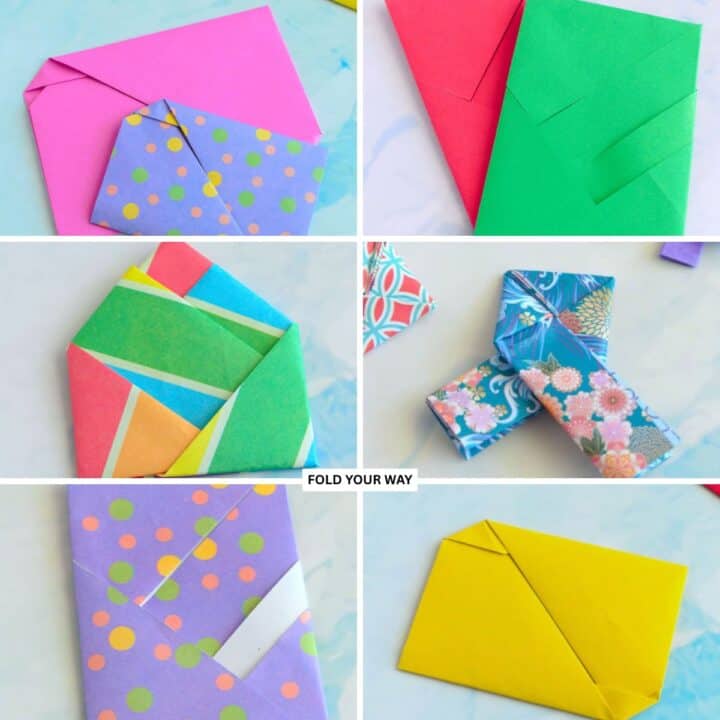
- Origami Envelopes and Letter Folding Techniques
- DIY Gift Wrapping and Paper Presentation Ideas
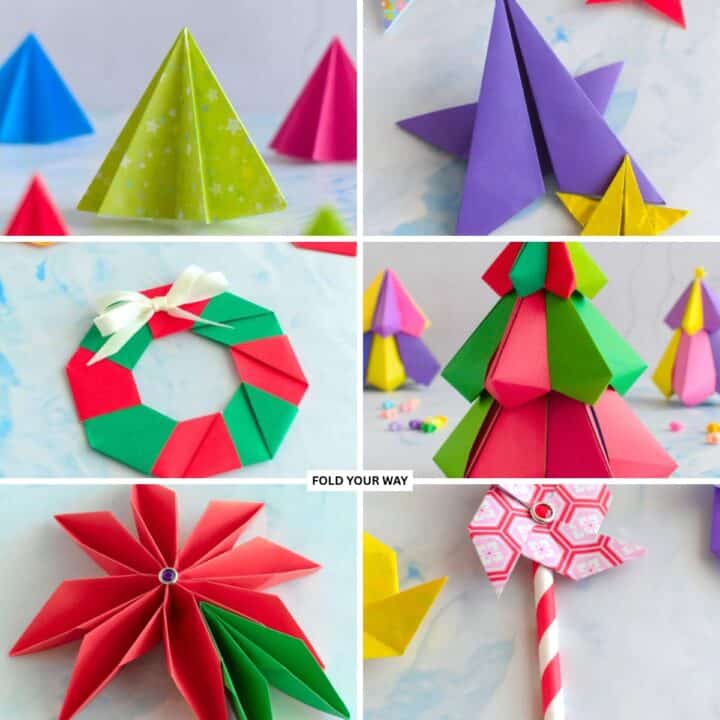
- Seasonal Origami and Holiday Paper Crafts
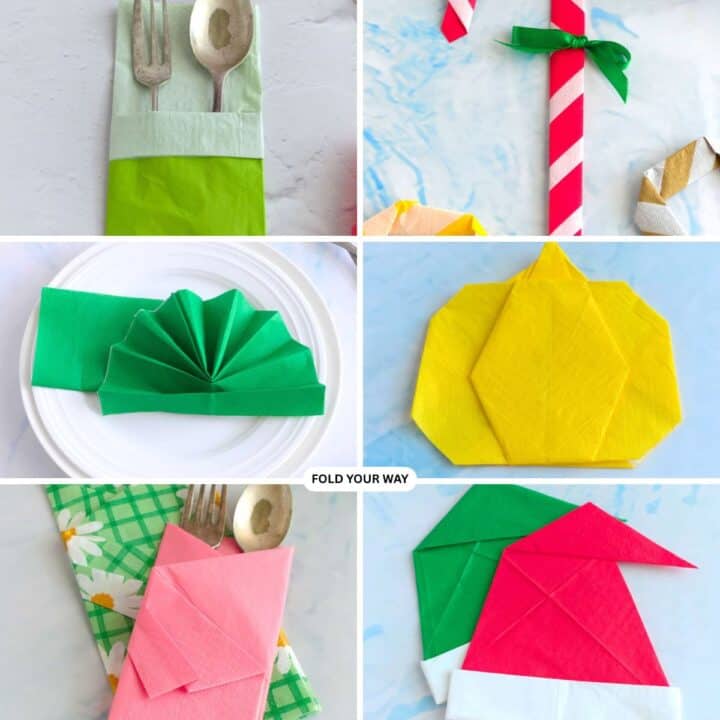
- Easy Napkin Folding Ideas and Table Decor
Comments
No Comments