

Looking for a fun and practical way to wrap gifts?
This easy gift wrapping idea with a handle is perfect for flat or rectangular presents - think books, clothing, puzzles, or notebooks.
With just wrapping paper, tape, and a bit of ribbon or cord, you can add a charming twist that makes any gift feel that little bit more thoughtful.
Great for birthdays, Christmas, baby showers, and more!

Table of Contents
Gift wrapping ideas with handles focus on creating decorative gift packages that include built-in or attached handles for easy carrying. These designs are commonly used for birthdays, holidays, and party gifts. The approach combines practical packaging with creative presentation using paper, ribbon, or folded structures.
Whether you're wrapping a birthday present, a baby shower gift, or something special for the holidays, this clever gift wrapping idea adds a touch of fun and function - a handle!
It's perfect for those gifts that are tricky to carry or you want to make stand out just a little more. It's simple to make, doesn't require any special materials, and works well for gifts that are flat or rectangular in shape.
Think books, scarves, stationery sets, clothing items, coloring books, puzzles, and even a box of chocolates - anything that isn't overly bulky or round.
The bonus? It doubles as a cute presentation and an easy way for the gift recipient to carry it home!
It's a great option when you're wrapping flat items for special events and want something that stands out.
This idea is particularly sweet for baby showers, where guests often gift books, blankets, or cute little outfits.
But it also works beautifully for Christmas, birthdays, teacher gifts, or any time you want to make a little something feel extra special without going overboard on packaging.
You can customize the handle with whatever you have on hand - a piece of twine, soft ribbon, even a chain or bracelet (depending on the size of the gift) if you want to add a little sparkle.
It's a small touch that makes a big difference, and it's totally doable even if you're not a seasoned gift-wrapper.
Ready to try it out?
Grab your materials and your gift - and let's get wrapping!

Why You'll Love This Pattern
- Great way to take your gift stand out with minimal effort
- Adds a practical and decorative touch with the handle
- Easy enough for beginners and fun to customize
- Works well for a wide range of gift-giving occasions
- Can be made quickly, even last-minute
Skill Level
★☆☆☆☆ (Very Easy)
Materials Needed
- Wrapping paper of choice
- Your gift!
- Tape - ordinary or double sided tape
- Scissors
- Something for your handle - you could use a chain, necklace, ribbon, cord, so on.
Instructions
Step 1: Cut your wrapping paper to size. You want the bottom edge to have enough that it can fold up just about a quarter of the gift.
The sides of the gift should have enough to cover the gift (e.g. 1 times the width of the gift on either side). The top will need to be at least 1 ¼ times the length of the gift.
Step 2: Fold the left edge over to cover your gift. Then fold the right edge over your gift, so that it overlaps the left.
Tape along the middle of the gift as well as the top section. If you want to hide the tape, you could use double sided tape. For this tutorial we have used ordinary tape so you can see where we have taped it together as a guide.
Step 3: Using your fingers, run them along the bottom edge of your gift. Then bring the paper down as shown.
Step 4: Straighten out the bottom right and left sides of the paper as shown. Make sure they align with the sides of the gift.

Step 5: Fold both the left and right sides of the bottom edge in.
Step 6: Fold the bottom edge up (note; if you think your bottom edge is a bit too long, you can trim it down slightly) and secure it with tape. You don't want the bottom edge to go over the top of the gift.
Step 7: Flatten the top section as shown. Start from the top and gradually crease the edges, working your way down.
Step 8: Place your chain (ribbon, or whatever you have chosen to use as the handle) on the top of your wrapping as shown. Tape it in place.

✨ You're almost there! ✨
To unlock the final steps and complete your pattern, create a free account with Grow.me. below.
Make sure you tick the box to subscribe to our newsletter and stay up to date with the latest patterns, tips, and more!
Once you're signed up, you'll get instant access to finish your project and enjoy exclusive content in the future.
Already signed up? Hit the button below and select 'Switch to Log In' to pick up where you left off and finish your project!
Step 9: Fold the top edge down slightly so that it covers the handle your just attached.
Step 10: Fold the top edge down again, using the edge of the fold from the previous step as a guide.
Step 11: Keep folding the top section down until you reach the top of the gift and can't fold down anymore.
Step 12: Place you gift so it stands as shown and fold down the top section one more time and place the top folded section on top as shown.
Apply some tape or glue to where the bottom of the folds and the top of the gift meet.

Completed gift wrap with handle.

Tips For Success
- Choose slightly thicker wrapping paper if you're using a heavier handle
- Double-sided tape helps keep everything neat and tidy
- Make a matching gift tag using the same wrapping paper scraps
- Try coordinating your handle material with your wrapping paper for a polished look
- Keep it simple - the handle is the highlight!

Common Mistakes & How To Avoid Them
- Using a gift that's too bulky - Stick with flatter shapes to avoid tearing the paper
- Handle not secure enough - Add a bit of extra tape or even glue dots if needed
- Paper too thin - Lightweight paper can tear easily; use midweight or reinforce inside
- Not centering the handle - Measure or eyeball it before attaching so it looks balanced
Color, Paper Ideas, and Variations
- Pastel paper with a satin ribbon - Great for baby showers or springtime gifting
- Bold prints with a braided cord - Adds a playful, creative feel for birthdays
- Metallic or foil paper with a chain handle - Perfect for festive holidays like Christmas or New Year's
- Brown kraft paper with twine or a beaded bracelet - A rustic and charming option for teacher gifts or casual celebrations
- Themed wrapping paper with coordinating yarn - Match to the season or recipient's favorite colors
FAQ
Flat, rectangular, or square items like books, puzzles, clothing, and notebooks are ideal.
As long as the handle is securely attached and the gift isn't too heavy, yes - though it's better for lightweight items.
Use stronger tape or glue where the handle attaches, and reinforce the inside of the wrapping if needed.
Other Paper Crafts You Might Like To Try:
Stay Connected
Made this pattern? Let us know how it went in the comments below!
Pin this post - Pin now to take your paper crafting skills to the next level.
Share on Instagram or Facebook - Capture the beauty of your finished paper craft project and share it on Instagram or Facebook! Tag us @foldyourway so we can see your work!

On the hunt for more paper craft tutorials like this?
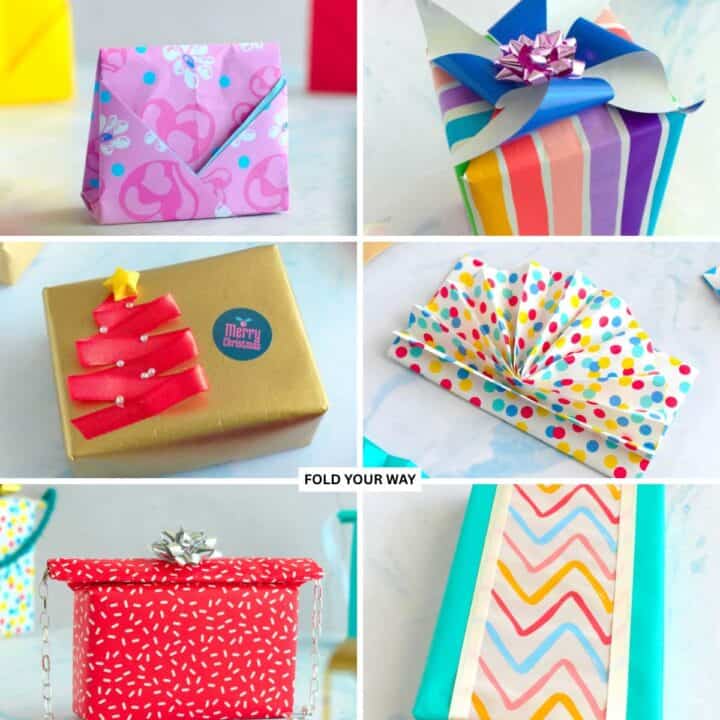
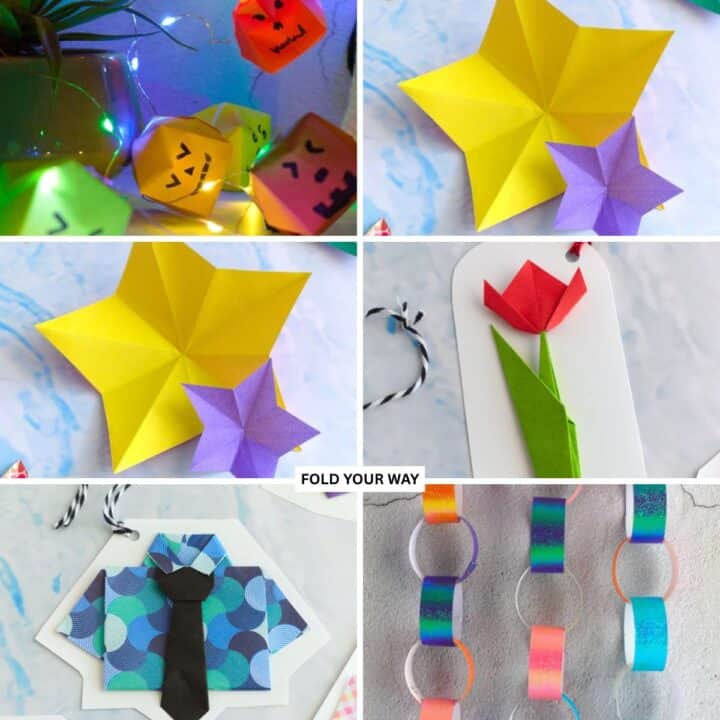
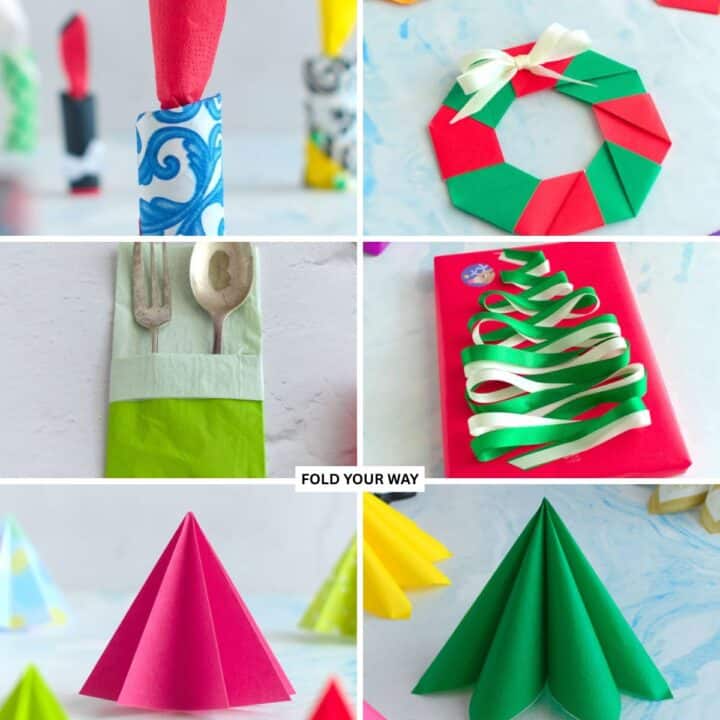
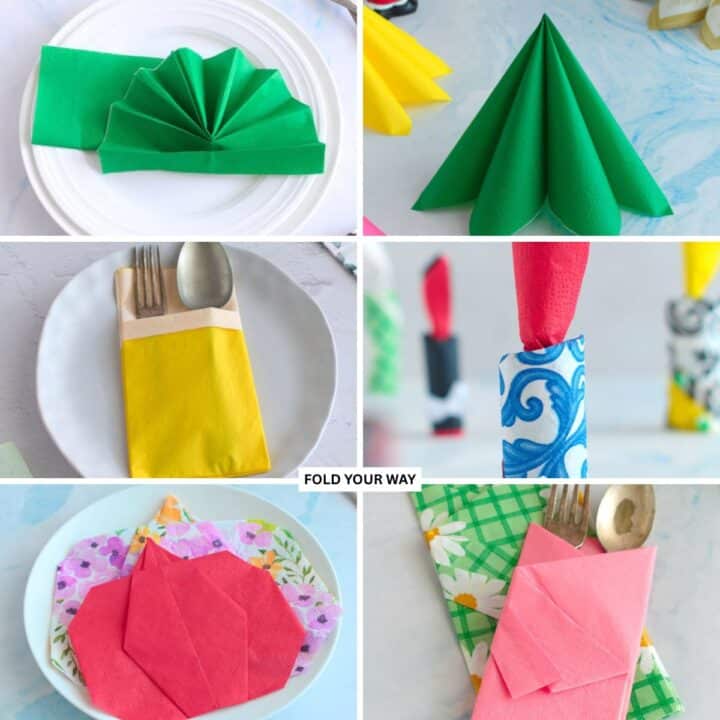
Why not try this DIY shirt gift tag, origami ghost, origami pear, birthday gift wrapping ideas, 3D origami pumpkin, Christmas napkin folding ideas, origami chicken, fox face, whale, or origami acorn.
Other Patterns You Might Like To Try:
Looking for other easy patterns like this? Try these:
- Easy Origami and Simple Paper Craft Ideas
- Cute Origami Ideas
- Easy Origami Animals and Insect Crafts
- Easy Origami Boxes, Bookmarks, and Small Paper Crafts
- Origami Envelopes and Letter Folding Techniques
- DIY Gift Wrapping and Paper Presentation Ideas
- Seasonal Origami and Holiday Paper Crafts
- Easy Napkin Folding Ideas and Table Decor
Taylor says
This was just perfect! It made my present even more special. My friend loved the wrapping so much she didn't want to unwrap it!