

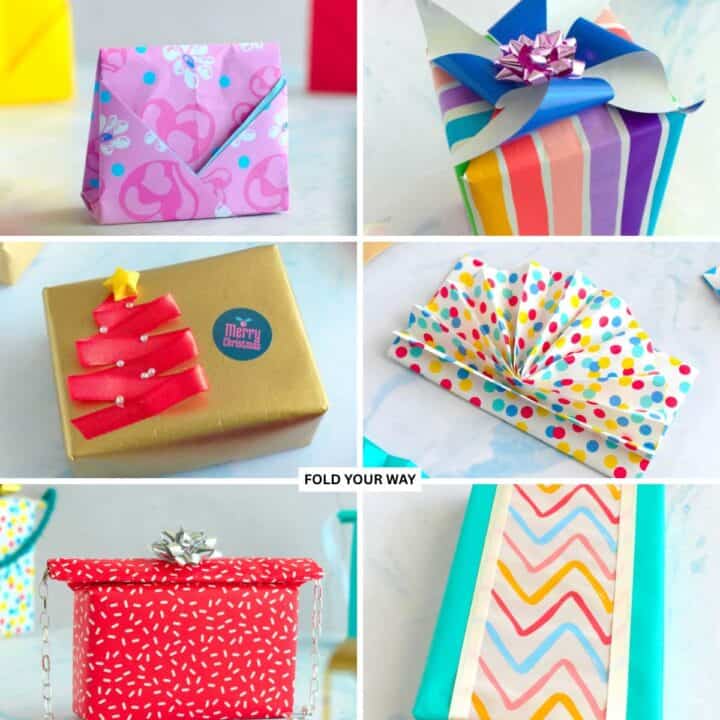
This layered gift wrapping idea is a stylish way to make your presents stand out.
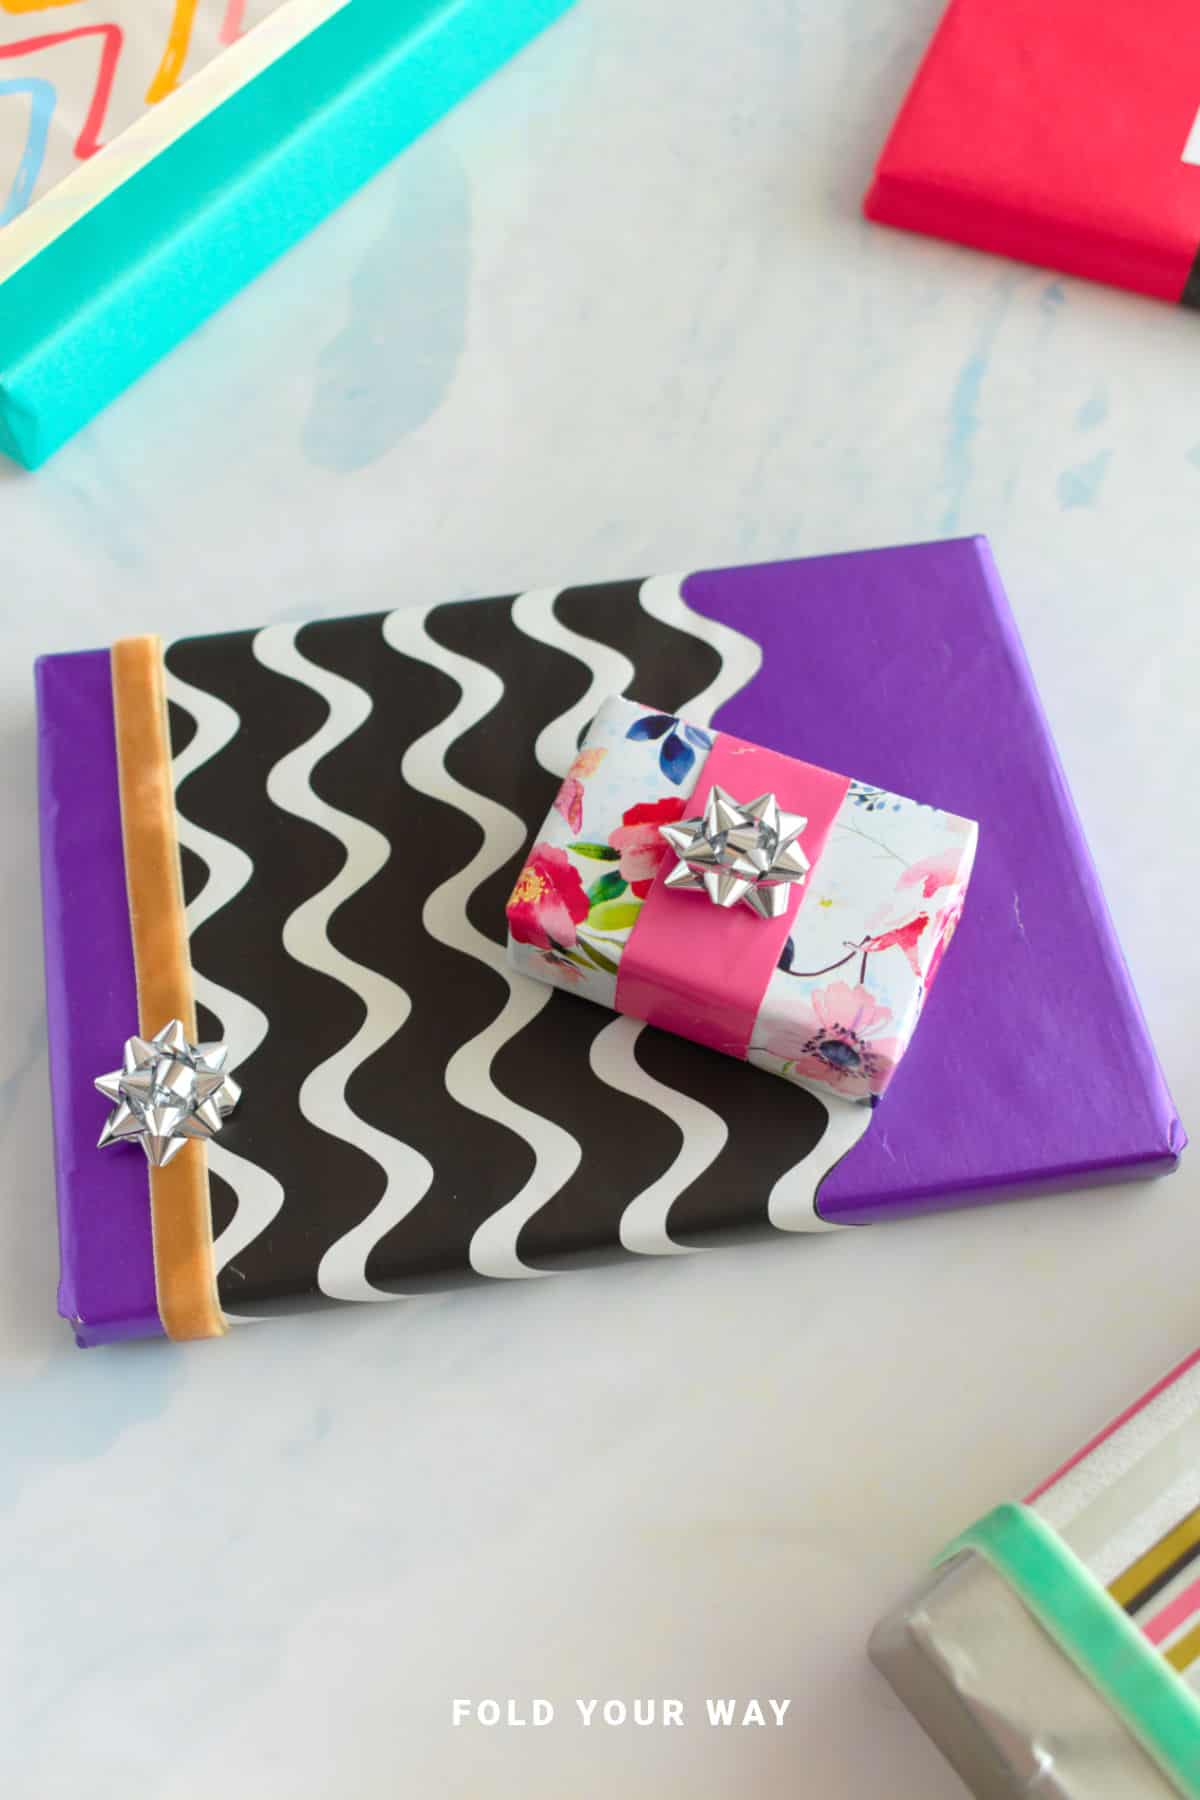
Using two types of wrapping paper, one for the main wrap and another as a decorative sleeve, you can create a professional, high-end look with minimal effort.
Perfect for Christmas, birthdays, and special occasions, this easy paper craft is as fun to make as it is to give.
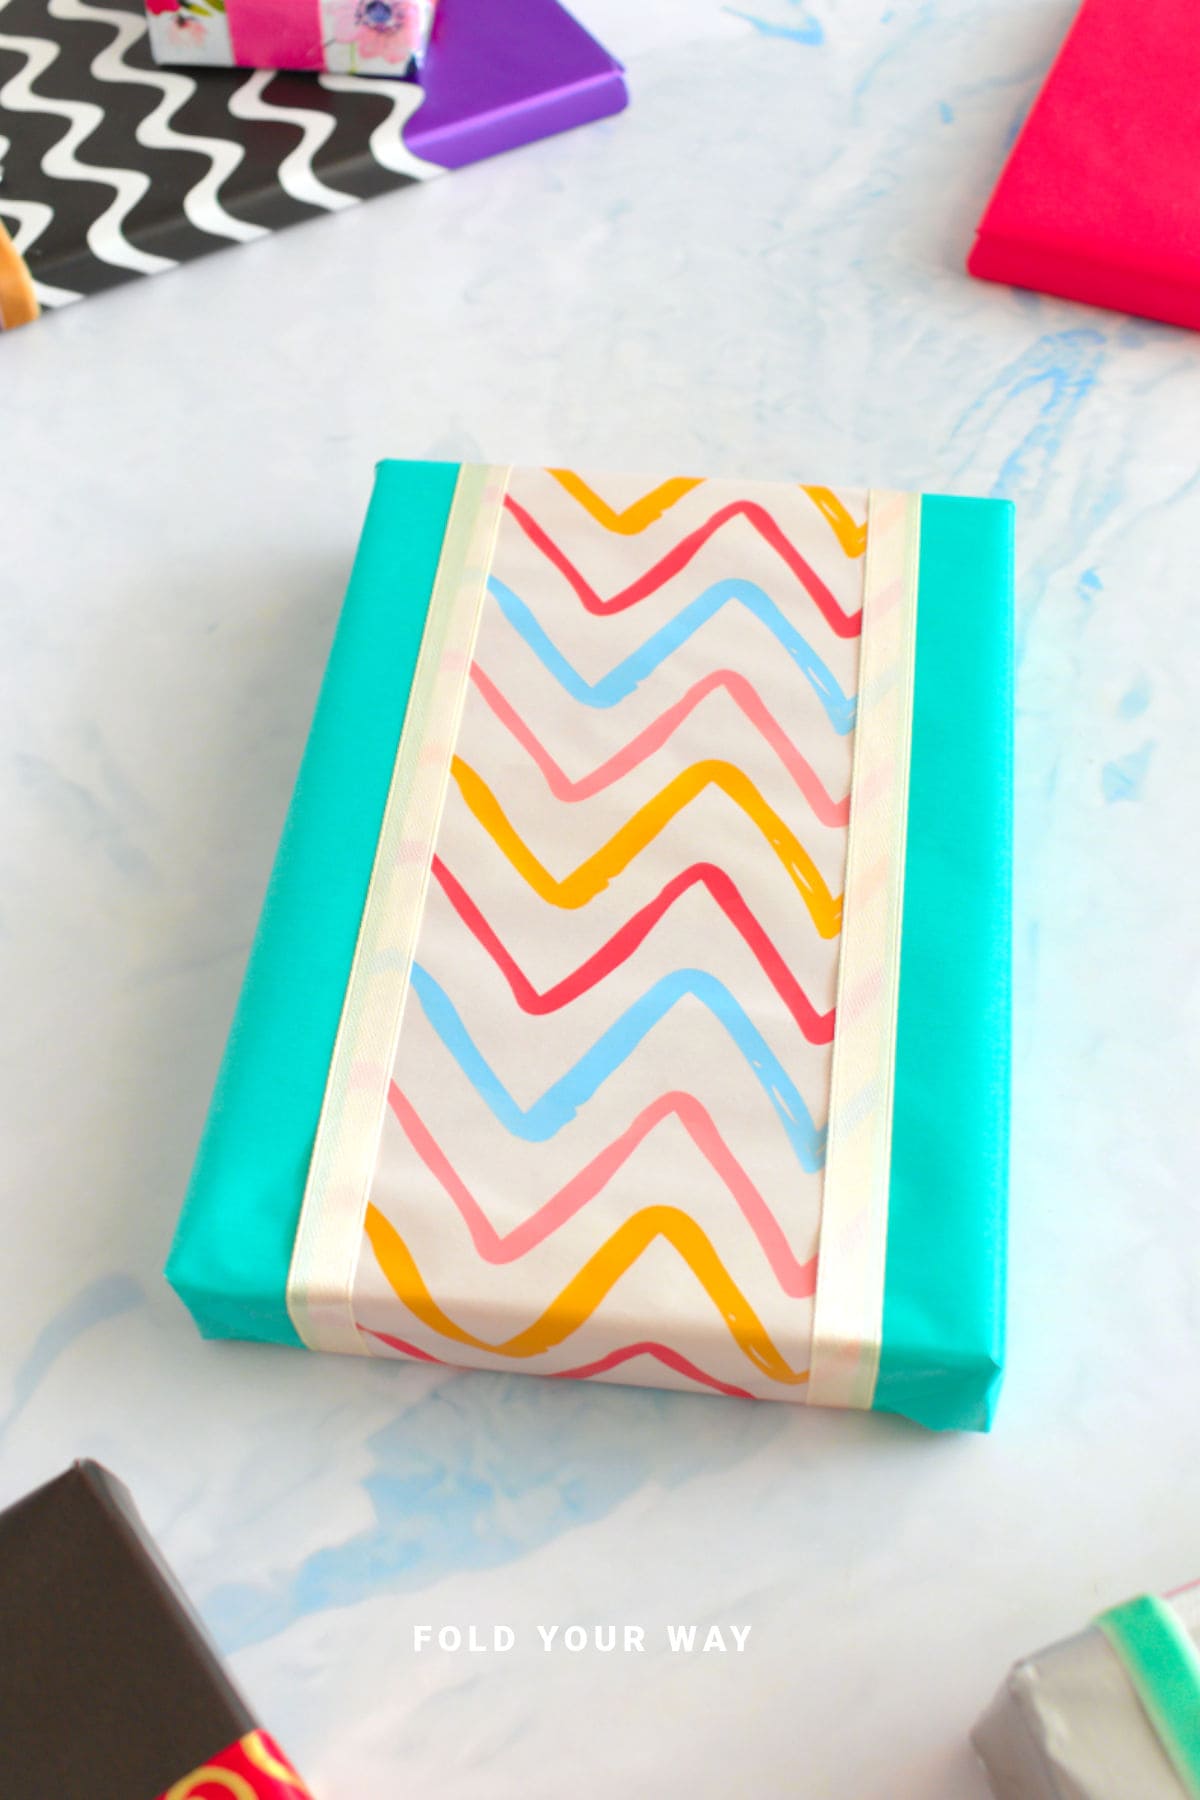
Table of Contents
- Why You'll Love This Pattern
- Skill Level
- Materials Needed
- Instructions
- Tips For Success
- Common Mistakes & How To Avoid Them
- Color, Paper Ideas, and Variations
- FAQ
- Other Paper Crafts You Might Like To Try:
- Helpful Tips and Common Mistakes For Paper Crafts
- Stay Connected
- Other Patterns You Might Like To Try:
- Comments
Looking for a way to make your gift wrapping look extra special?
Layered gift wrapping ideas involve stacking different papers, textures, or decorative elements to create depth and visual interest in gift presentation. They are commonly used for birthdays, holidays, and special occasions where a more styled look is desired. The technique allows for easy customisation using simple materials.
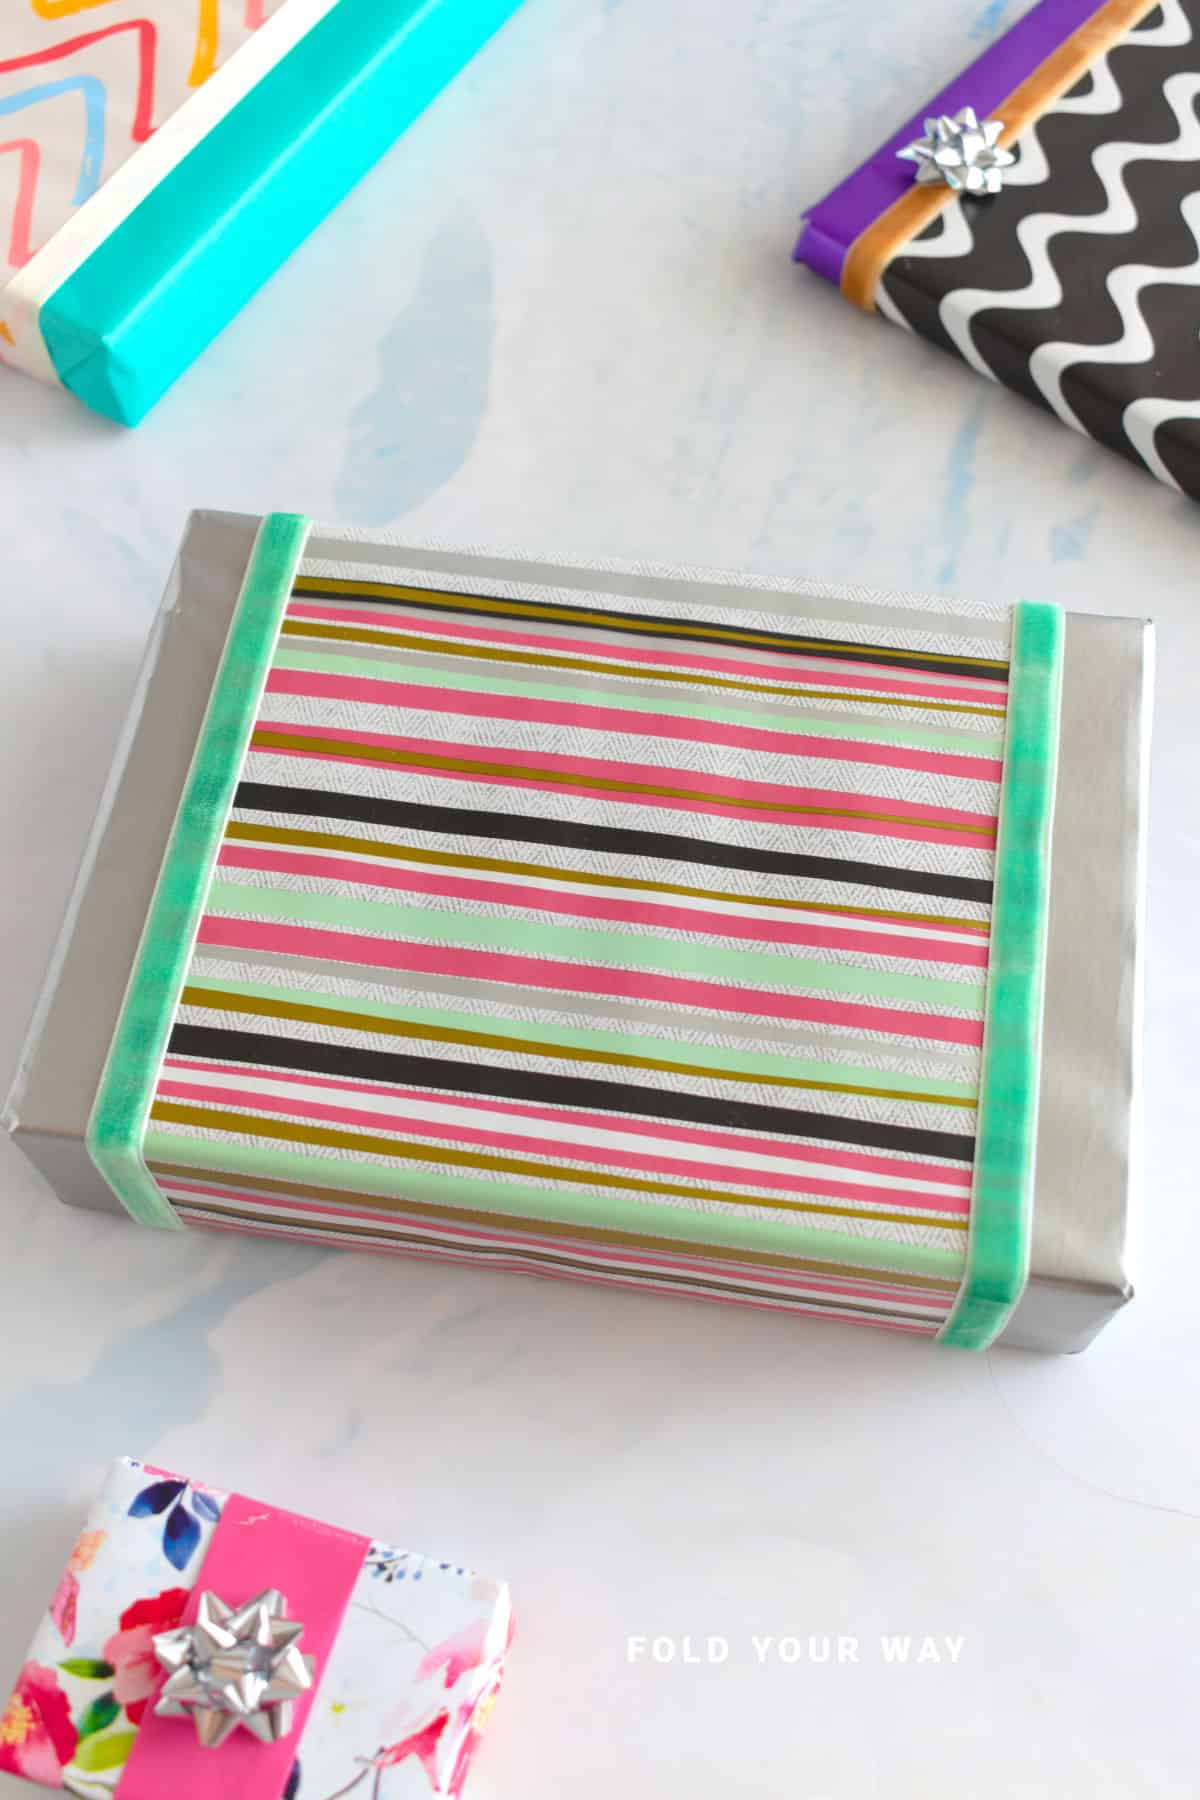
The base layer completely covers the gift, while a contrasting or patterned paper forms a decorative sleeve around the middle, giving your wrapping a polished, boutique-style finish.
It's perfect for all occasions, Christmas gifts wrapped in festive red and gold, birthday presents with bold patterns and pastels, or even wedding gifts with soft metallics and white.
Whether you're wrapping a small jewelry box, a book, or a larger square package, this technique adds instant sophistication to your presentation.
This step by step gift wrapping tutorial is beginner-friendly and doesn't require any special tools beyond scissors and tape.
Once you've tried it, you'll want to experiment with all sorts of color combinations, ribbons, and textures to match the season or recipient's personality.
It's a creative yet easy way to show thoughtfulness in every fold.
Why You'll Love This Pattern
- A creative, layered gift wrapping idea that looks luxurious with minimal effort
- Beginner-friendly with step by step instructions
- Works with any type of wrapping paper-great for using up scraps and leftovers
- Perfect for birthdays, Christmas, weddings, and anniversaries
- A fun paper craft that allows endless color and texture combinations
Skill Level
★☆☆☆☆ (Easy)
Materials Needed
- Two types of wrapping paper (one for the main wrap, one for the sleeve)
- Scissors
- Double-sided tape or ordinary tape
- Satin ribbon or twine (optional, for extra decoration)
Instructions
Step 1: Start with your main colored/patterned wrapping paper. Cut your wrapping paper to size. You want both the bottom and top edges to have enough that it can fold up just about a quarter of the gift.
The sides of the gift should have enough to cover the gift (e.g. 1 ¼ times the width of the gift on either side).
Step 2: Fold the left edge over to cover your gift. Then fold the right edge over your gift, so that it overlaps the left.
Once you have positioned the paper, tape along the middle of the gift as well as the top section (this makes it easier to fold the edges in the next steps). If you want to hide the tape, you could use double sided tape.
Step 3: Using your fingers, run them along the bottom edge of your gift. Then bring the paper down as shown.
Step 4: Straighten out the bottom left and right sides of the paper as shown. Make sure they align with the sides of the gift. Then, fold both the left and right sides of the bottom edge in.
Step 5: Fold the bottom edge up (note; if you think your bottom edge is a bit too long, you can trim it down slightly) and secure it with tape. You don't want the bottom edge to go over the top of the gift.

Step 6: Repeat steps 3 to 5 for the top edge.
Step 7: Cut your second wrapping paper to size, it should be cut to the width you want and must be long enough so that it is able to be taped to the back of the gift. Once you have cut it to size, place it in position on your gift and tape it down.
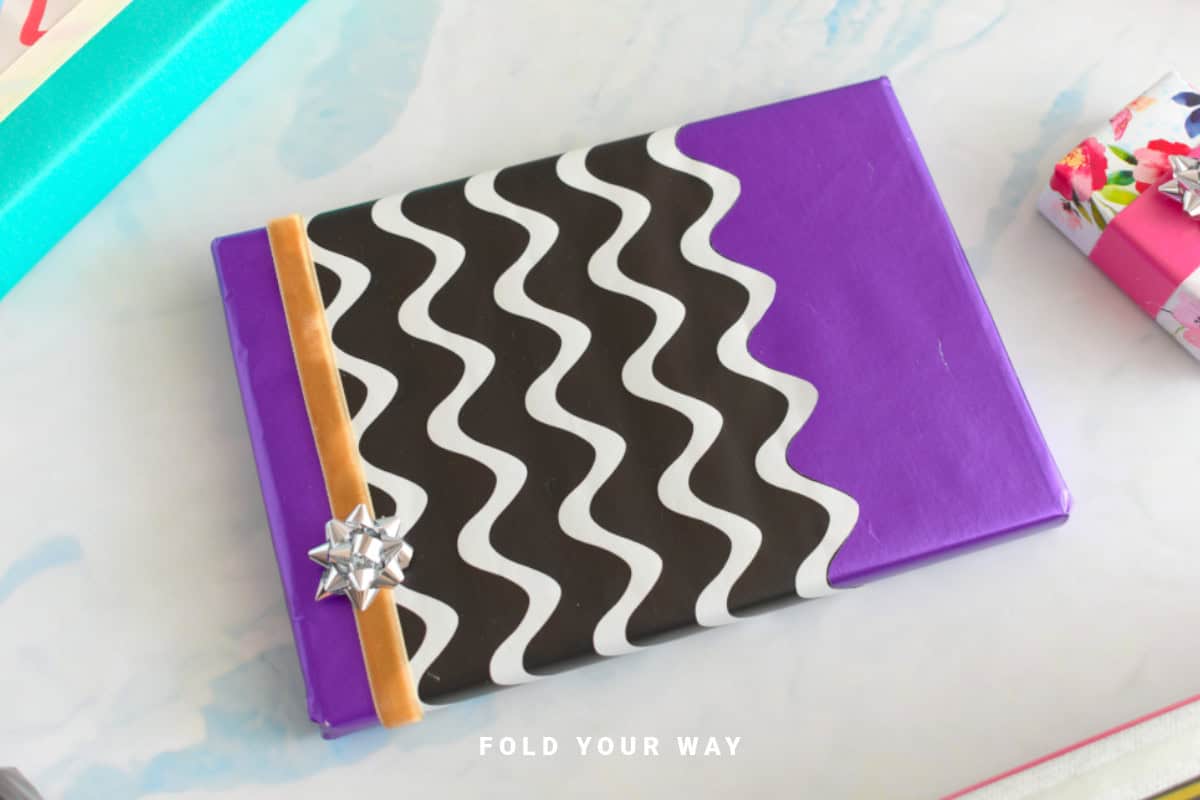
Step 8: Completed wrapped gift. You can decorate it as you like or keep it as is.

Tips For Success
- Use a bold print for the base layer and a solid color for the sleeve-or reverse it for a minimalist look.
- Make sure the sleeve is slightly narrower than the height of the box to keep edges neat.
- Add a simple satin ribbon or twine bow over the sleeve for extra flair.
- For Christmas, use metallic gold paper as the sleeve over classic red or green wrap.
Common Mistakes & How To Avoid Them
- Crooked sleeve placement: Measure and crease the sleeve paper lightly before attaching to ensure straight edges.
- Sleeve too loose or tight: Wrap the second paper around the box first, mark where it overlaps, then cut and secure for a snug fit.
- Bulky folds at edges: Trim excess paper at corners to keep the wrapping smooth and crisp.
- Papers clash: Choose colors and patterns that complement each other rather than compete.
Color, Paper Ideas, and Variations
- Christmas gifts: Red base wrap with a shimmering gold or silver sleeve for festive elegance.
- Weddings: White wrap with a soft champagne or blush pink sleeve tied with a satin ribbon.
- Birthdays: Bright solid colors with polka dot or striped sleeves for a fun, modern vibe.
- Minimalist look: Kraft paper as the base with a black or white sleeve and twine bow.
- Textured finishes: Pair matte and glossy papers together for added dimension.
FAQ
Yes! This is a great way to use smaller pieces of paper!
It's best suited for rectangular or square boxes.
It's not essential, but it helps keep the sleeve clean and seamless without visible tape lines.
Other Paper Crafts You Might Like To Try:
Helpful Tips and Common Mistakes For Paper Crafts
Paper crafting and origami can be hard sometimes. Which is why we've made this printable PDF just for you.
It outlines helpful tips so that you can successfully complete your craft, and some of the most common mistakes people come across.
You can download the helpful tips and common mistakes for paper crafts printable PDF here.
Stay Connected
Made this pattern? Let us know how it went in the comments below!
Pin this post - Pin now to take your paper crafting skills to the next level.
Share on Instagram or Facebook - Capture the beauty of your finished paper craft project and share it on Instagram or Facebook! Tag us @foldyourway so we can see your work!
Other Patterns You Might Like To Try:
Looking for other easy patterns like this? Try these:
- Easy Origami and Simple Paper Craft Ideas
- Cute Origami Ideas
- Easy Origami Animals and Insect Crafts
- Easy Origami Boxes, Bookmarks, and Small Paper Crafts
- Origami Envelopes and Letter Folding Techniques
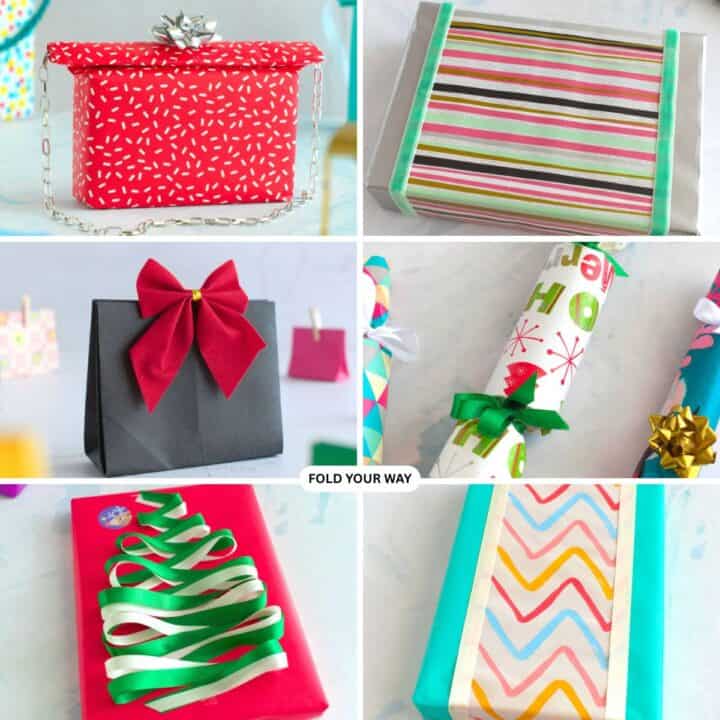
- DIY Gift Wrapping and Paper Presentation Ideas
- Seasonal Origami and Holiday Paper Crafts
- Easy Napkin Folding Ideas and Table Decor
Comments
No Comments