
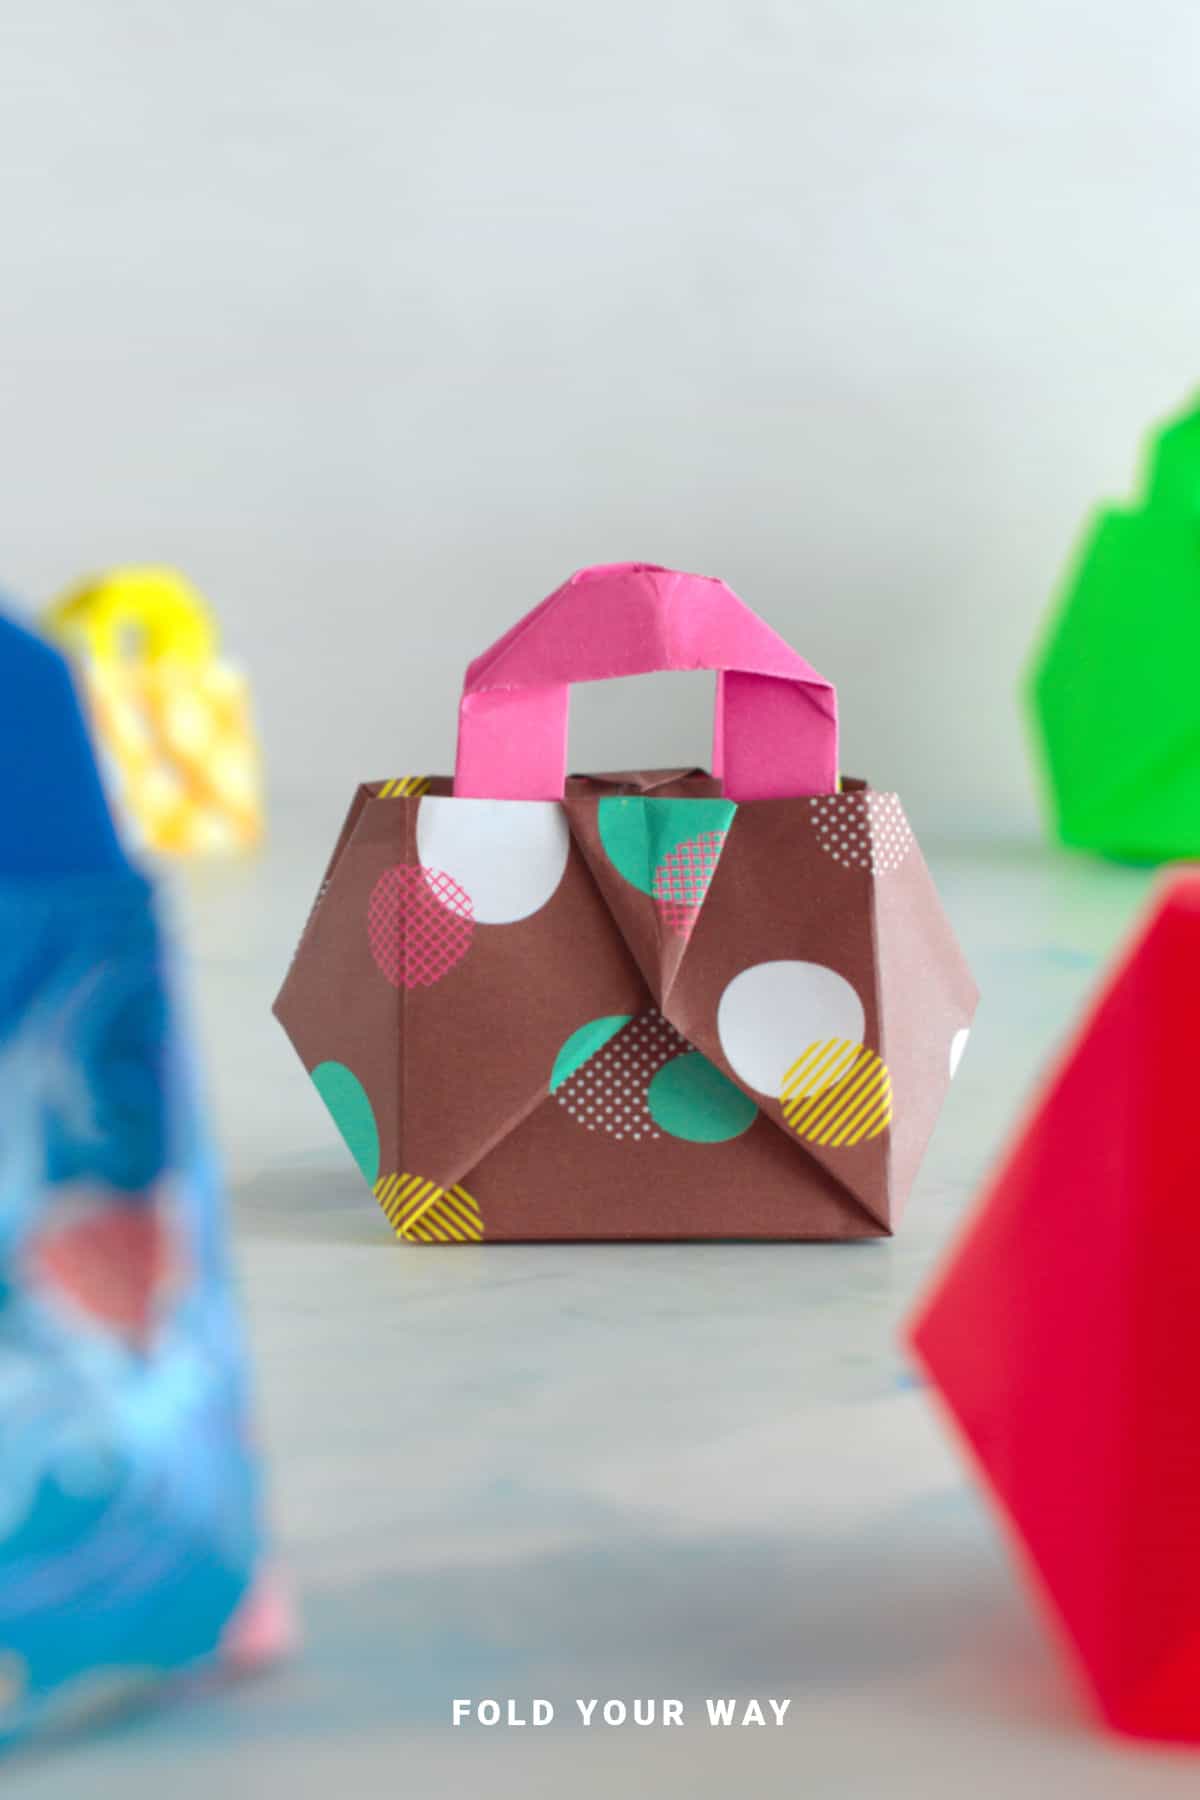
This DIY mini gift bag with paper is easy to make and perfect for party favors, wedding treats, or thoughtful thank-you gifts.
You only need one square sheet of paper for the bag and a smaller piece for the handles, and a hint of glue (or double sided tape)!
Make them in advance and customize for any occasion.
Jump to:
If you're looking for a charming and practical way to wrap up small treats or favors, this DIY mini gift bag made with origami is a great project to try.
This DIY mini gift bag is a paper folding project that turns a sheet of paper into a small functional gift bag with handles. It is commonly used for party favors, small presents, and handmade packaging. The design is practical as well as decorative, and can be customised with patterned paper for different occasions.
It’s quick, needs minimal materials, and can be personalized for any event—whether it’s a wedding, birthday party, holiday gathering, or baby shower.
The base of the bag is made from a single square sheet of paper, and all you need to complete it is a small strip of paper or card for the handles.
Just a few folds and you’ve got yourself an adorable little paper bag, ready to fill with goodies like sweets, tea sachets, tiny soaps, or even small trinkets.
These mini paper DIY gift bags are perfect for planning ahead. You can easily make a batch in one sitting and stash them away for upcoming events.
Use patterned paper to match the theme or stick with soft neutrals for something more classic. They also make sweet table accents and double as decor!
Whether you're prepping party favors or creating something extra for a teacher or friend, this easy step by step origami-style gift bag is a go-to paper craft you’ll return to again and again.

Why You'll Love This Pattern
- Just two sheets of paper and a hint of glue (or double sided tape)
- Great for wedding favors, party favors, or small thank-you gifts
- Can be made well in advance and stored flat
- Perfect for Christmas, Easter, Valentine’s Day, baby showers, and more
- Customizable with different colors, prints, and handle styles
- Fun, quick project for both kids and adults
Skill Level
★☆☆☆☆ (Easy)
Materials Needed
- 1 square sheet of paper for the bag (origami paper, gift wrap, or craft paper)
- 1 smaller strip of paper for the handles (or thin ribbon)
- Glue or double sided tape
| Paper Size – Handle | Paper Size – Bag Body | Final Bag Size | |
| Small DIY Paper Gift Bag | 6 inches x 3 inches (15 cm x 7.5 cm) | 6 inches x 6 inches (15 cm x 15 cm) | 3 inches x 2.5 inches (8 cm x 7 cm) |
| Medium DIY Paper Gift Bag | 8 inches x 4 inches (21 cm x 10 cm) | 8 inches x 8 inches (21 cm x 21 cm) | 5 inches x 4 inches (12 cm x 10 cm) |
| Large DIY Paper Gift Bag | 10 inches x 5 inches (25 cm x 12 cm) | 10 inches x 10 inches (25 cm x 25 cm) | 6 inches x 5 inches (15 cm x 13 cm) |
Instructions
MAKING THE HANDLES
Using your smaller sheet of paper. – you want the handle sheet to be half the width of the bag sheet. E.g. if using 6 inches x 6 inches (15 cm x 15 cm) paper for the bag body, you will need a 6 inch x 3 inch (15 cm x 7.5 cm) sheet of paper for the handles.
Step 1: Start with the color you want your handles to be facing down. Arrange the paper so it sits vertically.
Step 2: Fold the bottom edge up slightly (this will form the thickness of your handles).
Step 3: Fold the bottom edge up again along the top of the crease you made in the previous step.
Step 4: Unfold the bottom edge completely.
Step 5: Fold the bottom edge up again, but this time along the 2nd horizontal crease from the bottom (the crease you made in step 3).
Step 6: Once again, fold the bottom edge up but this time along the top of the crease you made in the previous step.
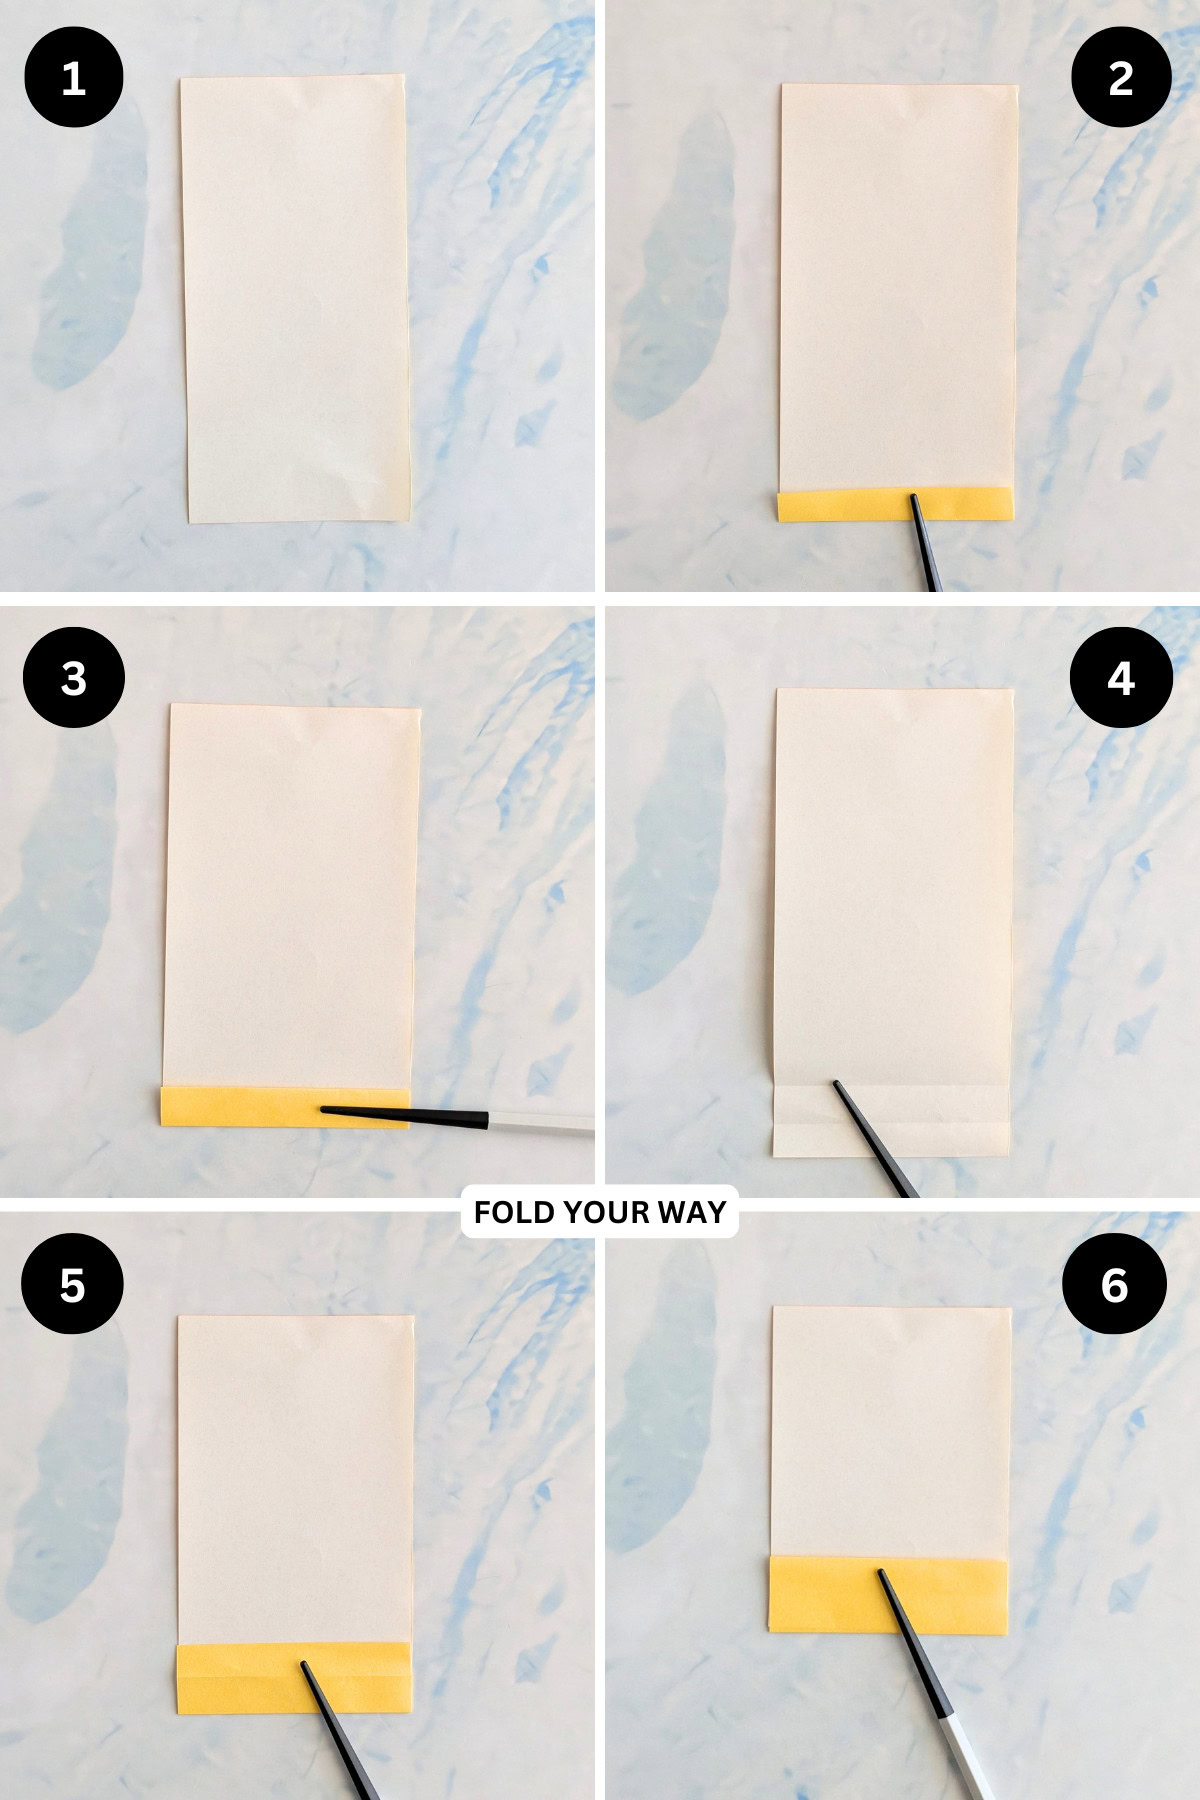
Step 7: Unfold the bottom edge completely.
Step 8: Next, we will fold the bottom edge up again. This time along the 3rd horizontal crease from the bottom (the one you made in step 6).
Step 9: Fold the bottom edge up again but this time along the top of the crease you made in the previous step.
Step 10: Unfold the bottom edge completely.
Step 11: Cut along the 4th horizontal crease from the bottom (the one you made in step 9). Discard the top piece (the one without any creases).
Step 12: Cut along the centre crease of the rectangle with creases.
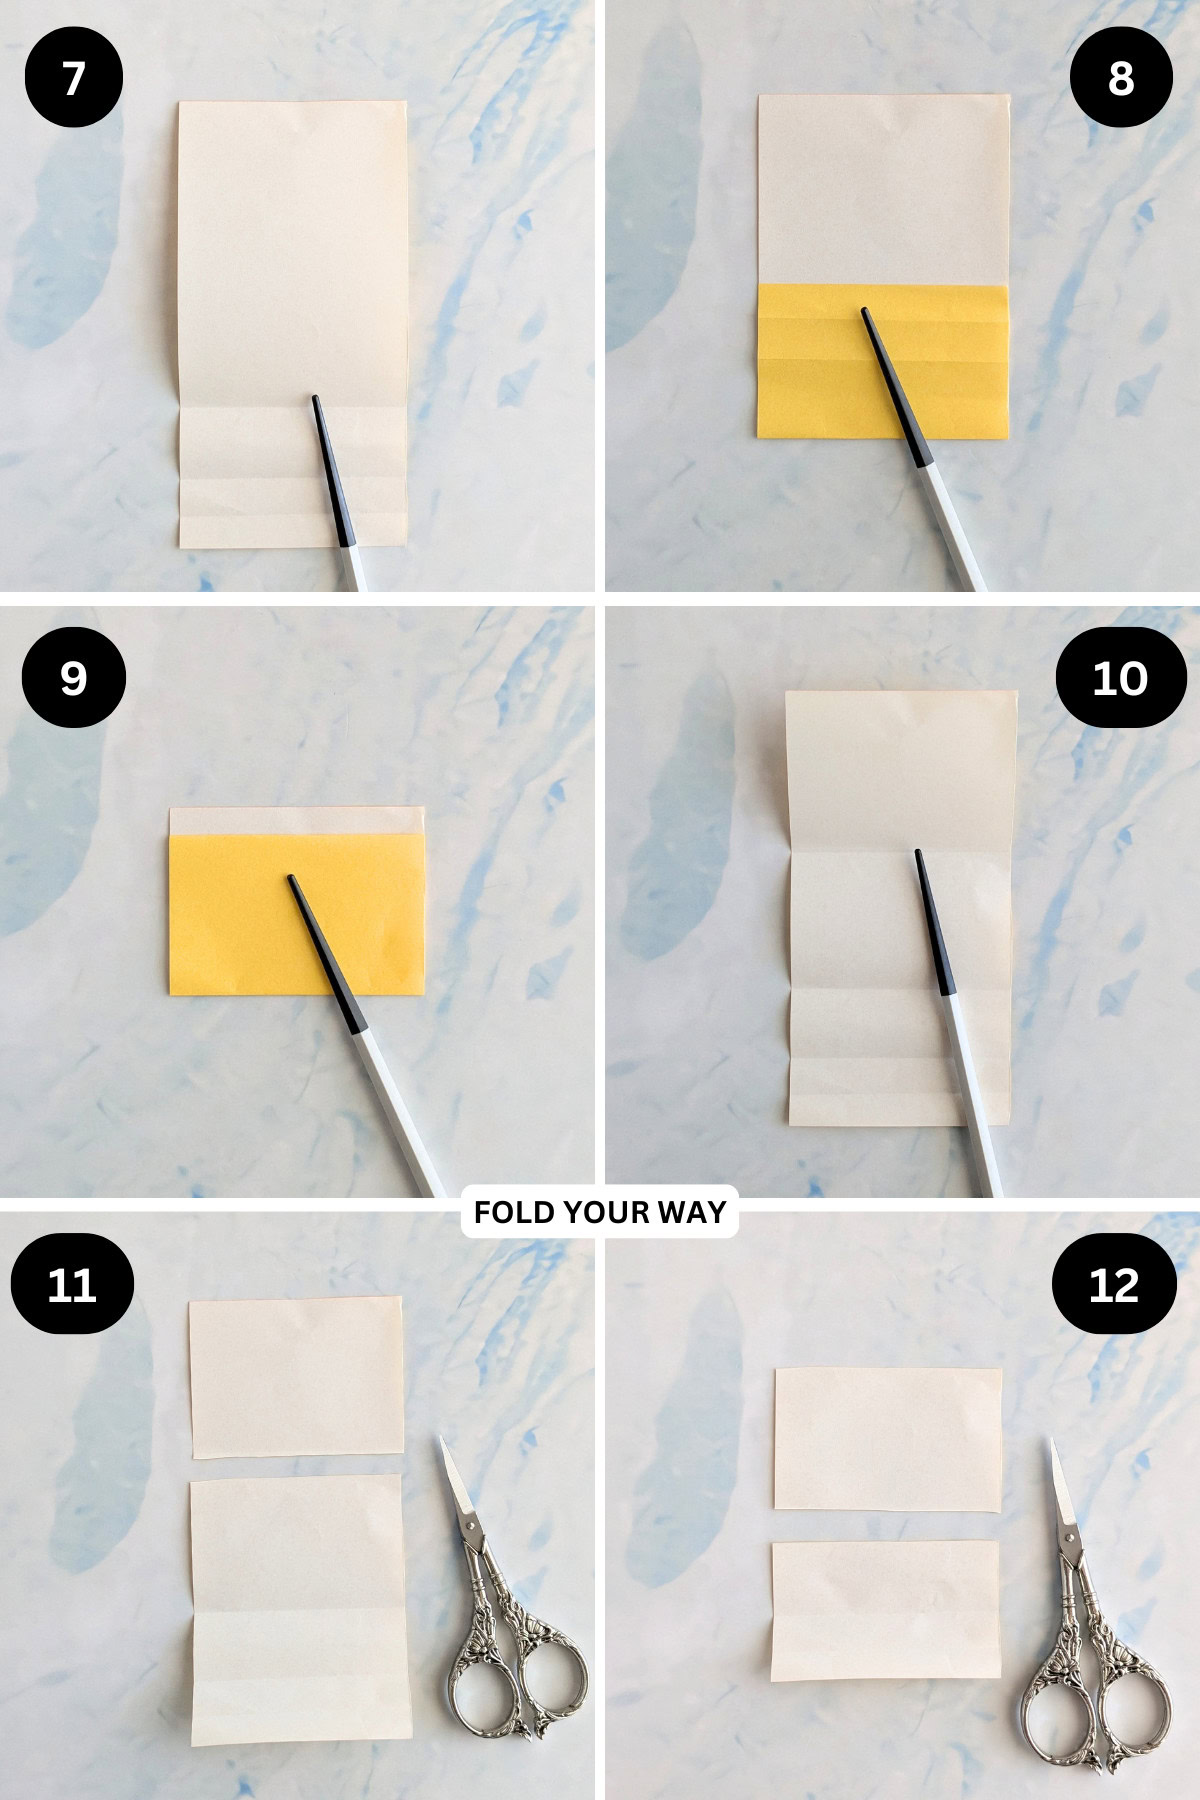
Step 13: Working on one of the smaller rectangles you just made (we will use the other half in a moment): Arrange the paper to sit vertically.
Step 14: Fold the left edge to meet the right edge.
Step 15: Unfold previous step.
Step 16: Fold the left and right edges in to meet the middle crease.
Step 17: Apply some glue (or double sided tape) to the right side of the paper. Then fold the left edge of the paper to meet the right edge. You will end up with a long strip. Allow the glue to dry.
Step 18: Fold the strip in half from top to bottom.
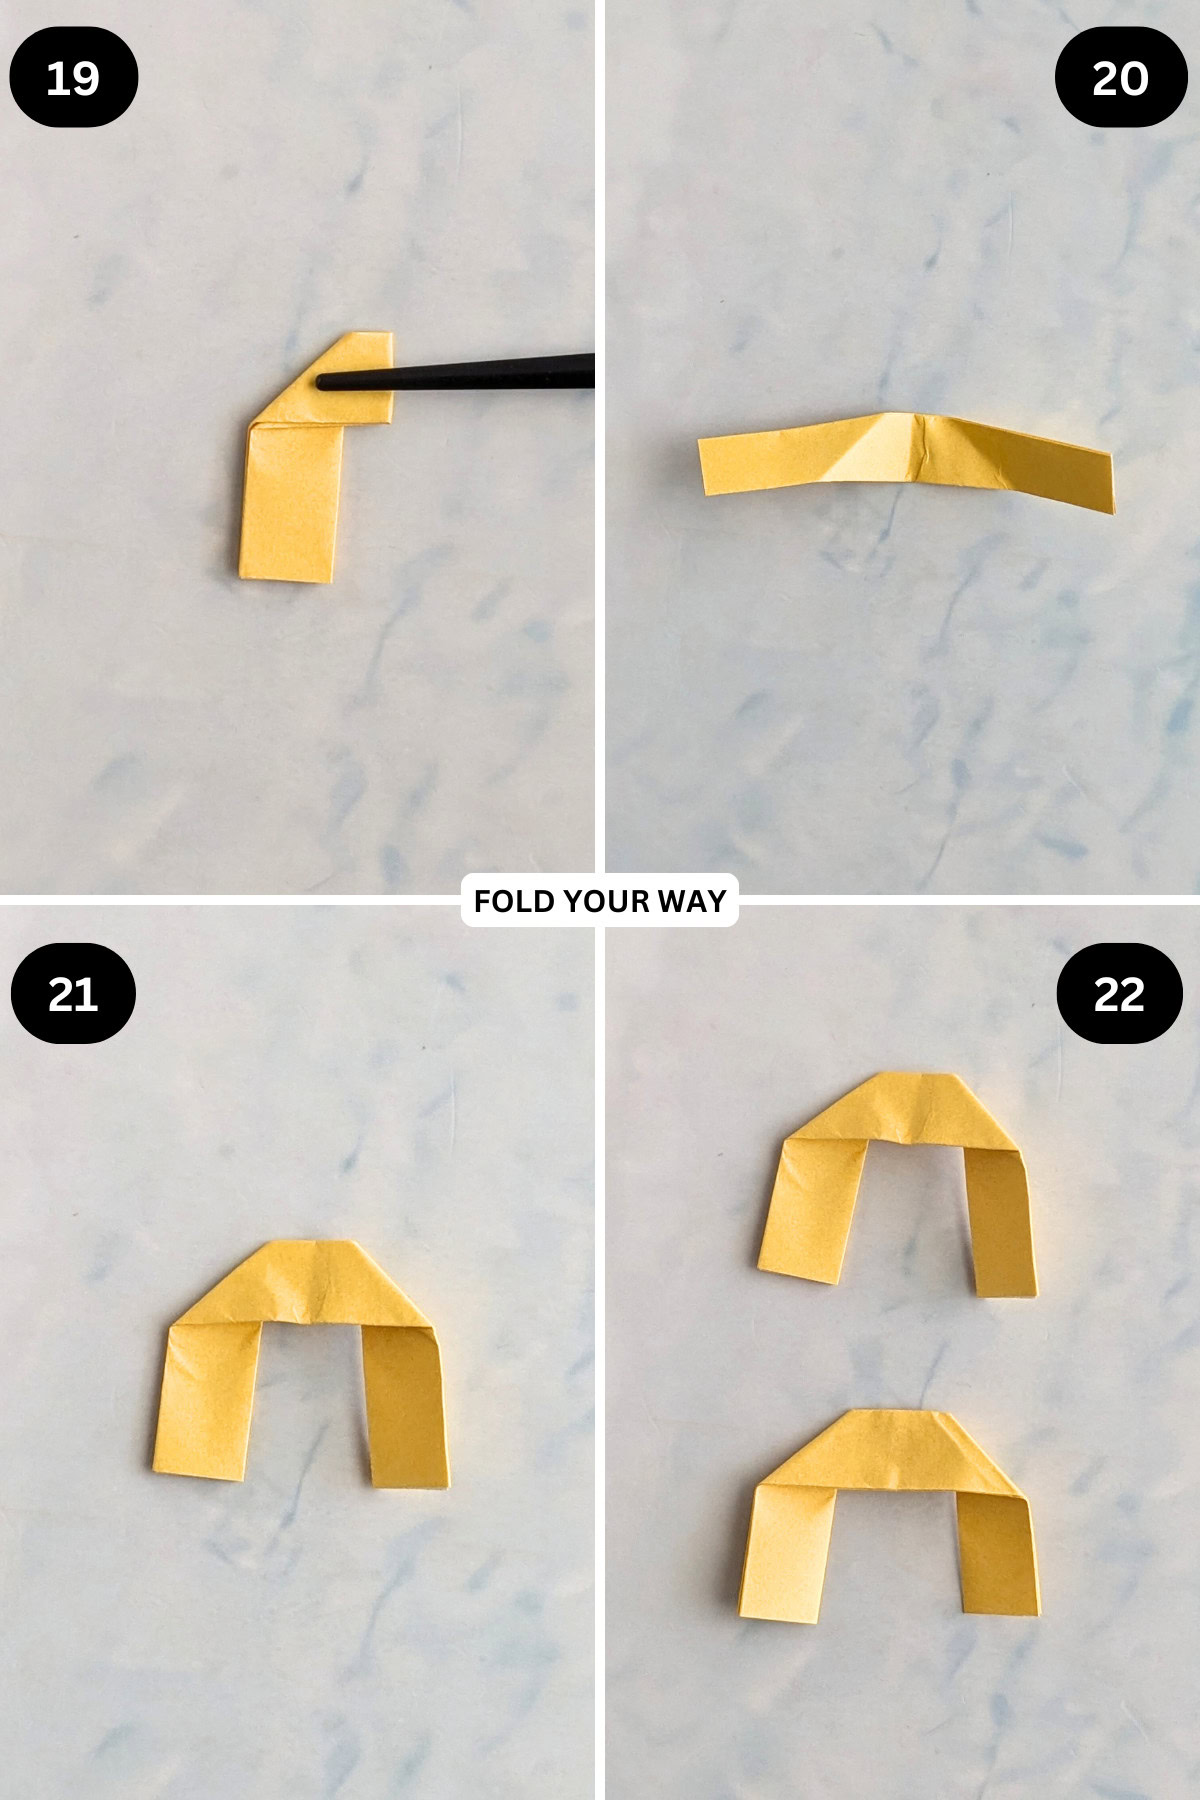
Step 19: Fold the top left corner to the right. Make the bottom edge of this fold parallel to the bottom edge of the strip.
Step 20: Open out the strip.
Step 21: Refold along the existing creases (that you made in step 19).
Step 22: Repeat steps 13 to 21 for the remaining paper. Completed handles.
Making the bag
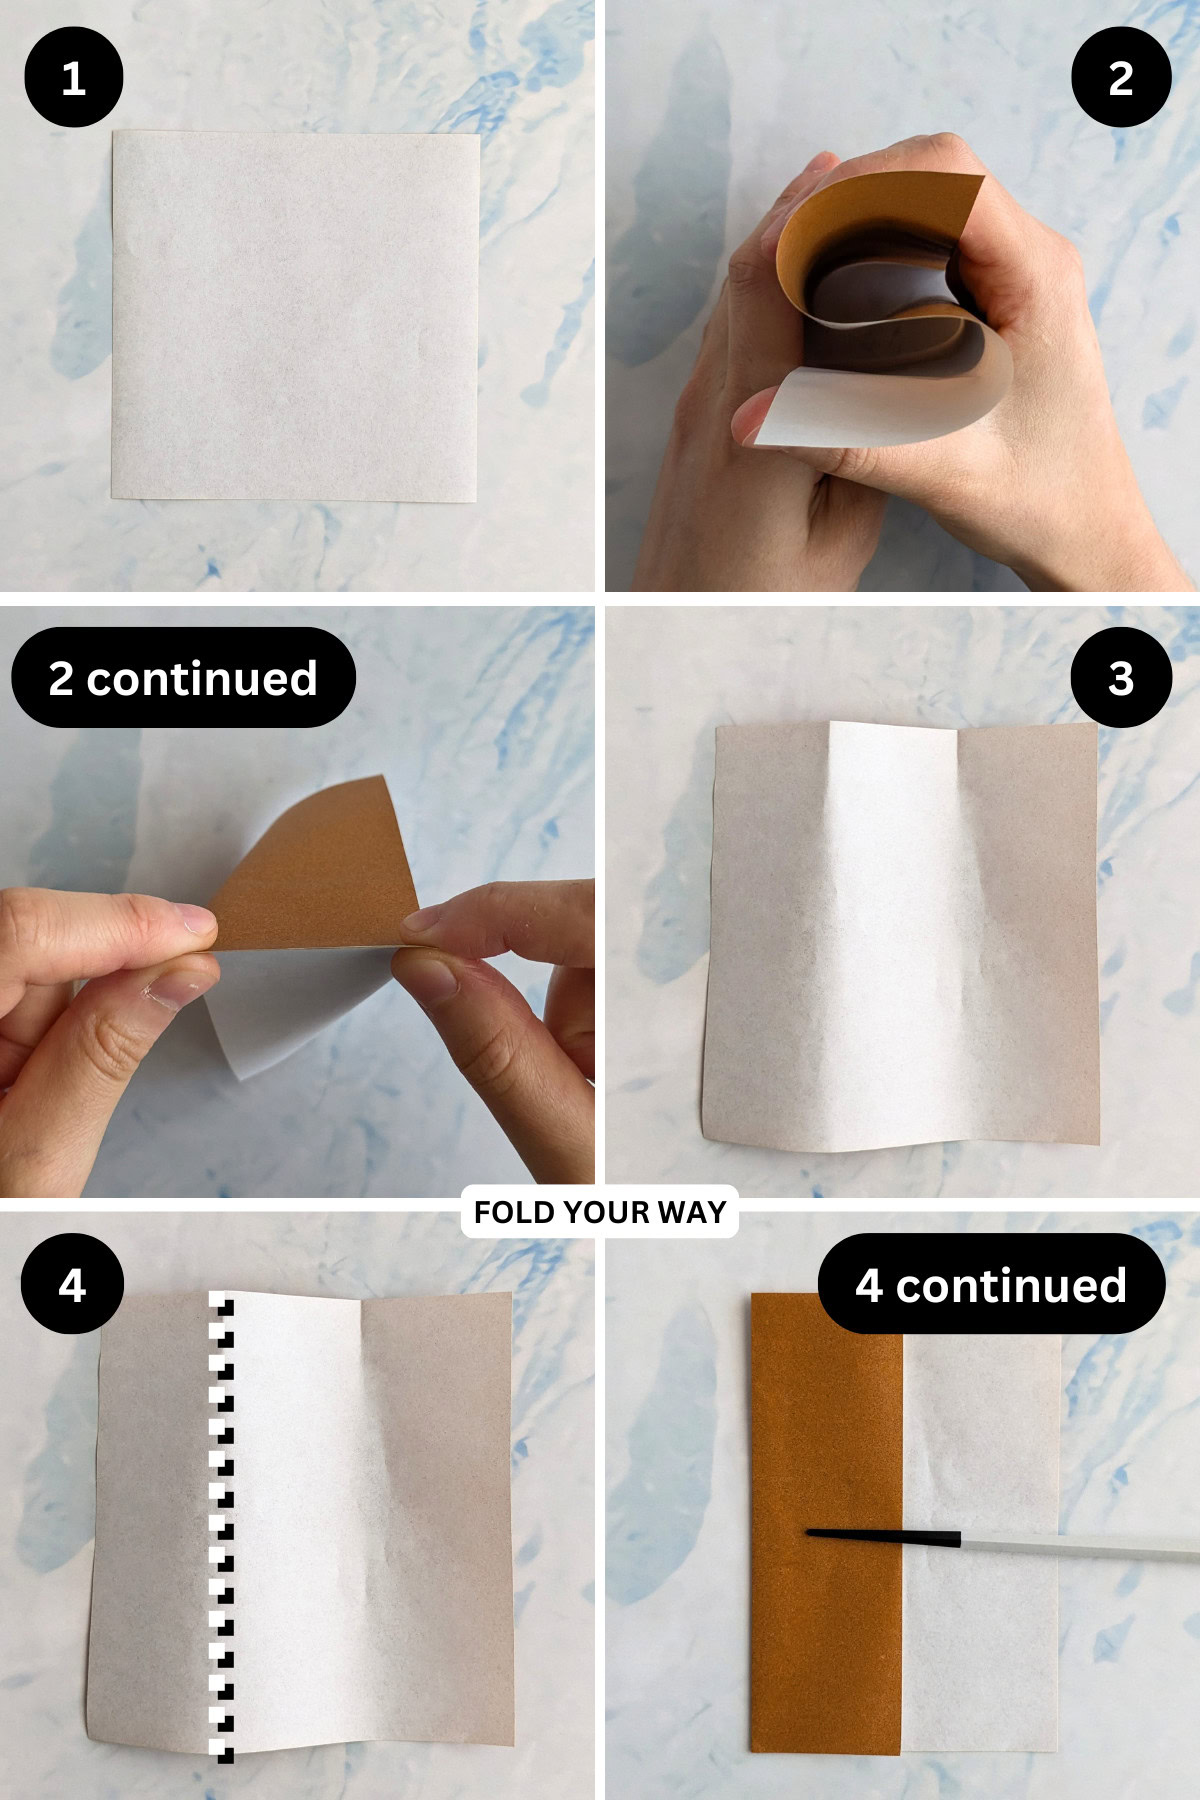
Step 1: Start with the color you want your bag to be facing down.
Step 2: We will first start by dividing the paper into thirds. Hold the paper in your hand as shown, so that it makes an even “S” shape.
Then, make a slight crease on both edges. Tip: Make sure you crease your edges well in the previous step. This will help when forming your “S” shape.
If you are struggling with the “S” method, you could divide your paper into thirds using a rule and pencil. If you follow this method, skip to step 12.
Step 3: Place your paper back onto your table. You should now have 2 small creases on the top edge.
Step 4: Fold the left edge towards the right along the line shown, starting at the small crease you made in the previous step. It’s edge should match up with the second crease you made.
✨ You're almost there! ✨
To unlock the final steps and complete your pattern, create a free account with Grow.me. below.
Make sure you tick the box to subscribe to our newsletter and stay up to date with the latest patterns, tips, and more!
Once you're signed up, you'll get instant access to finish your project and enjoy exclusive content in the future.
Already signed up? Hit the button below and select ‘Switch to Log In’ to pick up where you left off and finish your project!
Step 5: Fold the right edge to match the left edge.
Step 6: Unfold the paper completely. You have now divided your paper into thirds.
Step 7: Rotate your paper 90 degrees so the creases you made run horizontally as shown.
Step 8: Repeat steps 2 to 6 to divide the paper into thirds again. After this you will have a grid of 9 squares.
Step 9: Fold the bottom edge up along the 1st horizontal crease from the bottom.
Step 10: Fold the bottom left and bottom right corners up diagonally to meet the top edge of the flap you just folded up in the previous step.
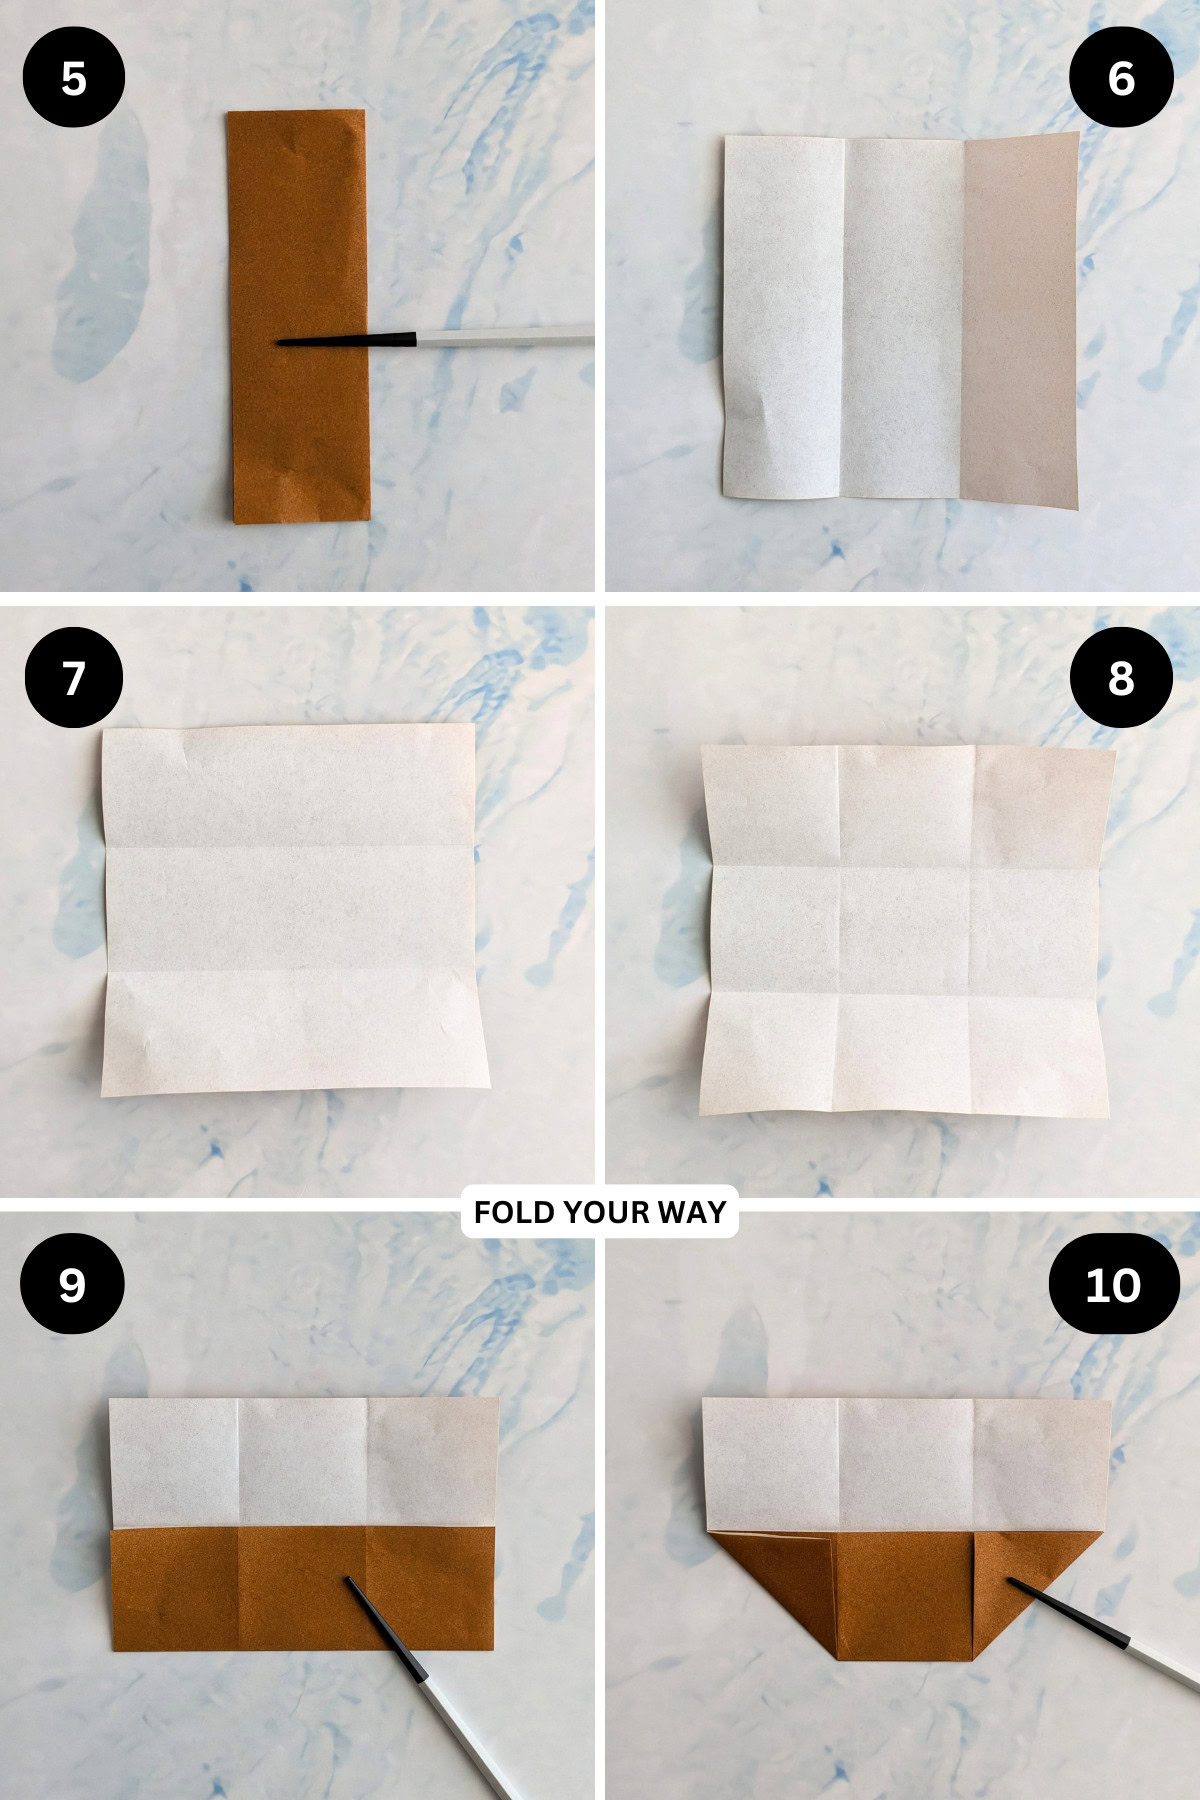
Step 11: Unfold previous step.
Step 12: Working on the left side of the paper, push the left side of the paper in along the creases you made in step 10. Then flatten the paper so that the left side forms a triangle shape.
Step 13: Repeat previous step for the right side.
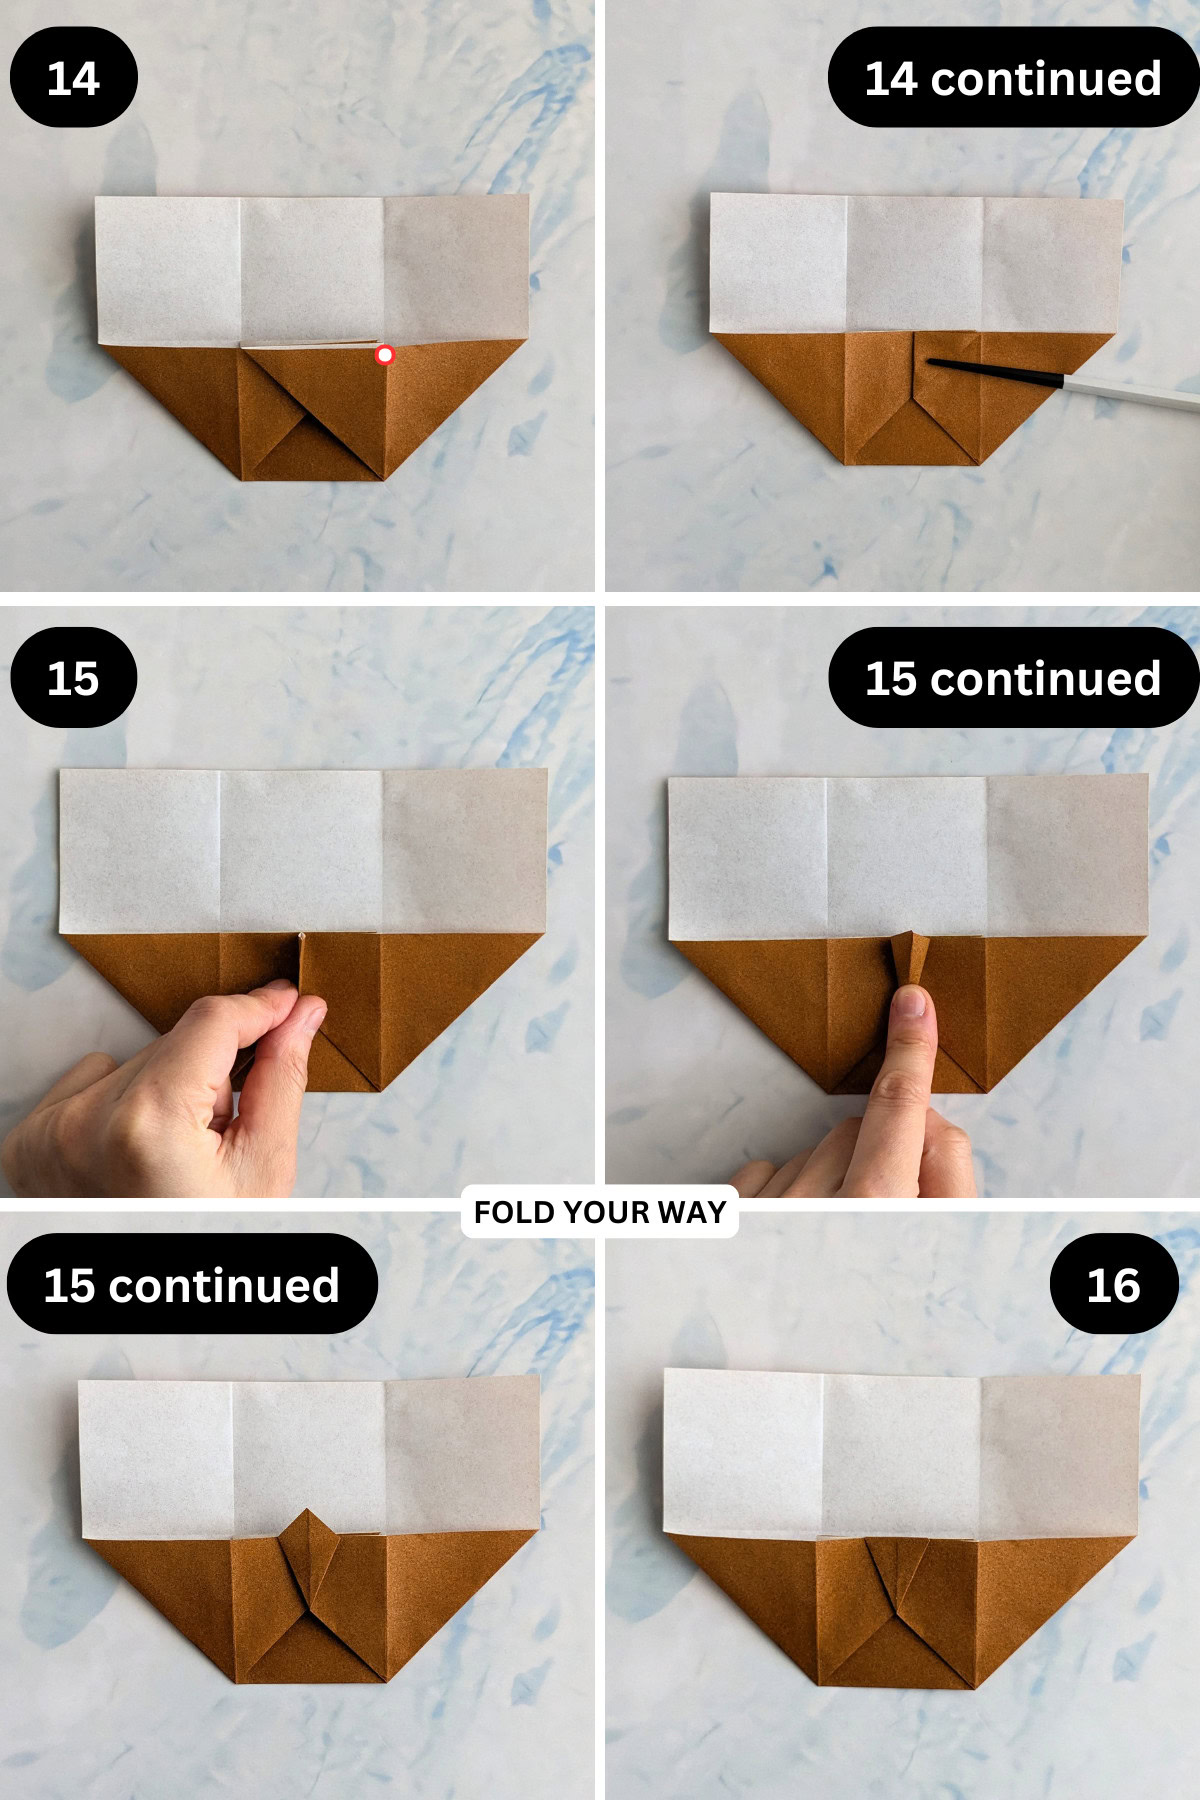
Step 14: Fold the left point of the upper flap (the one you made in the previous step) back towards the right to meet the point shown.
Step 15: Stand the flap you just folded towards the right in the previous step upright, open it slightly, and flatten it as shown.
Step 16: Tuck the tip of that same flap behind.
Step 17: Unfold the paper completely.
Step 18: Rotate your paper 180 degrees so it sits as shown.
Step 19: Repeat steps 9 to 11.
Step 20: Now repeat what you did in steps 12 and 13, but this time we will work on the right side first. You should end up with the left side on top.
Step 21: Fold the right point of the uppermost flap towards the left to meet the point shown.
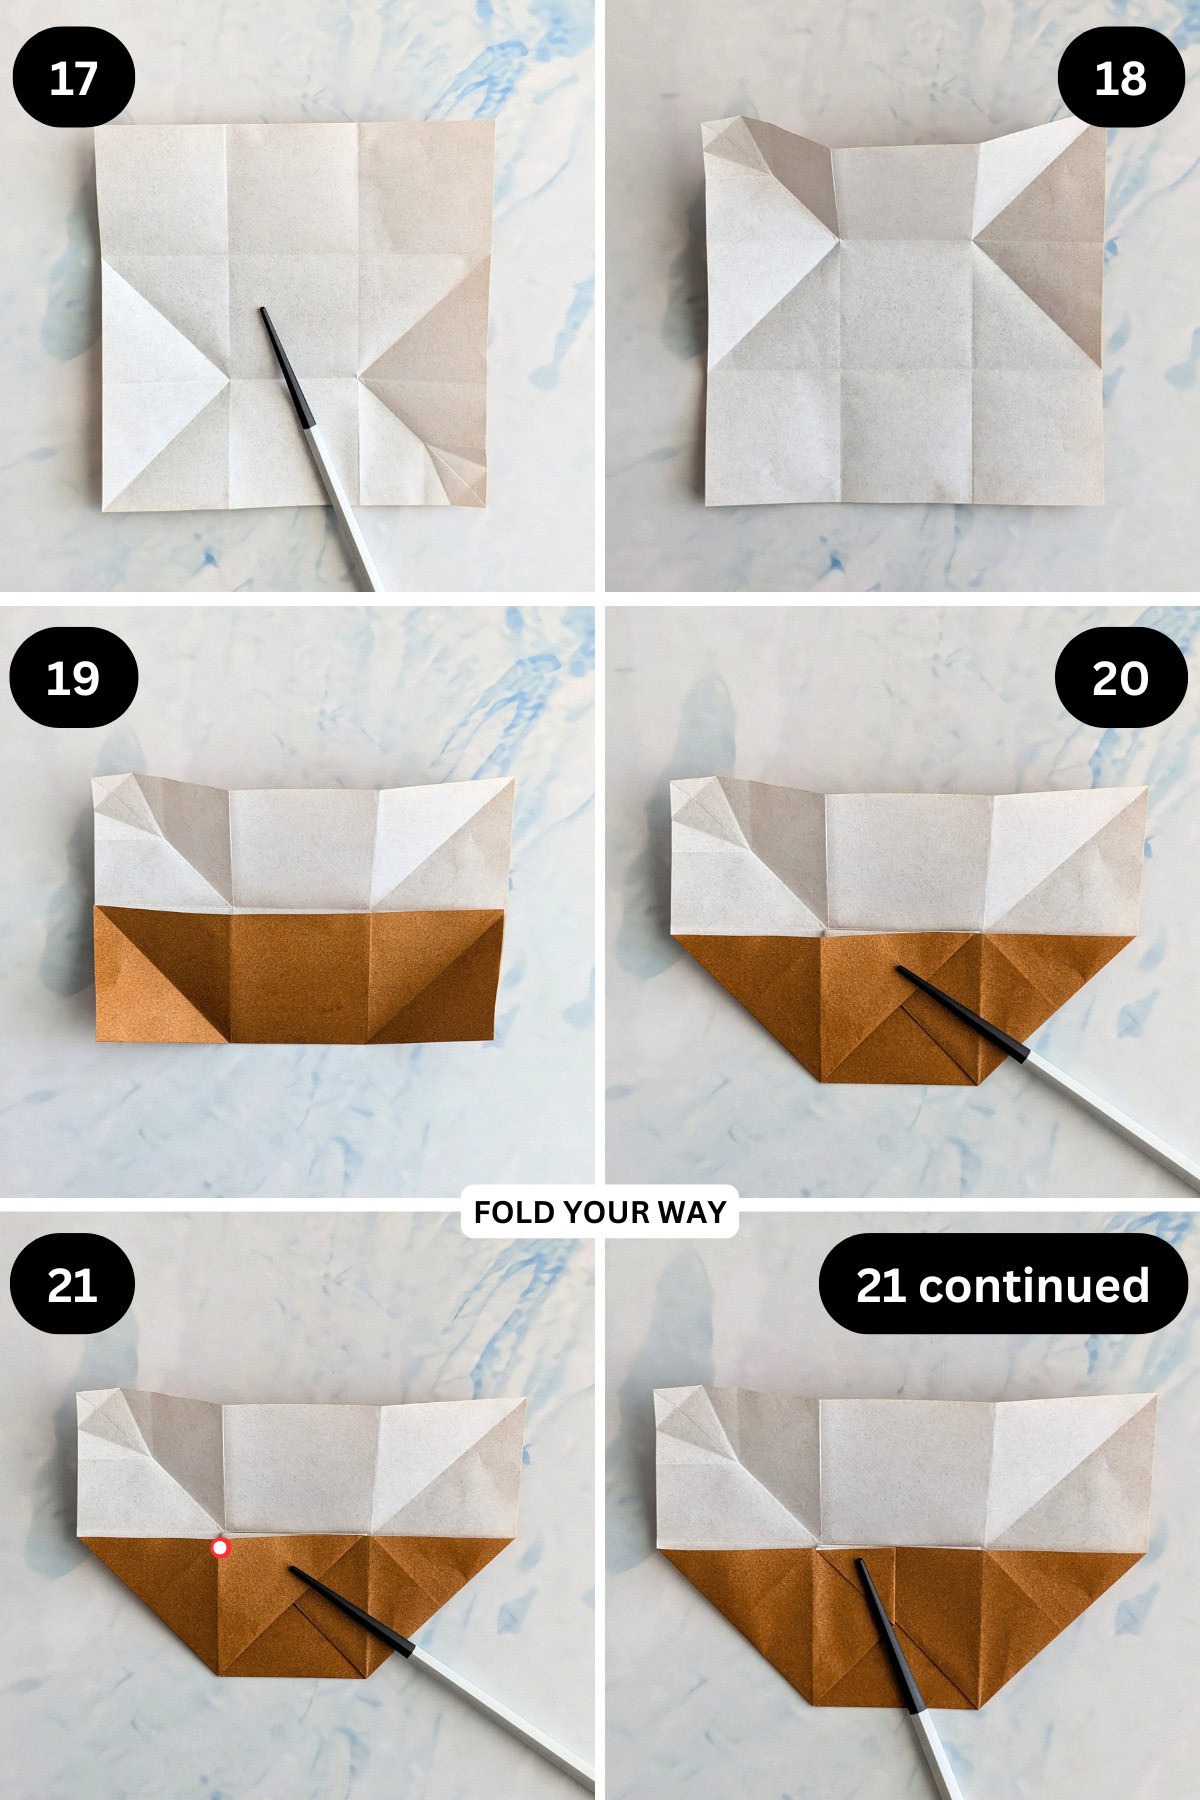
Step 22: Like we did before, stand the flap you just folded towards the right in the previous step upright and flatten it as shown. Then tuck the tip of the flap behind. Apply some double sided tape or glue to hold the tip in place.
Step 23: Collapse the top half of the paper along the existing crease lines so that it is symmetrical to the bottom half (the tip should once again be on the outside when you collapse it.) Then apply some glue or double sided tape to the tip to hold it in place.
Step 24: Take one of your handles and apply some glue or double sided tape to the tips. Then slip the handles into the little pockets found on the top half of the bag.Repeat step for the bottom half.
Step 25: Re crease along the edges and adjust the shape of the bag. Completed bag.

Tips For Success
- Use thicker paper like kraft or card stock for sturdier bags (especially if you are making larger bags).
- If your handles don’t stay in place, a tiny bit of glue or tape can help secure them
- Pre-fold a bunch and store flat until ready to use
- Match paper colors to your event theme for a cohesive look
- Add a tag or small charm to the handle for extra detail

Common Mistakes & How To Avoid Them
Paper too thin or flimsy: Go for something with a bit of weight so the bag holds shape. Smaller bags are good to make with origami paper, for larger bags, consider using lightweight cardstock.
Color, Paper Ideas, and Variations
- Weddings: Soft pastel tones, florals, or pearlescent paper
- Christmas: Red, green, gold, or snowflake prints
- Valentine’s Day: Pinks, hearts, or love-themed paper
- Easter: Fresh spring hues—lavender, mint, yellow
- Baby Showers: Blue, pink, or cute animal prints
- Minimalist: Kraft paper with twine handles
- Kids’ Parties: Bright colors, cartoon prints, or metallics
FAQ
Yes! Printer paper works, especially for lighter gifts. Just be gentle when folding to avoid tearing.
These mini bags are best for light and small items—think candy, keychains, mini soaps, etc.
Definitely. Just use a larger square sheet for a slightly bigger bag. It may need more support at the base if you’re planning to carry heavier items.
Helpful Tips and Common Mistakes For Paper Crafts
Paper crafting and origami can be hard sometimes. Which is why we've made this printable PDF just for you.
It outlines helpful tips so that you can successfully complete your craft, and some of the most common mistakes people come across.
You can download the helpful tips and common mistakes for paper crafts printable PDF here.
Stay Connected
Made this pattern? Let us know how it went in the comments below!
Pin this post - Pin now to take your paper crafting skills to the next level.
Share on Instagram or Facebook - Capture the beauty of your finished paper craft project and share it on Instagram or Facebook! Tag us @foldyourway so we can see your work!

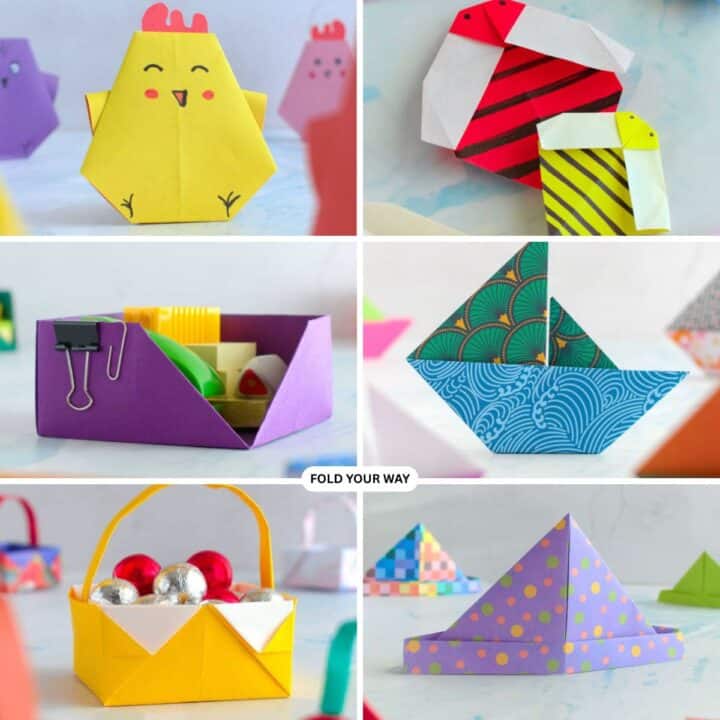
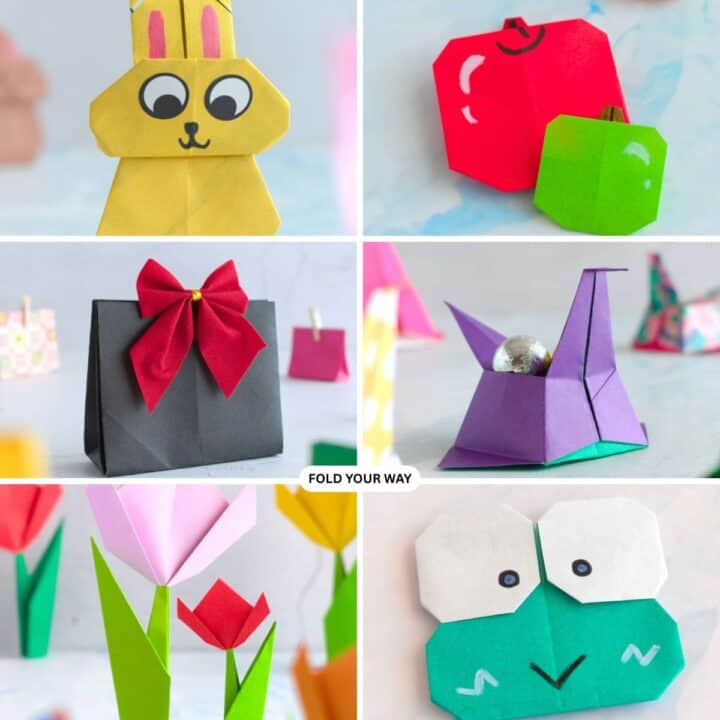
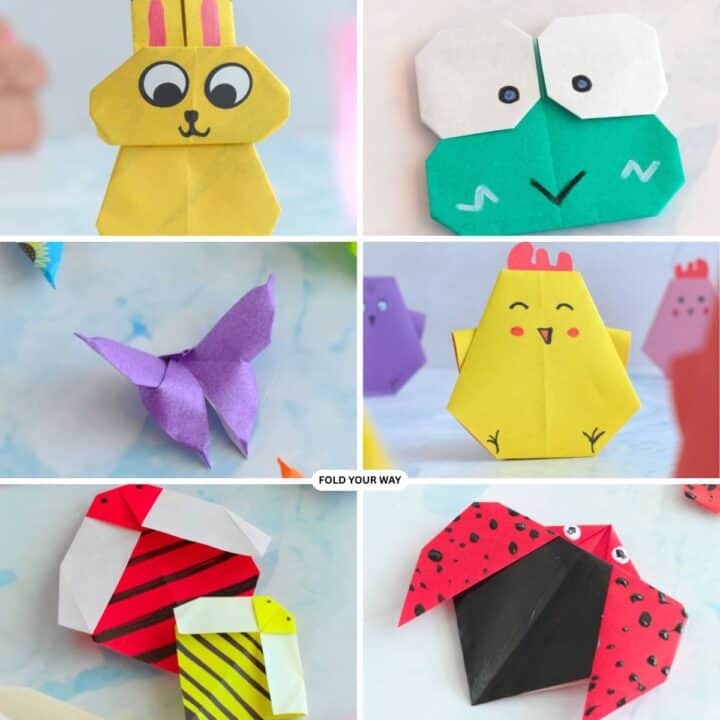
Other Patterns You Might Like To Try:
Looking for other easy patterns like this? Try these:
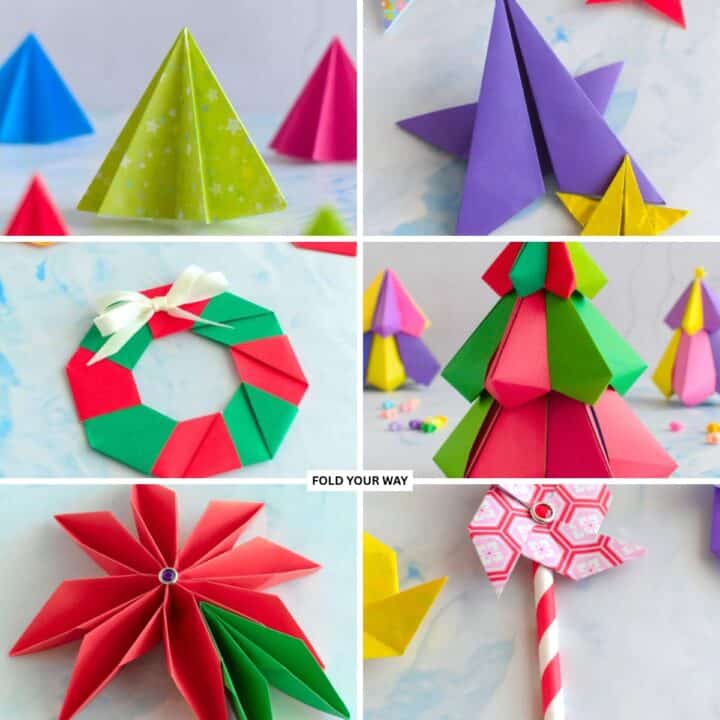
- Easy Origami and Simple Paper Craft Ideas
- Cute Origami Ideas
- Easy Origami Animals and Insect Crafts
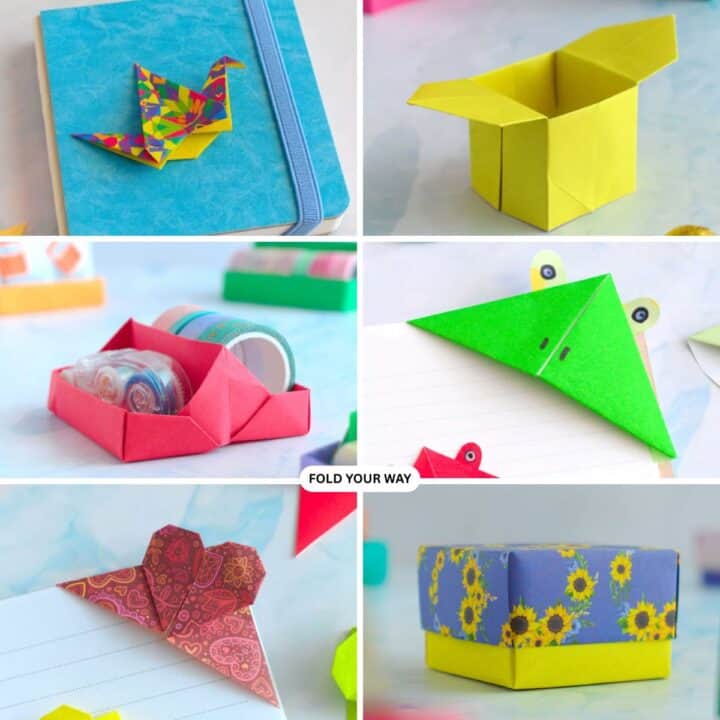
- Easy Origami Boxes, Bookmarks, and Small Paper Crafts
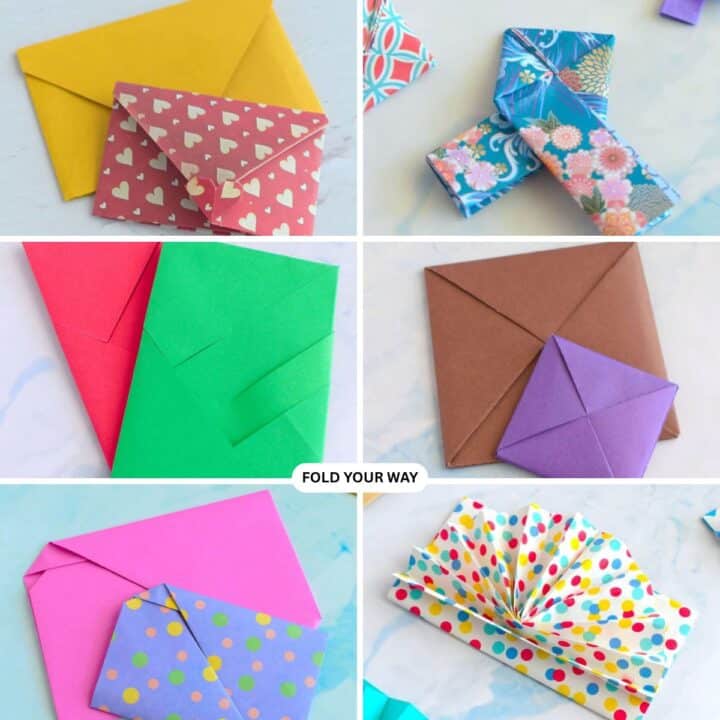
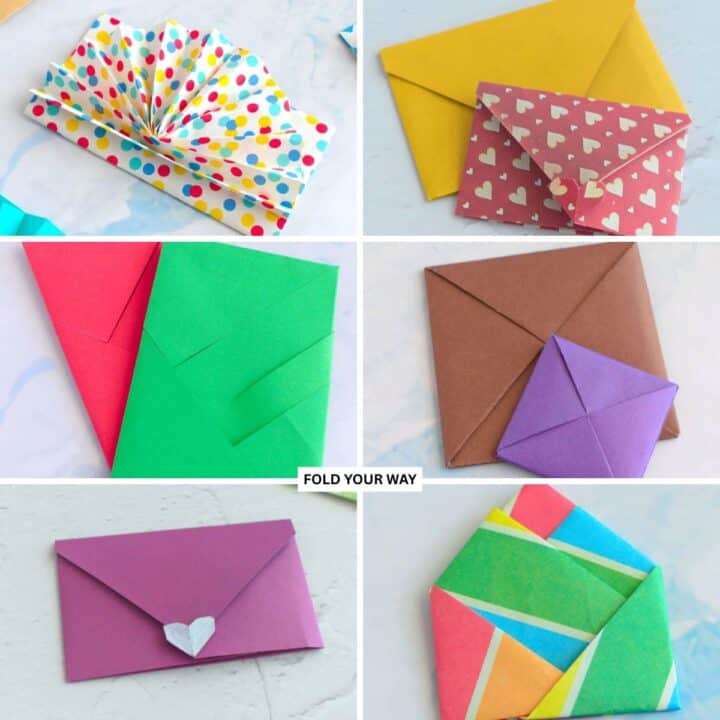
- Origami Envelopes and Letter Folding Techniques
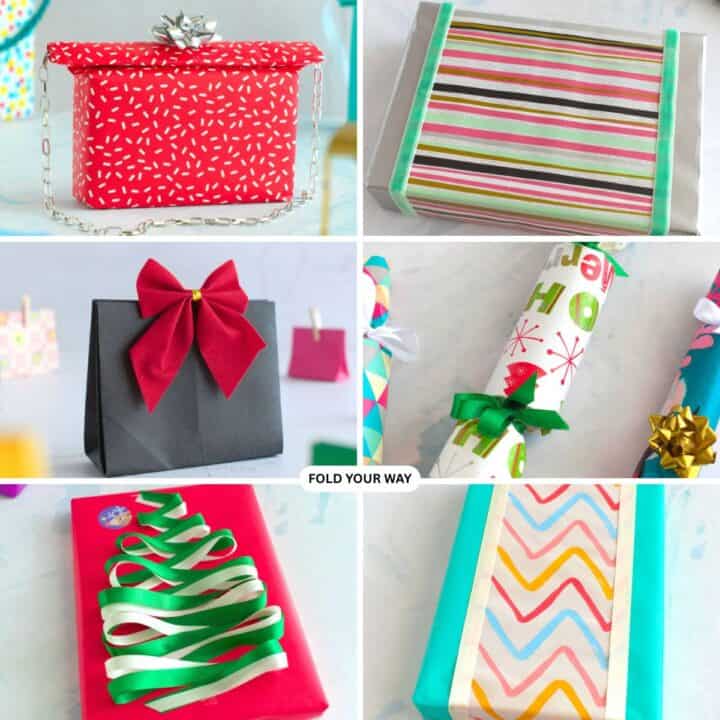
- DIY Gift Wrapping and Paper Presentation Ideas
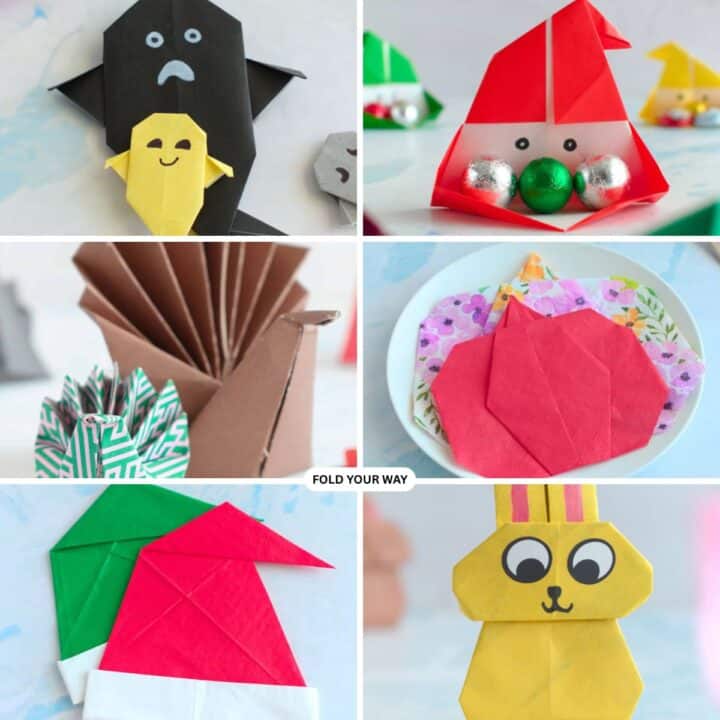
- Seasonal Origami and Holiday Paper Crafts
- Easy Napkin Folding Ideas and Table Decor

Lucy says
Super cute! I am so going to make these for my birthday favors.
Lanny Fengler says
Awesome content. I learned. Thanks for sharing!