
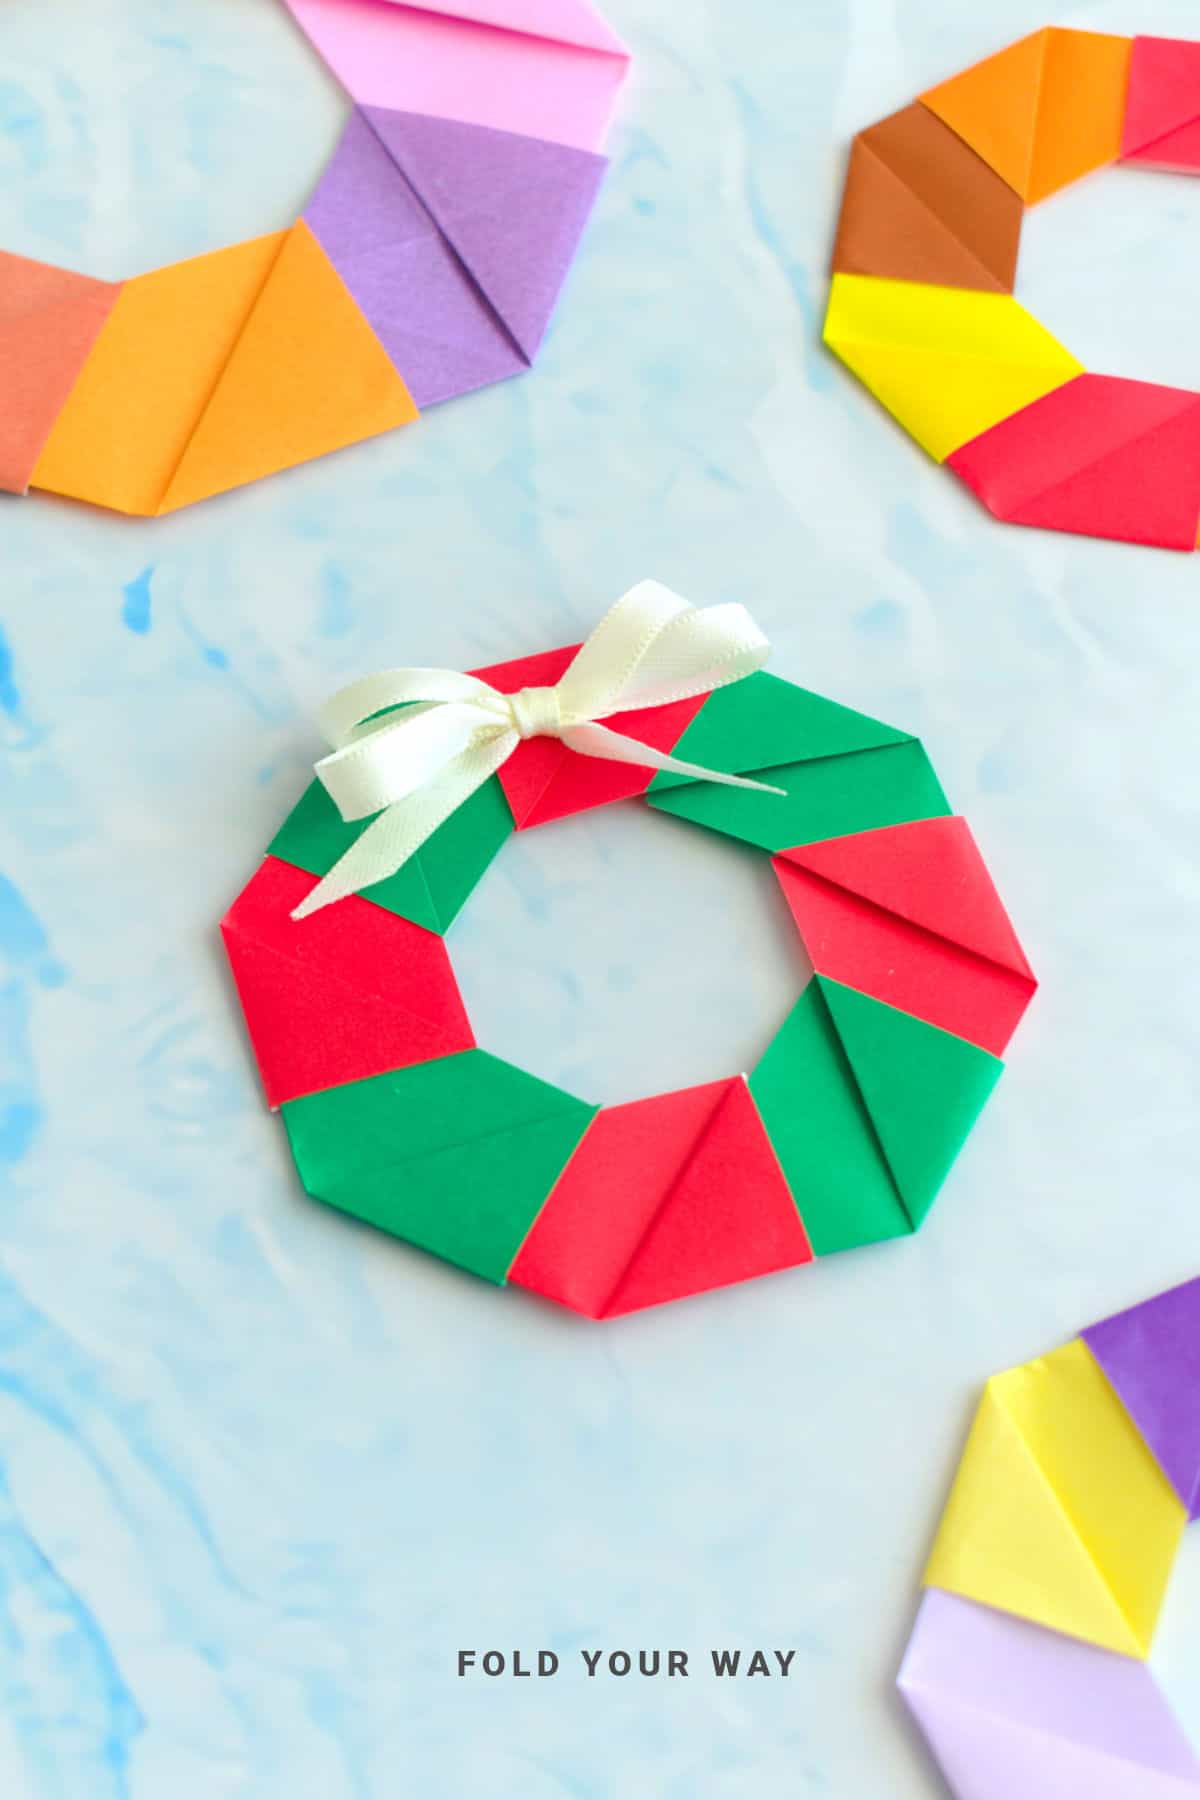
Learn how to make an easy origami wreath with this modular paper folding project.
Perfect for Christmas, Easter, birthdays, and even weddings, this simple origami tutorial is great for beginners and creates a beautiful decoration you’ll want to use again and again.
Jump to:
If you’re looking for a paper craft that is both fun and versatile, this easy origami wreath is a perfect choice.
This easy origami wreath is a paper folding project that forms a circular decorative shape inspired by traditional holiday wreaths. It is commonly used for Christmas décor, seasonal crafts, and classroom projects. The design is beginner-friendly and can be customised with colours and embellishments.
Whether you’re preparing for Christmas, celebrating Easter, decorating for a birthday, or adding handmade charm to a wedding, this wreath works beautifully for any occasion.
The best part is that modular origami makes the project feel extra satisfying. Instead of working with just one sheet, you fold smaller units that lock together to form the wreath.
It’s a process that’s easy to learn but still feels creative and rewarding. This makes it one of the best easy origami ideas for beginners — especially if you enjoy projects where the final piece looks far more complicated than it actually is.
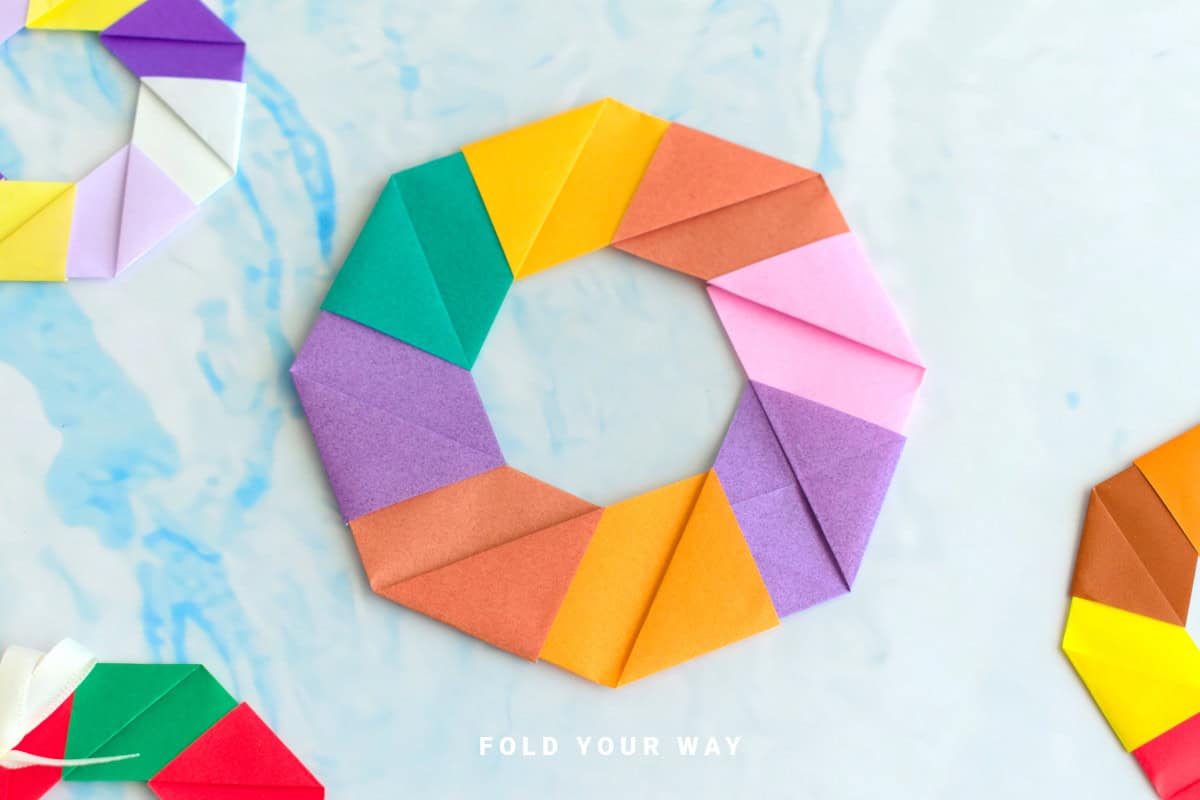
Because this origami wreath is paper-based, you can customize it to suit any event. Try bold reds and greens for Christmas, pastel tones for Easter, or metallics for a modern wedding look.
You can even add embellishments like ribbons, stickers, or sequins for a personal touch. Once you learn how to make an easy origami wreath, you’ll find yourself folding them for all sorts of events — and they also make thoughtful handmade gifts.
So grab your favorite paper and get ready to follow this step by step origami tutorial.
With just a little folding, you’ll have a beautiful, modular paper craft that’s simple, fun, and perfect for decorating or gifting.
Why You'll Love This Pattern
- A beginner-friendly origami tutorial that looks impressive.
- Completely customizable with colors and embellishments.
- Perfect for all occasions: Christmas, Easter, birthdays, weddings, or anniversaries.
- Works as wall décor, table décor, or even a handmade gift.
- Relaxing and repetitive folding makes it a calming project.
- Modular design means you can scale the wreath to any size.
Skill Level
★☆☆☆☆ (Easy)
Materials Needed
- 8 x square sheets of paper
- Optional: ribbon, stickers, or sequins for decoration
| PAPER SIZE (8 pieces needed) | FINAL WREATH SIZE | |
| SMALL PAPER WREATH | 2 inches x 2 inches (5 cm x 5 cm) | 3.5 inches x 3.5 inches (9 cm x 9 cm) |
| LARGE PAPER WREATH | 4.5 inches x 4.5 inches (11.5 cm x 11.5 cm) | 8 inches x 8 inches (20 cm x 20 cm) |
Instructions
For this origami paper wreath, you will need 8 square sheets of paper of the same size.
Step 1: Start with one of your pieces of paper. Arrange it to sit like a diamond shape and have the color you want on the outside facing down.
Step 2: Fold the bottom point up to meet the top point.
Step 3: Fold the bottom right point up to meet the top point.
Step 4: Repeat steps 1 to 3 for the remaining pieces of paper. You will end up with 8 folded pieces in total.
Step 5: Take one of your folded pieces, and slightly open out the pocket found on the right side (see picture for guide).
Step 6: Take another piece and slip the point into the pocket. If you like, you can apply some glue to either side of the point before slipping it in.
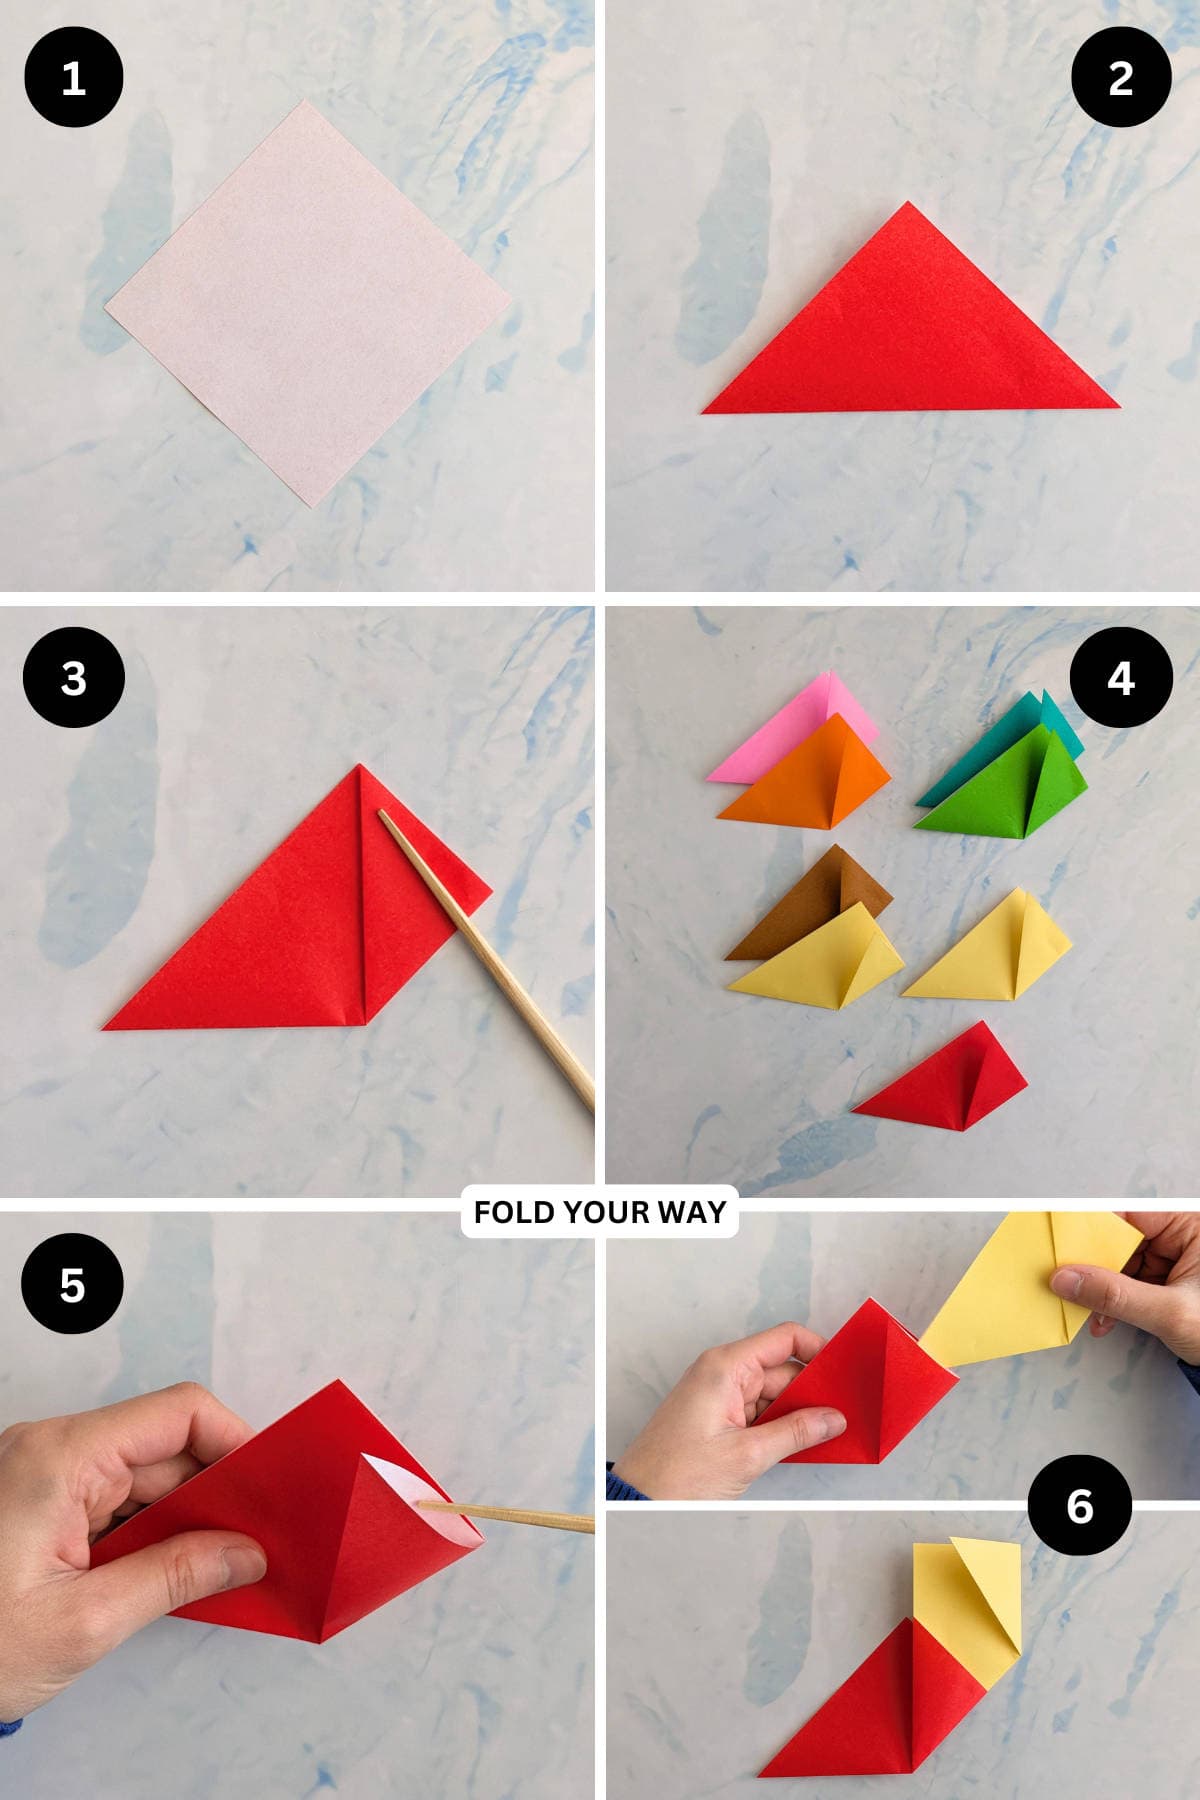
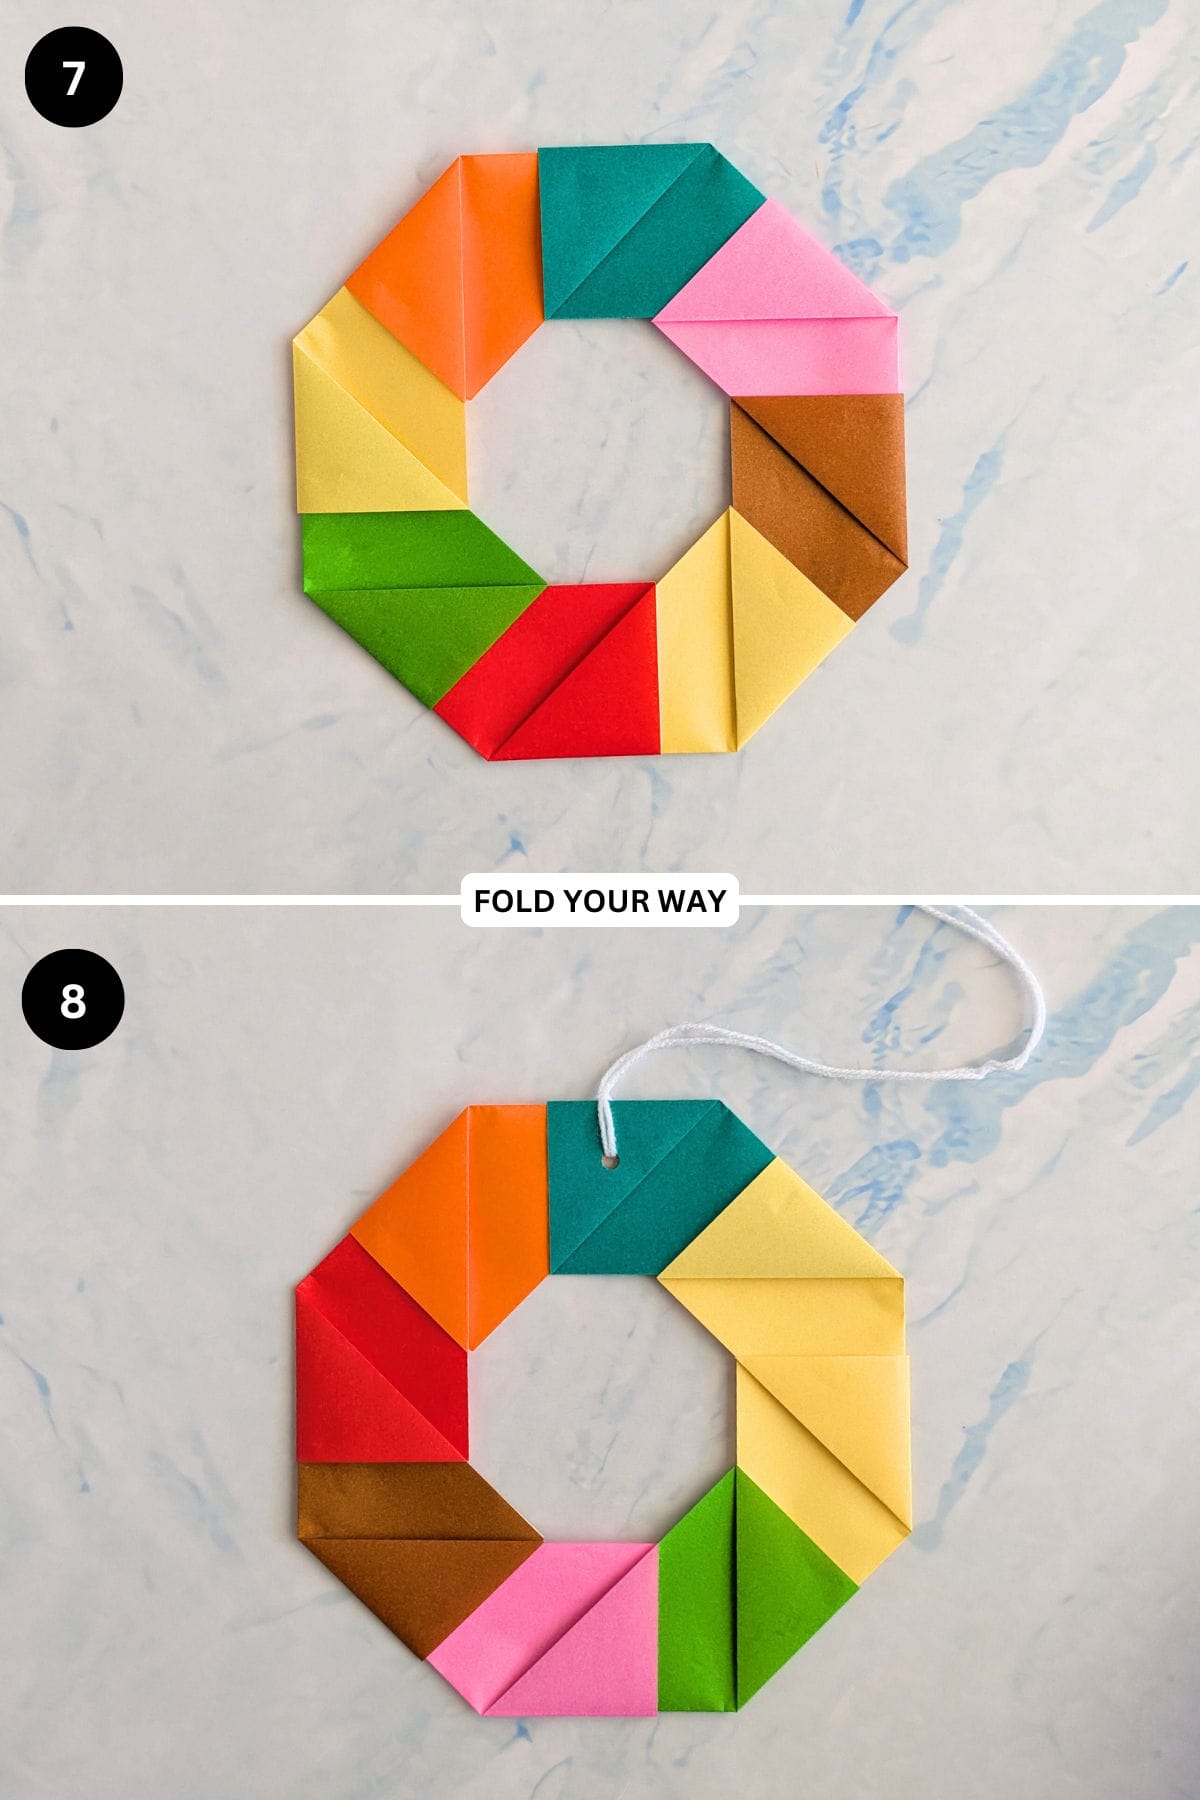
Step 7: Repeat steps 5 and 6 until you have used up all the folded pieces.
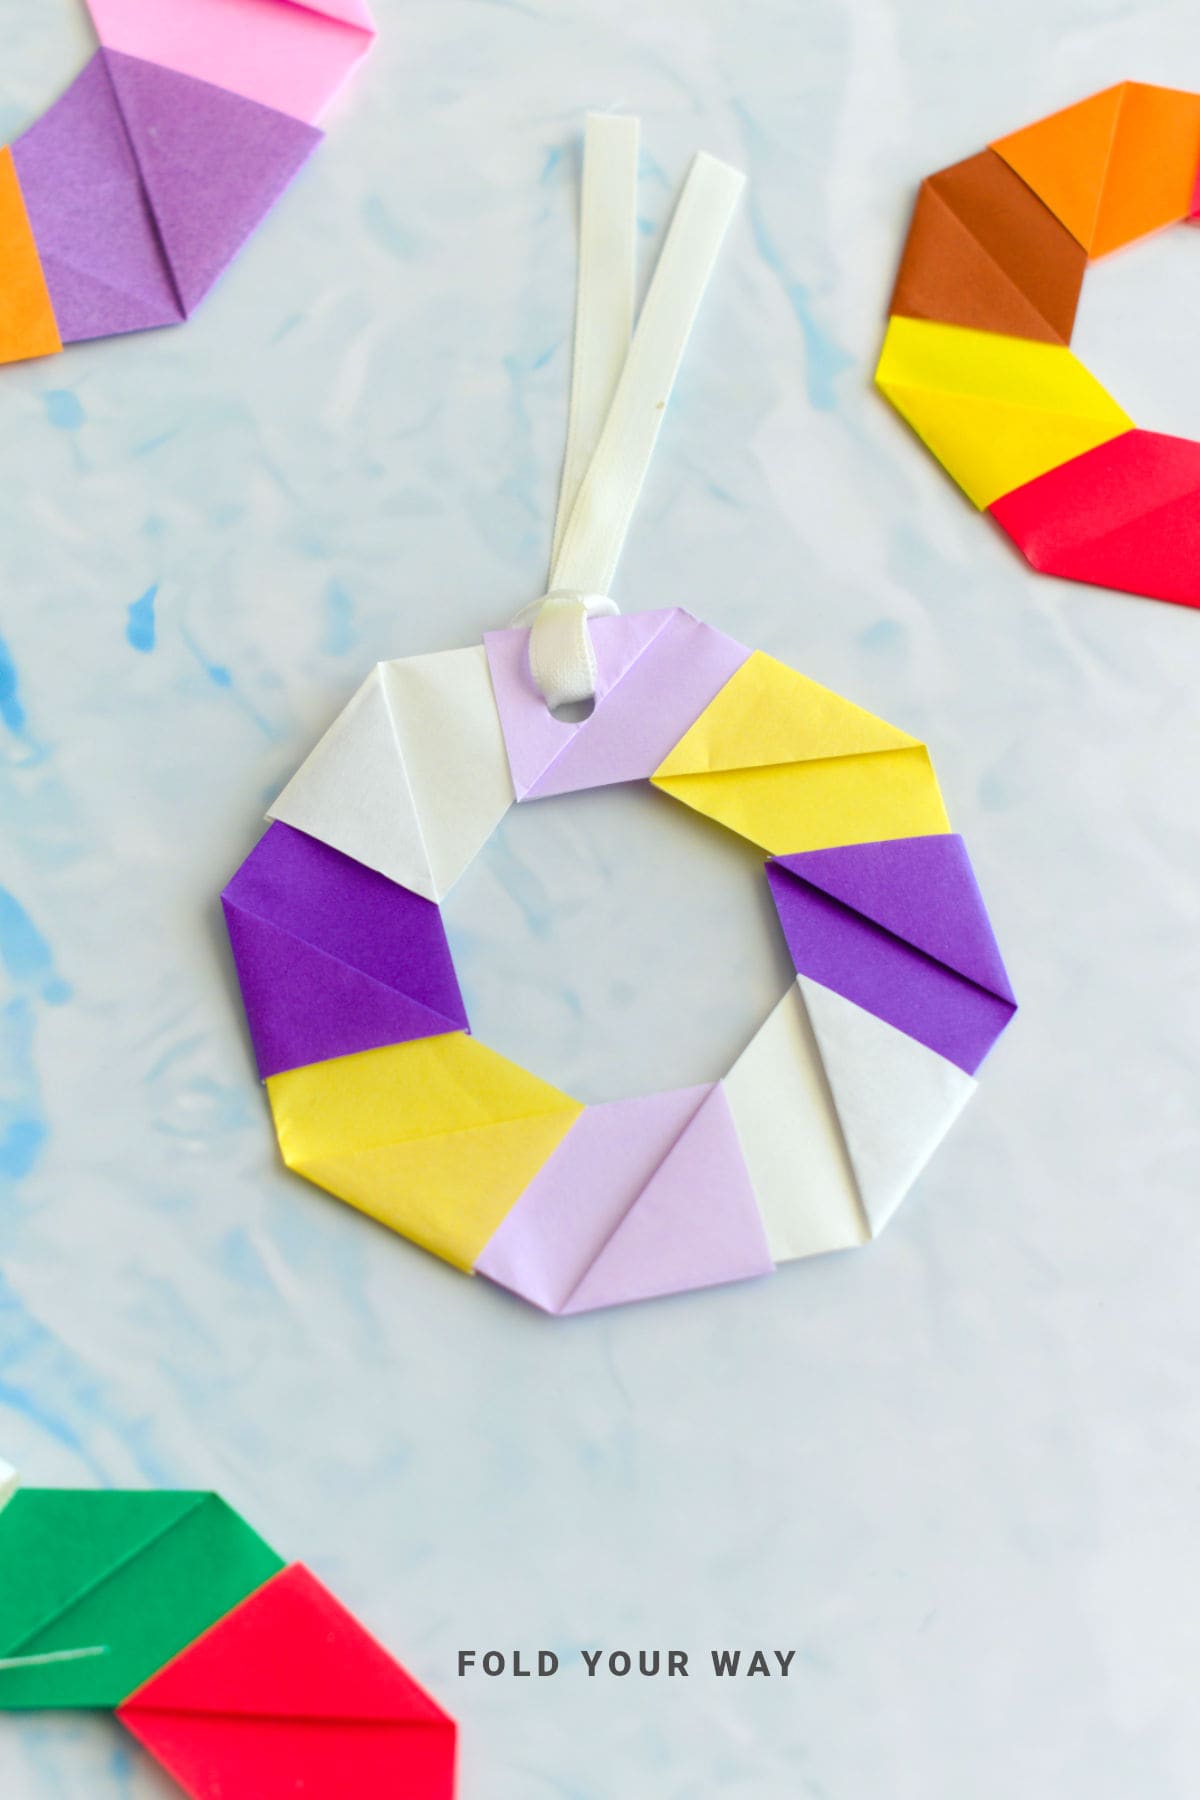
Step 8: Completed wreath. If you want your wreath to hang, punch a hole into one of the sides and thread some string through it.
Tips For Success
- Use the same size paper for all units so the wreath fits together neatly.
- Thinner paper works best
Color, Paper Ideas, and Variations
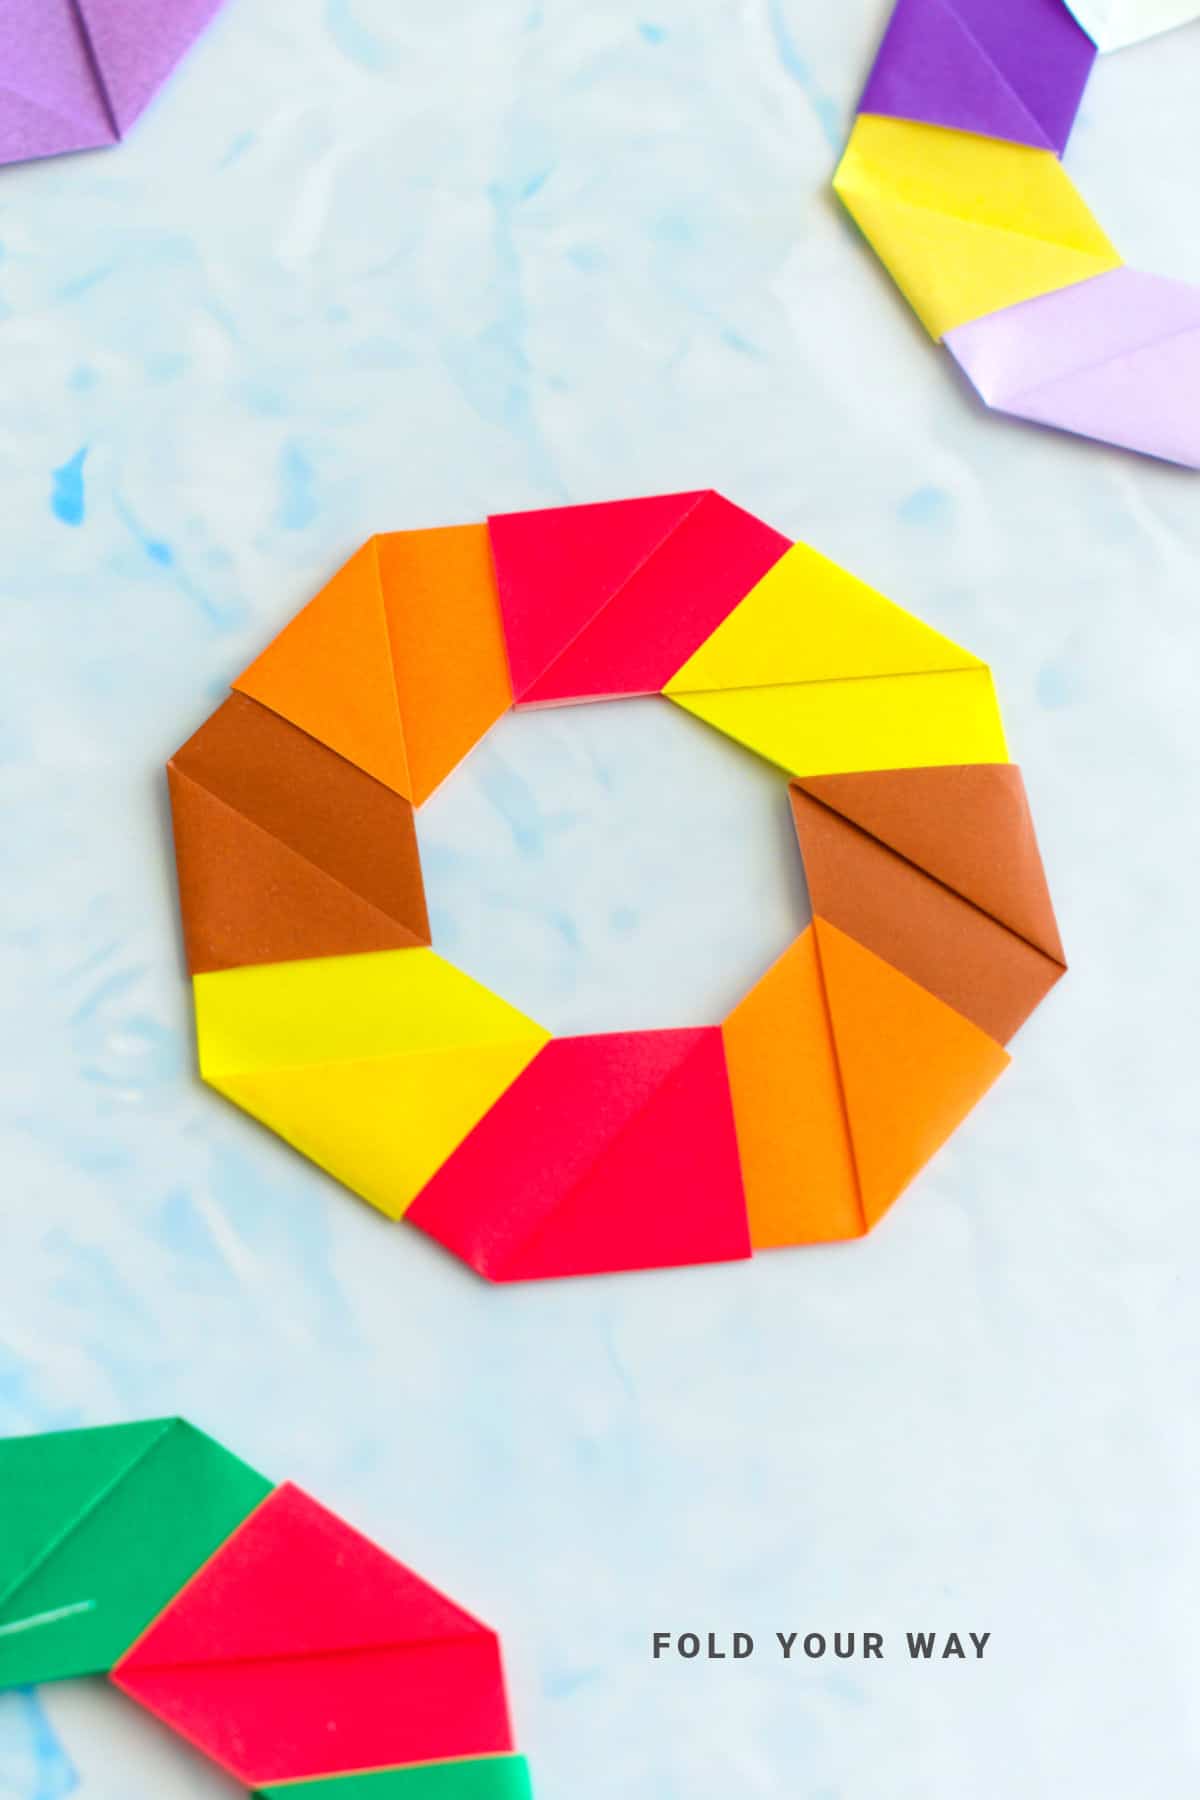
- Use orange, brown, yellow, and reds for a Thanksgiving themed wreath.
- Make a Christmas paper wreath with green and reds, or even using white and red!
- For Halloween, why not use green, red, black, and orange!
Stay Connected
Made this pattern? Let us know how it went in the comments below!
Pin this post - Pin now to take your paper crafting skills to the next level.
Share on Instagram or Facebook - Capture the beauty of your finished paper craft project and share it on Instagram or Facebook! Tag us @foldyourway so we can see your work!
Other Patterns You Might Like To Try:
Looking for other easy patterns like this? Try these:
- Easy Origami and Simple Paper Craft Ideas
- Cute Origami Ideas
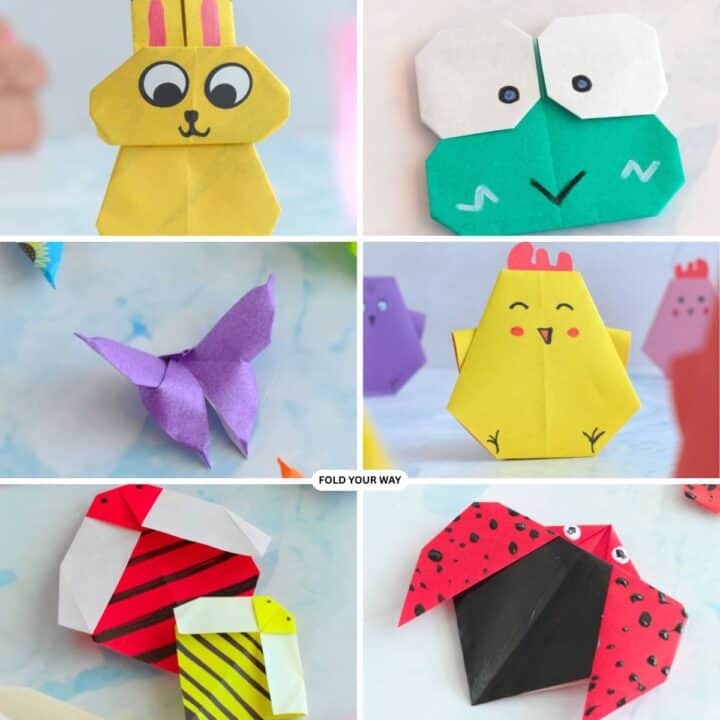
- Easy Origami Animals and Insect Crafts
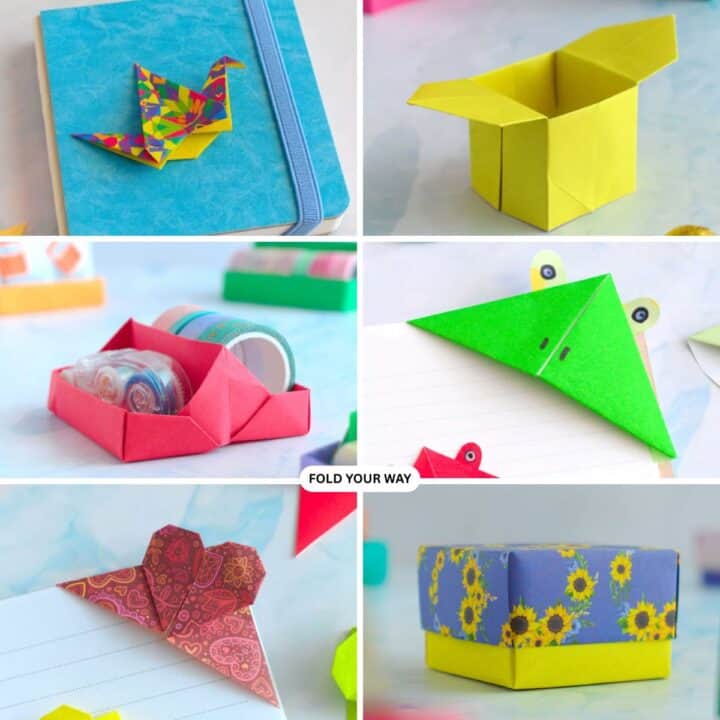
- Easy Origami Boxes, Bookmarks, and Small Paper Crafts
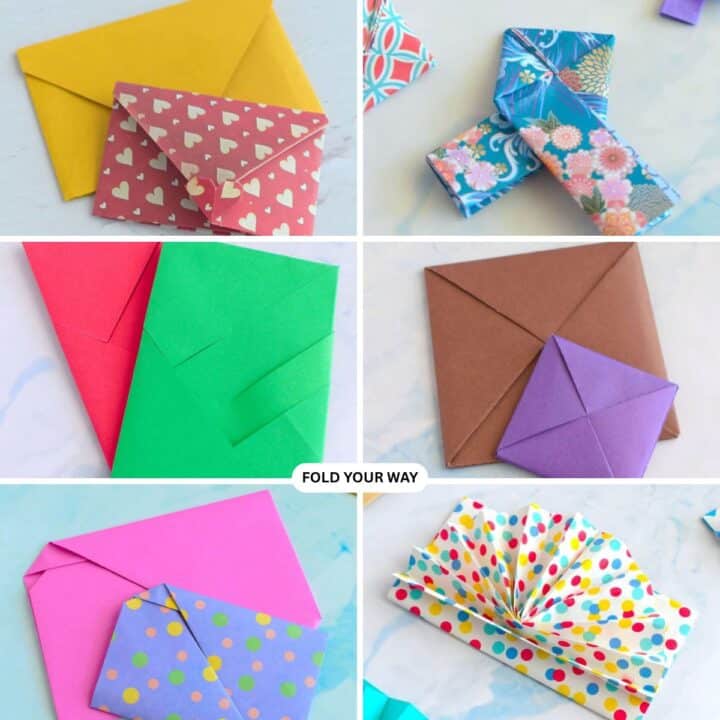
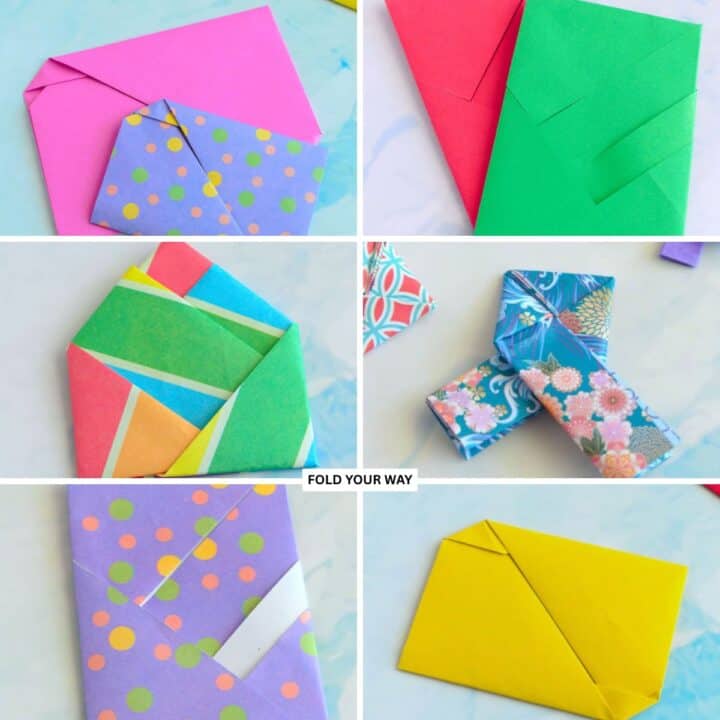
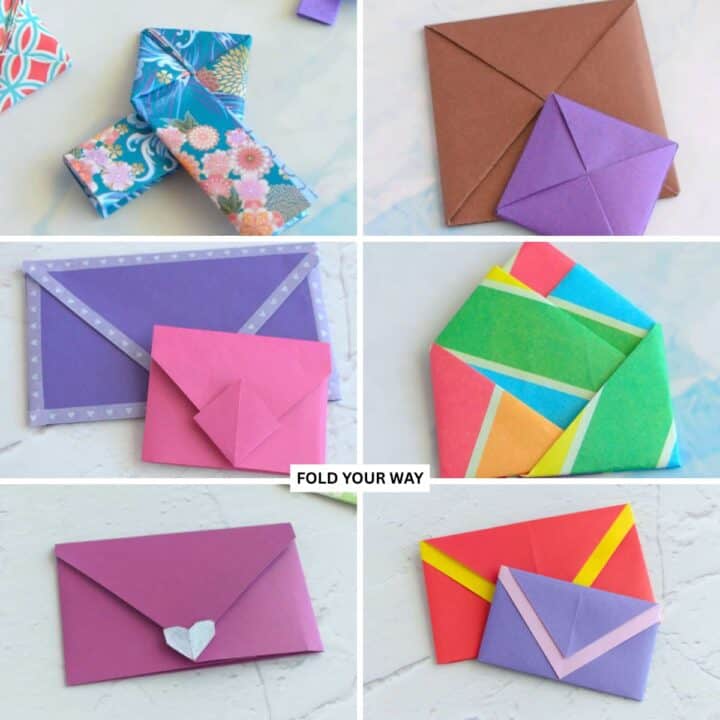
- Origami Envelopes and Letter Folding Techniques
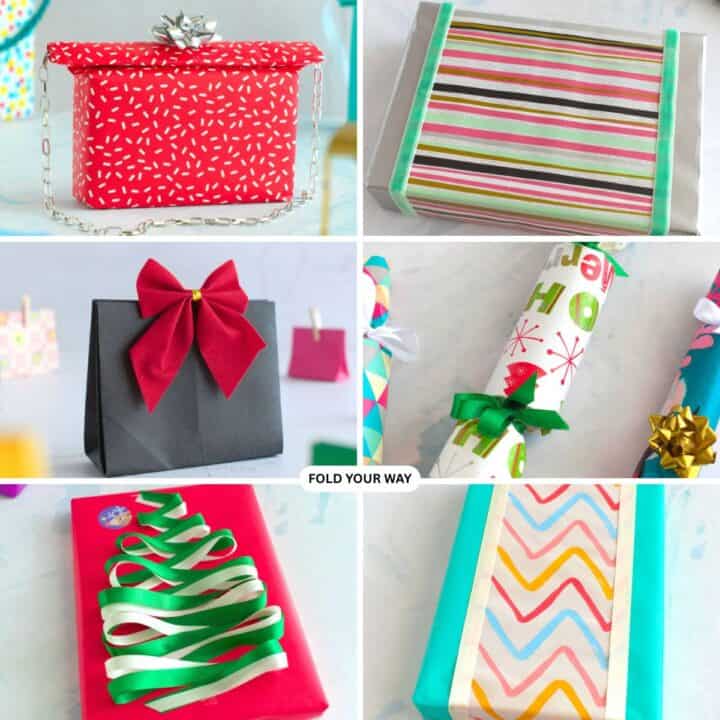
- DIY Gift Wrapping and Paper Presentation Ideas
- Seasonal Origami and Holiday Paper Crafts
- Easy Napkin Folding Ideas and Table Decor
Comments
No Comments