
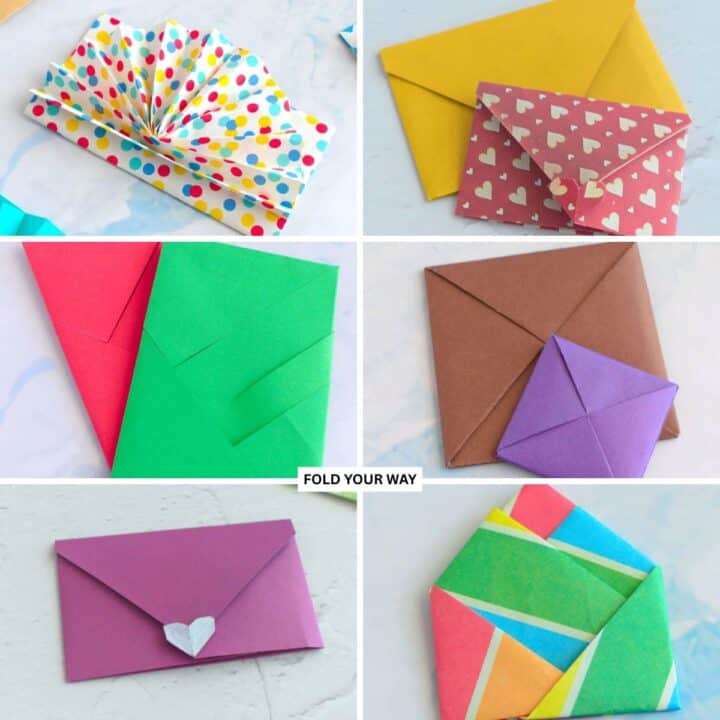
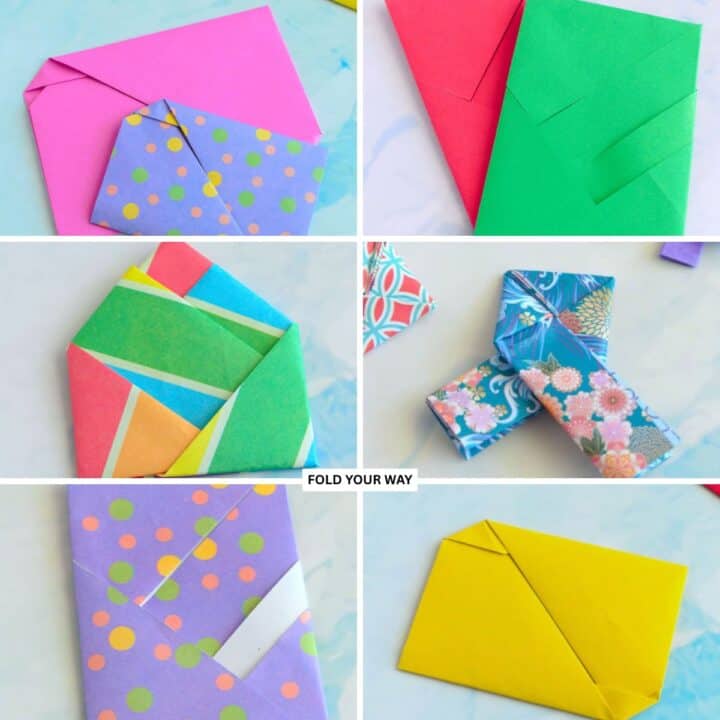
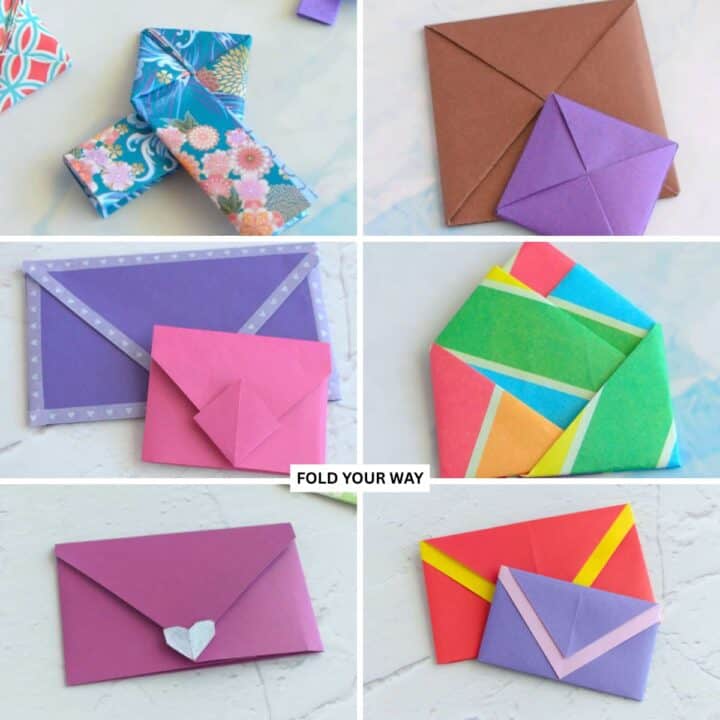
Create an adorable and practical easy small origami pouch in just a few simple steps!
Perfect for small gifts, party favors, or organizing small items, this quick origami pouch adds a touch of handmade charm to any occasion.
This works well for holding small gifts, party favors, or little notes for birthdays, weddings, or special occasions.
Use it for Christmas, Valentine’s Day, or birthdays—the possibilities are endless!

Jump to:
If you’re looking for a simple and delightful way to package small gifts or treats, an easy small origami pouch is the perfect solution.
An easy origami pouch is a folded paper container that forms a small pocket for holding lightweight items or notes. It is often used for gift packaging, stationery, and simple storage solutions. The design is beginner-friendly and can be customised with decorative paper.
Whether you're planning for a birthday, Christmas, Easter, or even a wedding, these charming little pouches are perfect for party favors, gift wrapping, or even as a cute way to store trinkets or jewelry.
The best part? You can easily personalize your origami pouch with different colors, patterns, and papers to fit any theme.
Whether you’re using decorative paper for a Christmas gift or simple origami paper for a birthday treat, these small pouches can be adapted to suit every occasion.
Plus, since they don’t require any tape or glue, they’re a great eco-friendly alternative to traditional gift bags!

Why You'll Love This Pattern
- Quick and Simple – You only need one square of paper to make this cute pouch.
- Perfect for Small Gifts – Great for treats, candies, small jewelry, or even a note.
- Versatile for Any Occasion – Ideal for Christmas, Easter, birthdays, and other celebrations.
- Eco-Friendly – No glue or tape needed, making it a sustainable option.
- Creative Customization – Use different paper colors and patterns to match any theme.
- Great for Beginners – A simple origami project that’s easy to learn and fun to make.
Skill Level
★★☆☆☆ (Easy)
Materials Needed
1 square sheet of paper (lightweight or origami paper)
| Paper Size | Final Pouch Size | |
| Small Origami Pouch | 6 inches x 6 inches (15 cm x 15 cm) | 2.5 inches x 1.70 inches (5.5 cm x 4.5 cm) |
| Large Origami Pouch | 8 inches x 8 inches (21 cm x 21 cm) | 3 inches x 2 inches (7.5 cm x 6 cm) |
Instructions
Step 1: Start with the color you want your pouch to be facing down. Arrange the paper to sit like a diamond shape.
Step 2: Fold the bottom point up to meet the top point.
Step 3: Unfold previous step.
Step 4: Fold the left point to meet the right point.
Step 5: Unfold previous step.
Step 6: Flip your paper over from left to right.

Step 7: Fold both the left and right points in to meet the middle.
Step 8: Flip your paper over from left to right.
Step 9: Fold both the left and right edges in to meet the middle, allowing the flaps from the back (that you made in step 7) to come to the front (don’t crease them).
Step 10: Fold the left inner edge towards the left, matching the inner edge with the outer edge of the paper. Note: don’t fold the left inner edge over the left flap.
Step 11: Repeat previous step for the right inner edge.

Step 12: Fold the bottom point up to meet the point shown.Make sure the edges on either side of the point match with the upper diagonal edges.
Step 13: Unfold previous step.
Step 14: Rotate your paper 180 degrees.
Step 15: Once again, fold the bottom point up to meet the point shown.Make sure the edges on either side of the point match with the upper diagonal edges.

✨ You're almost there! ✨
To unlock the final steps and complete your pattern, create a free account with Grow.me. below.
Make sure you tick the box to subscribe to our newsletter and stay up to date with the latest patterns, tips, and more!
Once you're signed up, you'll get instant access to finish your project and enjoy exclusive content in the future.
Already signed up? Hit the button below and select ‘Switch to Log In’ to pick up where you left off and finish your project!
Step 16: Unfold previous step.
Step 17: Fold the bottom point up to meet the top point.
Step 18: Fold the top point down (top layer only) to meet the bottom edge.
Step 19: Fold the left side in as shown.
Step 20: Fold the right side in as shown.
Step 21: Tuck the right side into the left.

Step 22: Gently open out your pouch, re-creasing along the edges as needed and flattening the bottom along the existing creases.
Step 23: Fold the top point down to meet the bottom outer edge of the pouch.
Step 24: Completed pouch. To close your pouch, tuck the top flap into the pocket found on the front of the pouch.

Tips For Success
- Paper Choice – Thicker paper such as cardstock or scrapbook paper works best for sturdiness, but origami paper is also a great option for a delicate, lightweight pouch.
- Perfect Creases – Use a bone folder or the edge of a pen to press down the folds sharply, ensuring your pouch keeps its shape.
- Personalize the Pouch – Add a cute ribbon, sticker, or even a personalized label to make the pouch more festive or unique.
- Use as Party Favors – Fill the pouch with candies, small toys, or even thank-you notes for weddings, birthday parties, or any special event.

Common Mistakes & How To Avoid Them
- Pouch not folding properly? Ensure your folds are sharp and symmetrical. Uneven creases can cause the pouch to lose its shape.
- Paper too small or too large? Make sure to use the right size for the pouch to turn out the way you envision it. Adjust the paper size accordingly for larger or smaller pouches.
Color, Paper Ideas, and Variations
- For a Festive Look – Use red or green paper for Christmas or birthday-themed pouches.
- Elegant for Weddings, Baby Showers, and More – Try white or ivory paper for a sophisticated look at weddings or anniversaries.
- Springtime Vibes – Pastel colors like lavender, mint green, and baby pink work wonderfully for Easter or spring events.
- Bright and Bold – Use vibrant colors like yellow, blue, or orange for summer parties or birthdays.
FAQ
Yes! You can adjust the size of the pouch by changing the dimensions of the paper. A larger sheet will give you a bigger pouch, while a smaller sheet will create a tiny, delicate pouch.
Absolutely! You can add decorative elements like stickers, ribbons, or even drawn designs to personalize your pouch further.
Other Crafts You Might Like To Try:
Helpful Tips and Common Mistakes For Paper Crafts
Paper crafting and origami can be hard sometimes. Which is why we've made this printable PDF just for you.
It outlines helpful tips so that you can successfully complete your craft, and some of the most common mistakes people come across.
You can download the helpful tips and common mistakes for paper crafts printable PDF here.
Stay Connected
Made this pattern? Let us know how it went in the comments below!
Pin this post - Pin now to take your paper crafting skills to the next level.
Share on Instagram or Facebook - Capture the beauty of your finished paper craft project and share it on Instagram or Facebook! Tag us @foldyourway so we can see your work!

Other Patterns You Might Like To Try:
Looking for other easy patterns like this? Try these:
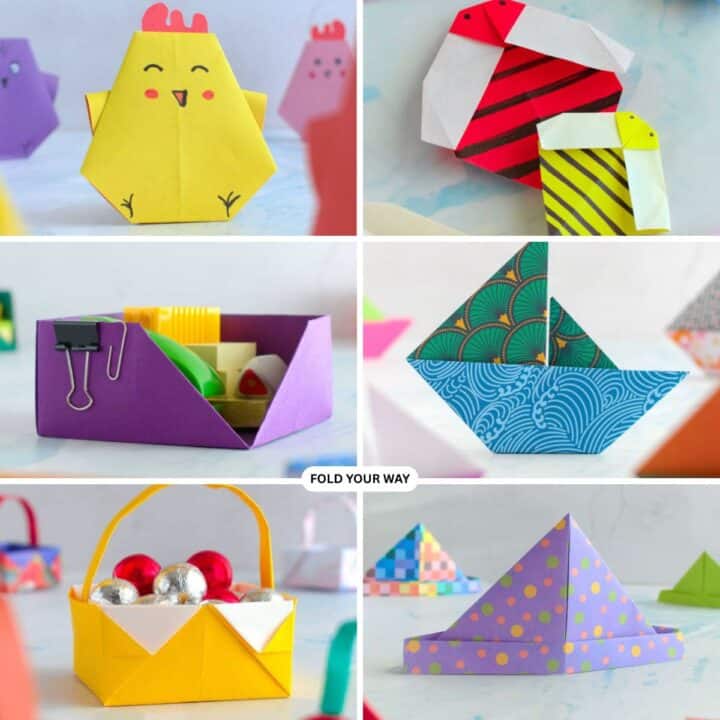
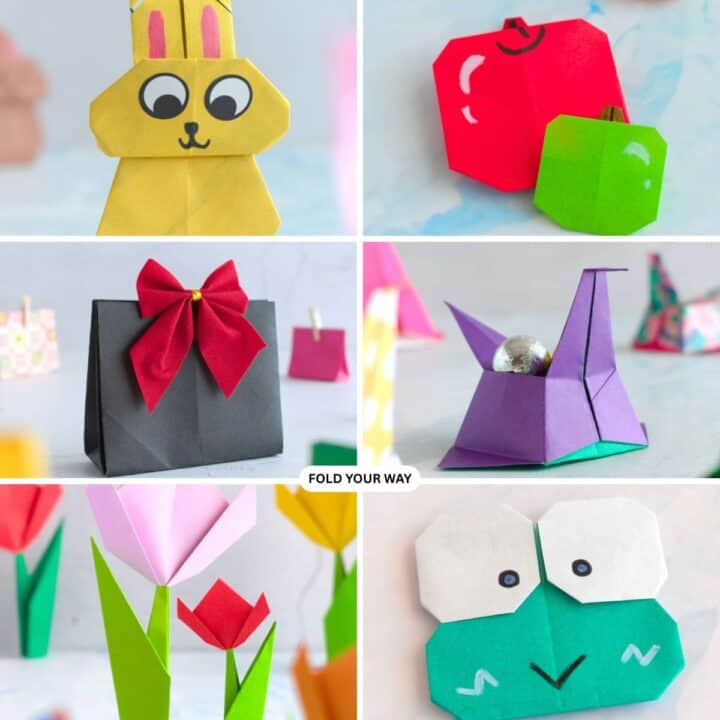
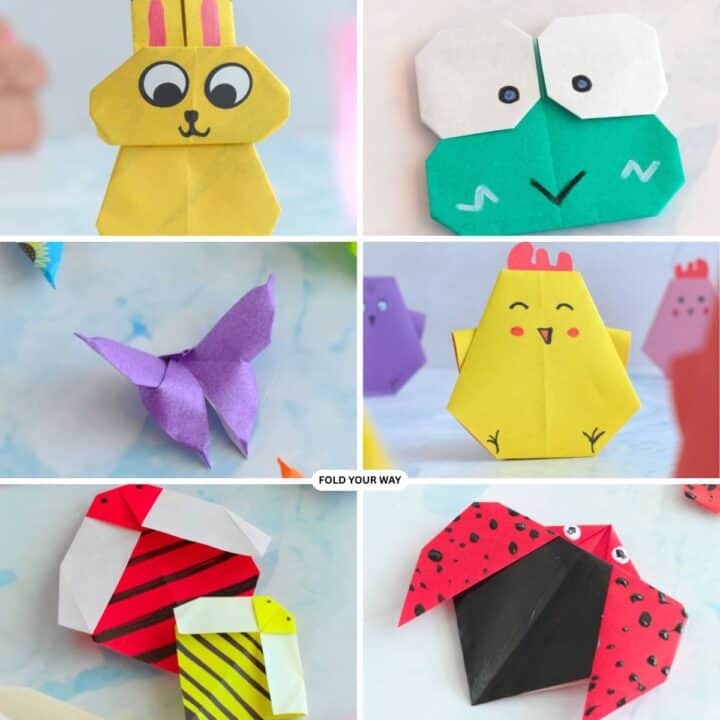
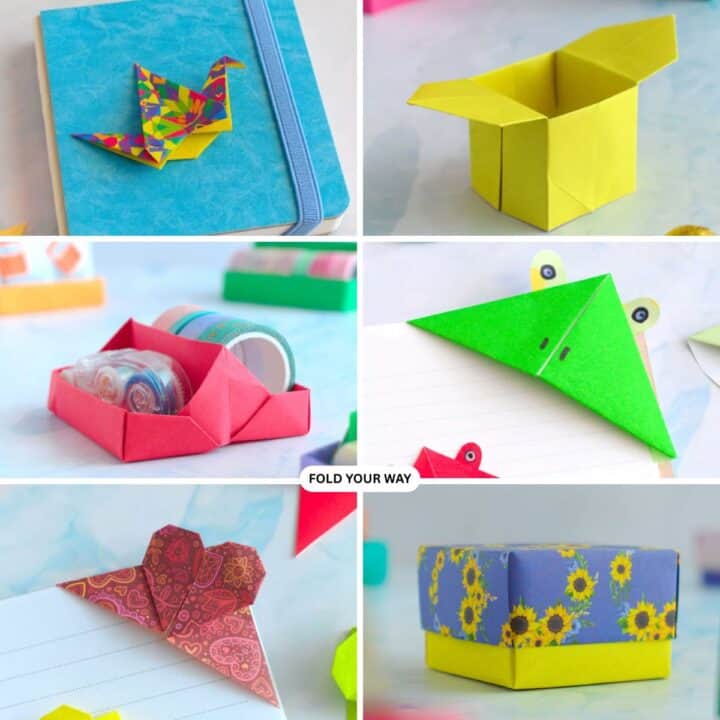
- Easy Origami and Simple Paper Craft Ideas
- Cute Origami Ideas
- Easy Origami Animals and Insect Crafts
- Easy Origami Boxes, Bookmarks, and Small Paper Crafts
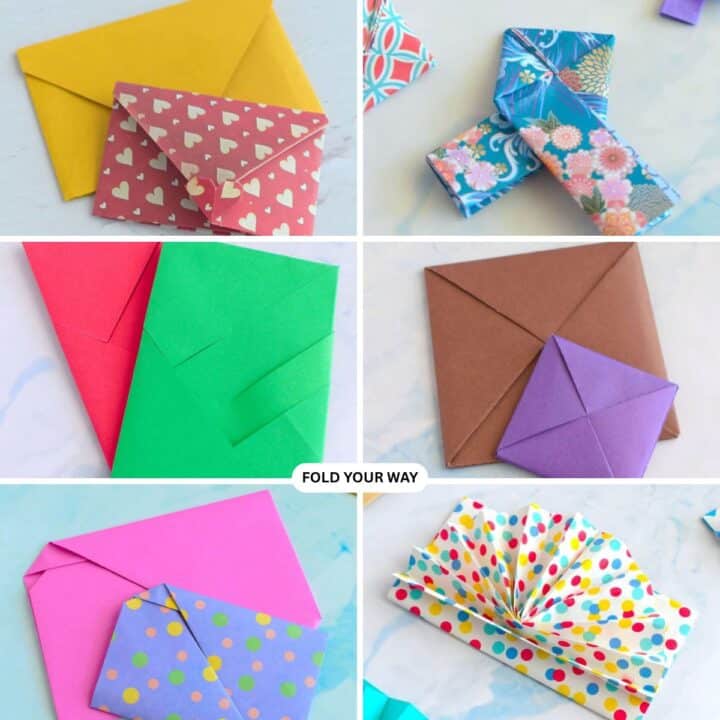
- Origami Envelopes and Letter Folding Techniques
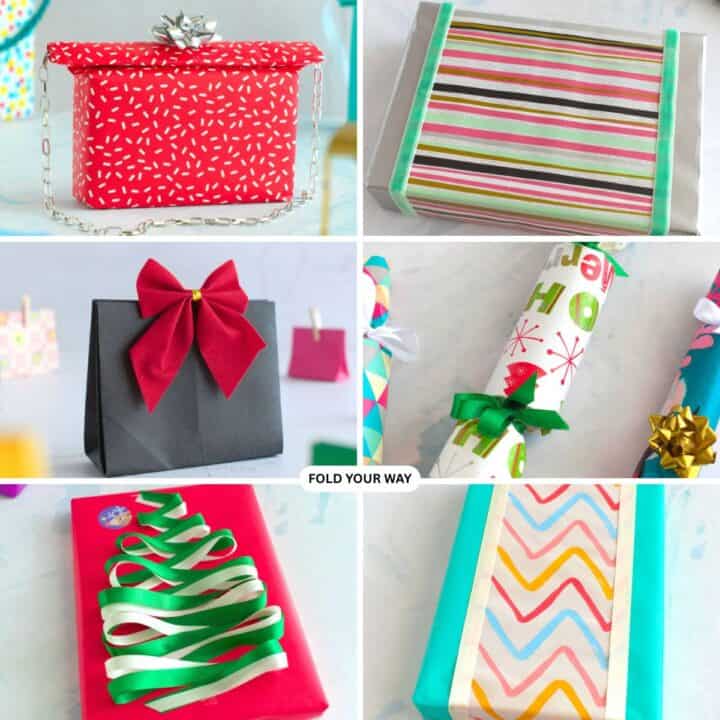
- DIY Gift Wrapping and Paper Presentation Ideas
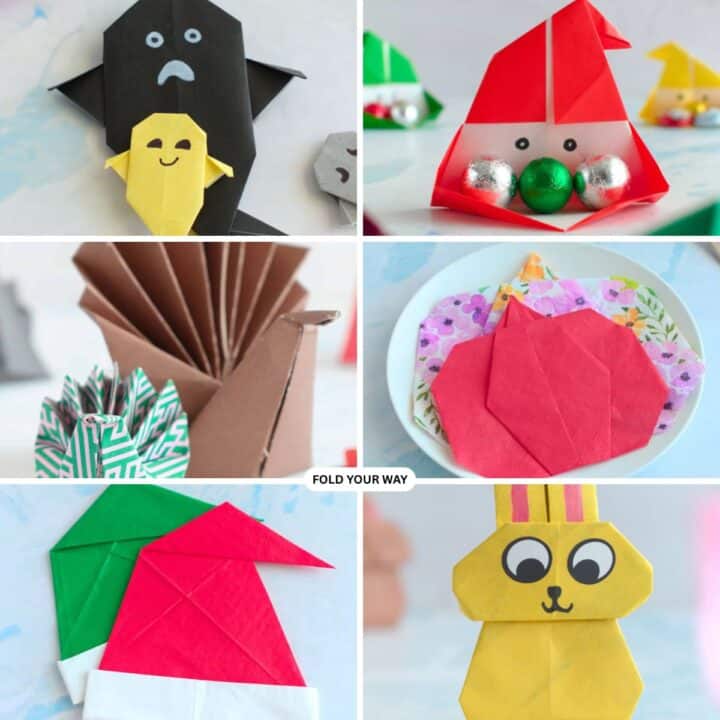
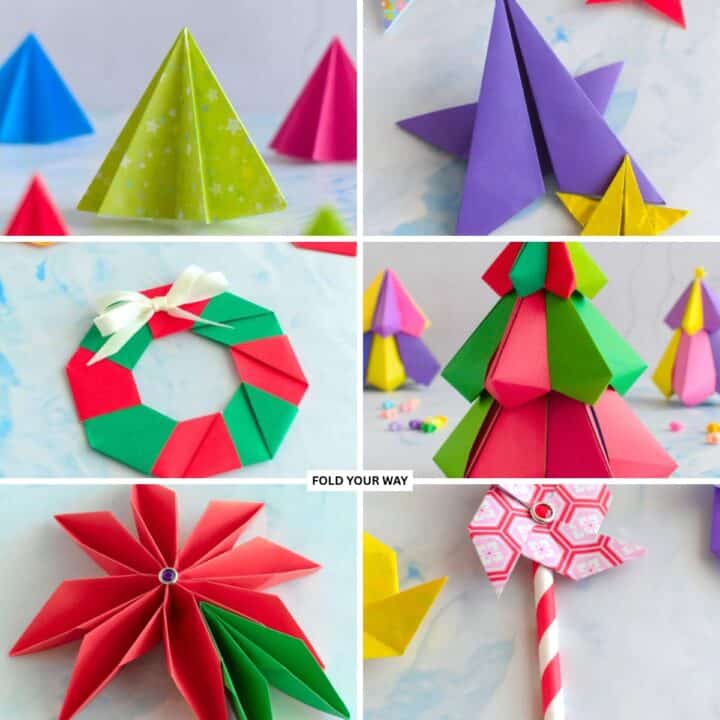
- Seasonal Origami and Holiday Paper Crafts
- Easy Napkin Folding Ideas and Table Decor

Comments
No Comments