
This easy origami tray folds from a single rectangle sheet—like A4 or U.S. letter paper.
It’s perfect for holding small items and great for desk or entryway organization.
Jump to:
Looking for a super practical paper craft that’s also fast and beginner-friendly?
This easy origami tray is made using a single sheet of rectangular paper, such as A4, U.S. letter, or A5.
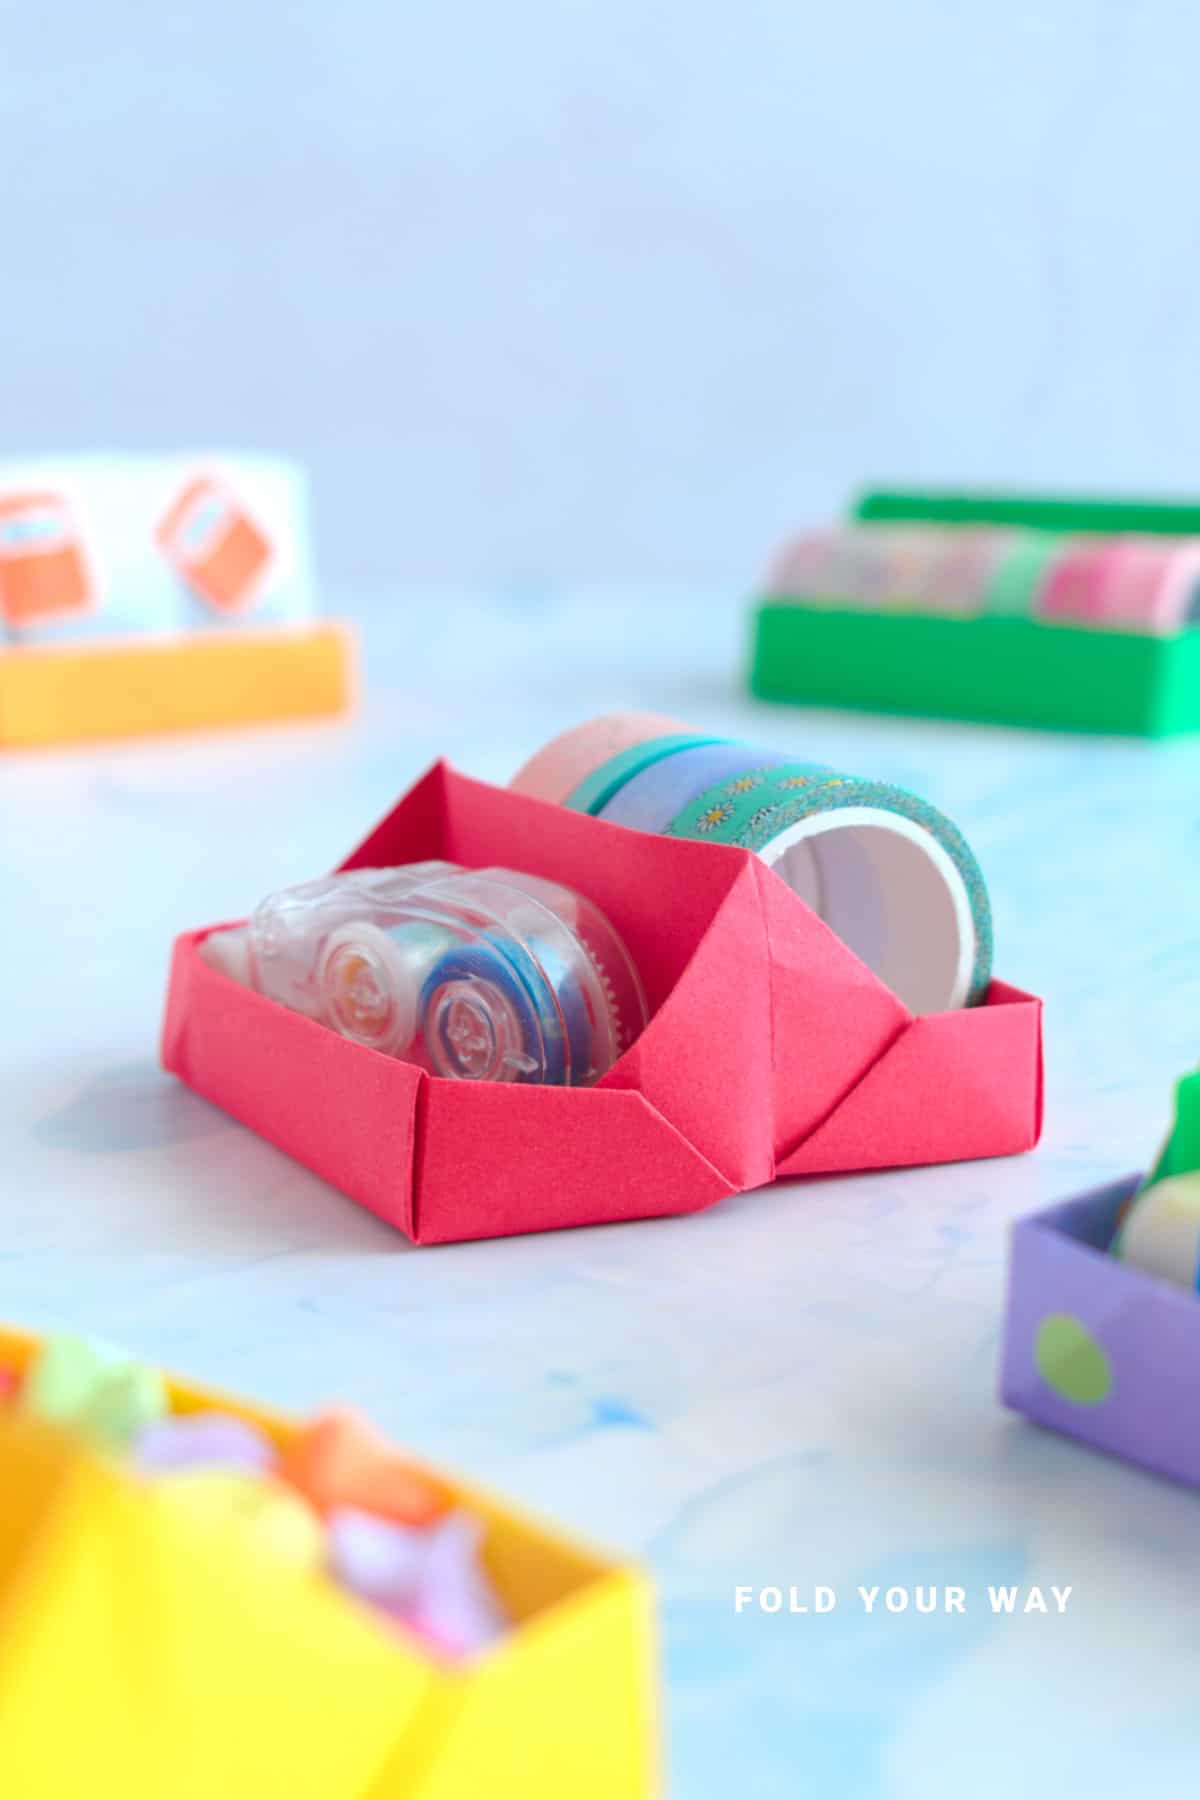
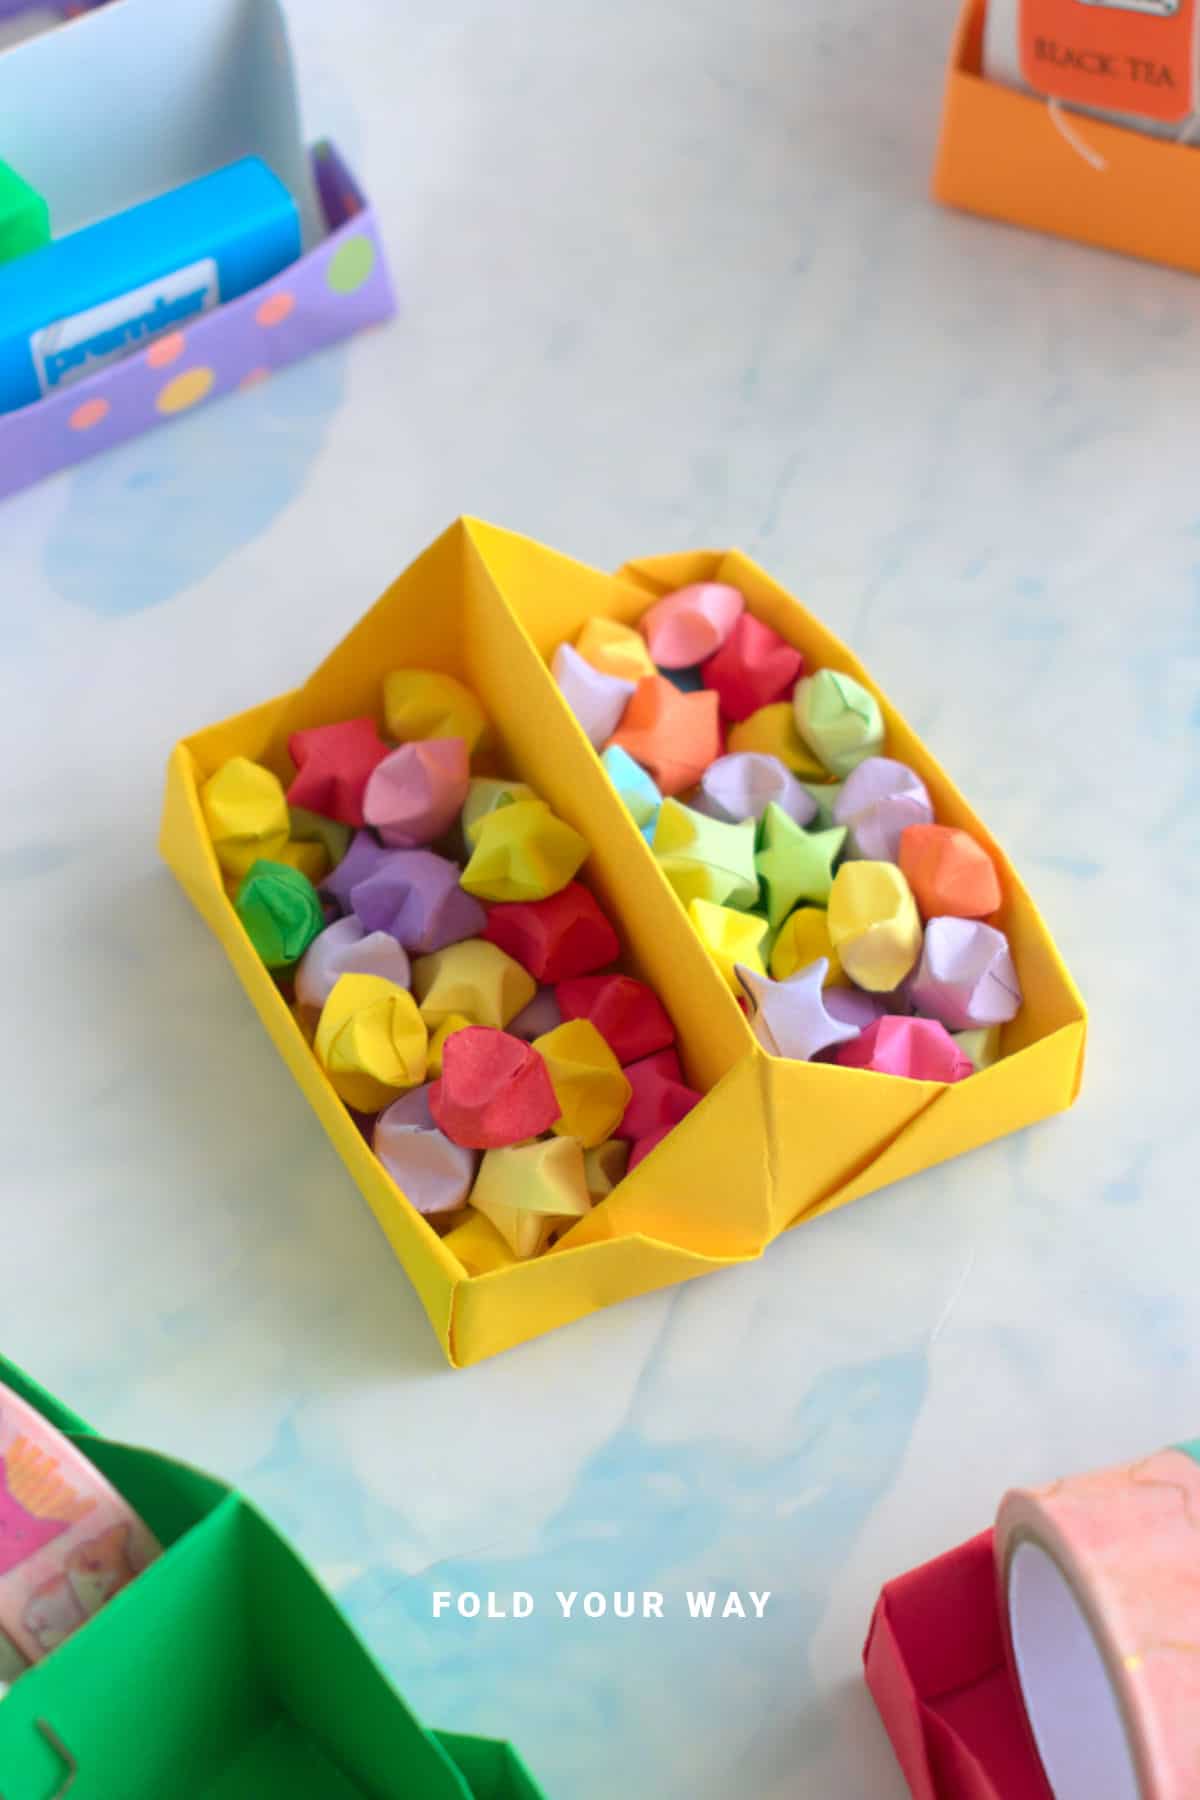
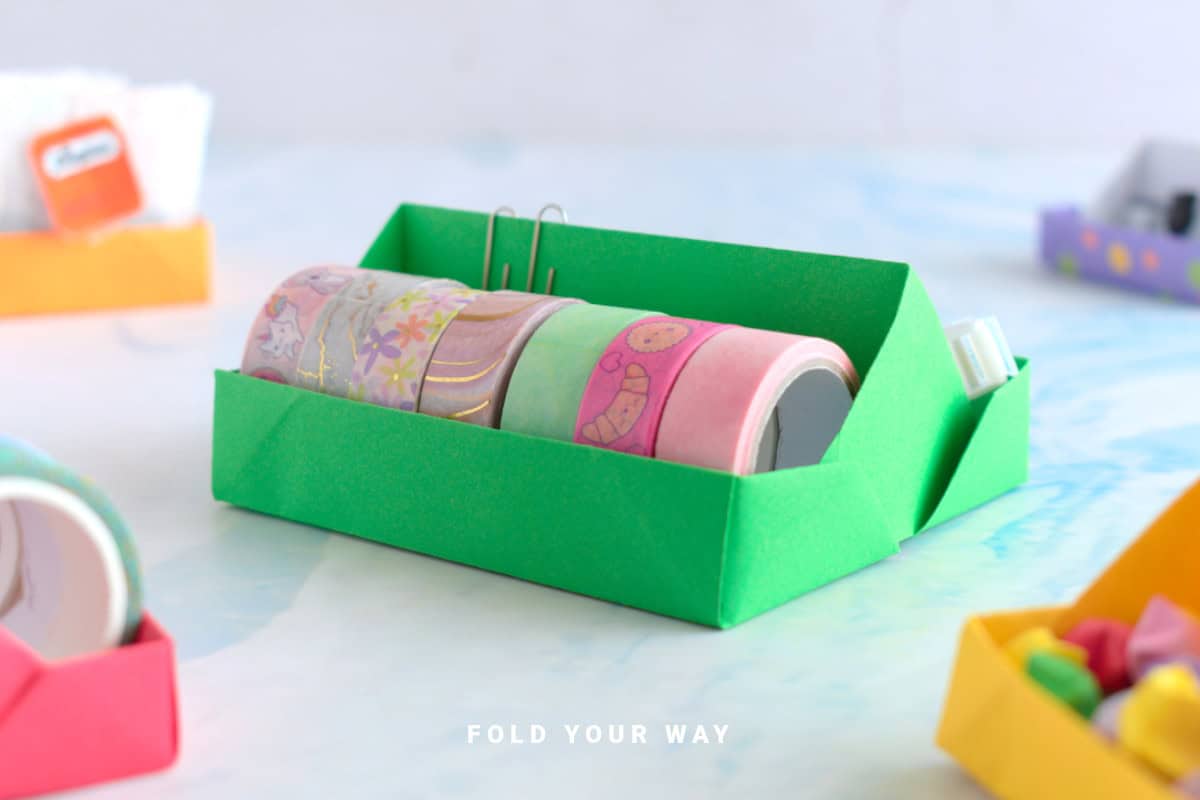
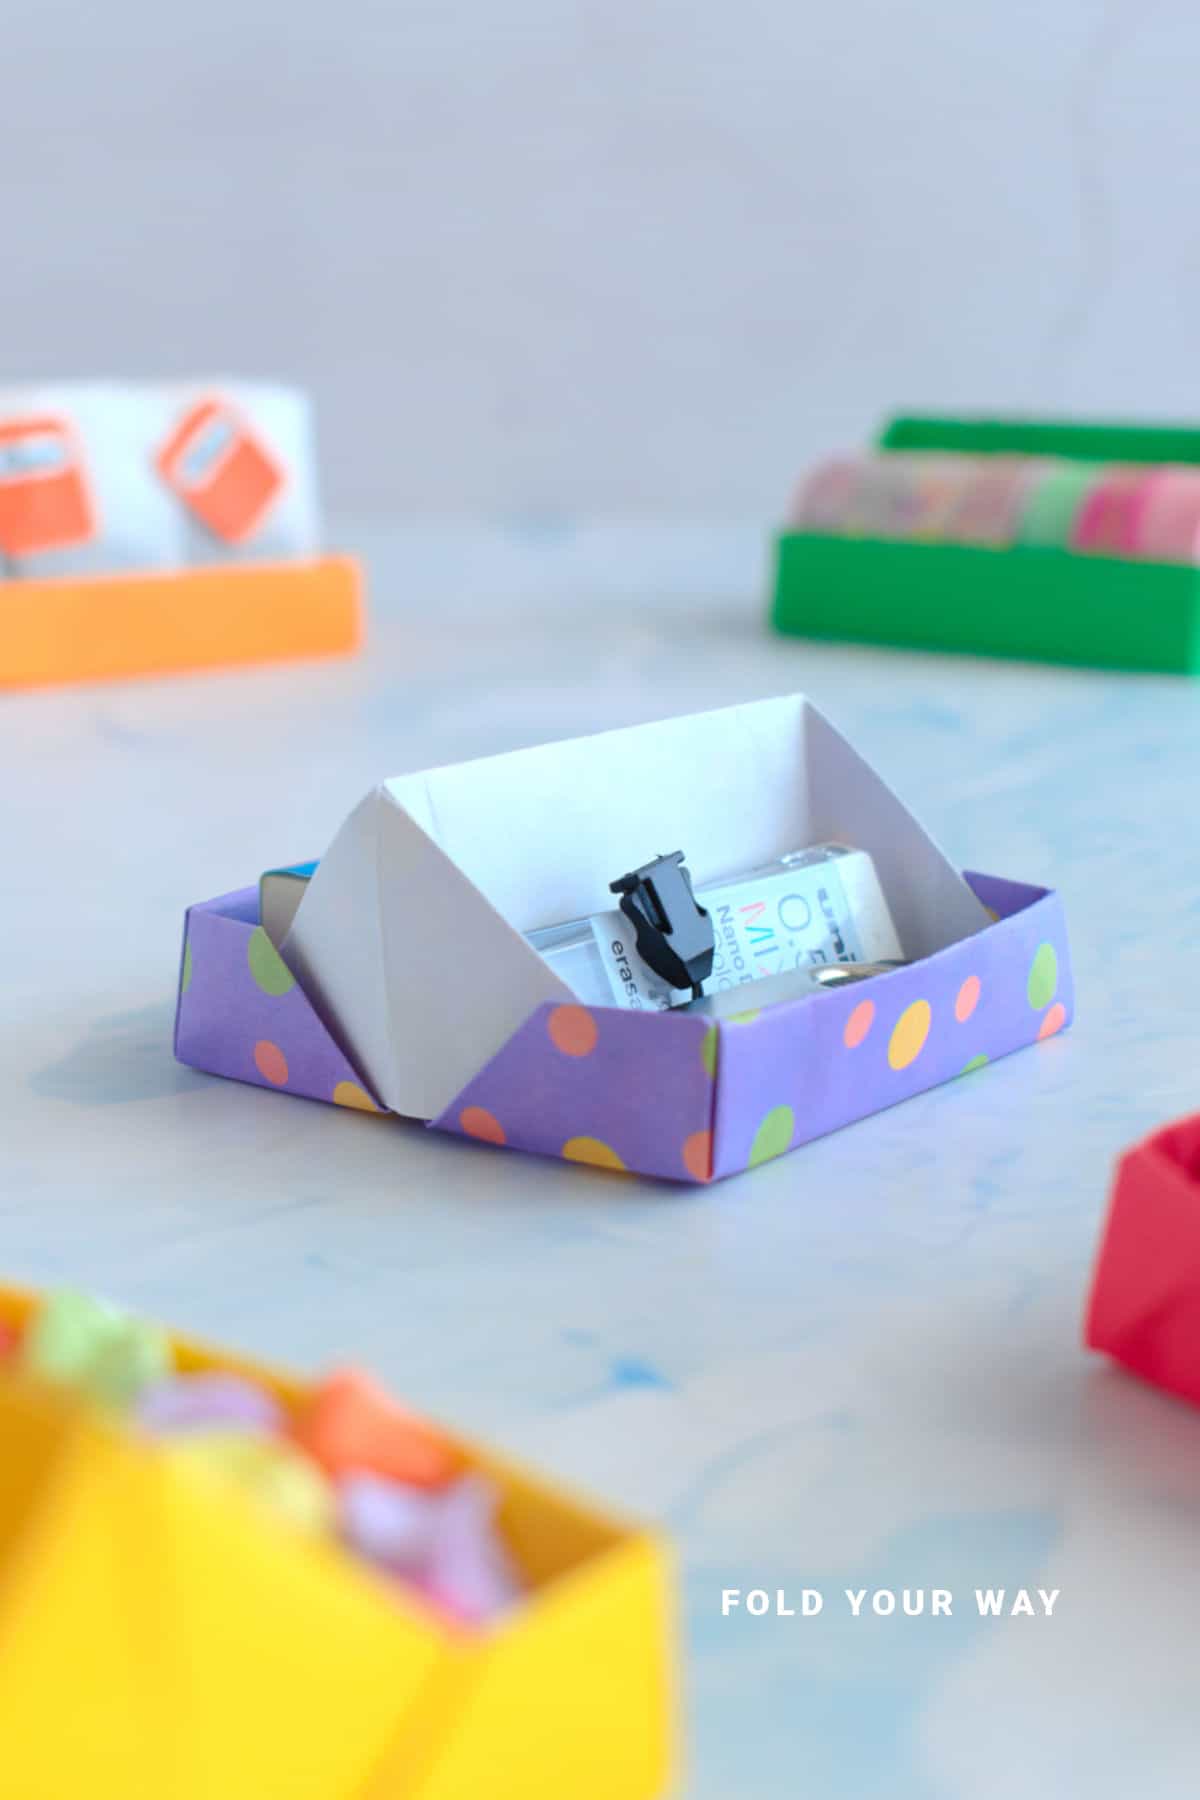
Useful for small storage and presentation, this easy origami tray is a folded paper container shaped into a shallow rectangular dish. It is commonly used for serving wrapped snacks, organising small items, or adding decorative touches to table settings. The design is practical, quick to fold, and suitable for everyday craft use.
With just a few folds, you’ll create a shallow tray that’s perfect for keeping small items like paper clips, keys, jewelry, coins, or beads in one place.
This is one of those easy origami ideas that blends usefulness with simplicity.
It’s also a great last-minute solution if you need a quick catch-all tray for your desk or nightstand.
Kids can fold these too—no scissors, glue, or extra tools are needed, and the folding pattern is simple and satisfying.
Because it uses rectangular paper, this easy DIY tutorial is extra convenient. Most of us already have A4 or U.S. letter-size paper lying around, so there’s no need to cut anything down to a square.
You can even recycle old printer paper or reuse wrapping paper scraps to make a stylish or colorful version.
These useful origami trays are stackable, easy to customize, and handy for organizing drawers, crafts, or even serving dry snacks.
Once you’ve made one, you’ll probably want to fold a few more.
Why You'll Love This Pattern
- Folds from A4, U.S. letter, or A5 paper—no trimming needed
- Takes just a few minutes to complete
- Great for organizing desks, drawers, or craft areas
- Uses simple folds—perfect for beginners
- No glue, no scissors, no tape
- Recyclable and reusable paper trays
Skill Level
★☆☆☆☆ (Easy)
Materials Needed
1 sheet of rectangular paper (A4, U.S. letter, or A5)
| Paper Size | Final Origami Tray Size | |
| Small Tray Organizer | A5 | 3 inches x 2.5 inches (8 cm x 7 cm) |
| Large Tray Organizer | A4 | 4.5 inches x 4 inches (11.5 cm x 10.5 cm) |
Instructions
Step 1: Start with the color you want your tray to be facing down. Arrange your paper to sit horizontally.
Step 2: First we will divide our paper into thirds. To do this, you could use a ruler, mark the points and then crease.
Or you could do the following:
Hold your paper and arrange it so that it forms an even “S” like shape. Then, pinch the top of the paper together to make 2 small creases where the curves of the “S” are.
Place your paper back onto the table.
Fold the left edge of the paper to the right, matching its edge with the small crease (closest to the right edge).
Then fold the right edge of the paper to match the left edge. If you divided your paper evenly, the right edge will sit on the left edge with no gaps. Unfold. You have now divided your paper into thirds.
Step 3: Fold the right edge in to meet the nearest crease.
Step 4: Unfold previous step.

Step 5: Once again, fold the right edge in to meet its nearest crease (the one you made in step 3).
Step 6: Unfold previous step.
Step 7: Repeat steps 3 to 6 for the left side.
Step 8: Flip your paper over from left to right.
Step 9: Fold the right edge to meet the left edge.
Step 10: Fold both the top right corner and bottom right corner in to meet the line shown.

Step 11: Unfold previous step.
Step 12: Open out the bottom edge slightly, and re-fold the bottom right corner in along the existing crease lines, but this time, fold it into the paper.
Step 13: Repeat previous step for the top right corner.
Step 14: Fold the bottom edge up (top layer only) so that its folded edge matches with the outer point as shown.
Step 15: Unfold previous step.

✨ You're almost there! ✨
To unlock the final steps and complete your pattern, create a free account with Grow.me. below.
Make sure you tick the box to subscribe to our newsletter and stay up to date with the latest patterns, tips, and more!
Once you're signed up, you'll get instant access to finish your project and enjoy exclusive content in the future.
Already signed up? Hit the button below and select ‘Switch to Log In’ to pick up where you left off and finish your project!
Step 16: Fold the bottom edge up again (top layer only) but this time to meet the crease you made in step 14.
Step 17: Unfold previous step.
Step 18: Repeat steps 14 to 17 for the top edge (top layer only).
Step 19: Flip your paper over from left to right and repeat steps 14 to 18.
Step 20: Fold the left edge of the paper (top layer only) to the right along the line shown.

Step 21: Flip your paper over then stand it up the middle flap as shown.
Step 22: Working on the bottom side of the paper: Bring the inner bottom right edge in towards the left as shown, matching it’s edge with the 2nd crease from the right.
Step 23: Repeat previous step for the inner bottom left edge.
Step 24: Lift both the left and right bottom edges so they stand upright along the 2nd creases from the left and right respectively.
Step 25: Bring the bottom edge up so it stands upright, which will cause the paper on both the left and right sides to collapse into the tray. Crease these edges.

Step 26: Once the bottom edge is standing upright, fold it down into the tray. You might like to add a bit of glue or double sided tape to hold it down. Re-crease along the edges to sharpen them.
Step 27: Repeat steps 22 to 26 for the top edge.
Step 28: Re crease along the edges for a neater look. Completed tray.

Tips For Success
- Use cardstock for a sturdier tray that holds more weight
- Fold edges firmly so the tray keeps its shape
- A5 paper makes a smaller tray—great for jewelry or pins
- Label trays with washi tape or a small sticker
Color, Paper Ideas, and Variations
- Kraft paper – Neutral and great for desk or drawer organizing
- Colorful printer paper – Fun for kids or party prep
- Origami paper trimmed to rectangles – Adds decorative patterns
- Recycled paper – Eco-friendly option with character
- Decorated trays – Add washi tape or stamped designs
- Nested trays – Fold several sizes to stack inside each other
FAQ
You can, but the tray will be very shallow and have different proportions. Rectangular paper works best.
Yes, especially with thicker paper and firm folds.
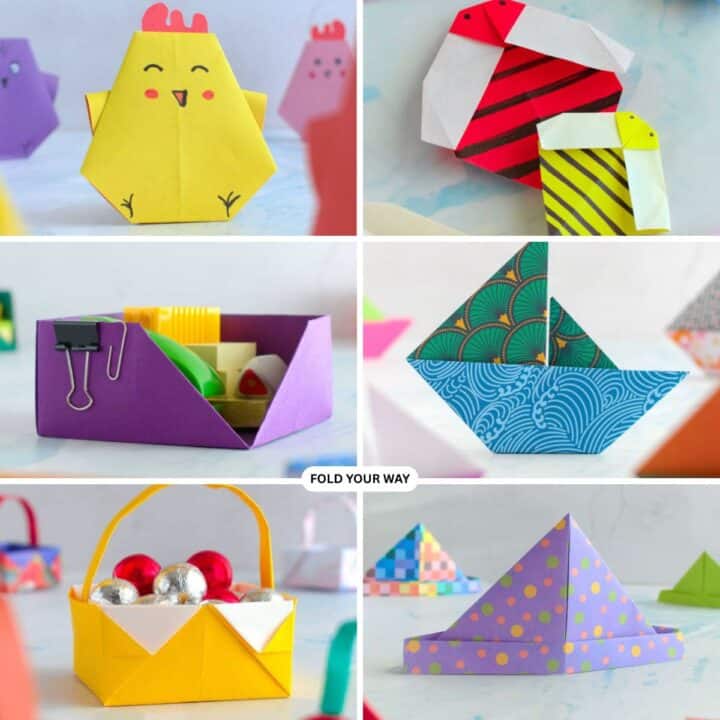
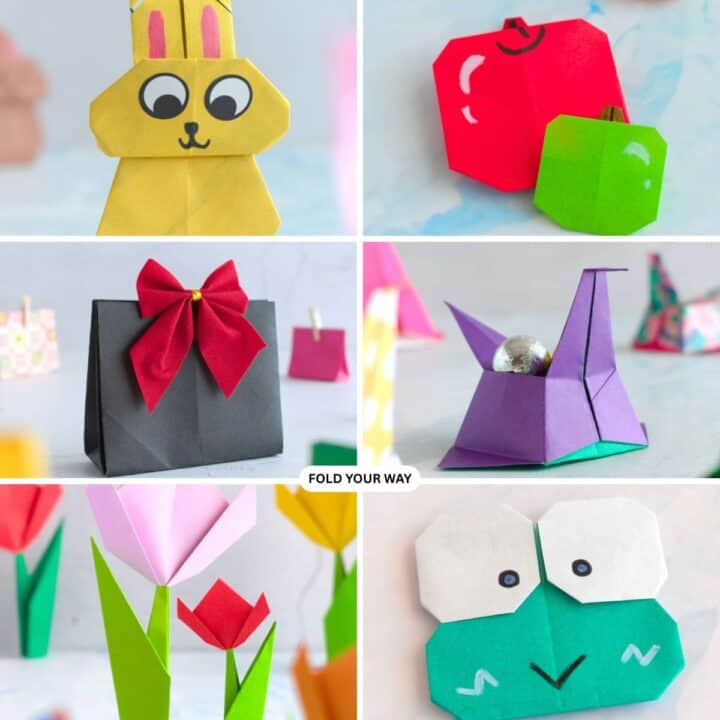
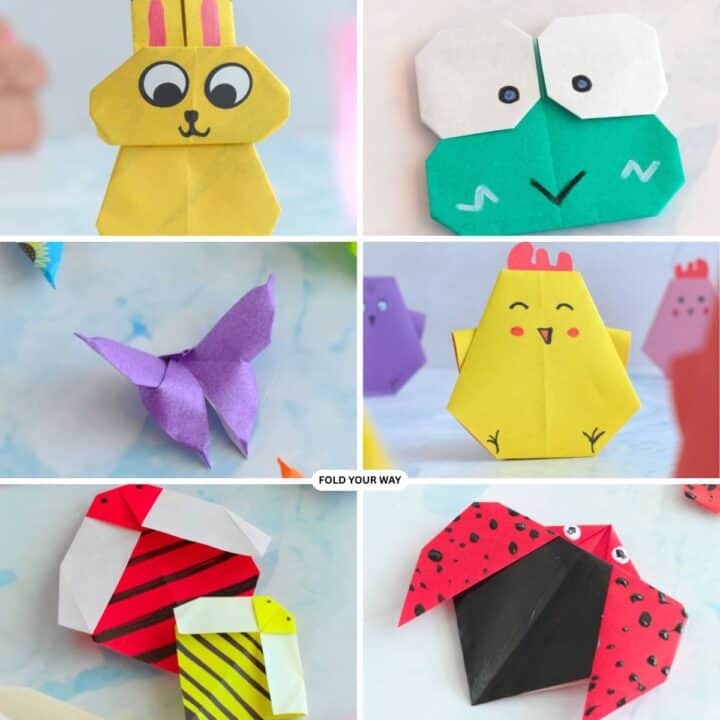
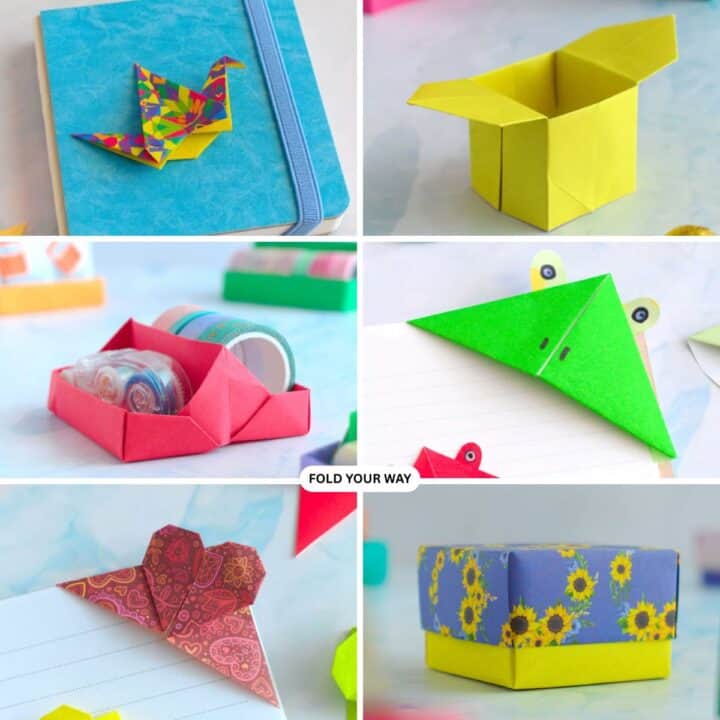
Other Crafts You Might Like To Try:
Helpful Tips and Common Mistakes For Paper Crafts
Paper crafting and origami can be hard sometimes. Which is why we've made this printable PDF just for you.
It outlines helpful tips so that you can successfully complete your craft, and some of the most common mistakes people come across.
You can download the helpful tips and common mistakes for paper crafts printable PDF here.
Stay Connected
Made this pattern? Let us know how it went in the comments below!
Pin this post - Pin now to take your paper crafting skills to the next level.
Share on Instagram or Facebook - Capture the beauty of your finished paper craft project and share it on Instagram or Facebook! Tag us @foldyourway so we can see your work!
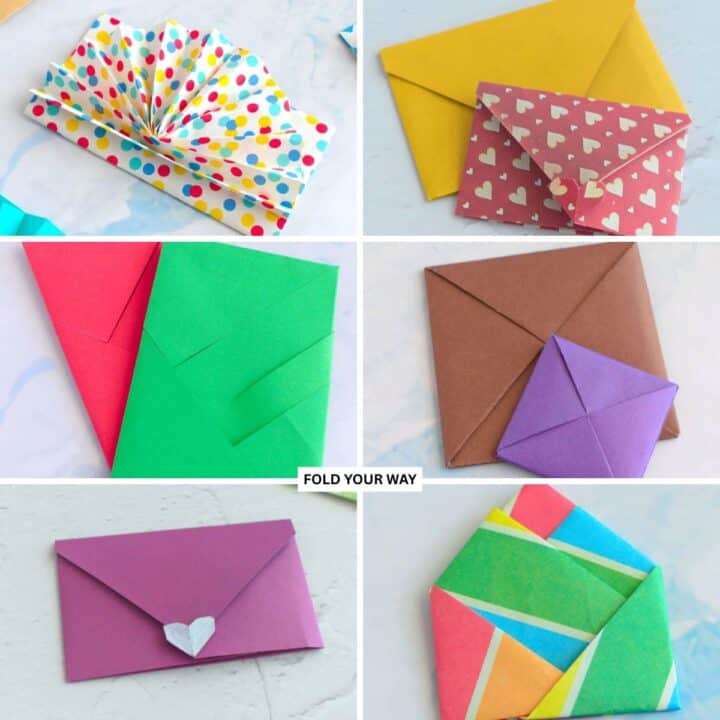
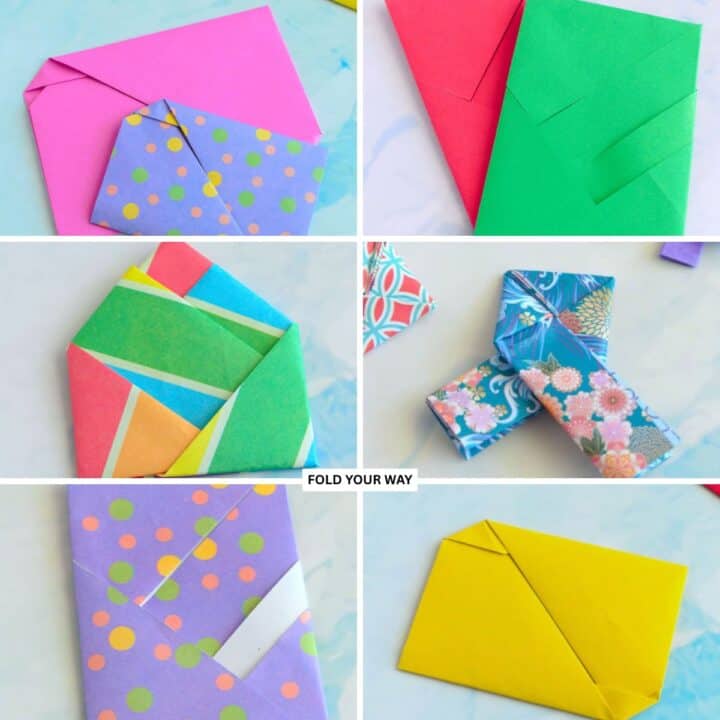
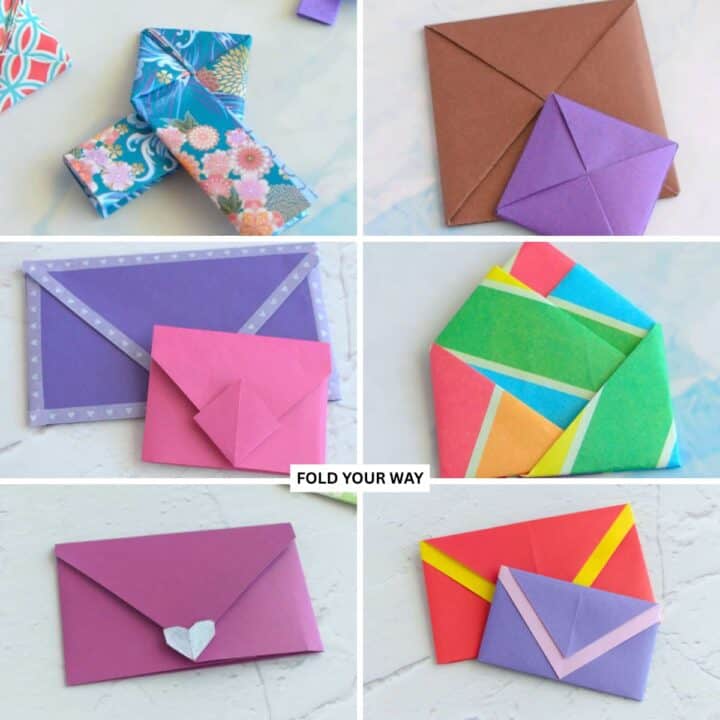
Other Patterns You Might Like To Try:
Looking for other easy patterns like this? Try these:
- Easy Origami and Simple Paper Craft Ideas
- Cute Origami Ideas
- Easy Origami Animals and Insect Crafts
- Easy Origami Boxes, Bookmarks, and Small Paper Crafts
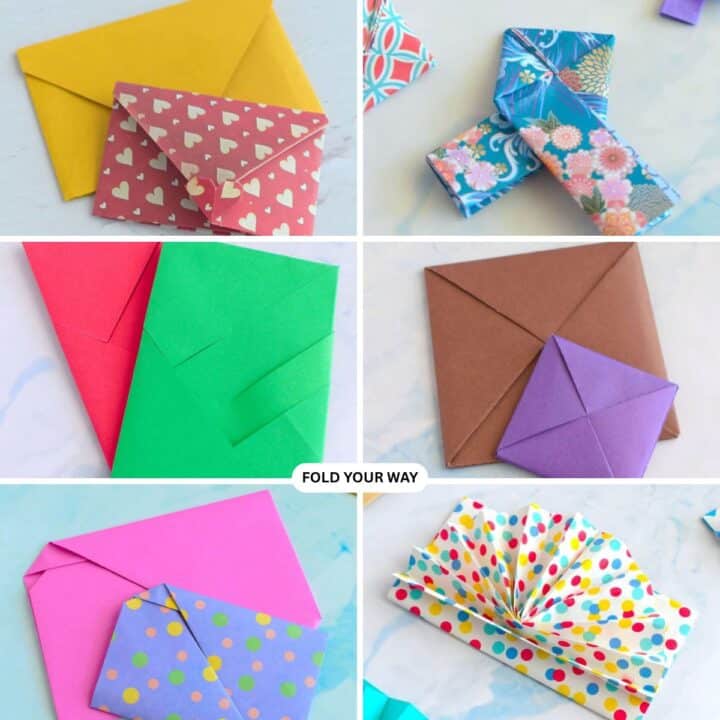
- Origami Envelopes and Letter Folding Techniques
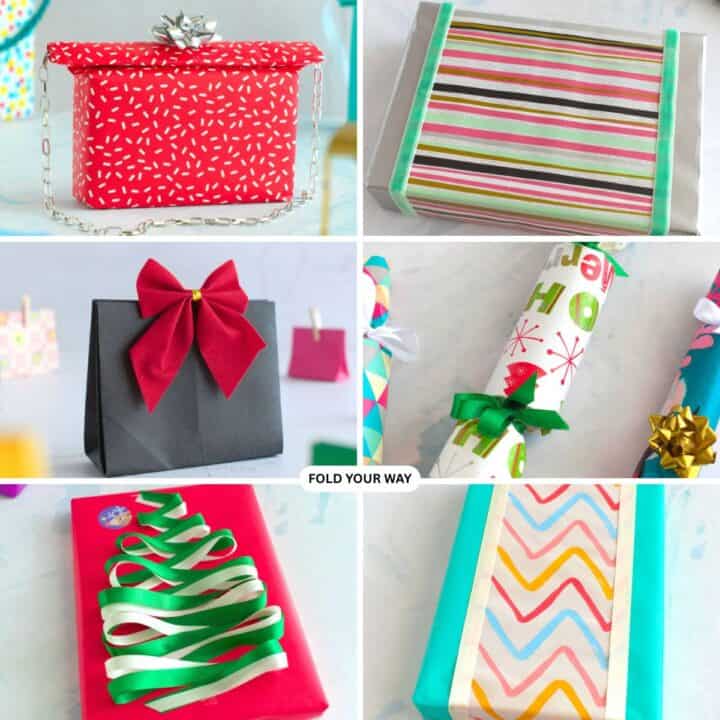
- DIY Gift Wrapping and Paper Presentation Ideas
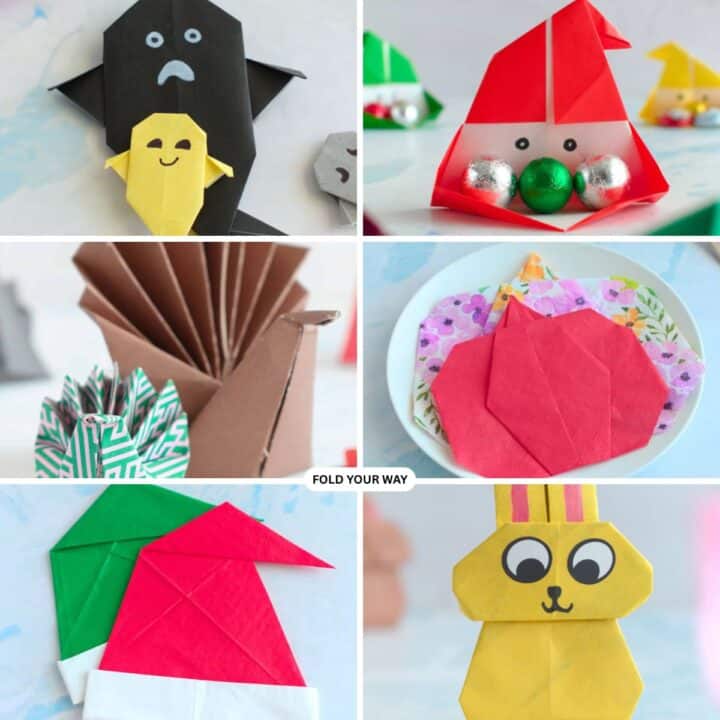
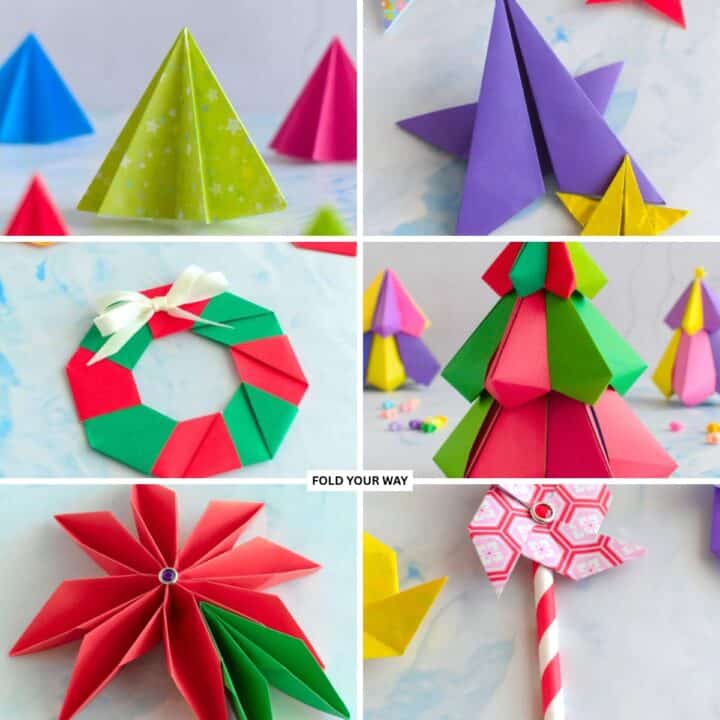
- Seasonal Origami and Holiday Paper Crafts
- Easy Napkin Folding Ideas and Table Decor

Comments
No Comments