
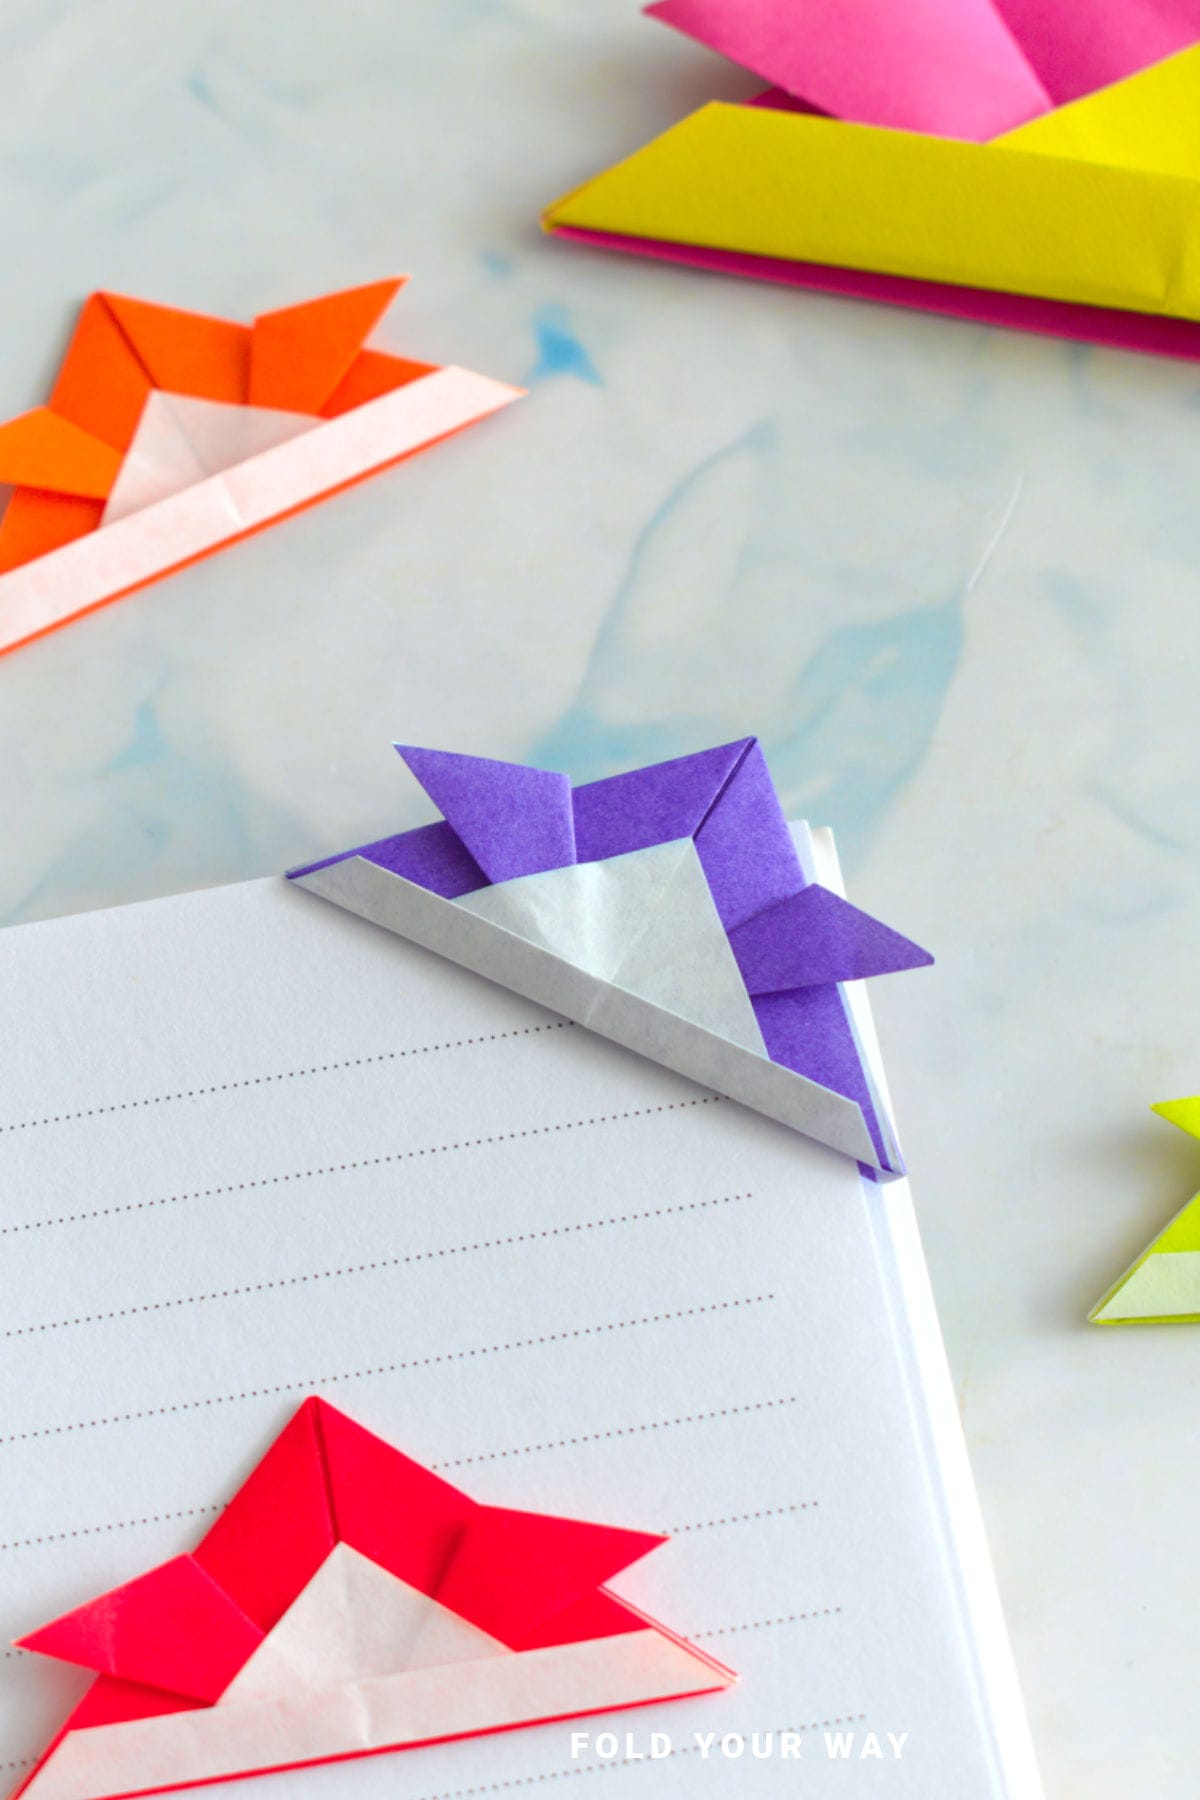
This samurai hat origami corner bookmark is a fun and unique way to keep your page!
Made with just one square sheet of paper, it’s perfect for students, readers, or a themed gift idea.
Jump to:
If you're looking for a cool origami project that's both fun to fold and useful, this samurai hat origami corner bookmark is a great one to try.
This samurai hat origami bookmark is a functional paper fold that creates a small hat-shaped designed to mark pages in books. It is commonly used for reading activities, school projects, and themed craft sessions. The design is simple, quick to make, and works well with decorative paper patterns.
With a few quick folds, you can transform a square piece of paper into a bold little samurai helmet that neatly tucks onto the corner of your page.
It’s a fun way to introduce kids (or yourself!) to the basics of folding, and it’s an excellent paper craft project for holidays or just for adding a personal touch to a book or planner.
This bookmark makes a charming gift on its own or as part of a set—pair it with a good book, and you’ve got a great DIY gift for birthdays, Father’s Day, or back-to-school.
No glue, no scissors, and no stress—just one square sheet of paper and a few simple folds.
It's a great project for beginners and experienced crafters alike.
Once you've made one, try customizing it with decorative paper or even drawing your own samurai face underneath the helmet!

Why You'll Love This Pattern
- Fun, functional paper craft
- Makes a cute origami bookmark
- Great for holidays, classrooms, and gifts
- Simple and beginner-friendly
- No glue or scissors needed
- A unique twist on traditional origami
Skill Level
★☆☆☆☆ (Easy)
Materials Needed
1 square piece of paper (origami paper or lightweight paper works best)
| Paper Size | Final Origami Bookmark Size | |
| Small Paper Bookmark | 3 inches x 3 inches (7.5 cm x 7.5 cm) | 2 inches x 1 inch (5.5 cm x 2.5 cm) |
| Large Paper Bookmark | 6 inches x 6 inches (15 cm x 15 cm) | 4 inches x 2 inches (11 cm x 5.5 cm) |
Instructions
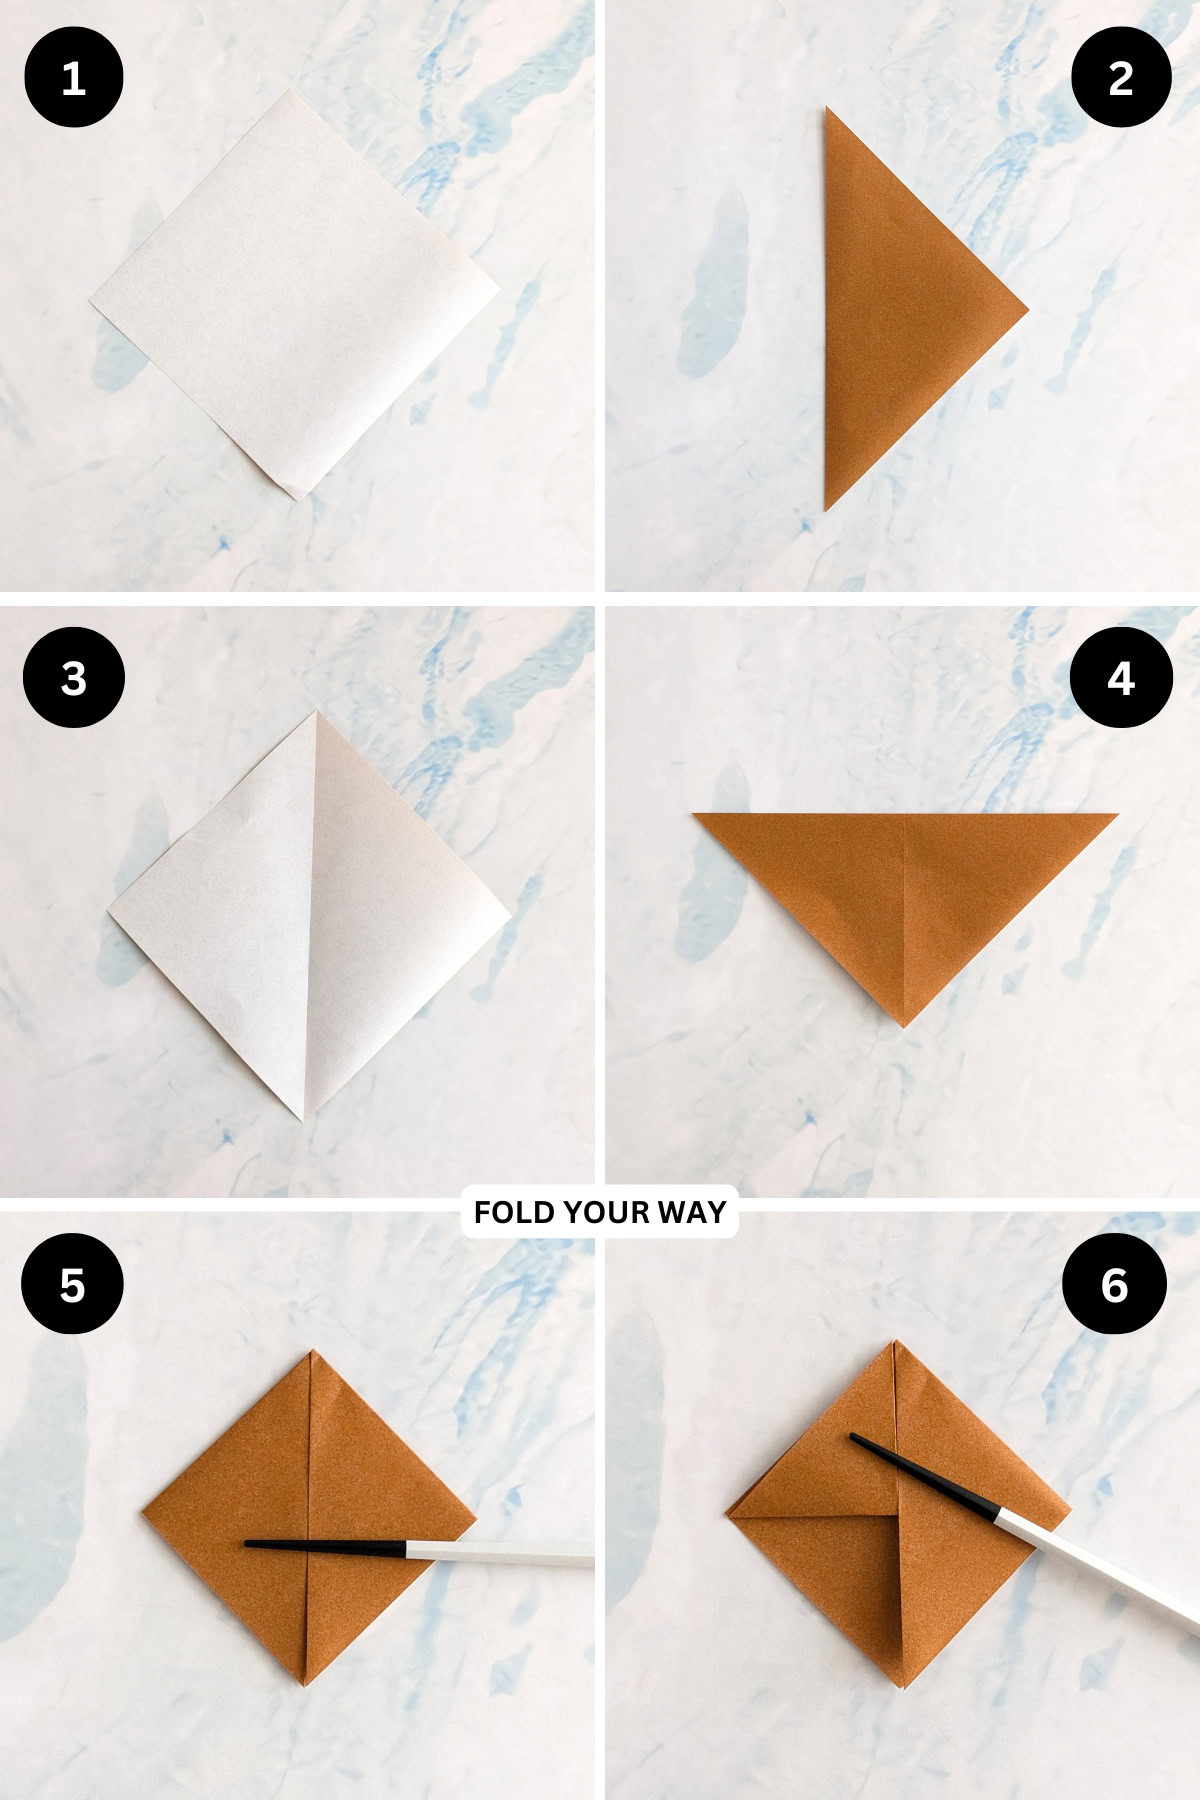
Step 1: Start with the main color you want your bookmark to be facing down. Arrange your paper to sit like a diamond shape.
Step 2: Fold the left point to meet the right point.
Step 3: Unfold previous step.
Step 4: Fold the top point down to meet the bottom point.
Step 5: Fold both the left and right points down to meet the bottom point.
Step 6: Fold the lower left flap up to meet the top point.
✨ You're almost there! ✨
To unlock the final steps and complete your pattern, create a free account with Grow.me. below.
Make sure you tick the box to subscribe to our newsletter and stay up to date with the latest patterns, tips, and more!
Once you're signed up, you'll get instant access to finish your project and enjoy exclusive content in the future.
Already signed up? Hit the button below and select ‘Switch to Log In’ to pick up where you left off and finish your project!
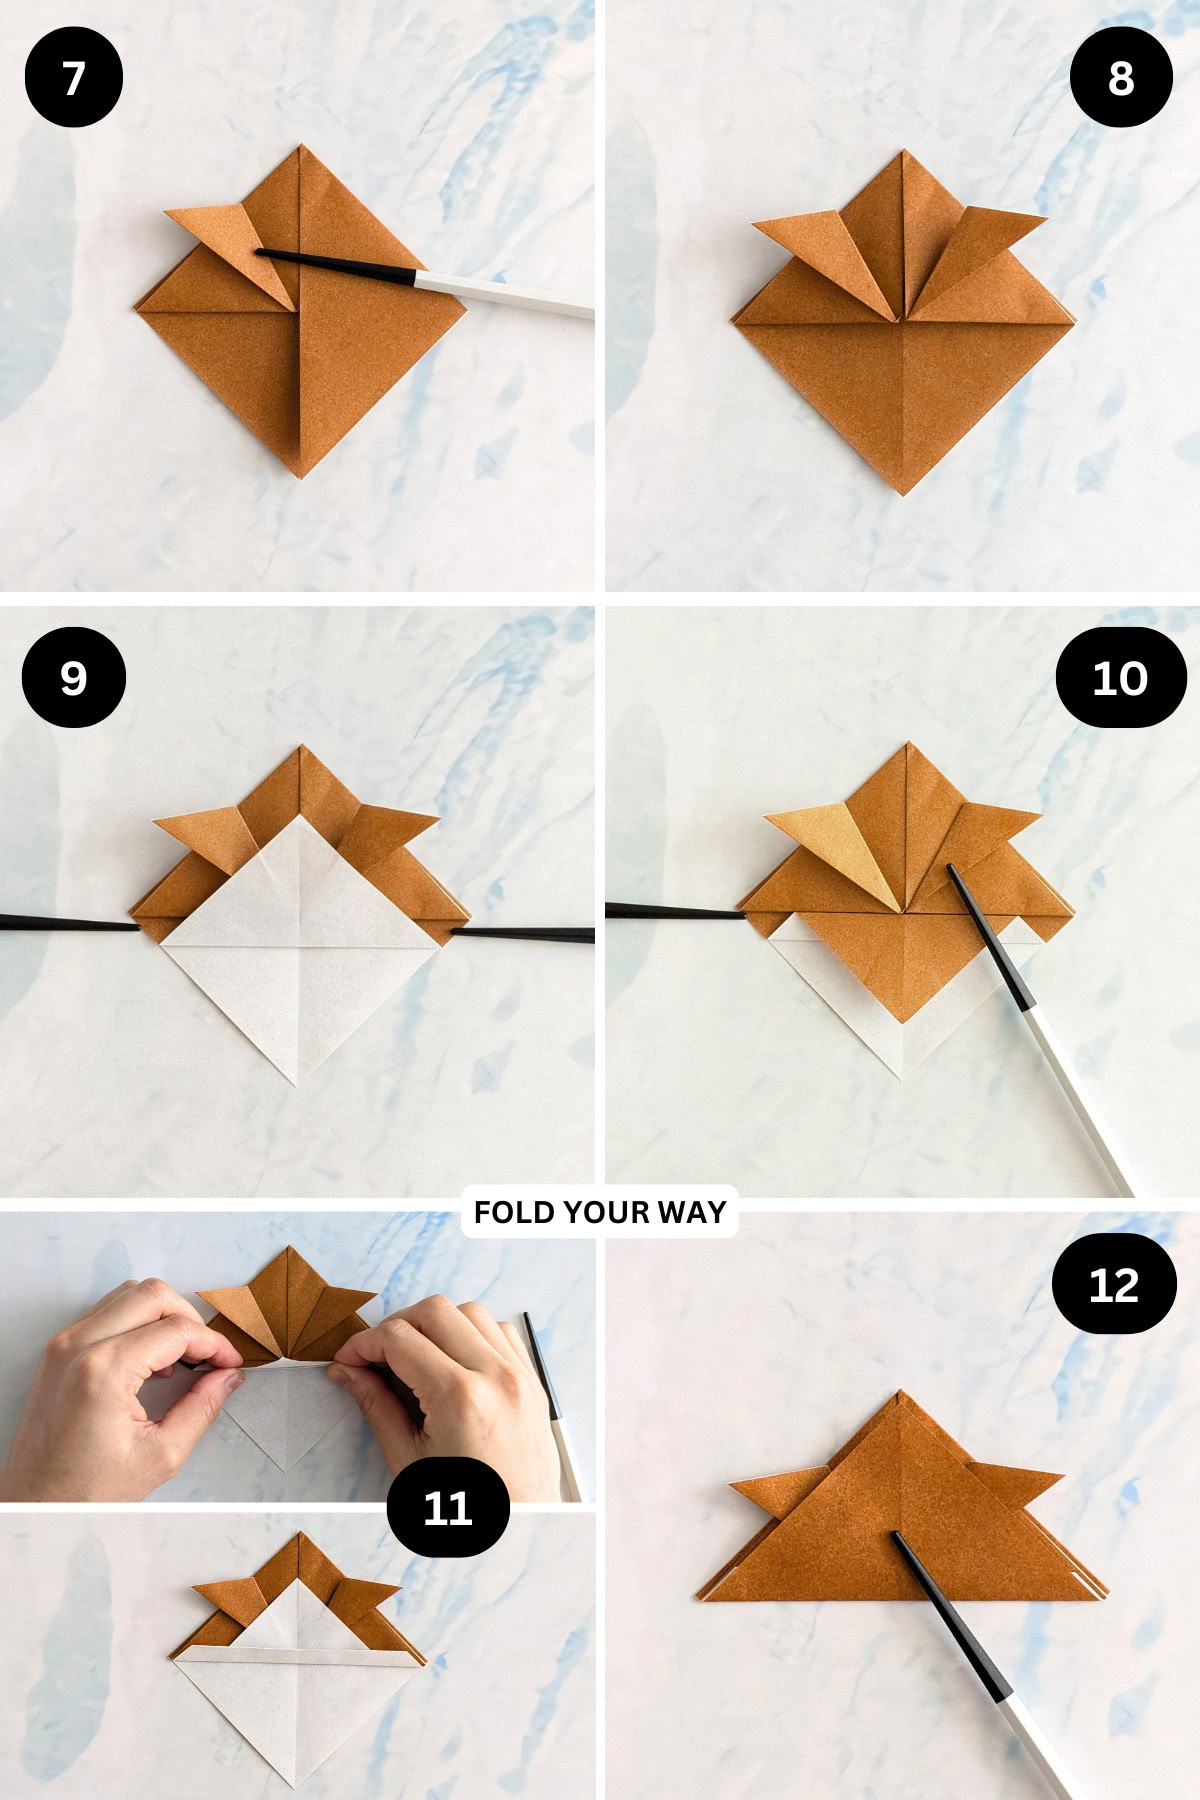
Step 7: Fold the top point (of the same flap you folded up in the previous step) diagonally out to the left a little.
Step 8: Repeat steps 6 and 7 for the right side.
Step 9: Fold the bottom point up (top layer only) as shown, leaving a gap at the bottom.
Step 10: Fold the top layer down, aligning it with the bottom edges of the top section as shown.
Step 11: Fold the bottom section up as shown.
Step 12: Fold the bottom point up to meet the top point as far as it will go.
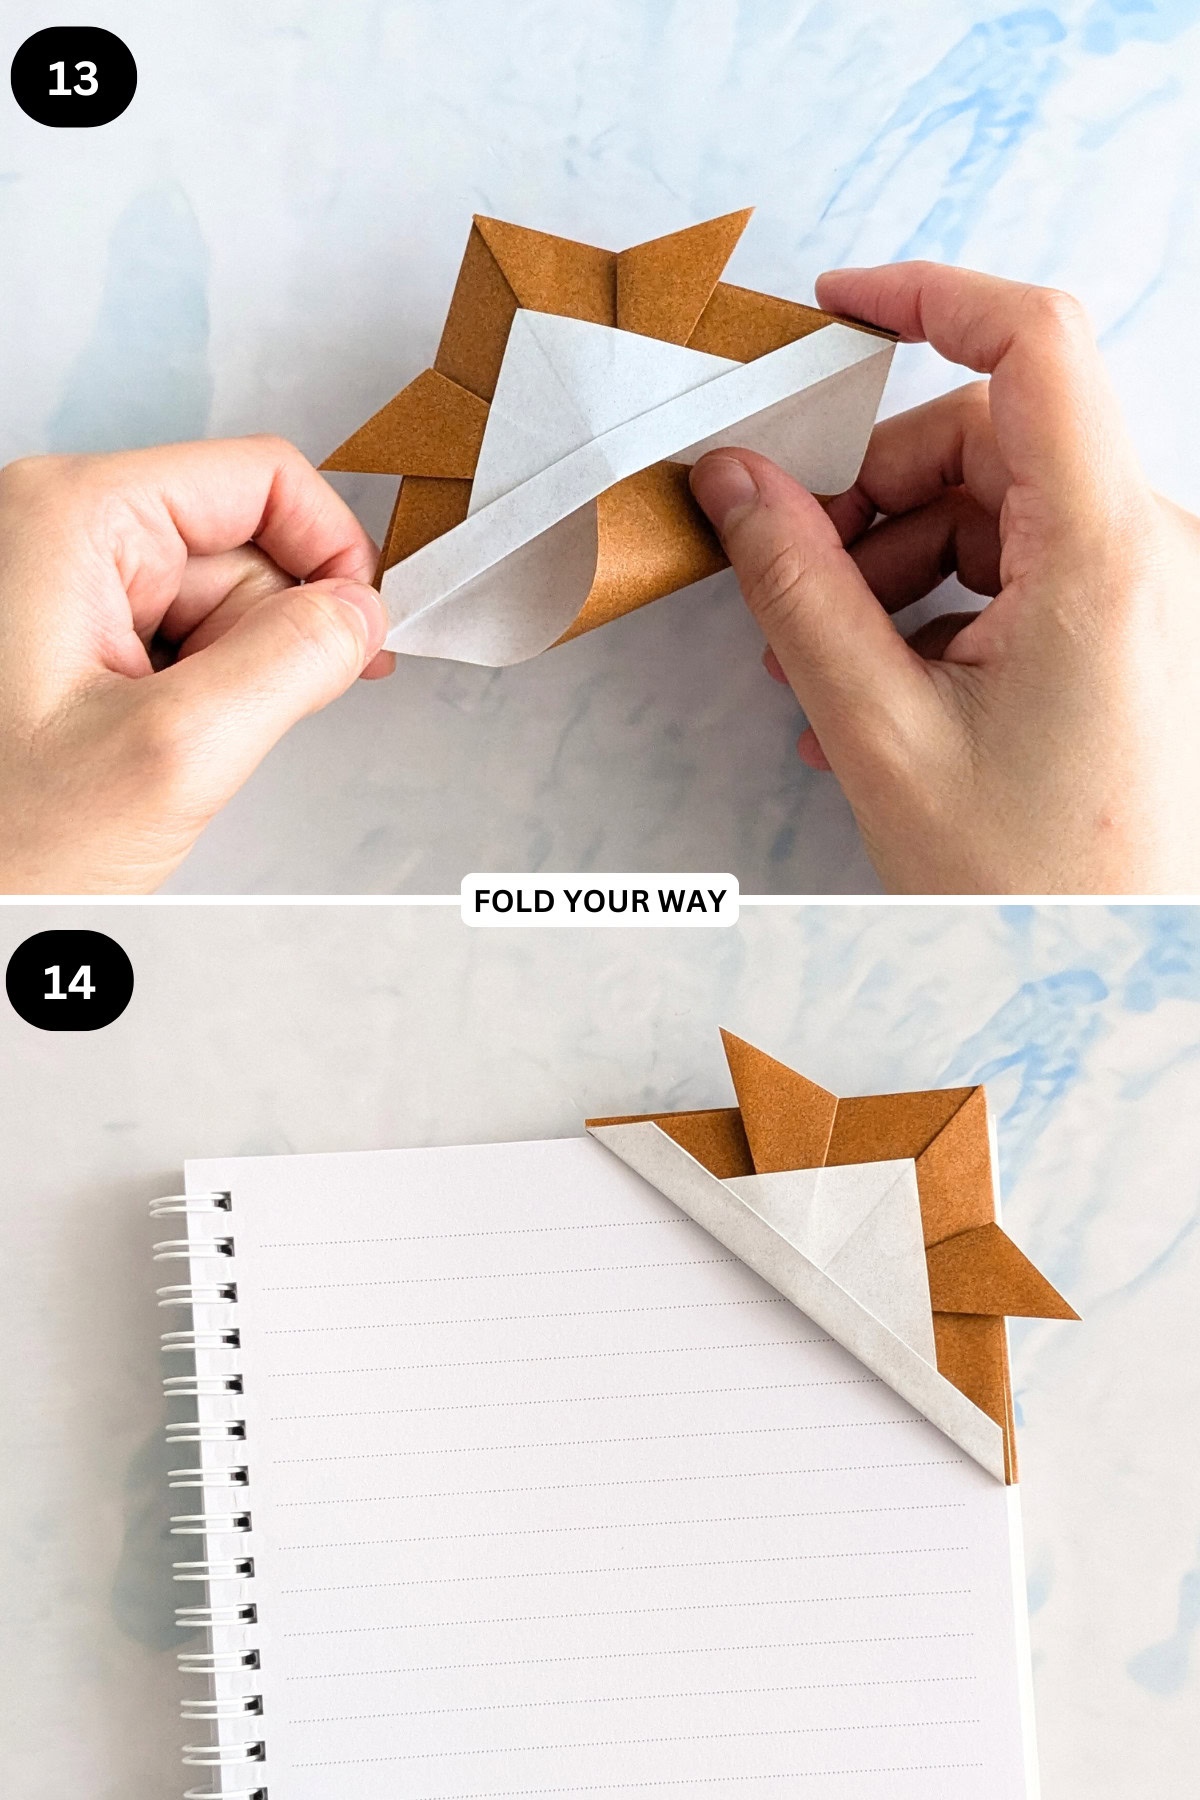
Step 13: Tuck the flap you just folded up in the previous step into the hat.
Step 14: Completed samurai hat bookmark.
Tips For Success
- Use thinner paper for easier folds
- Try kraft, black, or red paper for a more traditional samurai look
- Decorate the face area below the helmet for extra character

Color, Paper Ideas, and Variations
- Classic black and white – Great for a sharp, traditional look
- Patterned or metallic paper – Adds flair and a modern twist
- Mini samurai hats – Use smaller squares for mini bookmarks or party favors
- Themed paper – Use red and gold for a festive feel or school colors for a personalized gift
FAQ
Yes! Just make sure your folds are secure and the paper isn't too thick.
Absolutely—this is a fun easy origami idea for kids with a little help on the first try.
Other Crafts You Might Like To Try:
Helpful Tips and Common Mistakes For Paper Crafts
Paper crafting and origami can be hard sometimes. Which is why we've made this printable PDF just for you.
It outlines helpful tips so that you can successfully complete your craft, and some of the most common mistakes people come across.
You can download the helpful tips and common mistakes for paper crafts printable PDF here.
Stay Connected
Made this pattern? Let us know how it went in the comments below!
Pin this post - Pin now to take your paper crafting skills to the next level.
Share on Instagram or Facebook - Capture the beauty of your finished paper craft project and share it on Instagram or Facebook! Tag us @foldyourway so we can see your work!

Other Patterns You Might Like To Try:
Looking for other easy patterns like this? Try these:
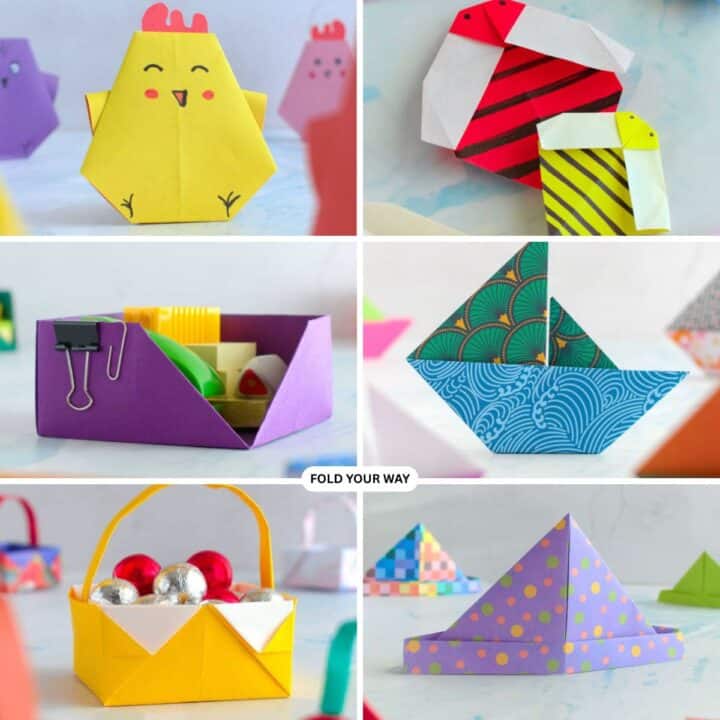
- Easy Origami and Simple Paper Craft Ideas
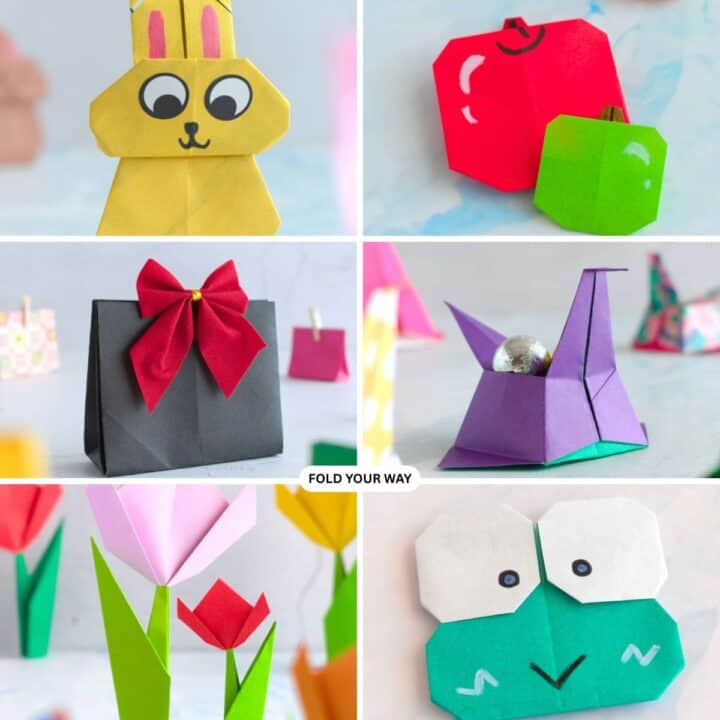
- Cute Origami Ideas
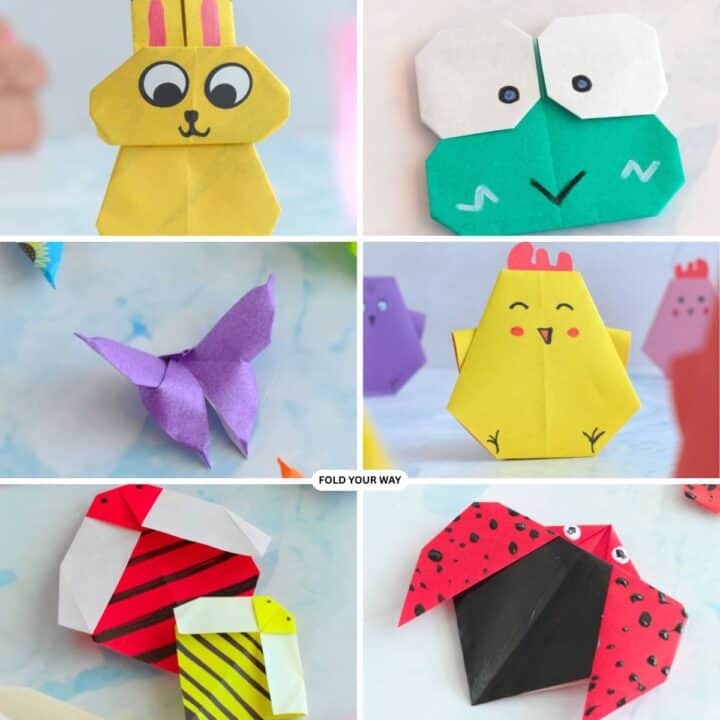
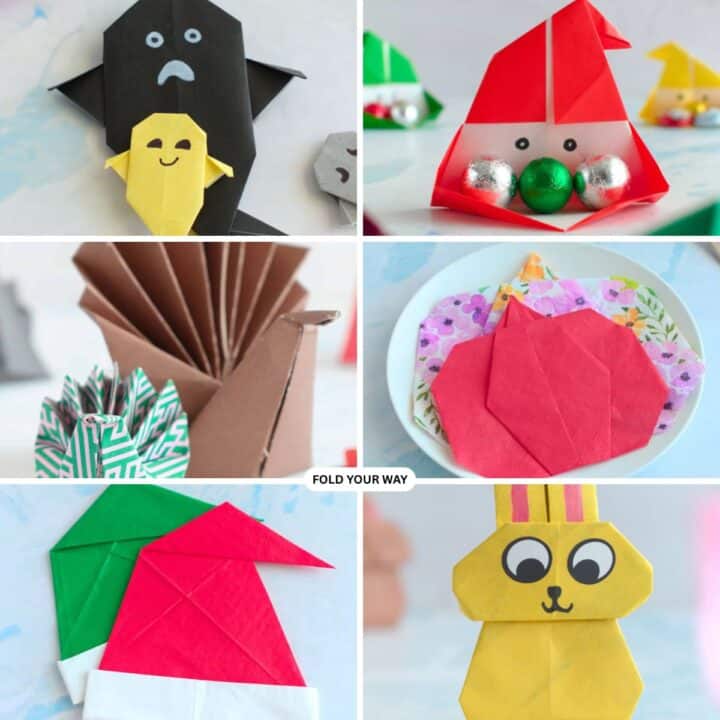
- Easy Origami Animals and Insect Crafts
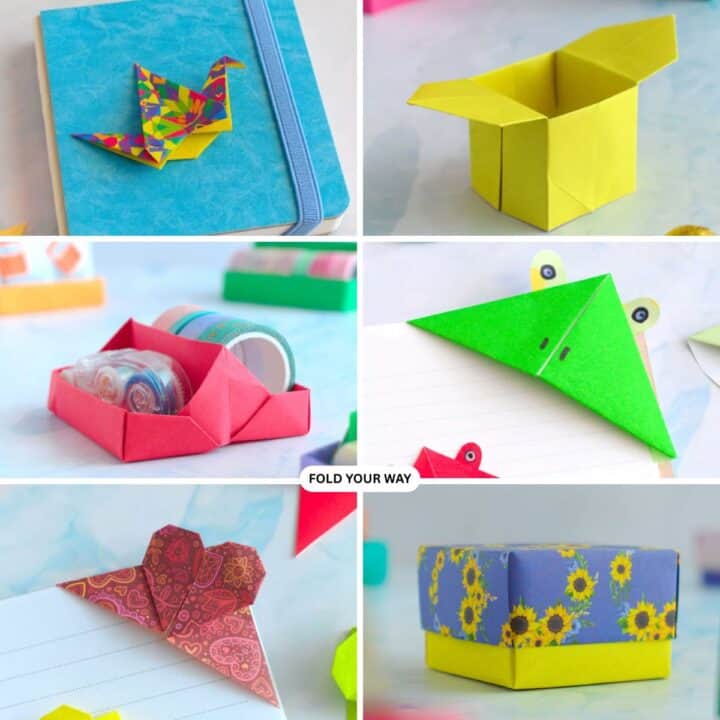
- Easy Origami Boxes, Bookmarks, and Small Paper Crafts
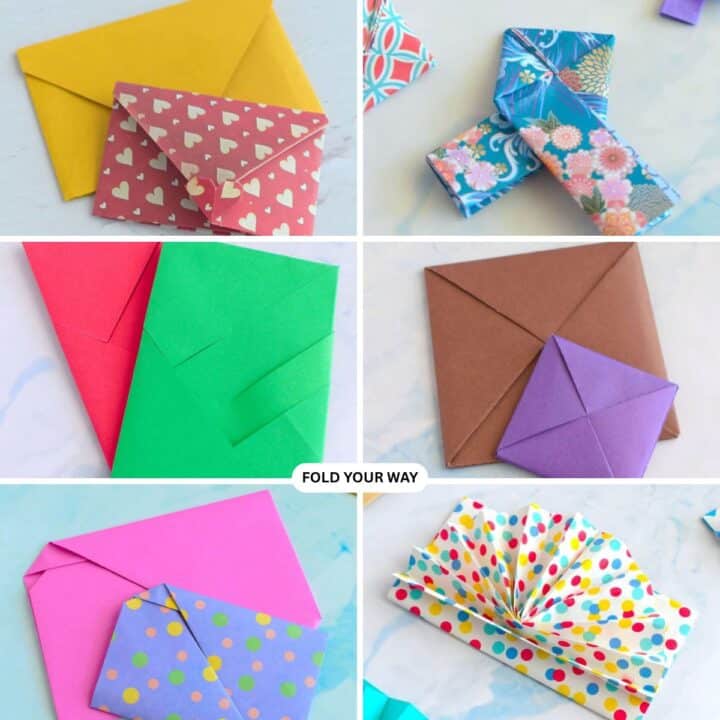
- Origami Envelopes and Letter Folding Techniques
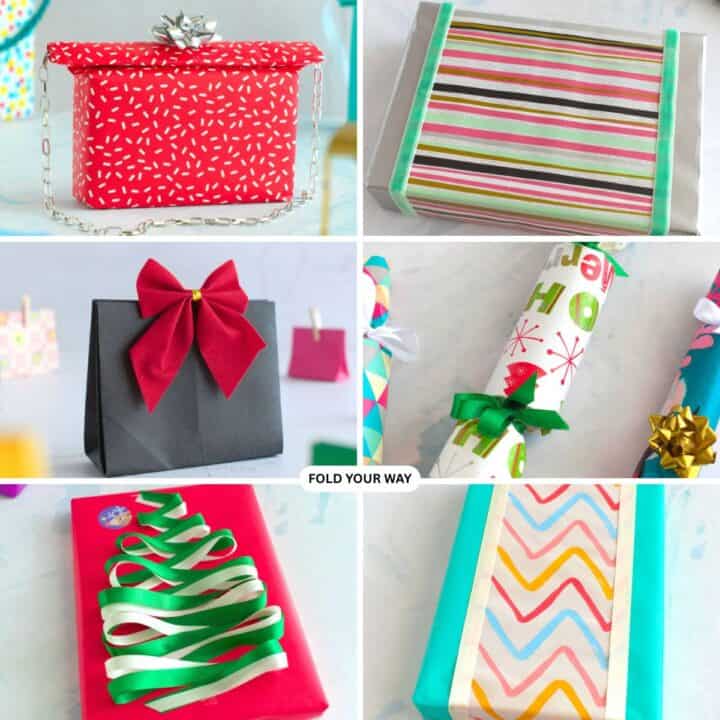
- DIY Gift Wrapping and Paper Presentation Ideas
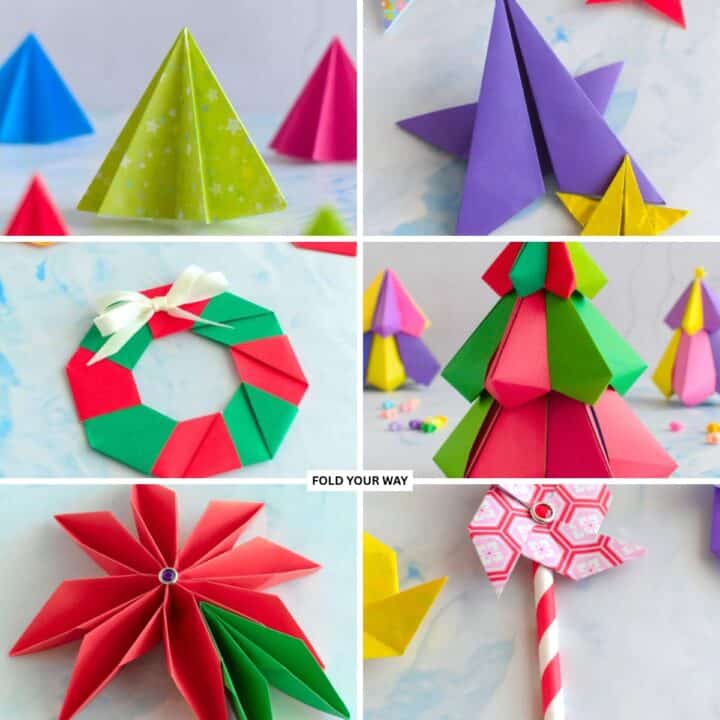
- Seasonal Origami and Holiday Paper Crafts
- Easy Napkin Folding Ideas and Table Decor

Comments
No Comments