
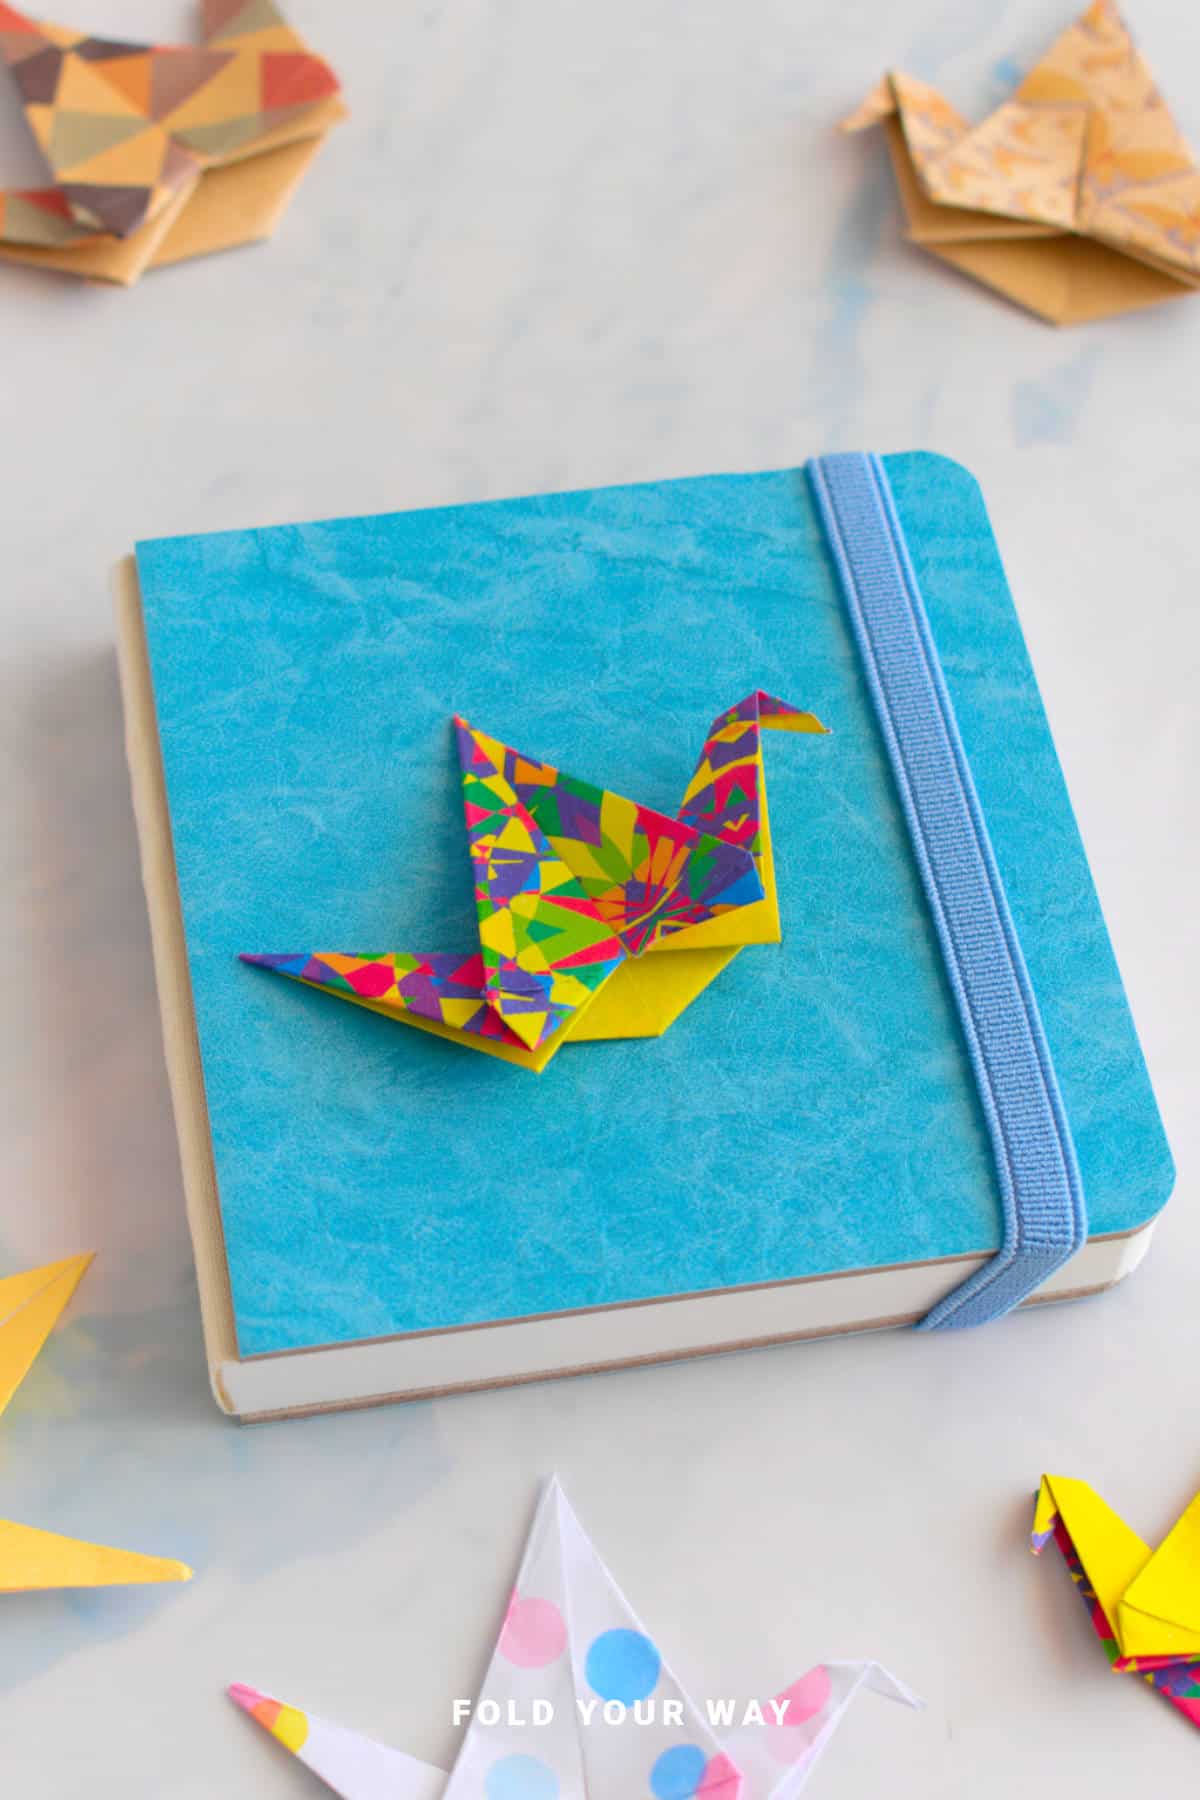
Add a touch of creativity to your reading with this crane corner origami bookmark.
This easy paper craft is perfect for gifts, personal use, or even as a fun project to do with kids.
With just one square sheet of paper and step by step folding, you’ll have a beautiful and practical origami piece in no time.
Jump to:
If you’re looking for a simple yet beautiful way to combine your love of books and crafting, this crane corner origami bookmark is the perfect project.
A crane corner origami bookmark is a functional paper fold that sits on the corner of a page and features a crane-inspired design. It is commonly used for reading, gifting, and decorative stationery.
Using a single square sheet of paper, you can fold a delicate crane design that fits neatly over the corner of your book pages.
It’s a thoughtful handmade gift for birthdays, Christmas stockings, Easter baskets, or even as party favors for book clubs and school events.
This paper craft is also a wonderful way to relax and get creative, whether you’re a beginner or an experienced crafter.
With step by step instructions, you can make these bookmarks in just a few minutes—and even customize them with patterned paper, colored designs, or metallic accents for special occasions.
The crane is one of the most iconic origami shapes, symbolizing peace and good luck, so this bookmark also makes a lovely addition to thank you cards, wedding favors, or small tokens of appreciation.
It’s lightweight, practical, and beautiful—perfect for any book lover in your life.
Why You'll Love This Pattern
- Combines functionality and beauty in one simple paper craft
- A quick, beginner-friendly origami tutorial with step by step guidance
- Makes a thoughtful handmade gift for holidays, birthdays, and party favors
- Easy to customize with different colors, patterns, and embellishments
- A creative, relaxing activity that only requires one square sheet of paper
Skill Level
★☆☆☆☆ (Easy)
Materials Needed
1 square sheet of origami paper
A paper crane bookmark made with 6 inch x 6 inch (15 cm x 15 cm) paper makes a bookmark that is about 3.5 inches x 5 inches (8.5 cm x 12 cm).
Instructions
Step 1: Start with the color you want your crane to be facing down. Arrange your paper to sit like a diamond shape.
Step 2: Fold the left point to meet the right point.
Step 3: Unfold previous step.
Step 4: Fold the bottom point up to meet the top point.
Step 5: Fold both the bottom left and bottom right points up to meet the top point.
Step 6: Unfold previous step.

Step 7: Fold the top point down (top layer only) to meet the bottom edge.
Step 8: Fold the left edge (from the top layer) down on a diagonal to meet the bottom edge as shown.
Step 9: Repeat previous step but this time for the right edge (top layer only).
Step 10: Slightly open out the left side of your paper and then collapse the paper in along the existing crease lines. You want the bottom left point to match the top point once collapsed.
Step 11: Repeat previous step for the right side.

✨ You're almost there! ✨
To unlock the final steps and complete your pattern, create a free account with Grow.me. below.
Make sure you tick the box to subscribe to our newsletter and stay up to date with the latest patterns, tips, and more!
Once you're signed up, you'll get instant access to finish your project and enjoy exclusive content in the future.
Already signed up? Hit the button below and select ‘Switch to Log In’ to pick up where you left off and finish your project!
Step 12: Flip your paper over from top to bottom. This way you will end up with the open end towards you once flipped.
Step 13: Fold both the bottom left and bottom right edges in to meet the middle crease.
Step 14: Unfold previous step.
Step 15: Lift the top layer up along the creases you made step 13, then flatten.
Step 16: Slightly open out the left side of the paper and bring the bottom left side of the paper up as shown.

Step 17: Repeat previous step for the right side.
Step 18: Pick which side you would like the head to be on. For this tutorial, we will make the head on the left side. Slightly open out the thin strip on the left and then fold down the tip of the strip to form the head.
Step 19: On the other thin strip, slightly pull it out to form the tail.
Step 20: Completed crane bookmark.

Tips For Success
- Use lightweight paper to avoid bulkiness in your book.
- Start with larger paper (6 inches x 6 inches [15 cm x 15 cm]) if you’re a beginner, then try smaller sizes as you get comfortable.
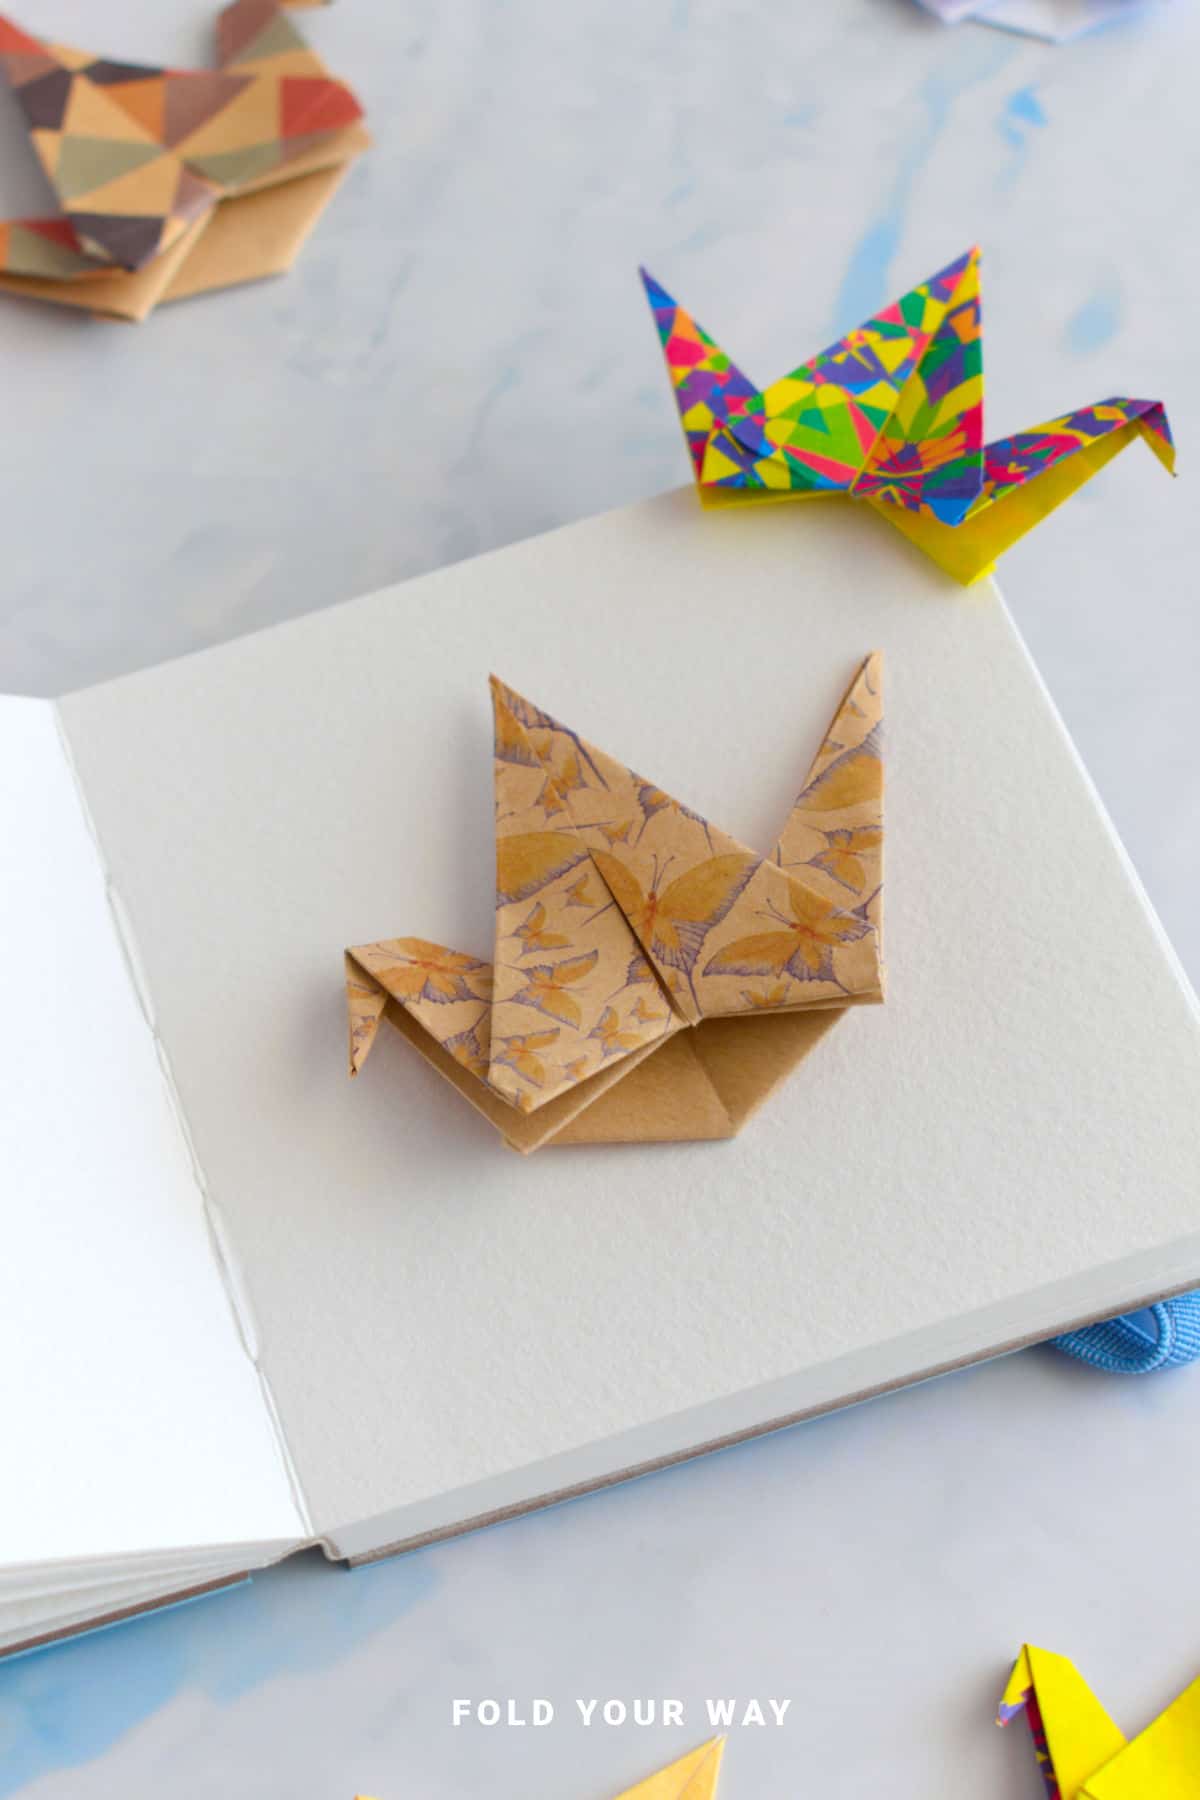
- Use patterned paper for a more decorative look, or plain paper for a classic feel.
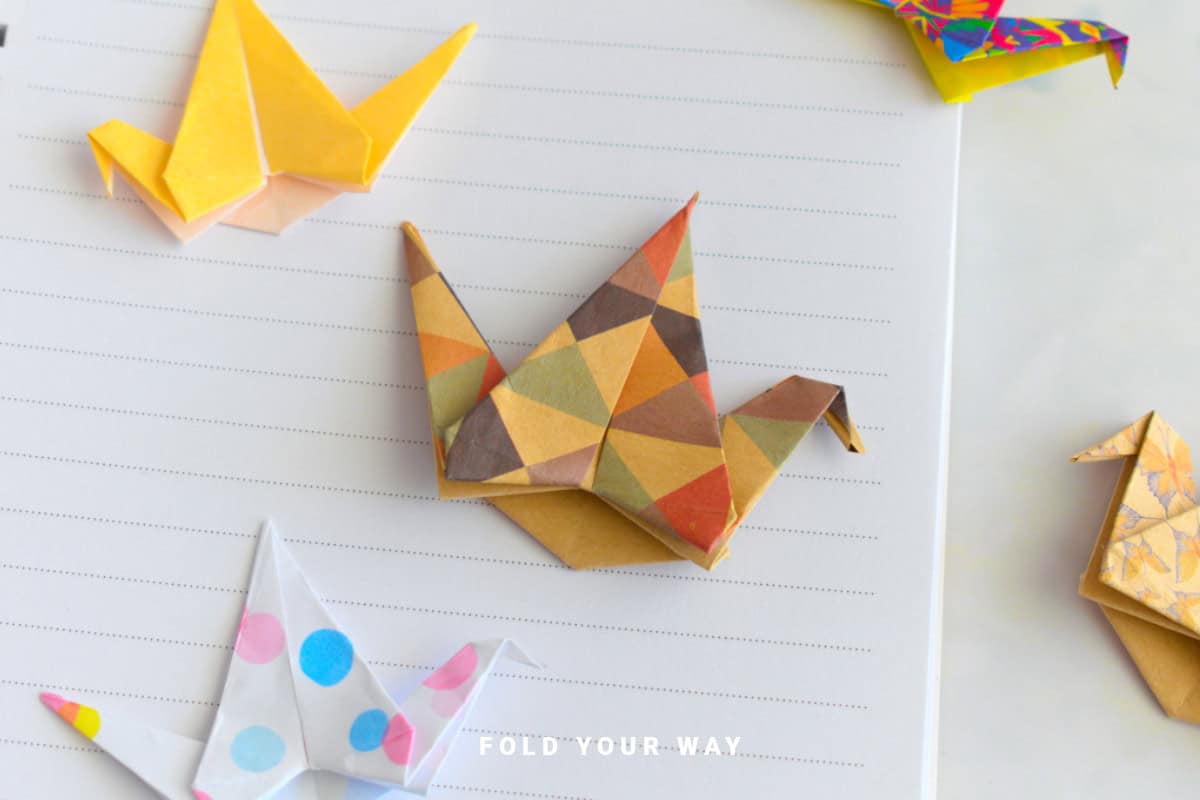
Color, Paper Ideas, and Variations
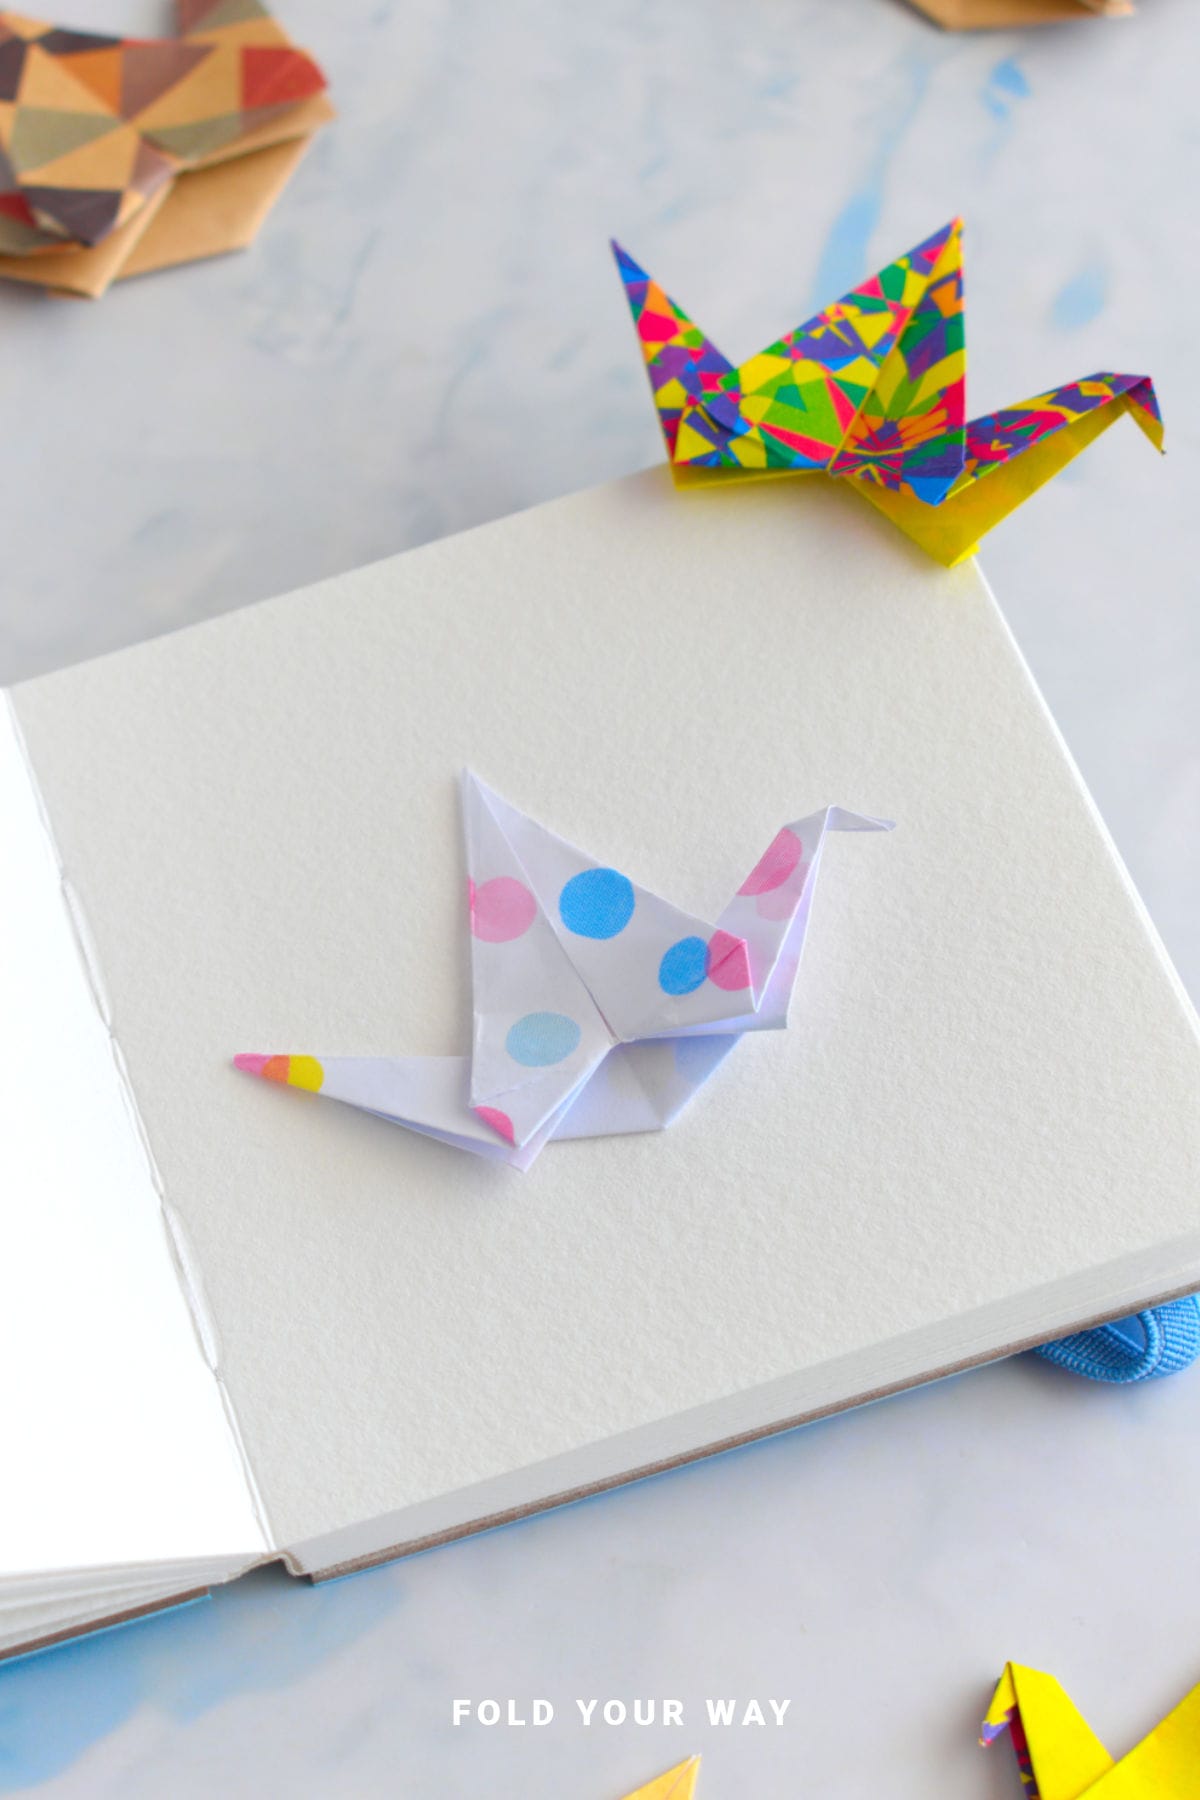
- Classic white crane: Symbolizes peace and works beautifully for weddings or memorial keepsakes.
- Bright colors for kids: Use rainbow paper or cartoon patterns for a playful touch.
- Metallic or foil paper: Adds an elegant, festive feel—perfect for Christmas or New Year gifts.
- Personalized designs: Draw tiny floral details or initials on the crane’s wings for a customized touch.
- Seasonal themes: Red and green for Christmas, pastel shades for Easter, or autumn tones for fall.
FAQ
Yes, but cut it into a square first and fold carefully since it’s thicker than origami paper.
Absolutely! With step by step folding instructions, it’s perfect for first-time origami makers.
No—if made properly with thin paper, it gently slides over the page corner without creasing or tearing.
Other Paper Crafts You Might Like To Try:
Helpful Tips and Common Mistakes For Paper Crafts
Paper crafting and origami can be hard sometimes. Which is why we've made this printable PDF just for you.
It outlines helpful tips so that you can successfully complete your craft, and some of the most common mistakes people come across.
You can download the helpful tips and common mistakes for paper crafts printable PDF here.
Stay Connected
Made this pattern? Let us know how it went in the comments below!
Pin this post - Pin now to take your paper crafting skills to the next level.
Share on Instagram or Facebook - Capture the beauty of your finished paper craft project and share it on Instagram or Facebook! Tag us @foldyourway so we can see your work!
Other Patterns You Might Like To Try:
Looking for other easy patterns like this? Try these:
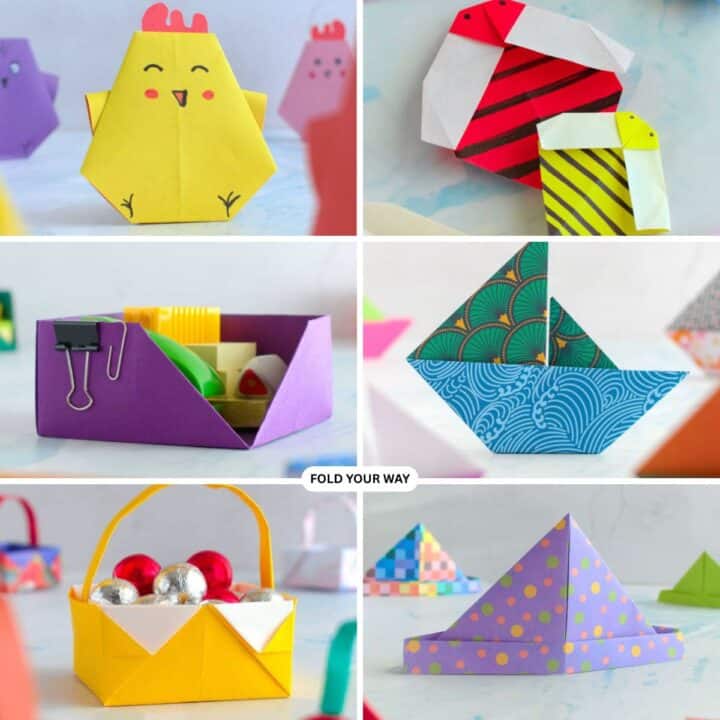
- Easy Origami and Simple Paper Craft Ideas
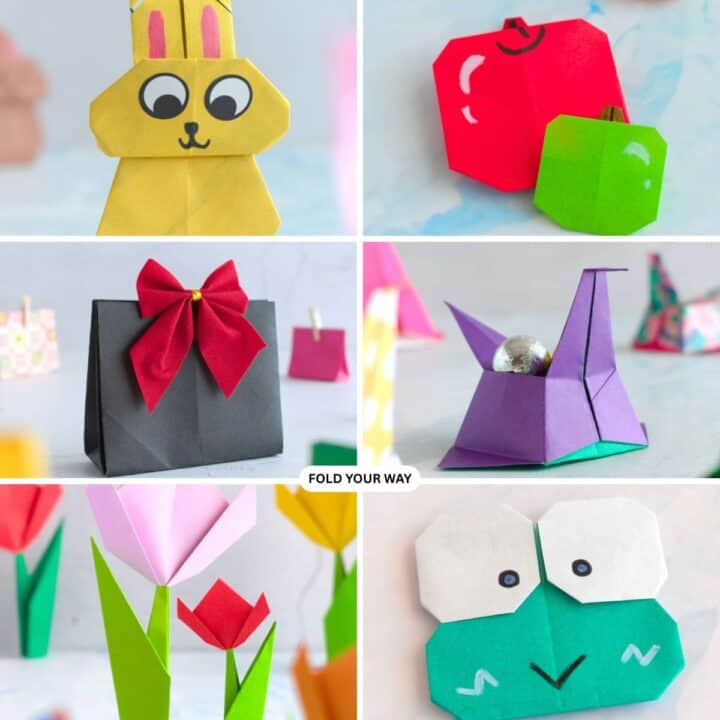
- Cute Origami Ideas
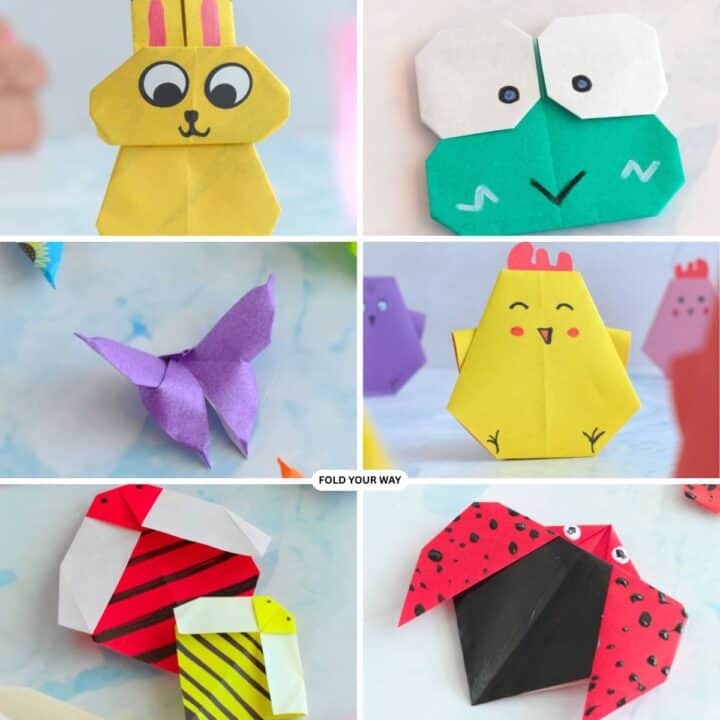
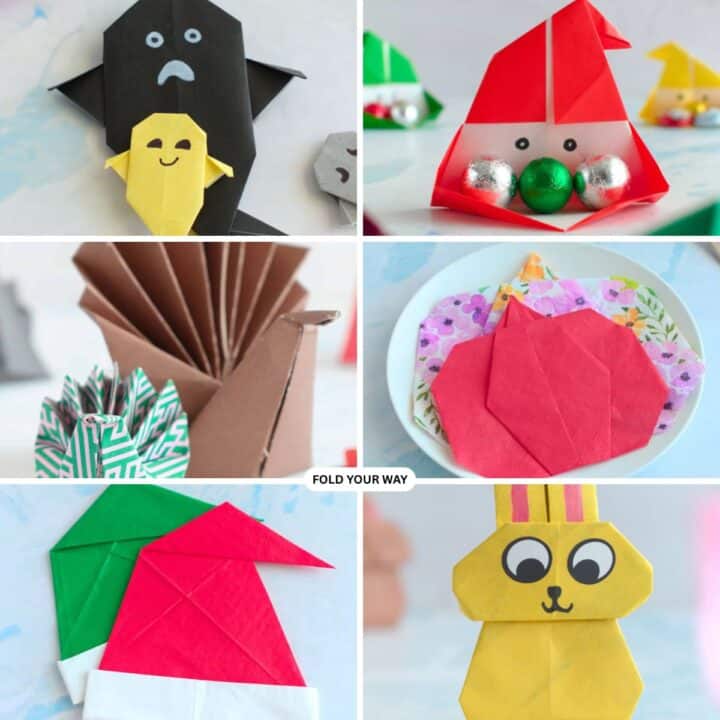
- Easy Origami Animals and Insect Crafts
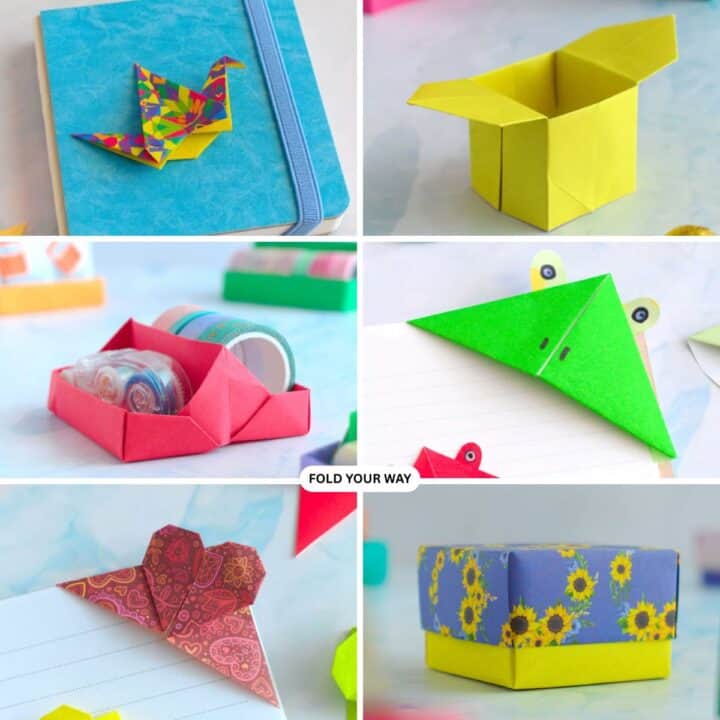
- Easy Origami Boxes, Bookmarks, and Small Paper Crafts
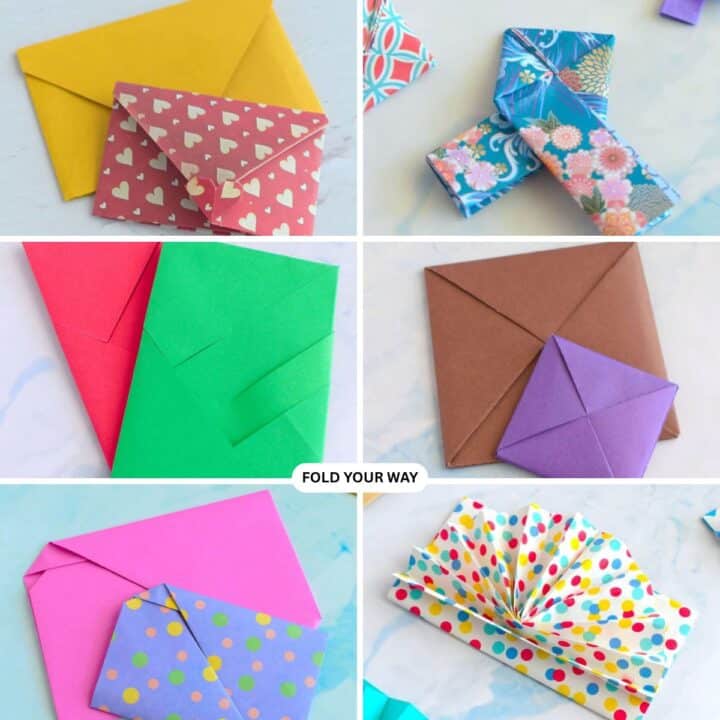
- Origami Envelopes and Letter Folding Techniques
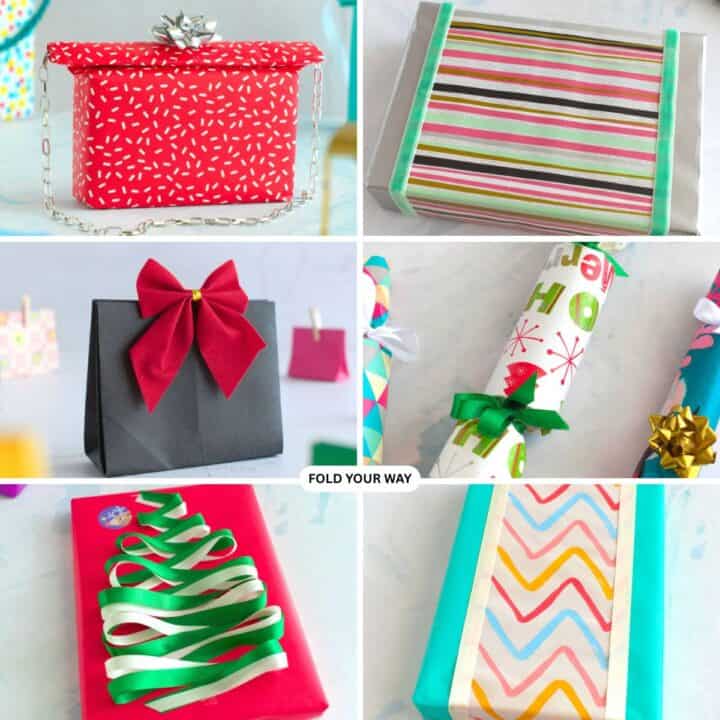
- DIY Gift Wrapping and Paper Presentation Ideas
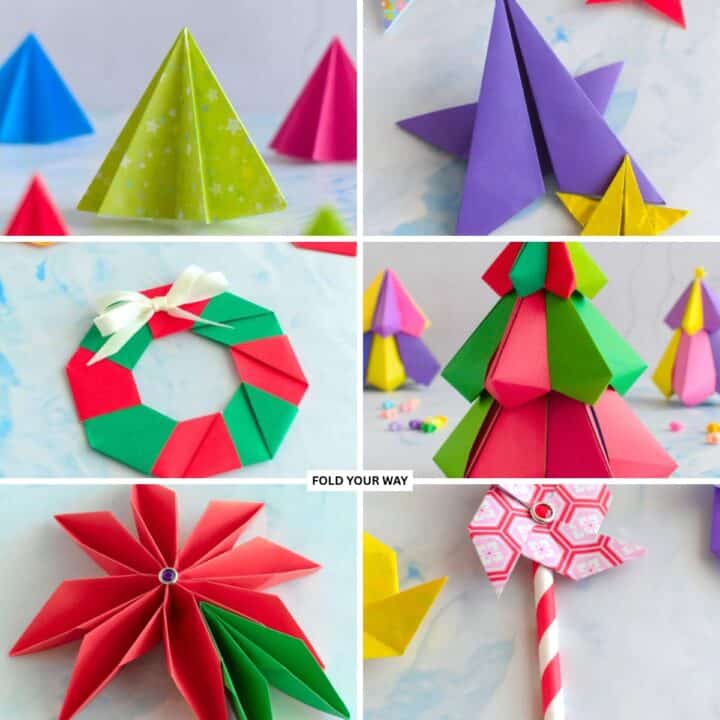
- Seasonal Origami and Holiday Paper Crafts
- Easy Napkin Folding Ideas and Table Decor

Comments
No Comments