
Looking for a simple yet striking craft to try at home?
Learning how to make easy origami claws with A4 paper is a fun project that gives you impressive results with minimal supplies.
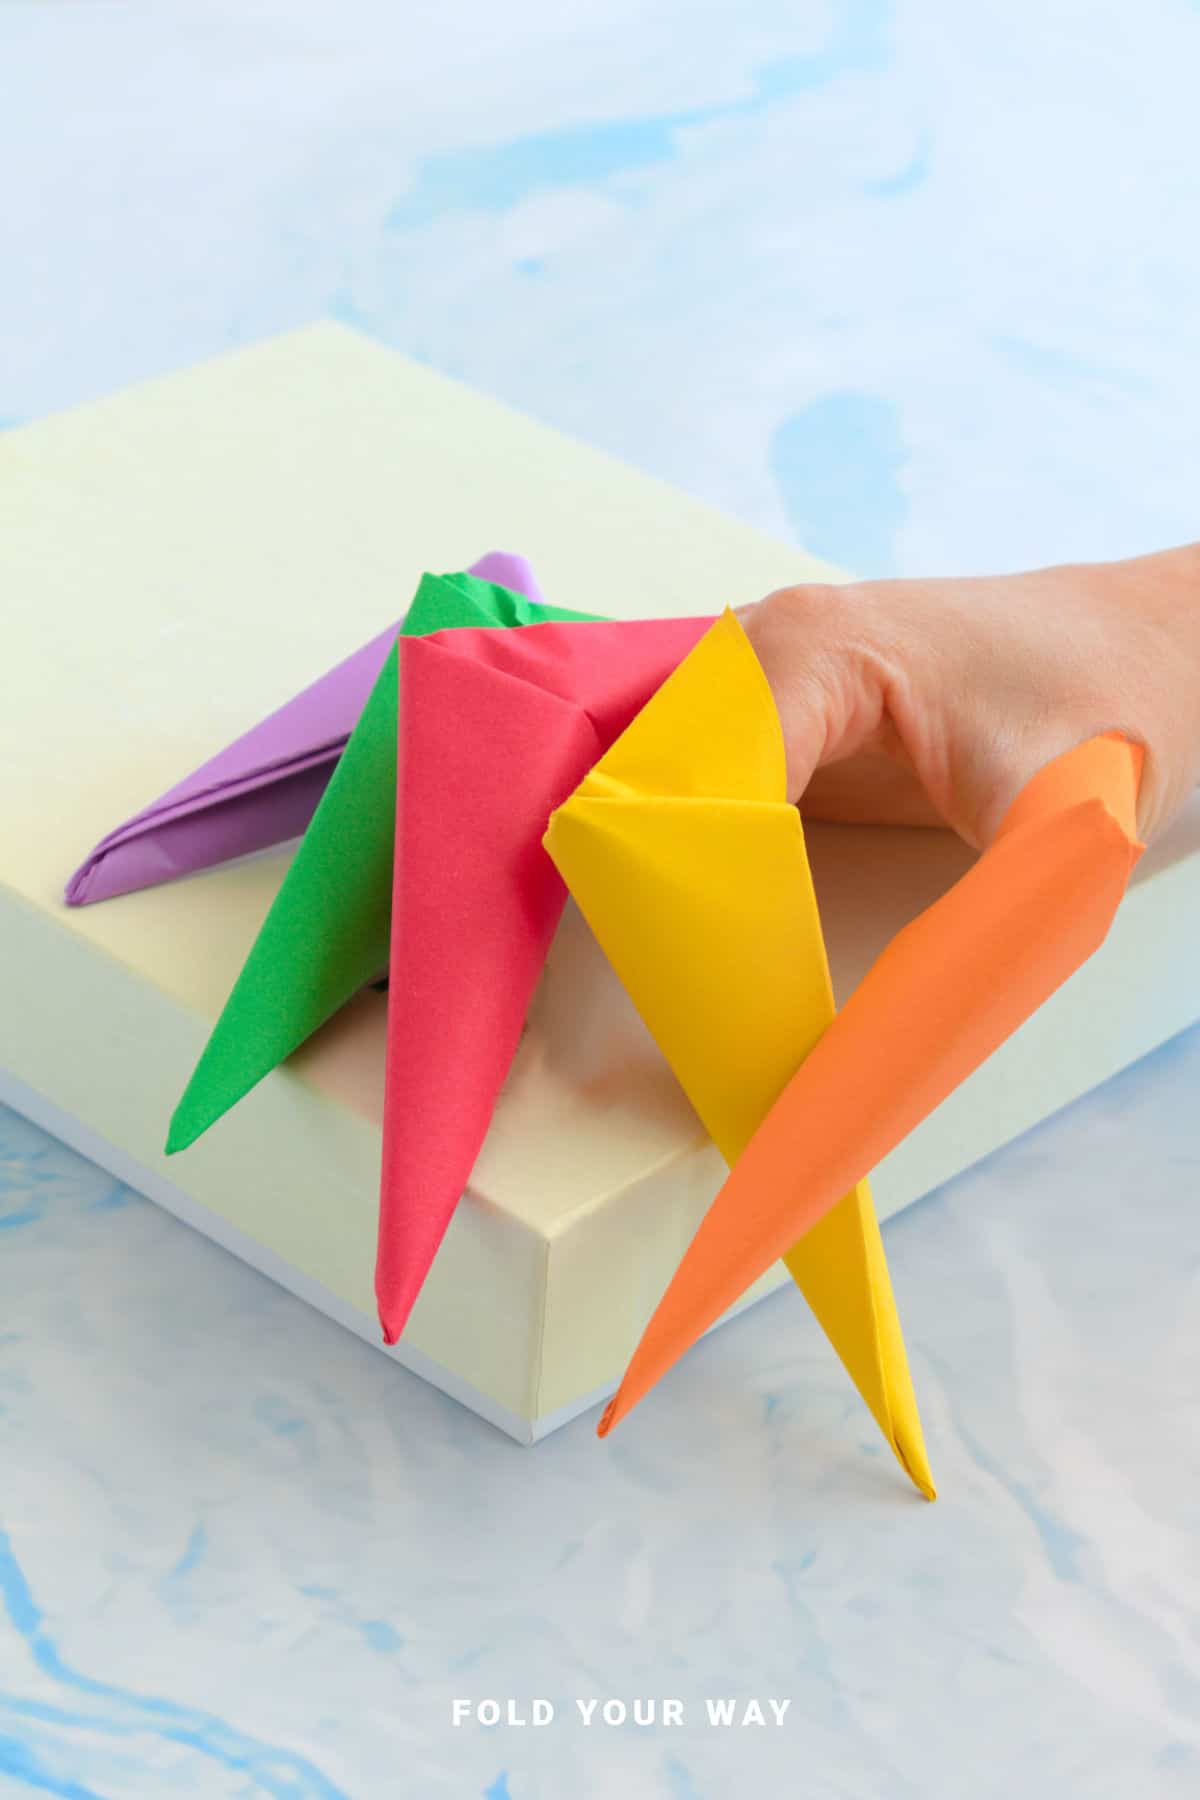
Perfect for Halloween, cosplay, or just a playful activity, these paper claws are quick to fold and customizable in size and color.
Jump to:
- Why You'll Love This Pattern
- Skill Level
- Materials Needed
- Instructions
- Tips For Success
- Common Mistakes & How To Avoid Them
- Color, Paper Ideas, and Variations
- FAQ
- Other Paper Crafts You Might Like To Try:
- Helpful Tips and Common Mistakes For Paper Crafts
- Stay Connected
- Other Patterns You Might Like To Try:
- Comments
Sometimes, the simplest crafts can make the biggest impact.
If you’ve ever wanted a spooky accessory for Halloween, a fun prop for a costume, or just a creative way to practice origami, knowing how to make easy origami claws is a skill worth having.
Using only standard A4 paper, you can fold these sharp-looking claws in minutes, and they’re surprisingly sturdy when done correctly.
The beauty of this project is its versatility. You can make claws for a single hand, a full set, or even as decorative paper accents.
The folds are beginner-friendly, yet they produce a dramatic result that looks much more complex than it really is. P
lus, working with A4 paper means you probably already have everything you need at home — no special origami paper required.
By the end of this tutorial, you’ll know exactly how to make easy origami claws, and you’ll have a set that’s perfect for costumes, Halloween decorations, or just showing off to friends.
Why You'll Love This Pattern
- Uses only standard A4 paper — no specialty supplies required
- Quick to fold, perfect for a last-minute Halloween accessory
- Beginner-friendly design with satisfying, sharp folds
- Can be customized in size, color, and number of claws
- Makes a fun, interactive craft that’s great for kids and adults alike
Skill Level
★☆☆☆☆ (Easy)
Materials Needed
A4 paper (any color, but black or red is especially striking). Preferably lightweight paper. If you use something like cardstock, it will be too hard to fold.
Instructions
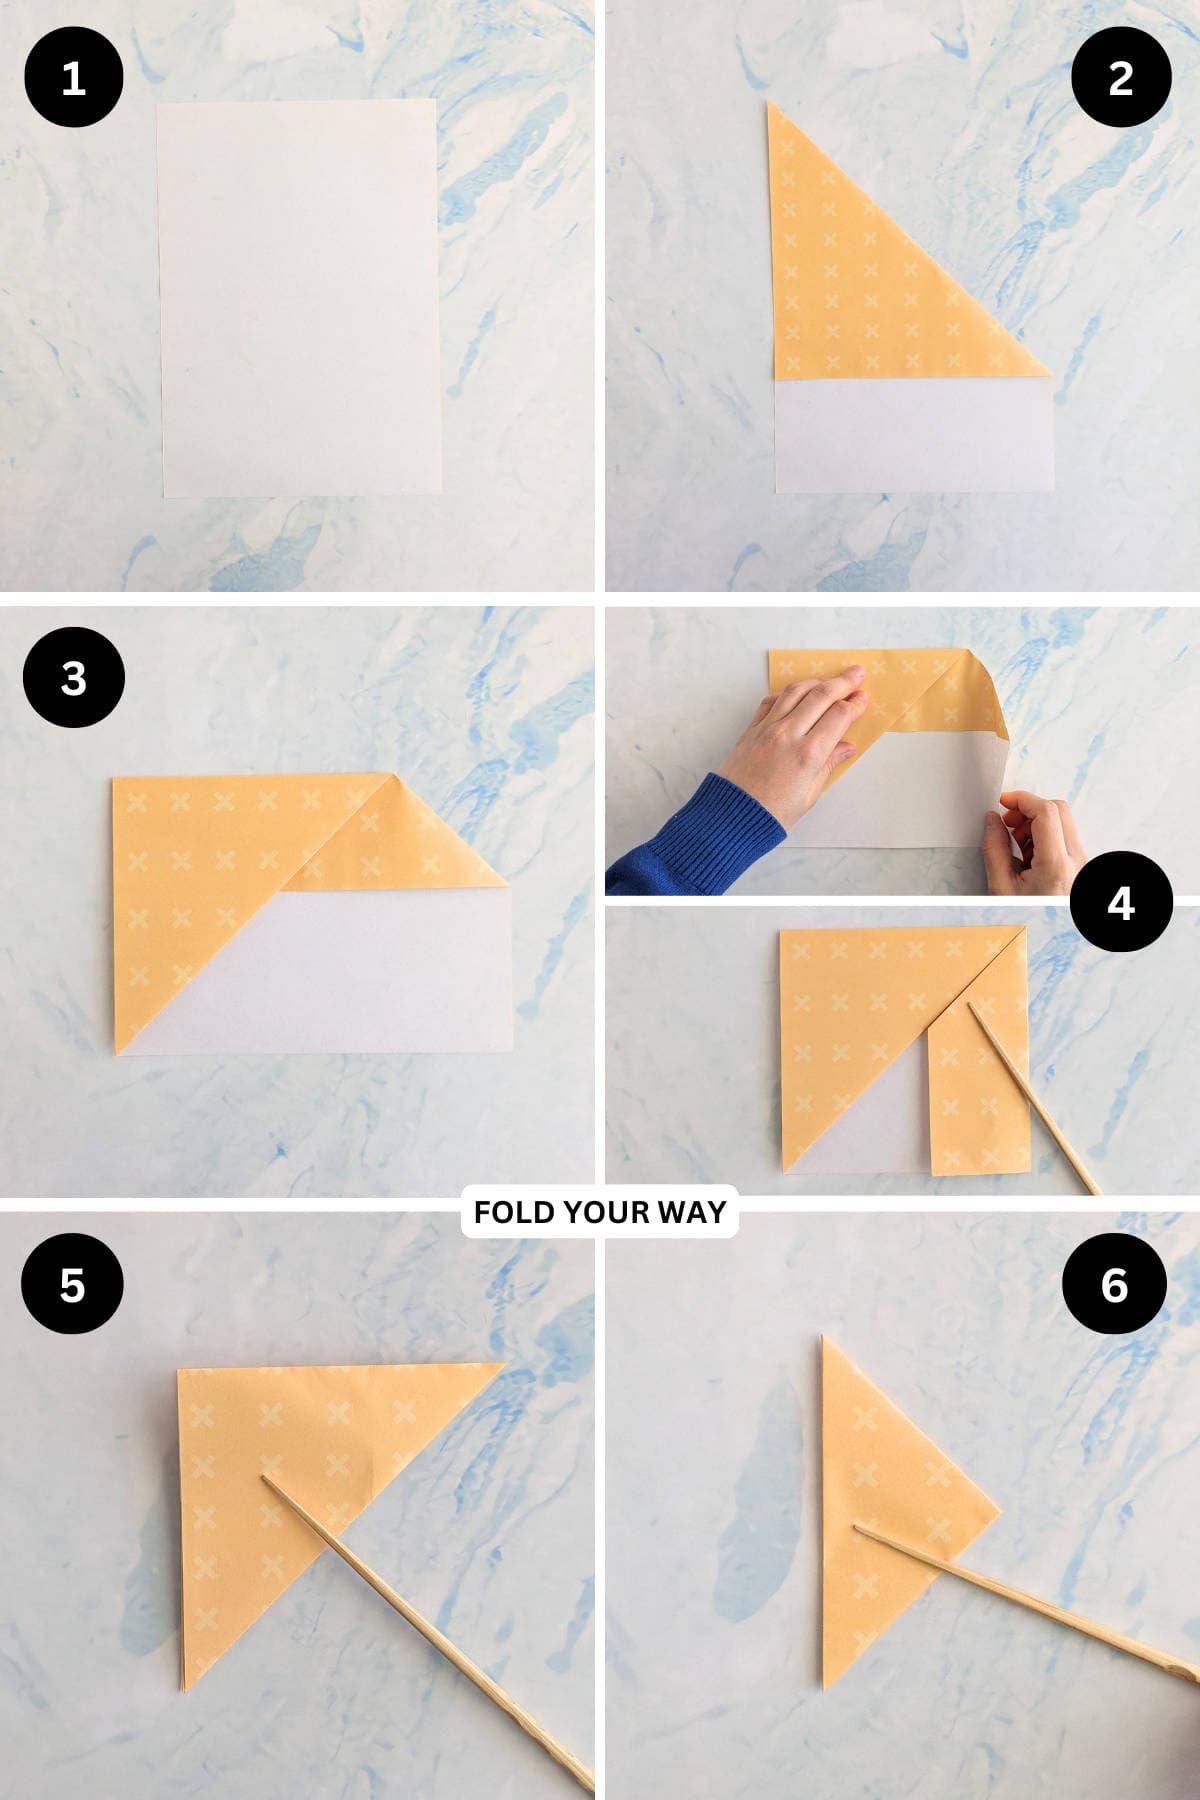
Step 1: Start with the color you want your claw to be facing down. Arrange your paper to sit vertically (portrait).
Step 2: Fold the top right corner down to meet the left edge.
Step 3: Fold the top point down to meet the bottom left corner.
Step 4: Fold the outer right edge in, so that the diagonal edges match as shown.
Step 5: Fold the bottom right corner up to meet the top left corner, to form a triangle.
Step 6: Fold the top right corner down to meet the bottom left corner.
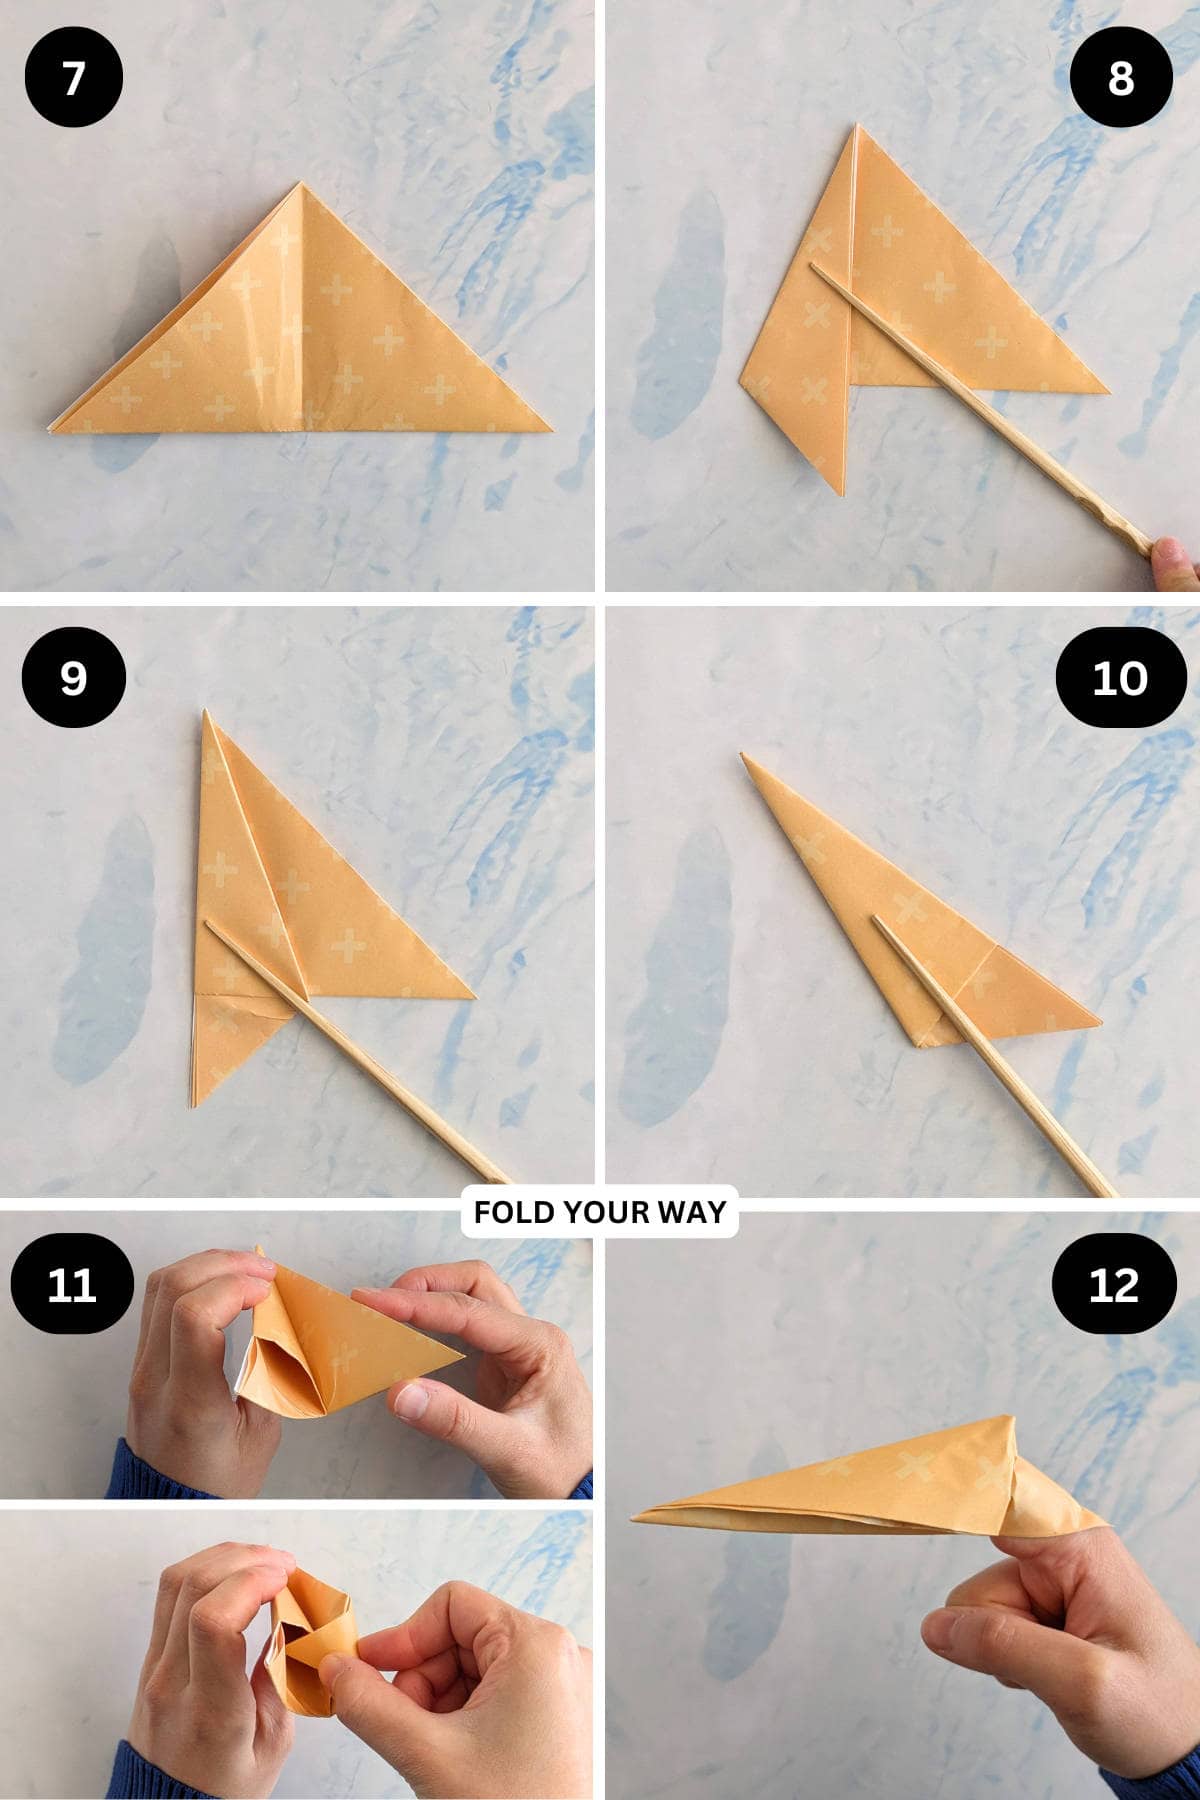
Step 7: Unfold previous step and arrange the paper to sit as shown.
Step 8: Fold the top left edge in to meet the middle crease.
Step 9: Fold the left edge to the right using the existing middle crease.
Step 10: Once again, fold the left edge to the right, but this time match it with the right edge.
Step 11: Slightly open out the paper as shown, then tuck the right point in to the little pocket found in the middle. Then flatten.
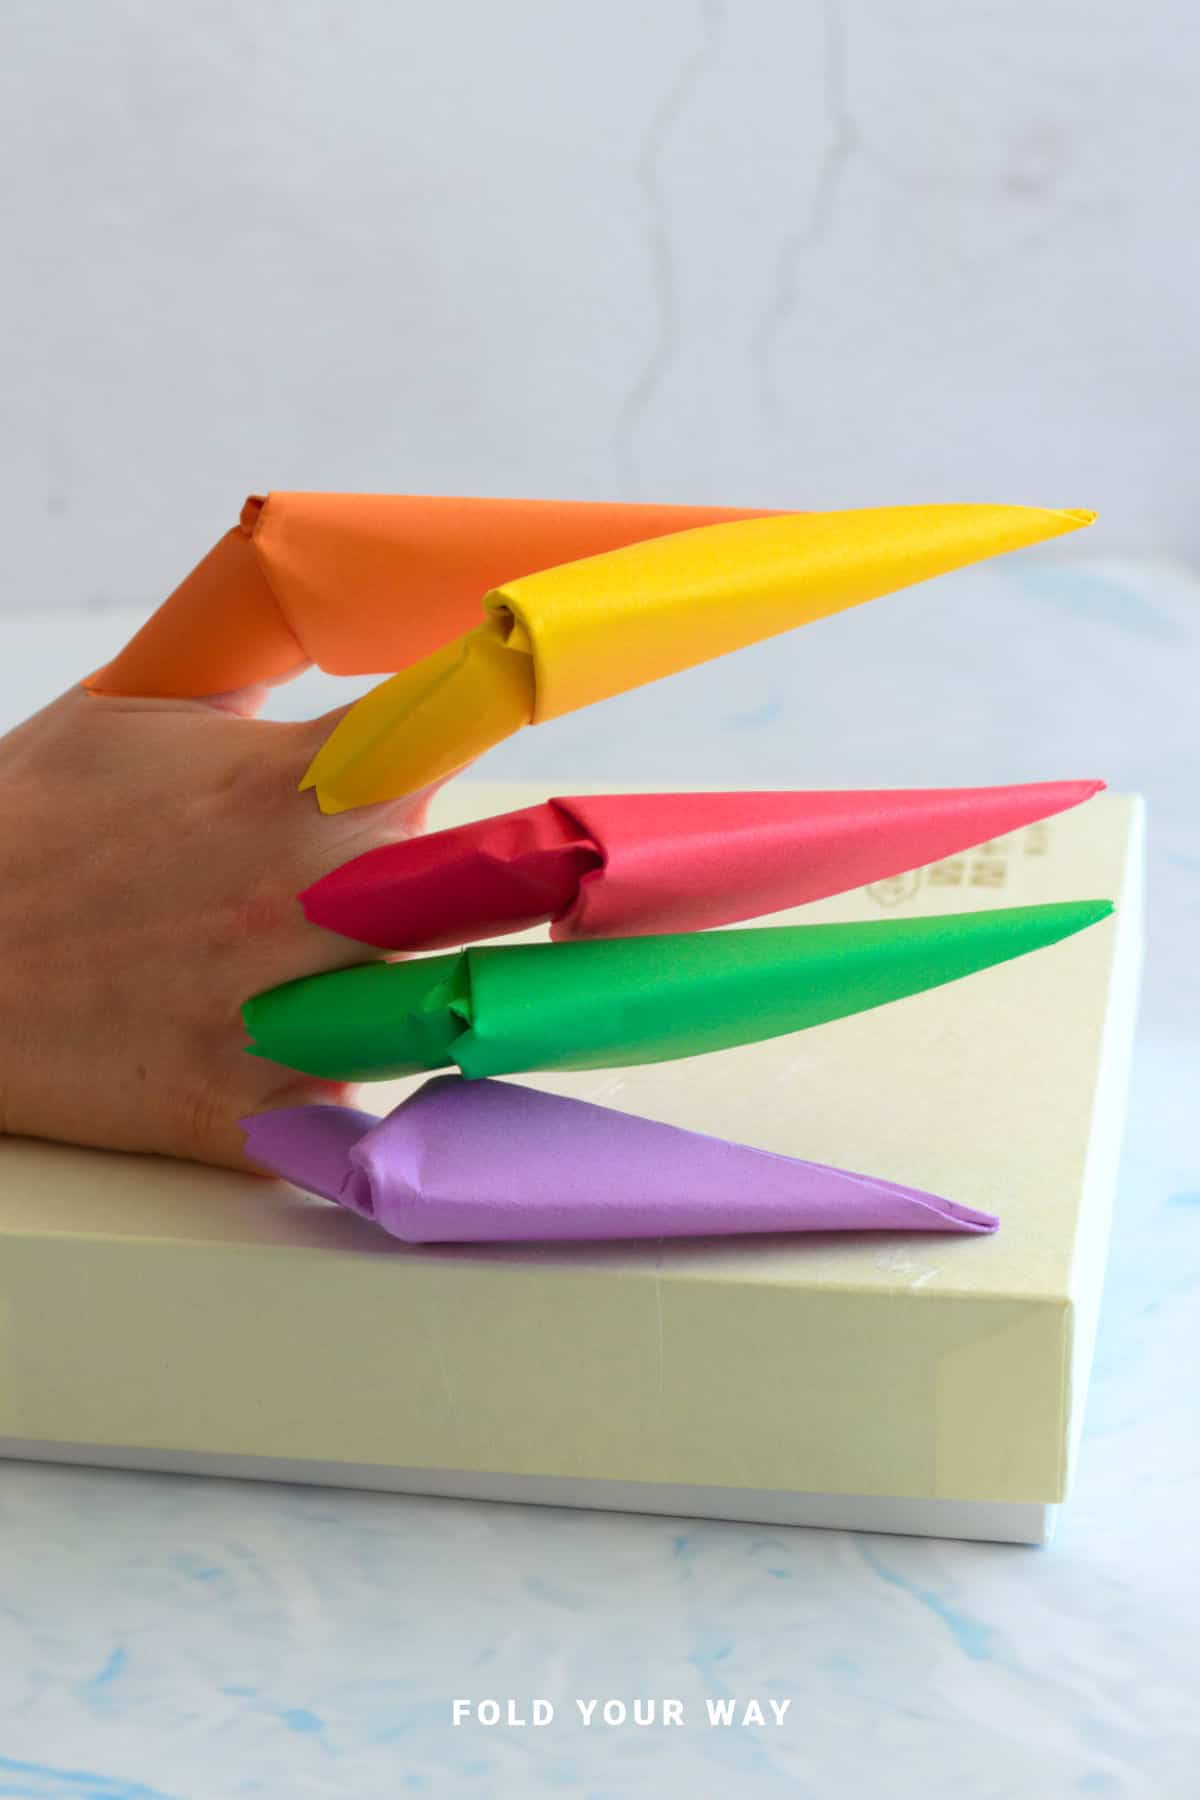
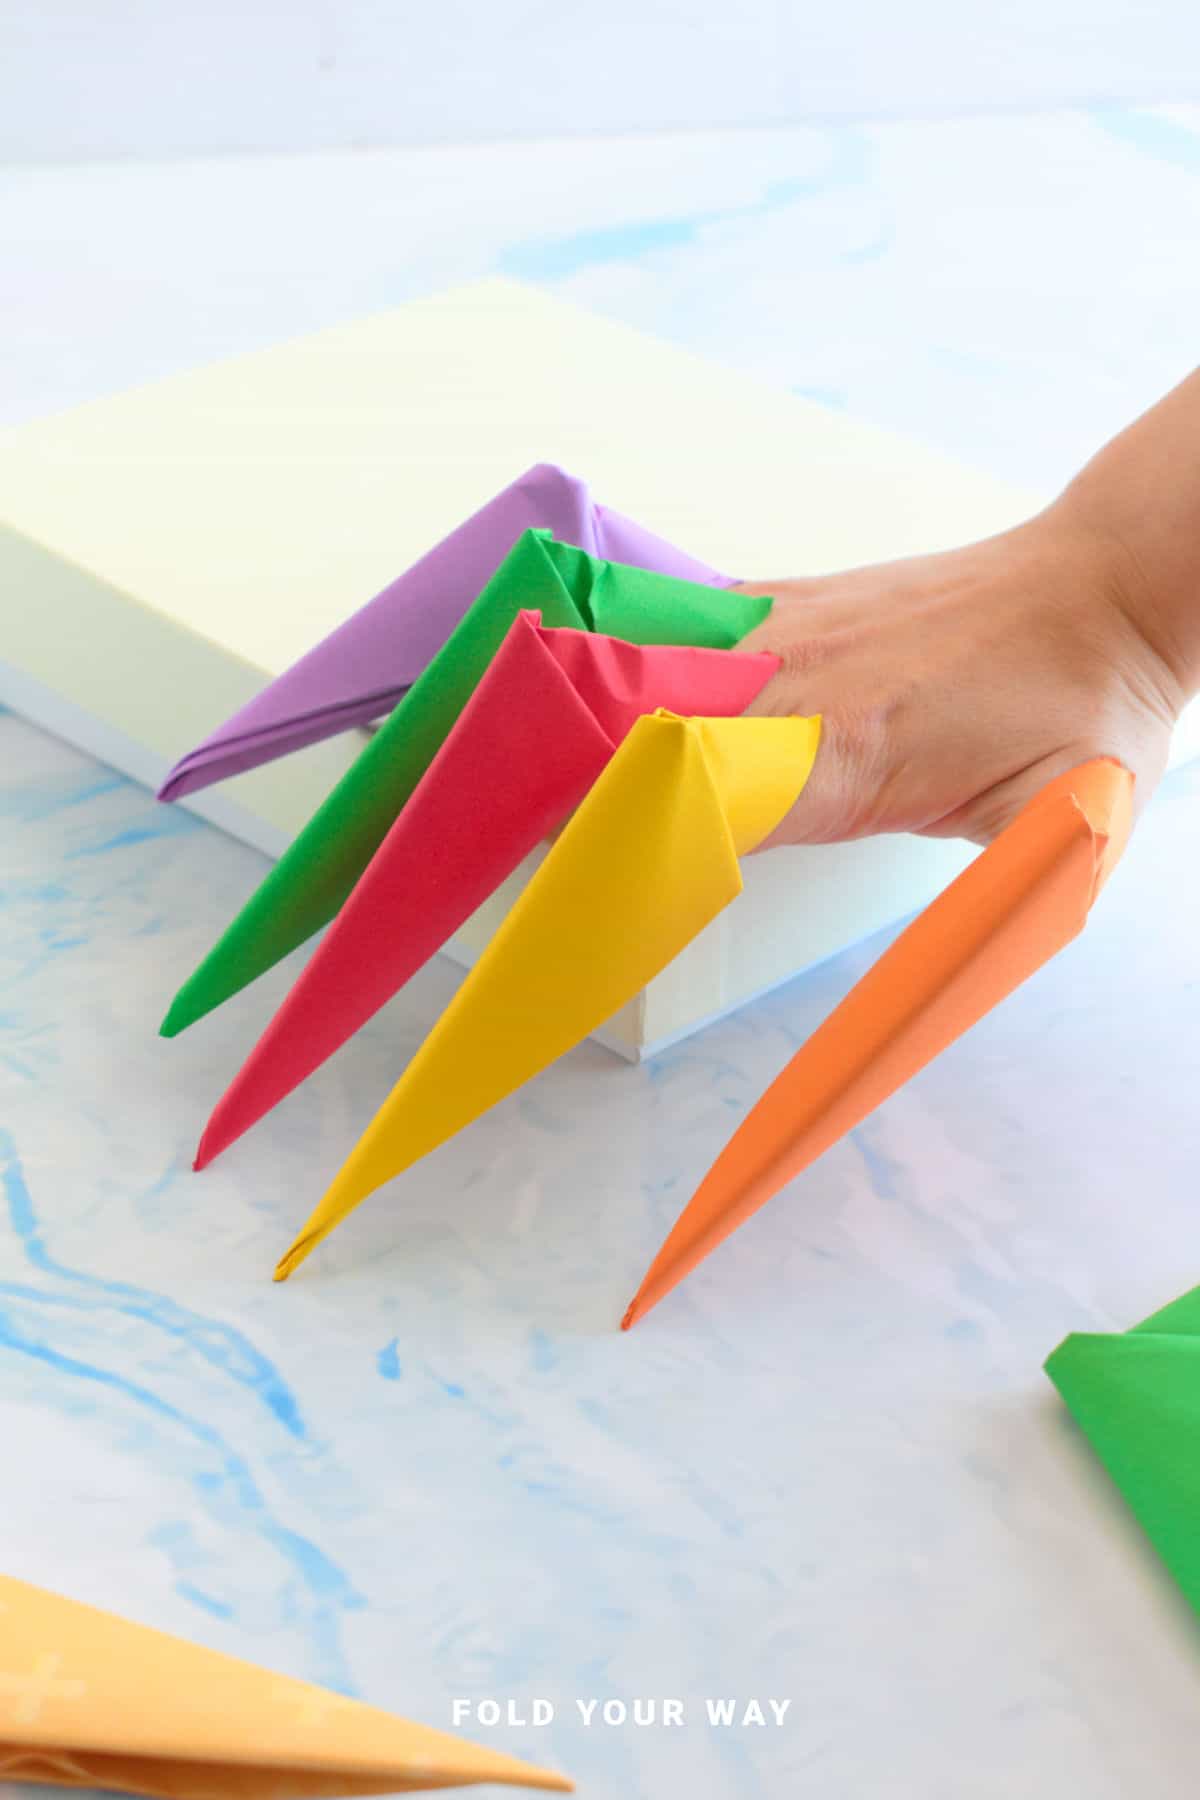
Step 12: Completed claw. To use – slip your finger into the triangle pocket as shown.
Repeat steps to make as many claws as you want!
Tips For Success
- Fold each crease sharply — crisp folds make the claws look sharper and hold their shape better.
- Experiment with colored or patterned paper to make claws that match costumes or seasonal themes.

Common Mistakes & How To Avoid Them
- Using thick paper — thick cardstock can be hard to fold and may tear. Stick with standard A4 for the best results.
- Rushing the folds — sloppy creases lead to loose or uneven claws. Take your time with each fold.
- Not folding the tip sharply — a blunt tip will make the claws look less dramatic. Make sure the final fold is crisp.
Color, Paper Ideas, and Variations
- Classic spooky look: Black paper for a dramatic, Halloween-ready style.
- Bloody effect: Red paper adds a playful, creepy touch for costumes.
- Themed sets: Match the paper color to a costume — green for monsters, silver for robot or cyborg costumes.
- Patterned paper: Stripes or metallic sheets make claws look fun and unique for parties.
FAQ
Yes, but standard A4 is easiest as it is usually lightweight. If you use paper that is too thick, it will become difficult to fold.
A single claw takes only a few minutes once you’re familiar with the folds. A full set for one hand can be completed in under 20 minutes.
Other Paper Crafts You Might Like To Try:
Helpful Tips and Common Mistakes For Paper Crafts
Paper crafting and origami can be hard sometimes. Which is why we've made this printable PDF just for you.
It outlines helpful tips so that you can successfully complete your craft, and some of the most common mistakes people come across.
You can download the helpful tips and common mistakes for paper crafts printable PDF here.
Stay Connected
Made this pattern? Let us know how it went in the comments below!
Pin this post - Pin now to take your paper crafting skills to the next level.
Share on Instagram or Facebook - Capture the beauty of your finished paper craft project and share it on Instagram or Facebook! Tag us @foldyourway so we can see your work!
Other Patterns You Might Like To Try:
Looking for other easy patterns like this? Try these:
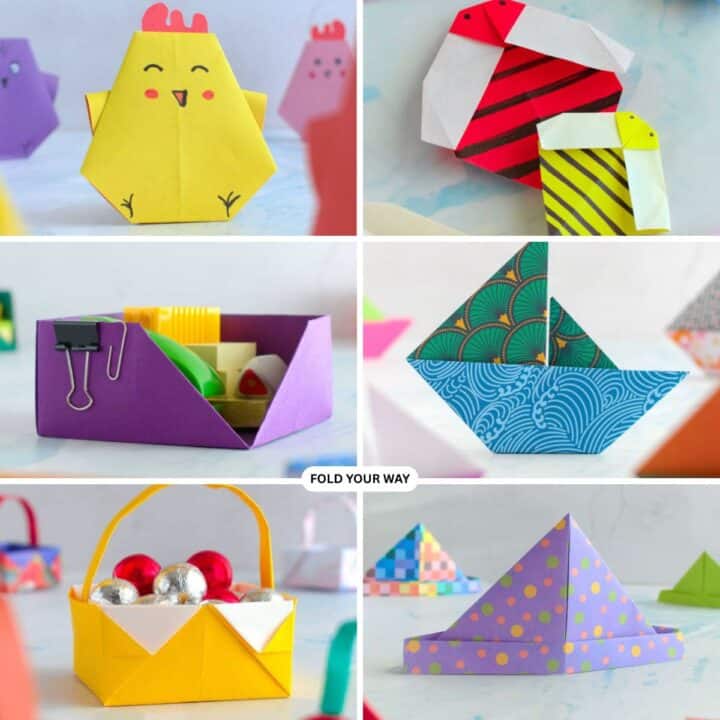
- Easy Origami and Simple Paper Craft Ideas
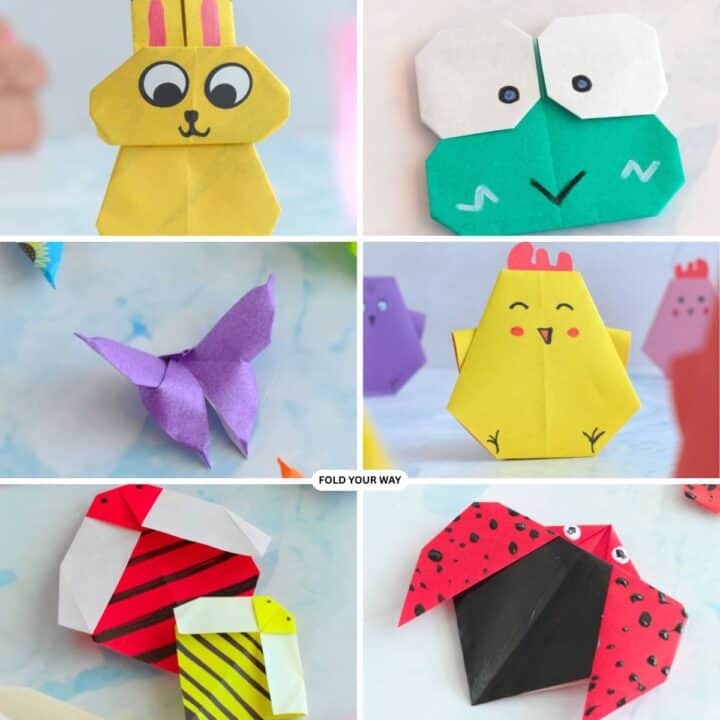
- Cute Origami Ideas
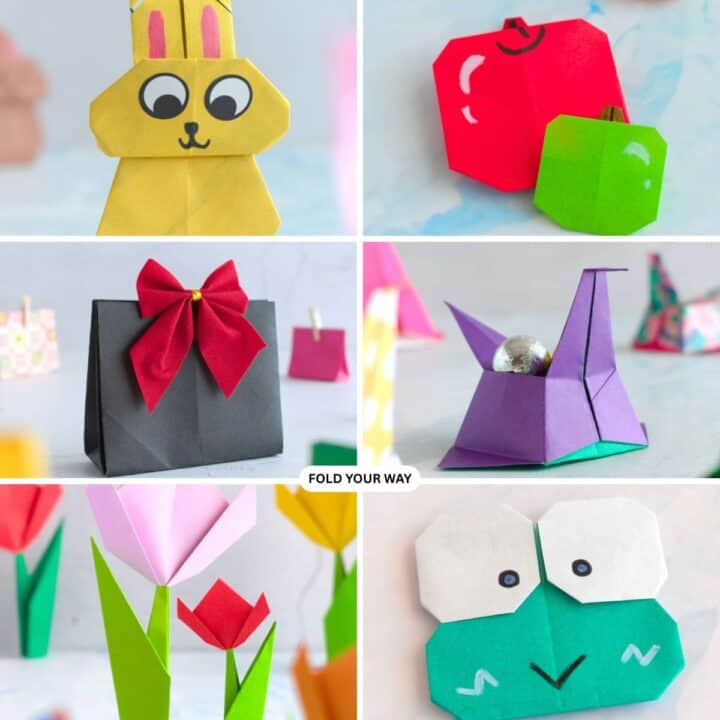
- Easy Origami Animals and Insect Crafts
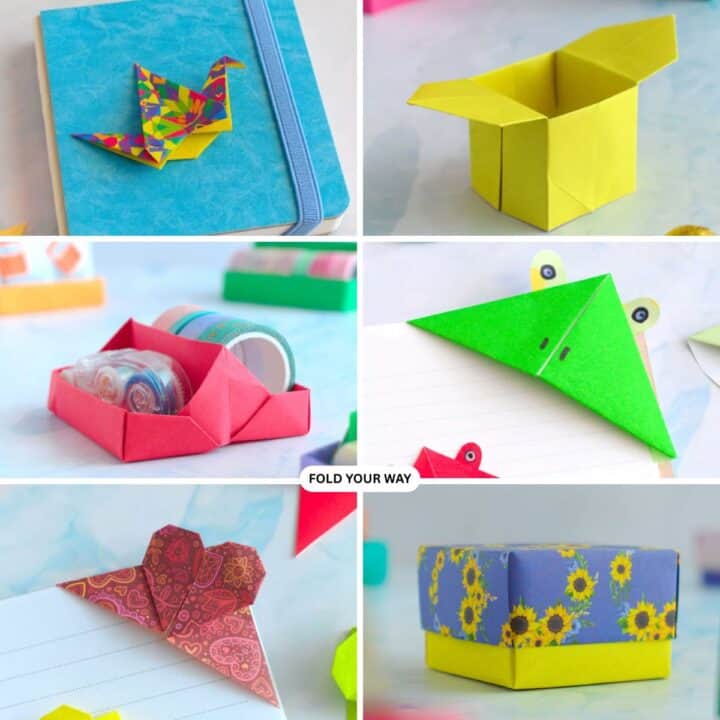
- Easy Origami Boxes, Bookmarks, and Small Paper Crafts
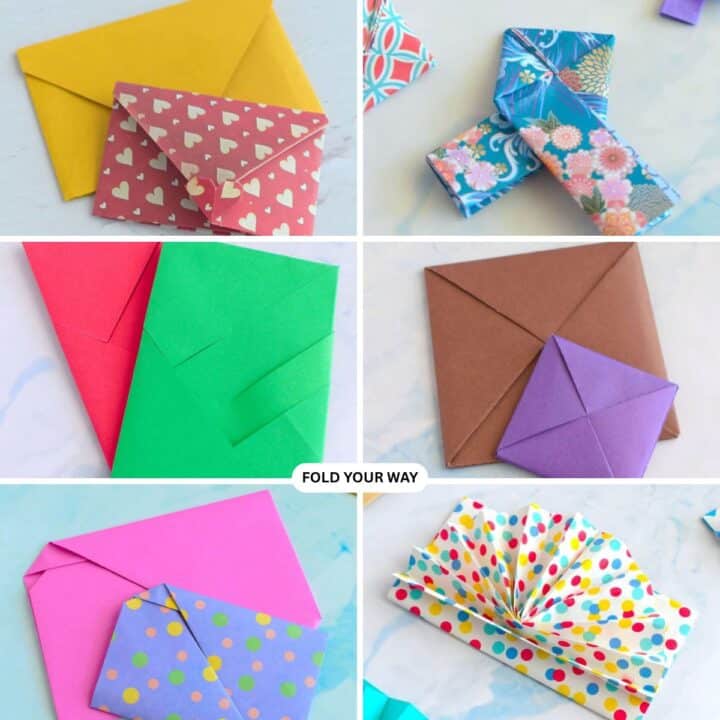
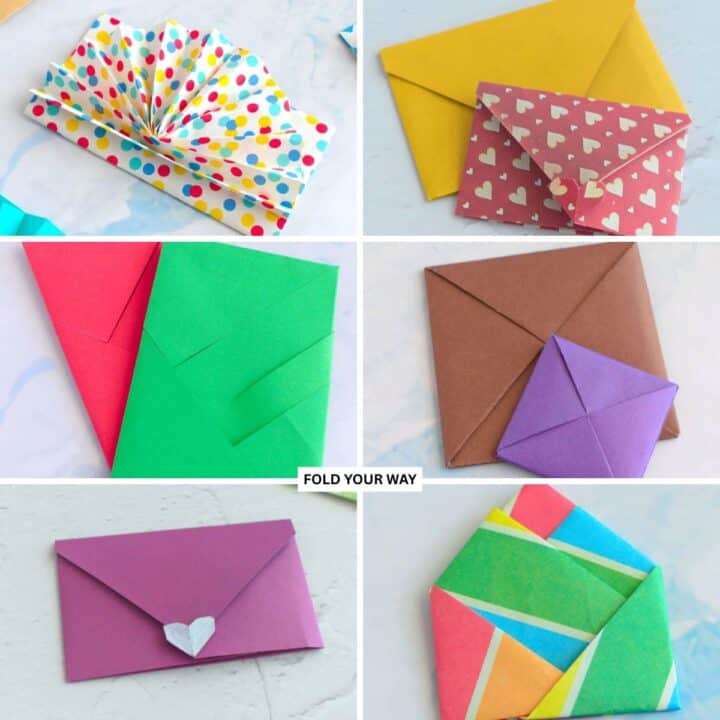
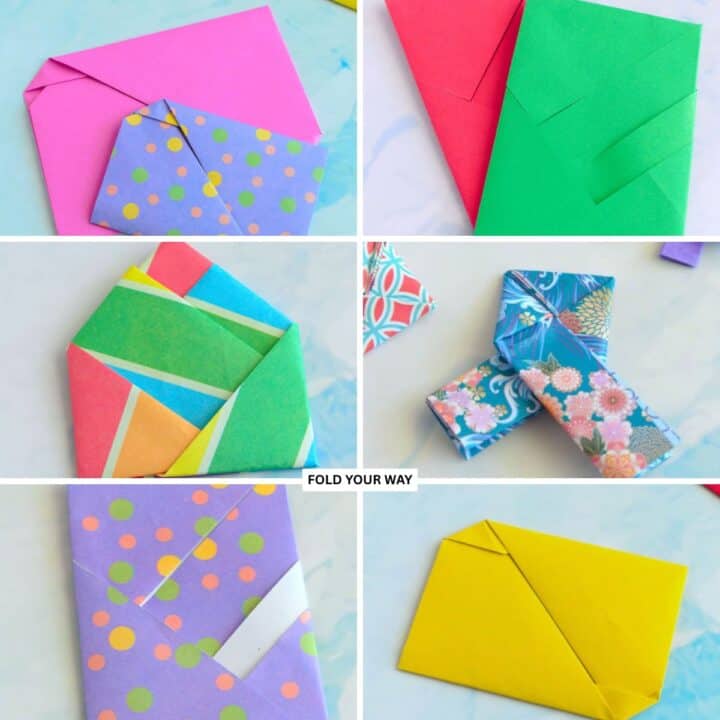
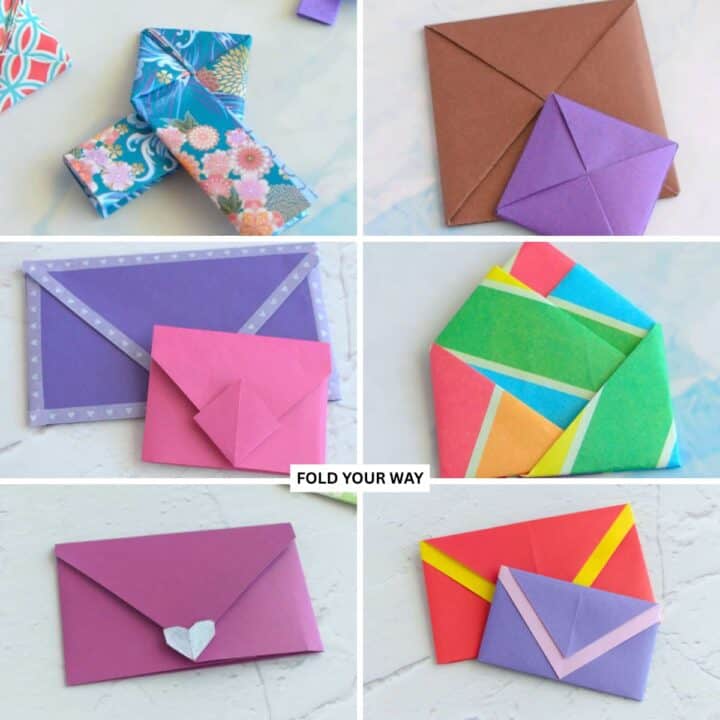
- Origami Envelopes and Letter Folding Techniques
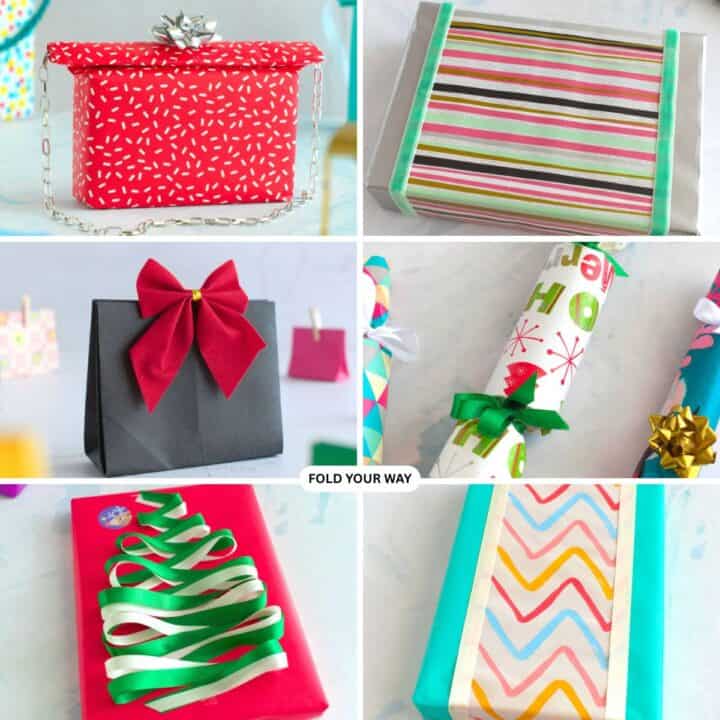
- DIY Gift Wrapping and Paper Presentation Ideas
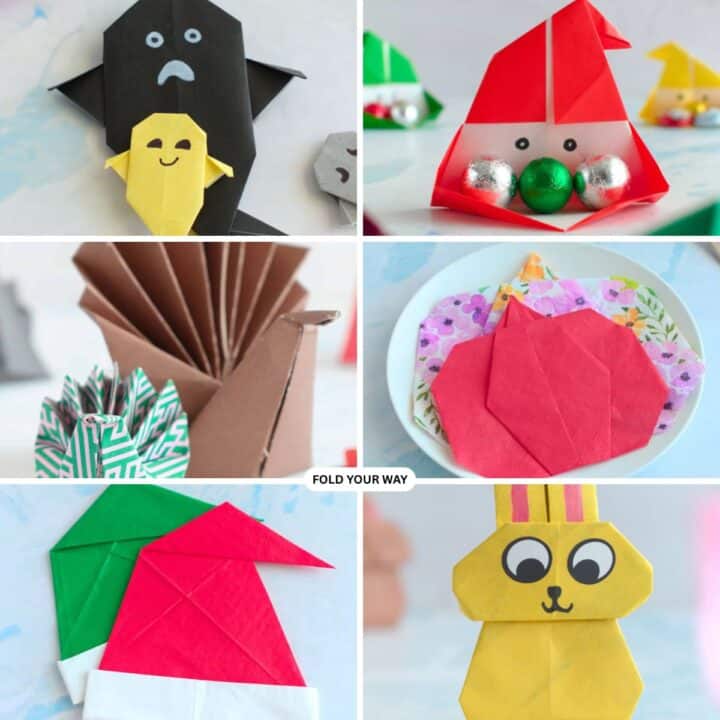
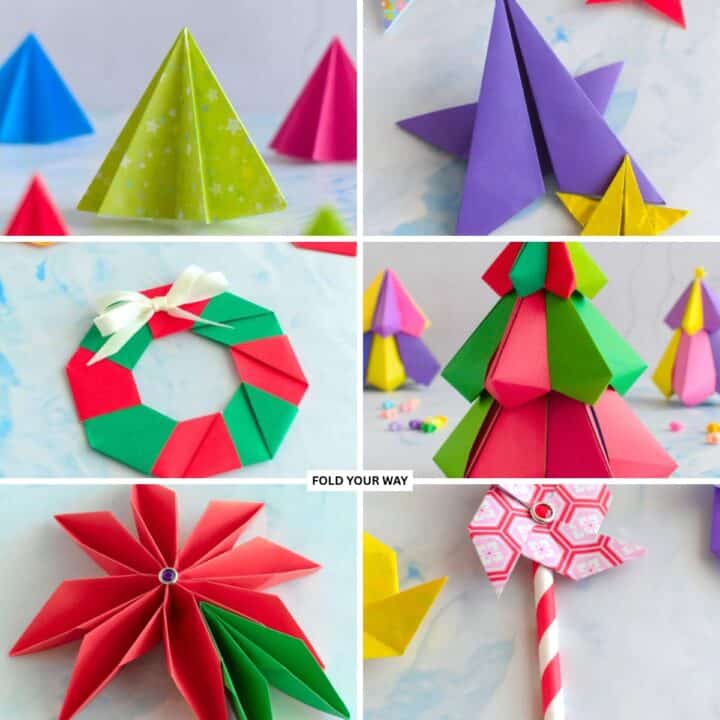
- Seasonal Origami and Holiday Paper Crafts
- Easy Napkin Folding Ideas and Table Decor

Comments
No Comments