
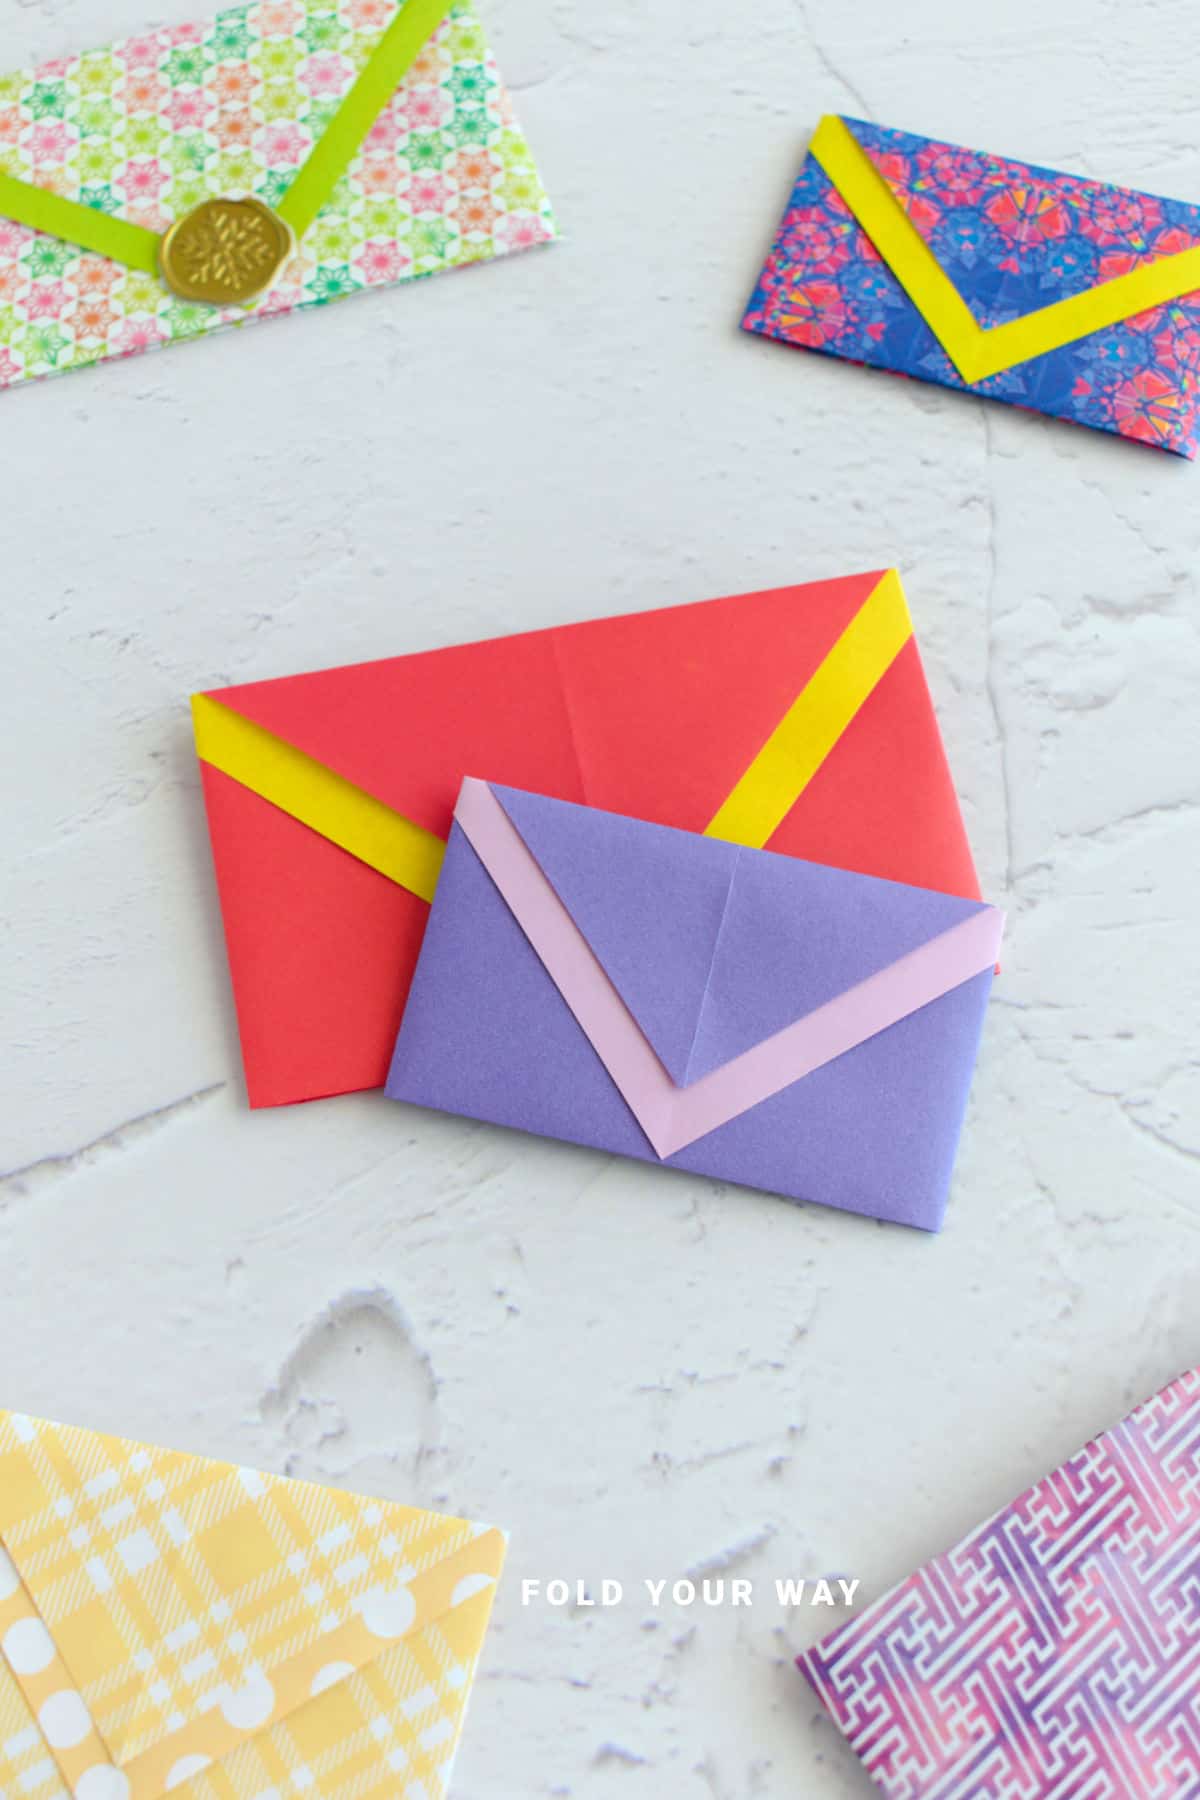
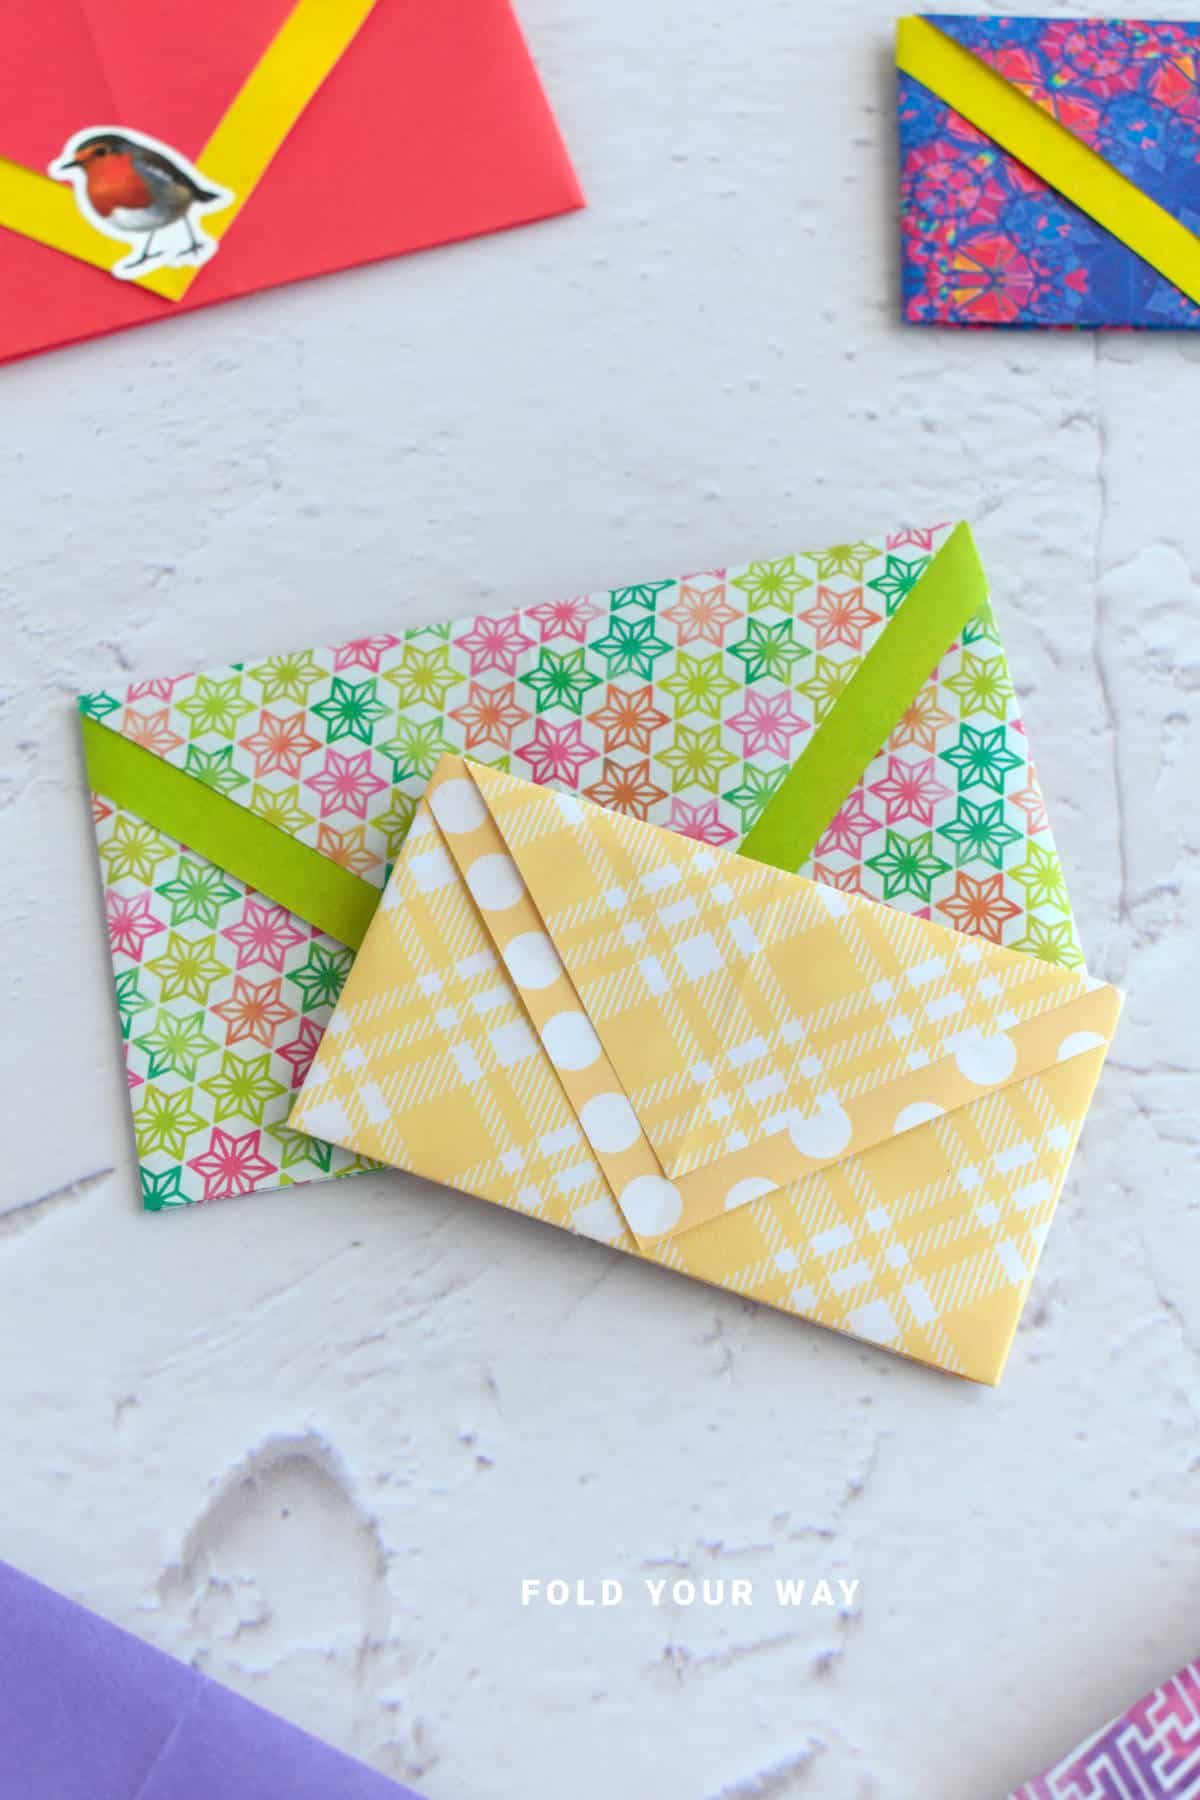
Looking for a fast and practical way to hold notes, cards, or small gifts?
This DIY Paper envelope is an easy origami project for beginners that turns a single square sheet of paper into a neat, functional envelope.
Perfect for thank-you notes, gift cards, or small keepsakes, it lets you add a personal, handmade touch without buying supplies.
Simple, satisfying, and versatile, this fold is both a creative outlet and a practical solution for organizing or gifting.
Jump to:
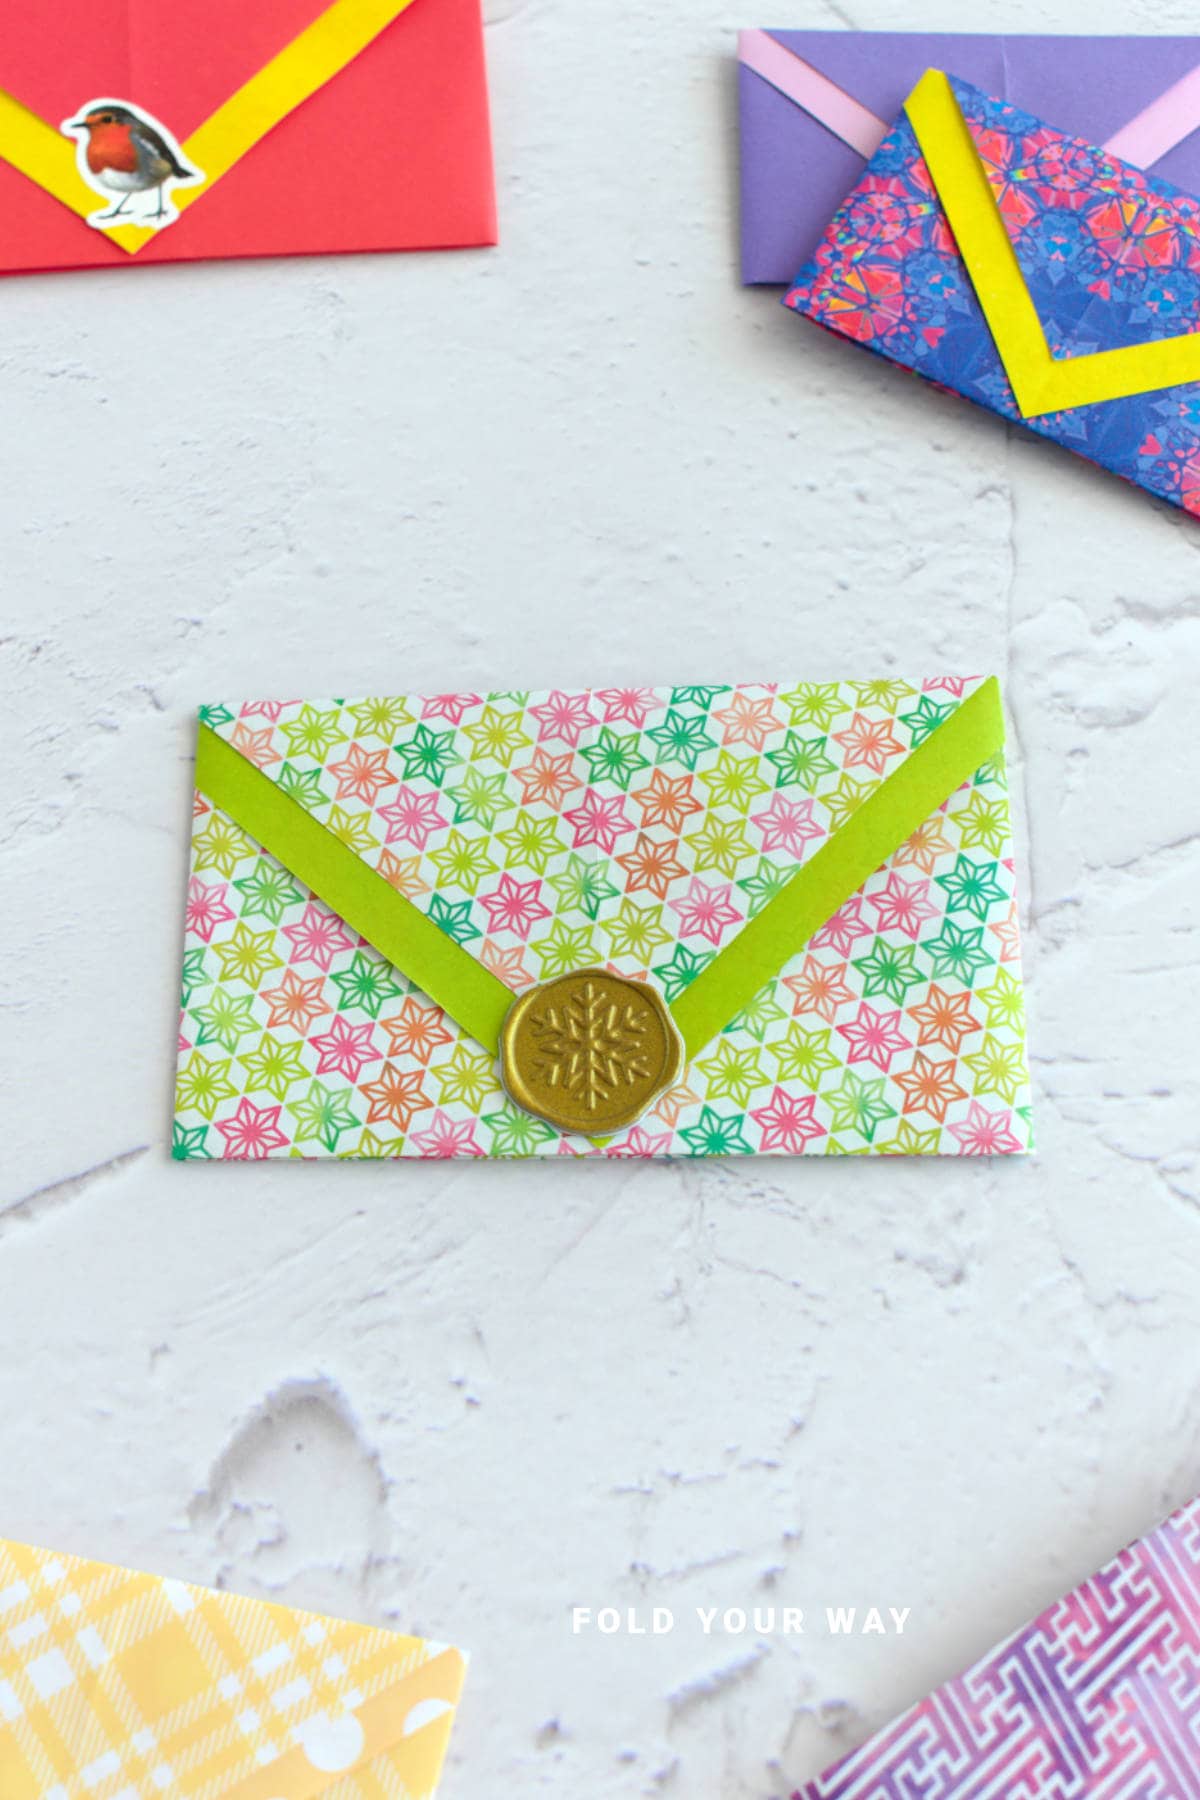
Sometimes, all you need is a simple solution to hold small items neatly.
This DIY Paper envelope takes just one square sheet and turns it into a tidy, functional envelope that’s perfect for notes, cards, or little keepsakes.
This easy origami project for beginners lets you organise papers at home, create thoughtful gift packaging, or add a personal touch to small tokens.
Whether it’s for a birthday card, a handwritten thank-you, or a quick cash gift, making a DIY Paper envelope is surprisingly satisfying.
Once you fold your first one, you’ll naturally want to create more for invitations, party favors, or storing receipts and small notes.
This project is a great gift idea on its own or paired with a handmade note, giving you something both practical and personal.
Using different colors, patterns, or textures of paper can also turn a simple envelope into a stylish, memorable presentation.
Why You'll Love This Pattern
- Quick and practical: Create a functional envelope from one square sheet in minutes
- Beginner-friendly: Perfect for anyone new to origami
- Customizable: Use colorful, patterned, or recycled paper to match any occasion
- Versatile: Ideal for notes, gift cards, small keepsakes, or party favors
- Adds a personal touch and a sense of accomplishment
Skill Level
★☆☆☆☆ (Easy)
Materials Needed
1 x sheet of square paper.
You could use origami paper, lightweight cardstock, or even printer paper. Just make sure it is in a square first before you fold.
An origami envelope made with 6 inch (15 cm) square origami paper will make an envelope that is about 4 inches x 2 inches (10 cm x 5 cm). This is a small envelope great for little trinkets, jewellery, or notes.
If you want a bigger envelope, you could use 8 inches (20 cm) paper. This will make an envelope that is about 5 inches x 3 inches (12 cm x 7.5 cm). This is great for gift cards, letters, notes, etc.
Instructions
Step 1: Start with the main color you want your envelope to be facing down. The color facing up will become your stripe color. Arrange your paper to sit like a diamond shape.
Step 2: Fold the left point to meet the right point.
Step 3: Unfold previous step.
Step 4: Fold the bottom point up towards the top point, leaving a small gap of your choosing (e.g. 0.40 inches / 1 cm). This will become the width of your stripe.
Step 5: Flip your paper over from left to right.
Step 6: Fold the top point down to meet the bottom edge.

✨ You're almost there! ✨
To unlock the final steps and complete your pattern, create a free account with Grow.me. below.
Make sure you tick the box to subscribe to our newsletter and stay up to date with the latest patterns, tips, and more!
Once you're signed up, you'll get instant access to finish your project and enjoy exclusive content in the future.
Already signed up? Hit the button below and select ‘Switch to Log In’ to pick up where you left off and finish your project!
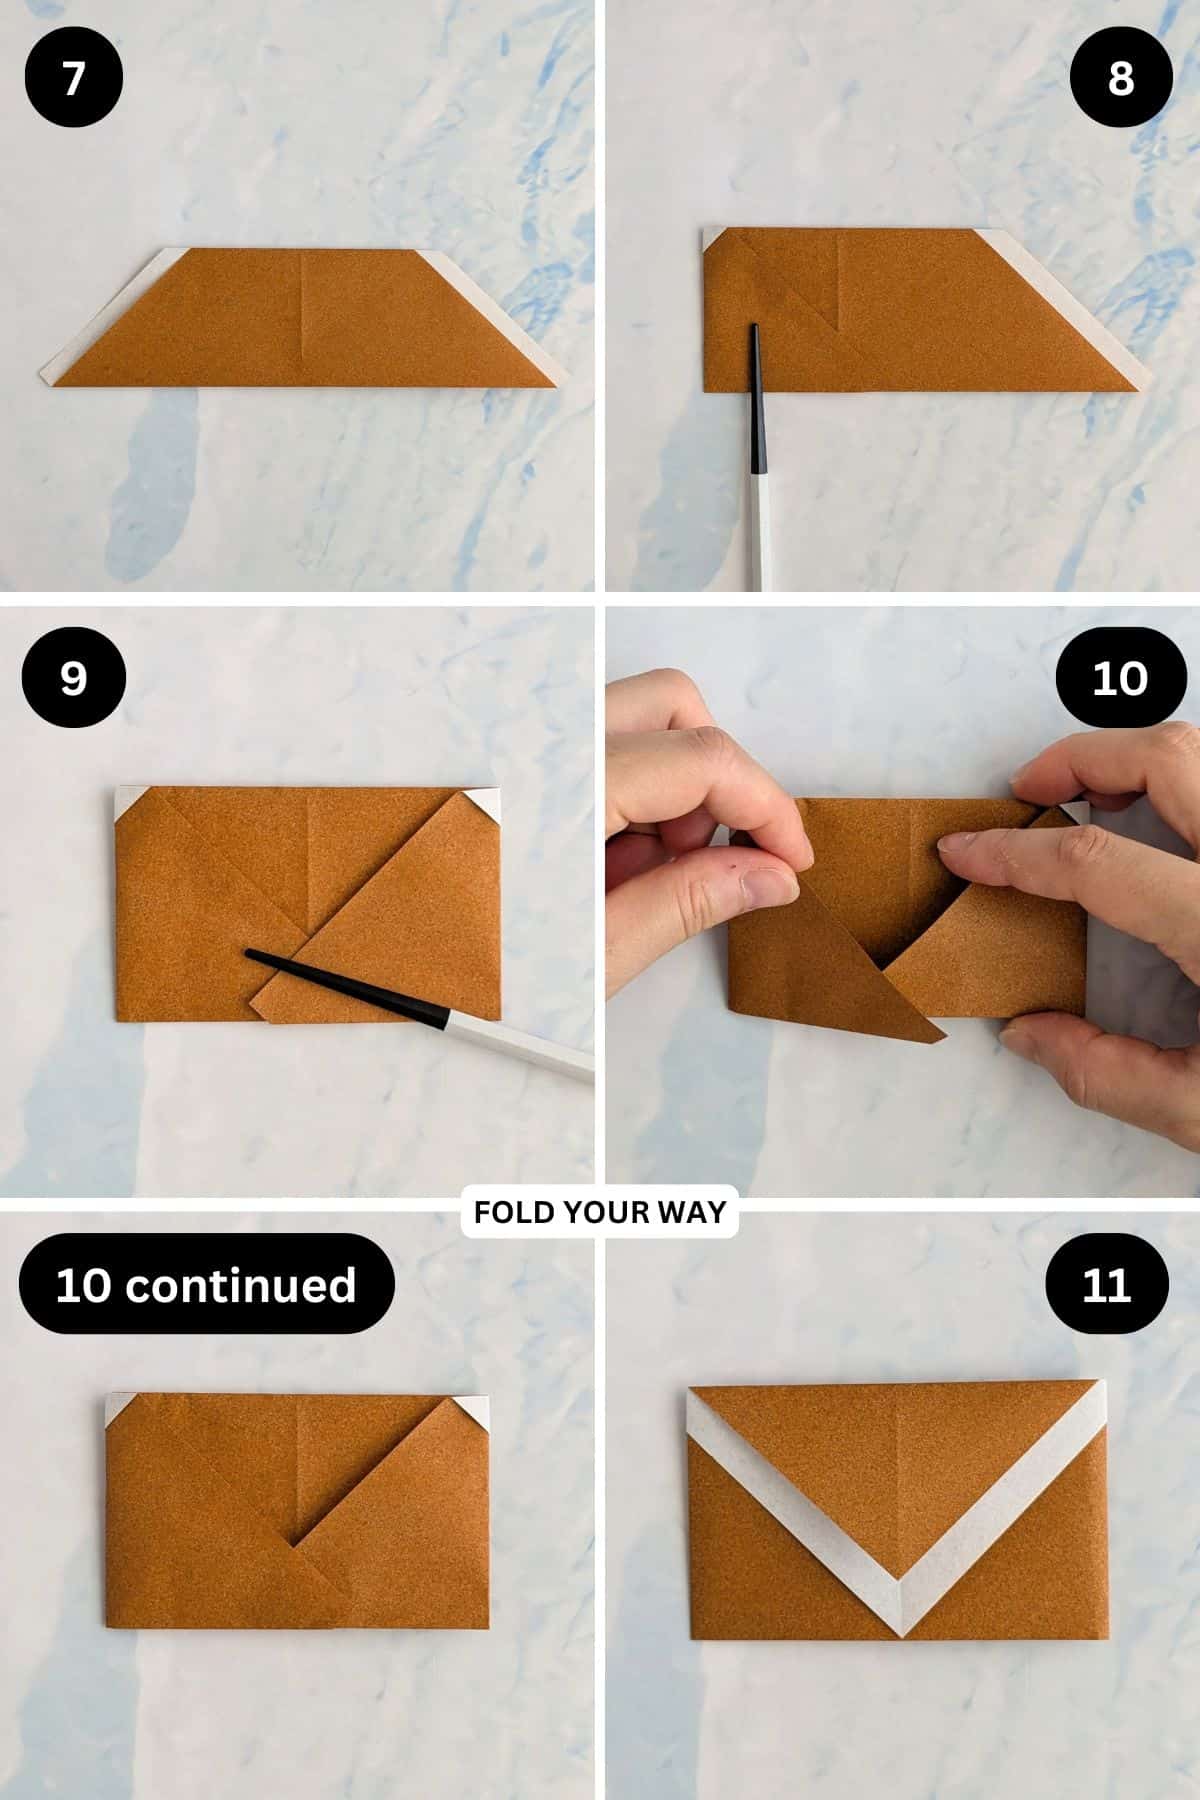
Step 7: Flip your paper over from left to right.
Step 8: Fold the left point slightly past the middle.
Step 9: Fold the right point slightly past the middle, trying to keep it as symmetrical as possible. This will make your final envelope look neater.
Step 10: Slip the right flap (that you folded in the previous step) into the left flap.
Step 11: Flip your paper over from left to right. Completed envelope. To seal, you can use washi tape, a sticker, or double sided tape.
Tips For Success
- Press each fold firmly for crisp, neat edges
- Start with thinner paper for easier folding
- Align edges carefully for a tidy, professional look
- Practice with scrap paper before your final sheet
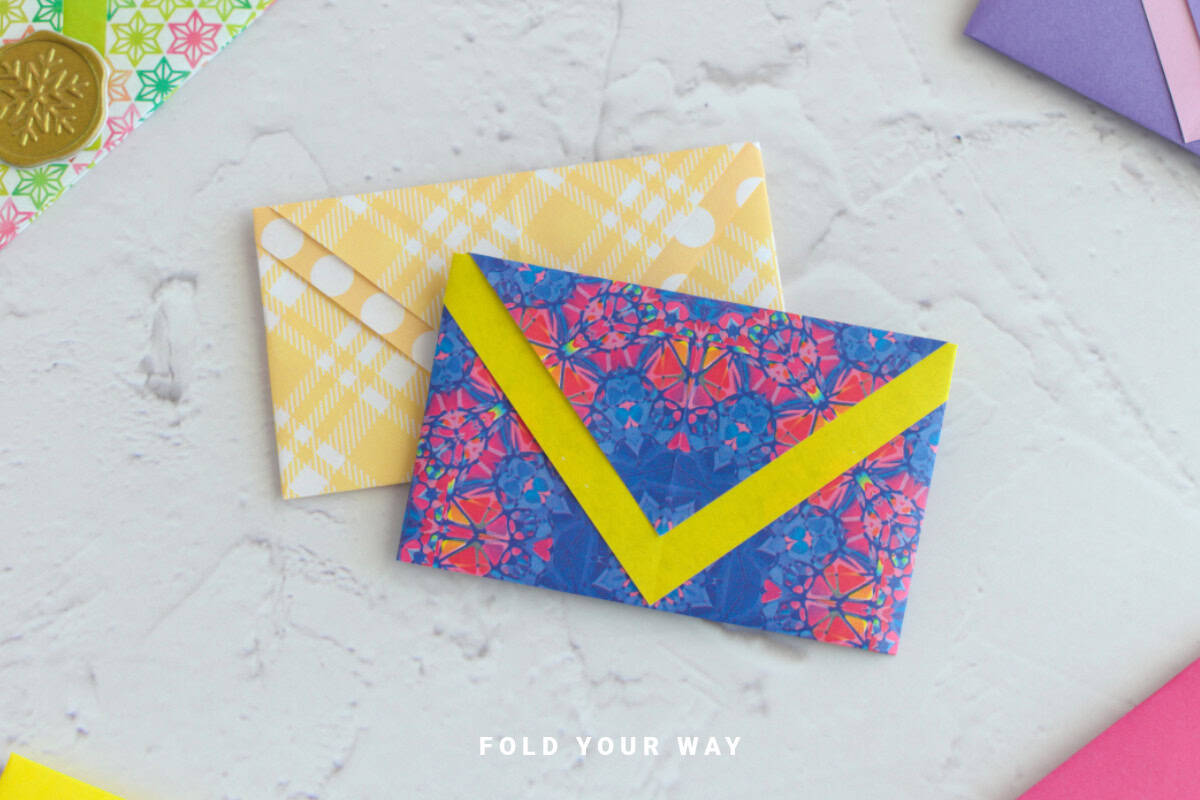
Color, Paper Ideas, and Variations
- Solid colors for a sleek, classic envelope
- Patterned paper for birthdays or festive occasions
- Kraft or recycled paper for a natural, minimalist style
- Mix and match inner and outer paper colors for visual interest
- Handwritten notes, invitations, or thank-you cards
- Party favors or place cards
- Cash gifts or gift cards (great gift idea)
- Organizing receipts, small papers, or stamps
FAQ
No—this project uses a single square sheet.
To seal your envelope your could use some double sided tape, or a sticker, or even ribbon.
Yes, though thinner paper folds more cleanly, while thicker paper may be stiffer and harder to tuck.
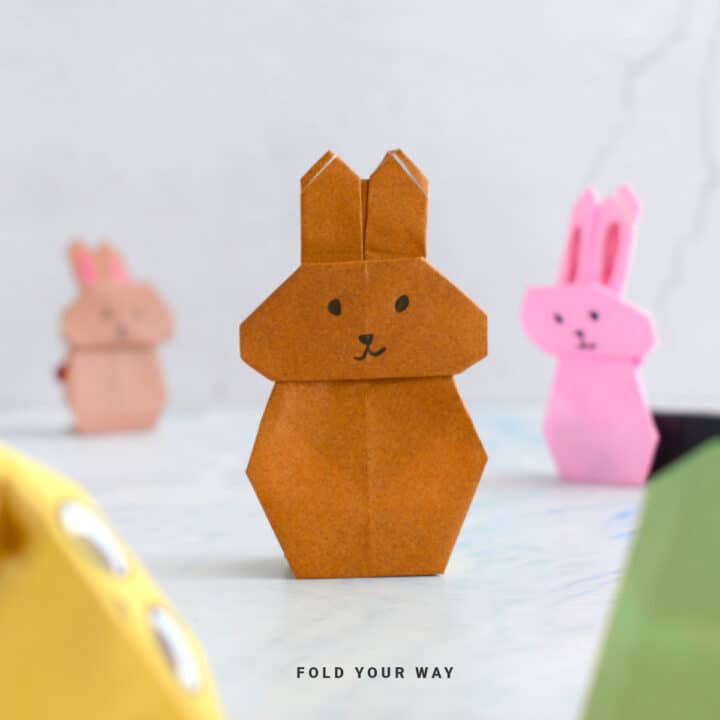
Other Paper Crafts You Might Like To Try:
Helpful Tips and Common Mistakes For Paper Crafts
Paper crafting and origami can be hard sometimes. Which is why we've made this printable PDF just for you.
It outlines helpful tips so that you can successfully complete your craft, and some of the most common mistakes people come across.
You can download the helpful tips and common mistakes for paper crafts printable PDF here.
Stay Connected
Made this pattern? Let us know how it went in the comments below!
Pin this post - Pin now to take your paper crafting skills to the next level.
Share on Instagram or Facebook - Capture the beauty of your finished paper craft project and share it on Instagram or Facebook! Tag us @foldyourway so we can see your work!
Other Patterns You Might Like To Try:
Looking for other easy patterns like this? Try these:


Comments
No Comments