
Need something quick but still thoughtful?
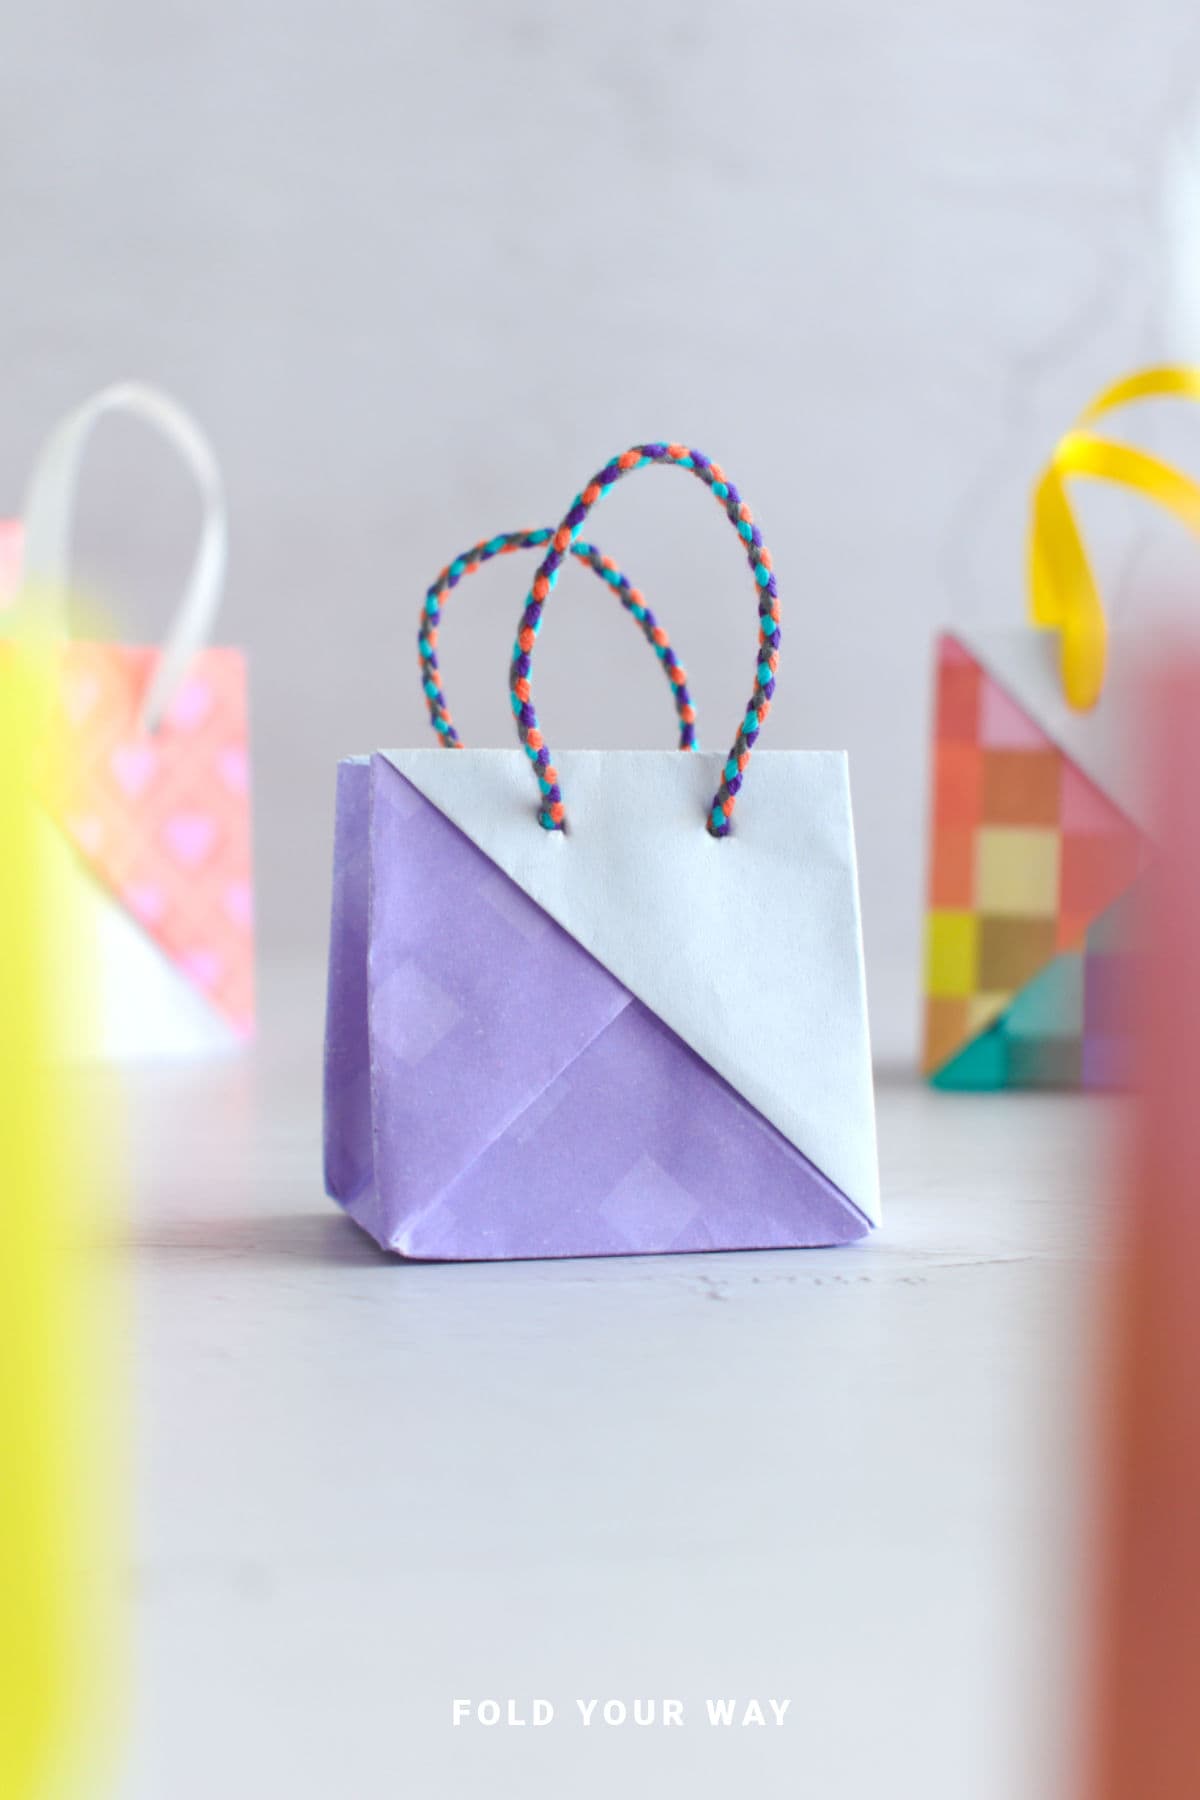
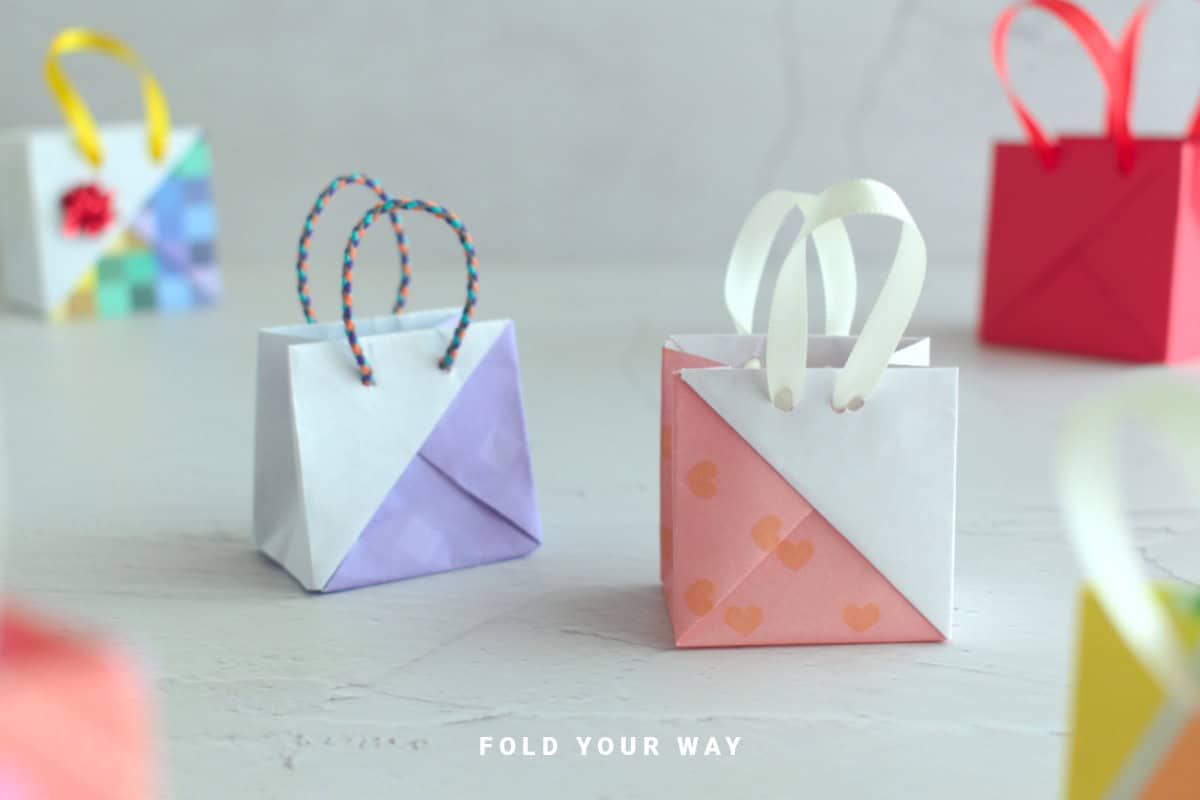
These DIY paper gift bags with handles are perfect for weddings, party favors, birthdays, and small handmade gifts.
Made using basic folds with no glue required, they’re sturdy, elegant, and easy to customize.
All you need is paper, a hole punch, and ribbon to create a gift bag that feels personal and polished.
Jump to:
Ever find yourself with a small gift and nothing nice to put it in?
That’s exactly where these DIY paper gift bags with handles shine. Instead of rushing out to buy something generic, you can fold your own in minutes using basic origami folds.
No glue, no complicated steps, just paper, a hole punch, and ribbon for the handles.
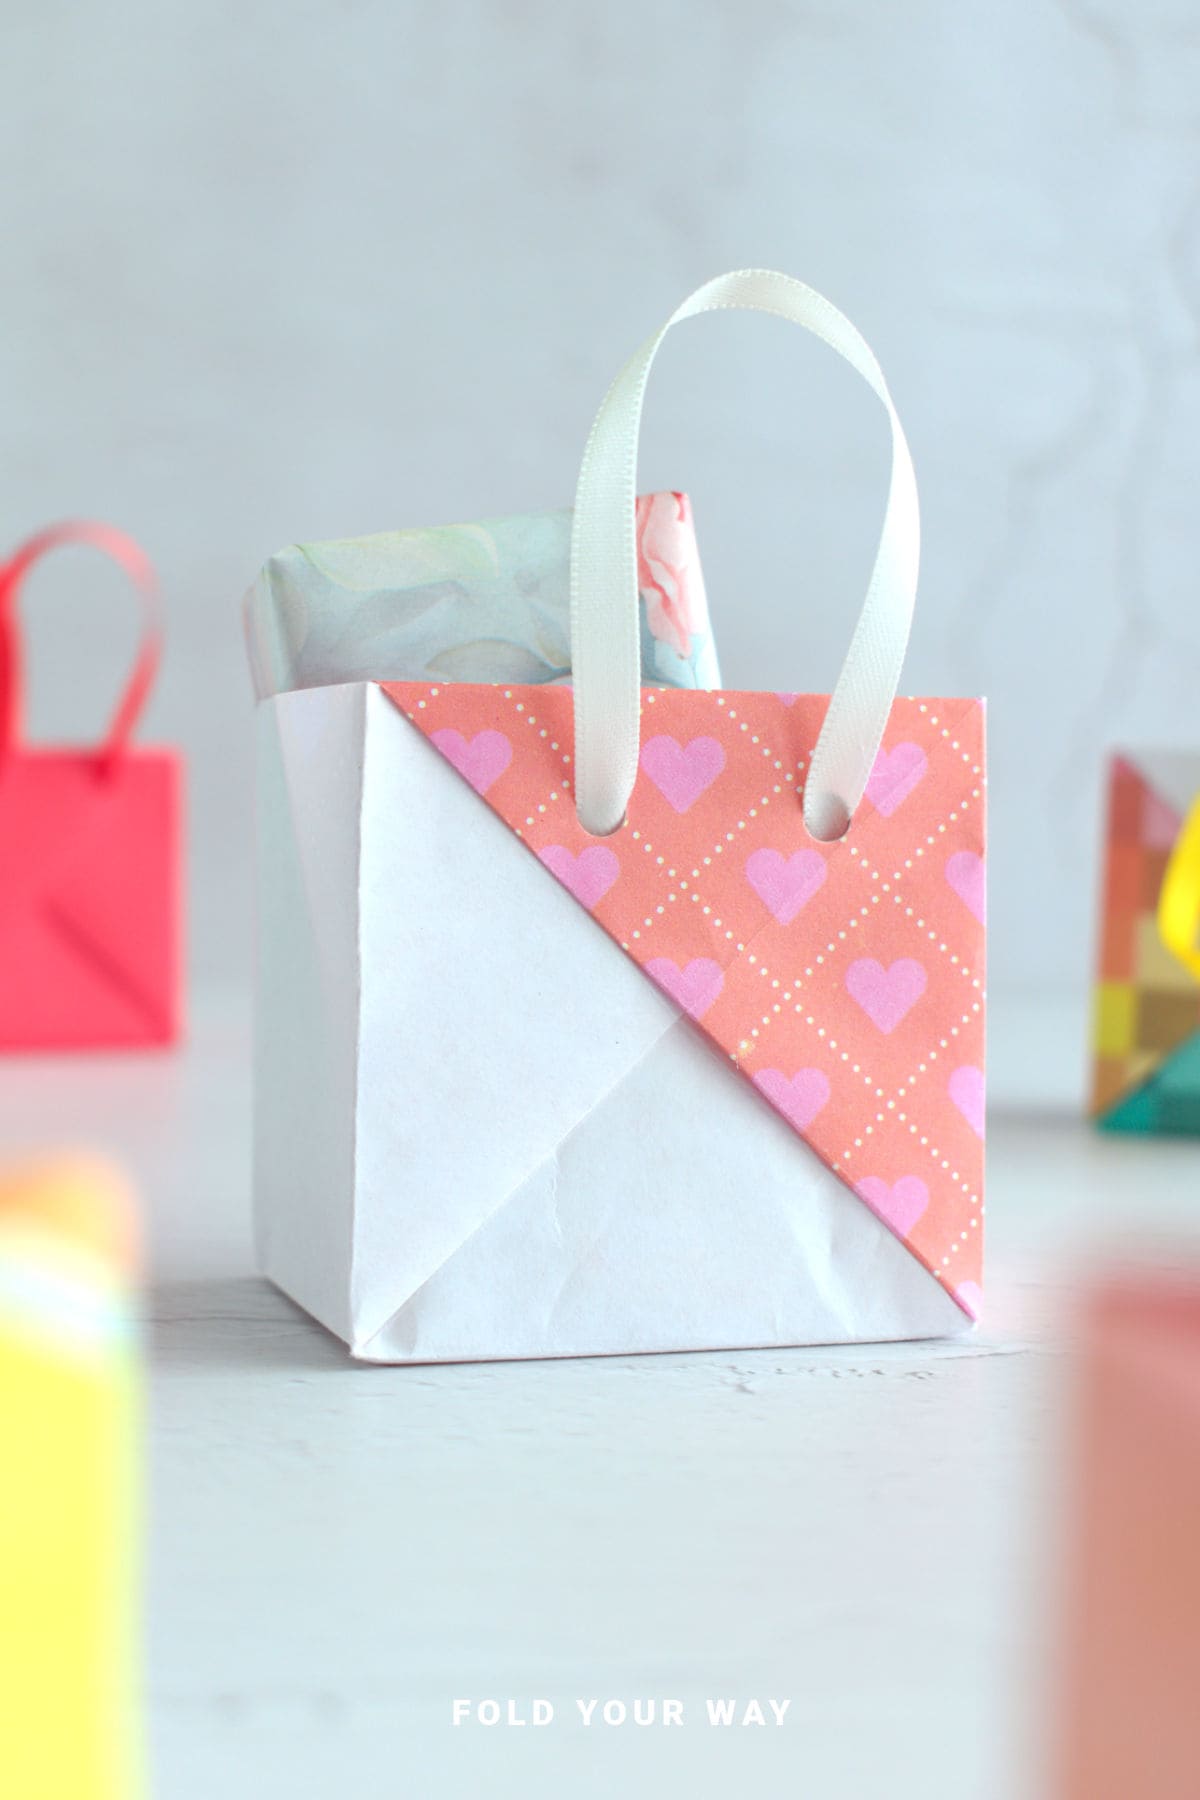
DIY paper gift bags with handles are handmade paper containers created by folding paper into a sturdy bag shape with attached handles. They are commonly used for gift wrapping, party favours, and small presents. The design is fully customizable with different paper styles, making them suitable for birthdays, holidays, and special occasions.
They stand upright, hold their shape beautifully, and instantly look intentional.
Whether you’re preparing wedding favors, party bags, thank-you gifts, or small holiday presents, this is one of those projects that feels far more impressive than the effort involved.
Because they’re made with simple folds, this project sits comfortably in the “basic origami” category — approachable even if you’re not experienced.
At the same time, the finished result looks clean and professional.
With the right paper choice, these DIY paper gift bags with handles can suit rustic weddings, modern birthdays, baby showers, Christmas gatherings, or elegant evening events.
And honestly? Once you make one, you’ll probably start thinking of excuses to make more.
Why You'll Love This Pattern
- You can make a batch in one sitting, which is perfect when you’ve got an event coming up.
- No glue means no drying time, no mess, and no waiting around.
- They actually stand upright and feel structured — not flimsy or homemade-looking.
- You control the paper and ribbon, so they can match weddings, birthdays, or holiday themes exactly.
- Once you’ve made one, the next few come together much faster.
- These paper gift bags are perfect for a variety of occasions - from weddings to baby showers, to birthdays, Christmas, and everything in between!
Skill Level
★☆☆☆☆ (Easy)
Materials Needed
- 1 x sheet of rectangular paper e.g. A4, A5, U.S. letter paper (medium to heavy weight works best)
- Hole punch
- Ribbon, twine, or cord for handles
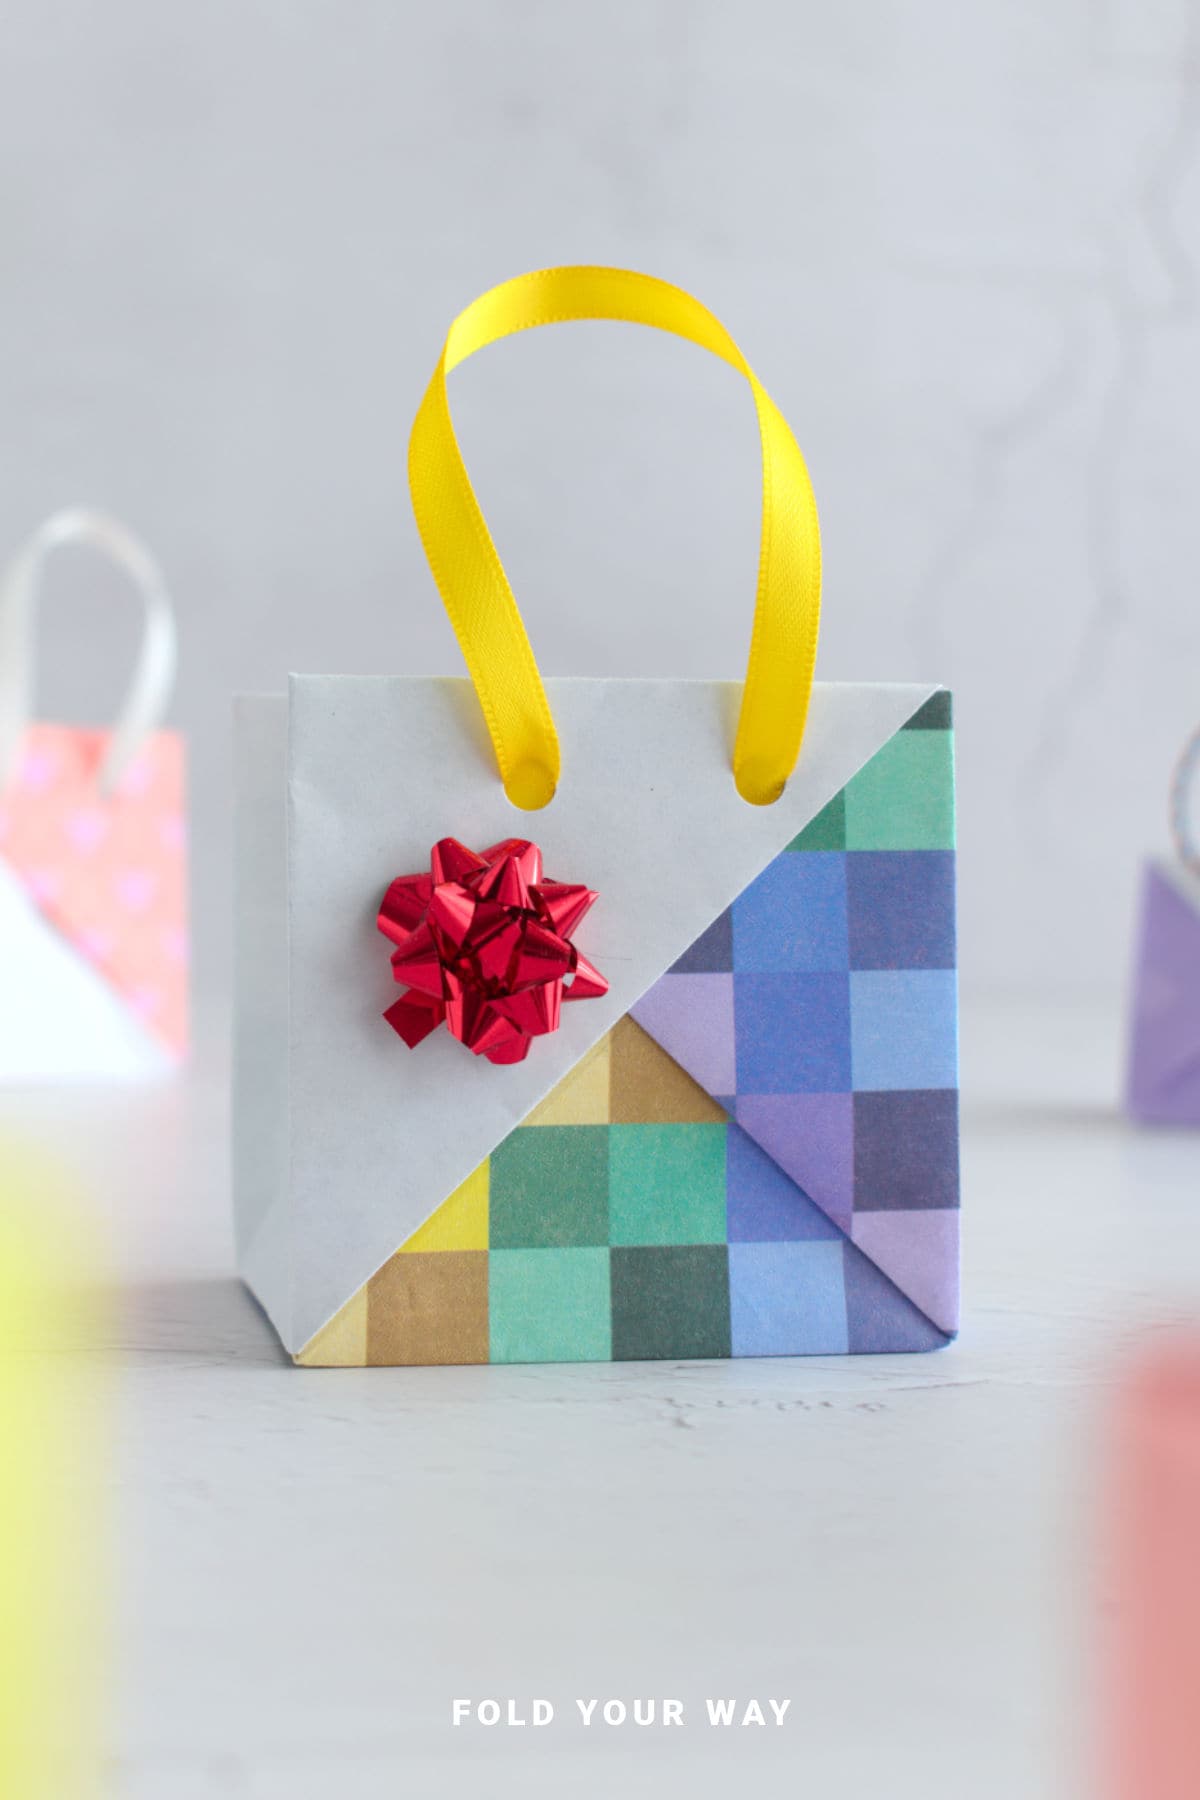
- Optional: decorative tags or embellishments
| Paper Size | Final Bag Size | |
| Small Paper Bag | A5 | 2 inches (5 cm) Height x 2 inches (5 cm) length x 2 inches (5 cm) width |
| Large Paper Bag | A4 | 3 inches (7.5 cm) Height x 3 inches (7.5 cm) length x 3 inches (7.5 cm) width |
Instructions
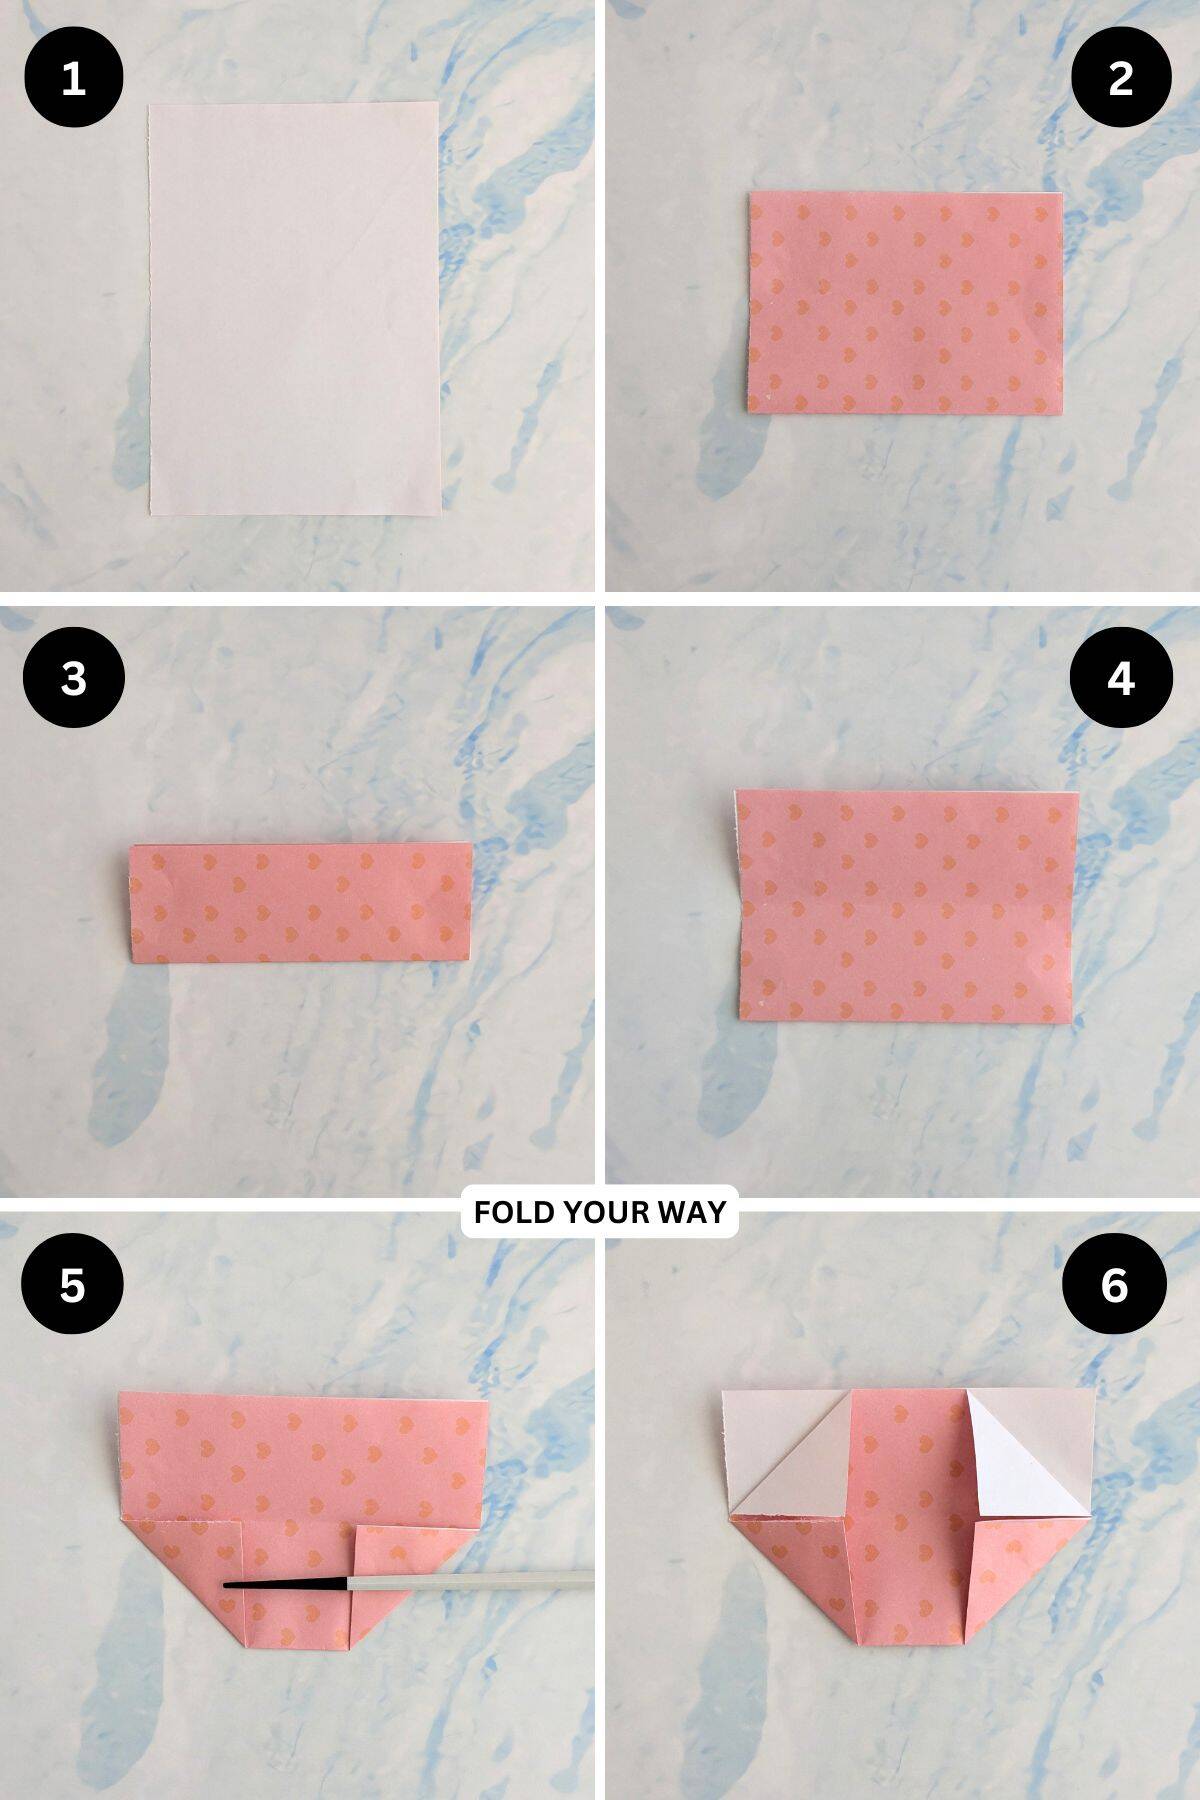
Step 1: Start with the main color you want your bag to be facing down. Arrange your paper to sit vertically as shown.
Step 2: Fold the bottom edge to meet the top edge.
Step 3: Fold the bottom edge once again to meet the top edge.
Step 4: Unfold previous step.
Step 5: Fold both the bottom left and bottom right corners up on a diagonal to meet the middle crease line.
Step 6: Fold the top left and top right corners (top layer only) down to meet the middle crease line.
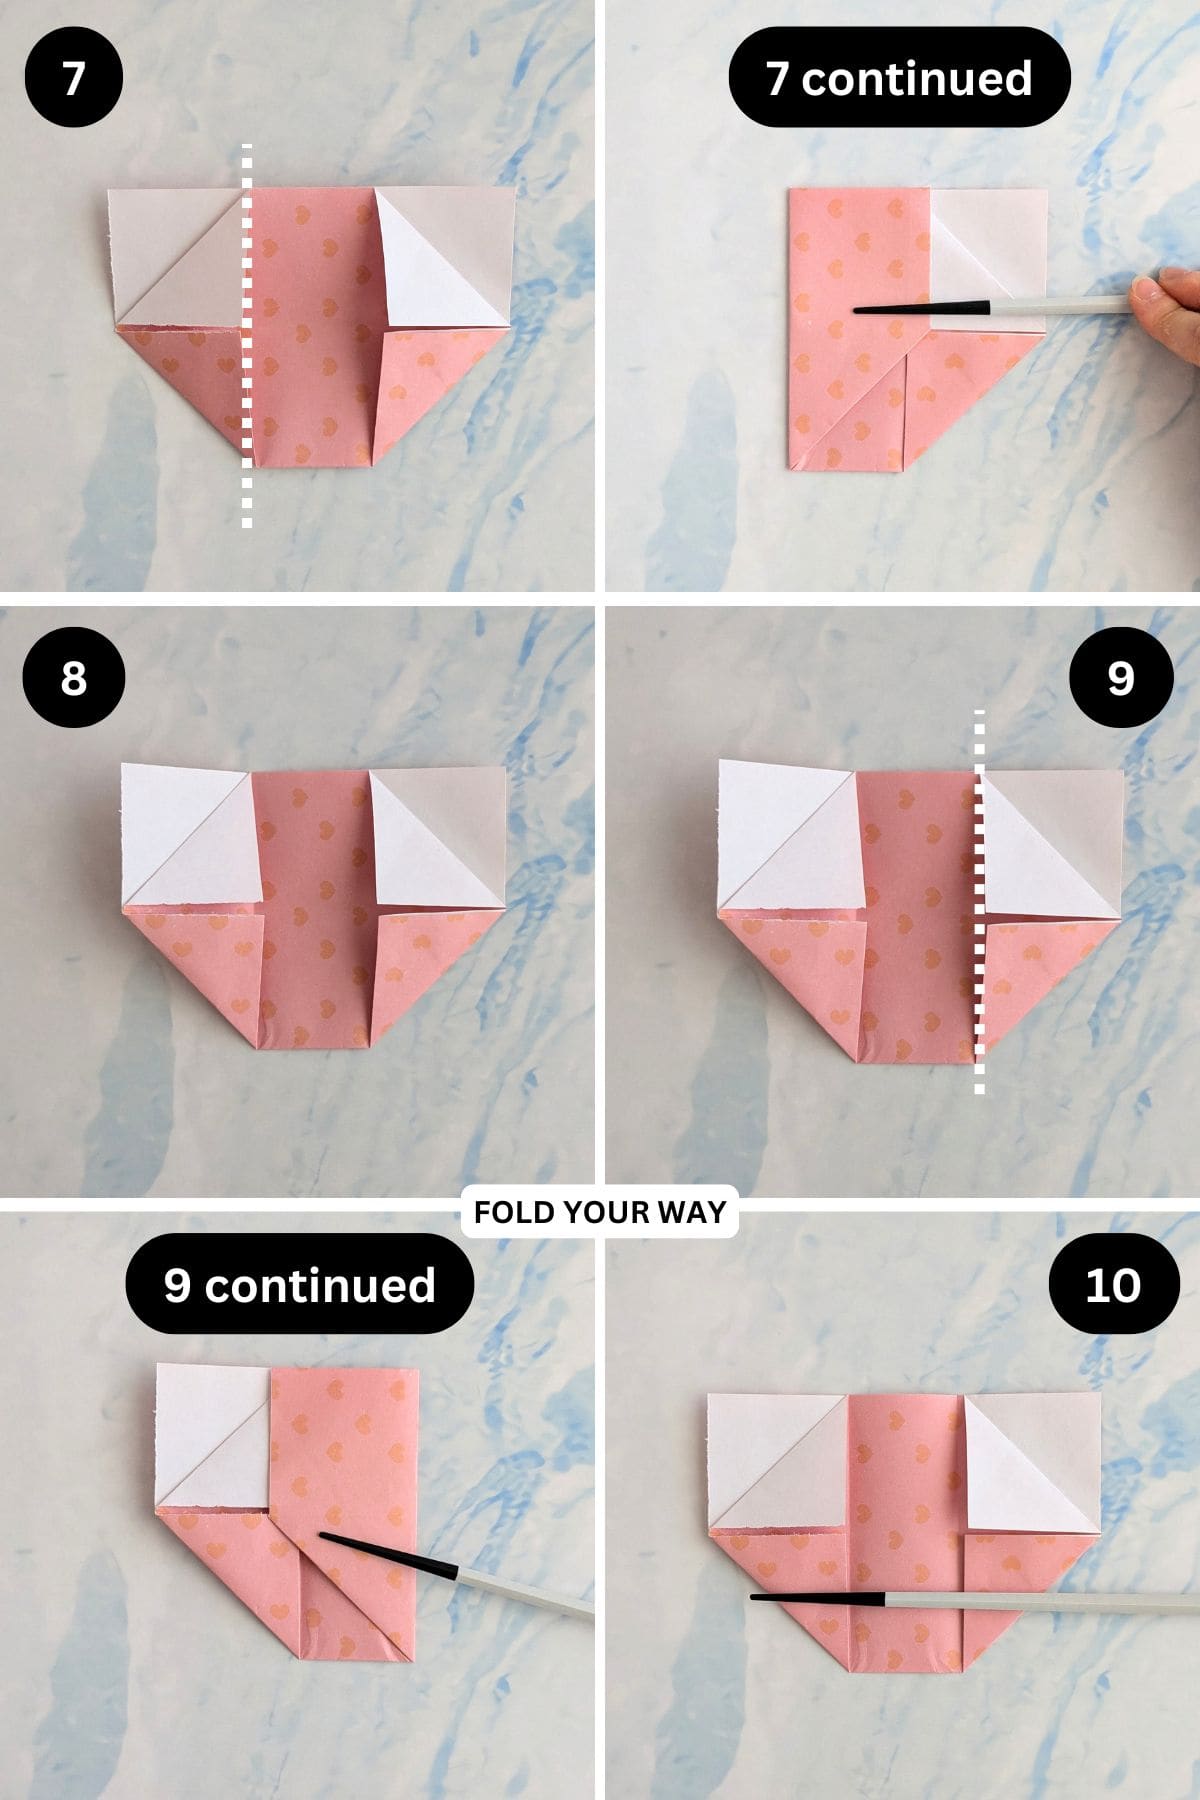
Step 7: Fold the left side of the paper towards the right along the line shown.
Step 8: Unfold previous step.
Step 9: Like we did for the left side, for the right side towards the left along the line shown.
Step 10: Unfold previous step.
✨ You're almost there! ✨
To unlock the final steps and complete your pattern, create a free account with Grow.me. below.
Make sure you tick the box to subscribe to our newsletter and stay up to date with the latest patterns, tips, and more!
Once you're signed up, you'll get instant access to finish your project and enjoy exclusive content in the future.
Already signed up? Hit the button below and select ‘Switch to Log In’ to pick up where you left off and finish your project!
Step 11: Fold the top edge (top layer only) down to meet the bottom edge.
Step 12: Open out the bottom of the paper as shown, lifting it up along the existing creases.
Step 13: Bring the right side of the paper towards the bottom, along the existing crease line. It will form a triangle.
Step 14: Tuck that same triangle (from the previous step) under the top flap on the right side.

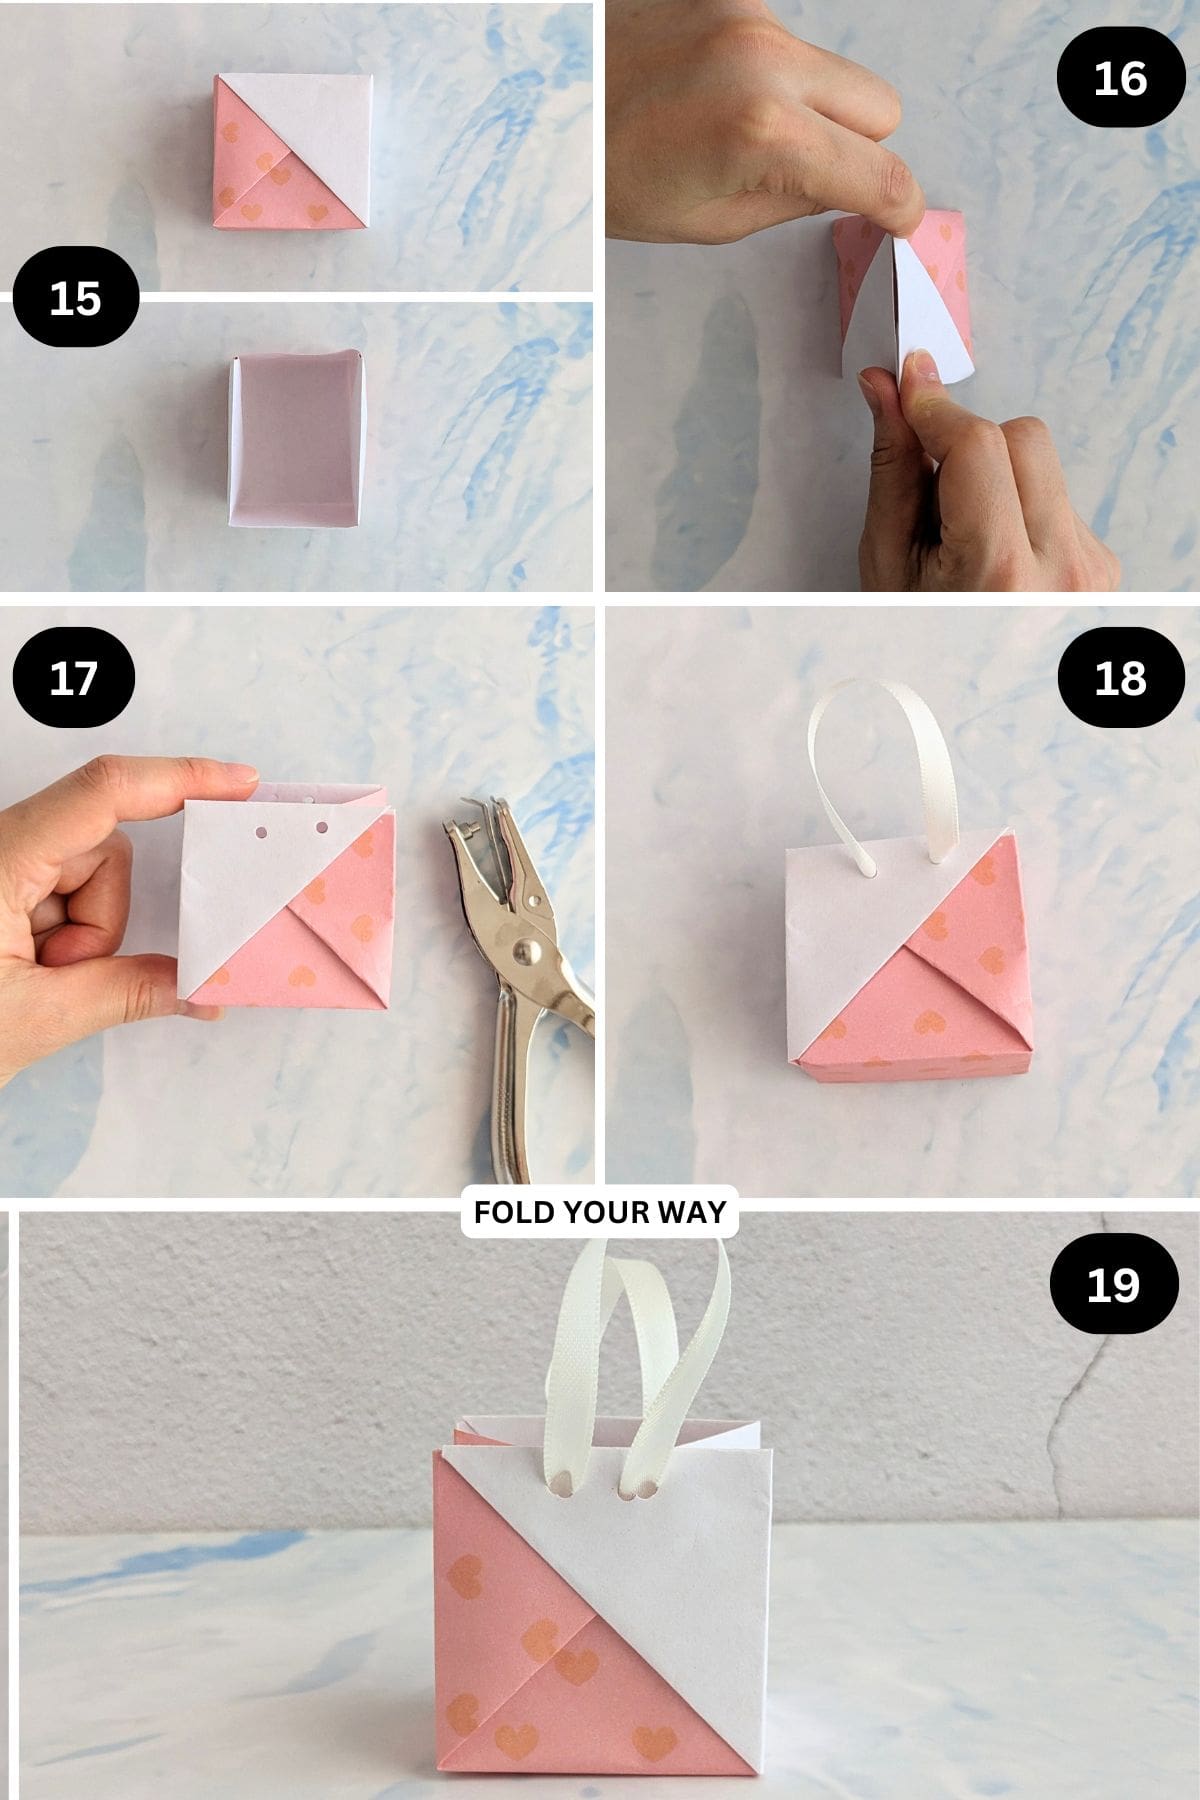
Step 15: Repeat previous 2 steps for the left side.
Step 16: Pinch the top and bottom edges of the paper together as shown, reinforce the creases.
Step 17: Using a hole punch, punch 2 holes on the front of the bag and 2 holes on the back of the bag. Make sure they line up (this will make your bag look neater).
Step 18: Thread some ribbon through the holes on both sides. You will need 1 strand of ribbon per side. Knot the ends of each ribbon. If you find your ribbons go through your holes after knotting them off, tape them down to the inside of your bag.
Step 19: Completed gift bag.
Tips For Success
- Choose slightly thicker paper so the bag holds its shape.
- Crease folds firmly — crisp edges make the bag sturdier.
- Reinforce handle holes by punching slightly below the top edge, not too close.
- If gifting something heavier, double up the ribbon for extra strength and use slightly thicker paper.
Color, Paper Ideas, and Variations
- Kraft paper + twine for rustic weddings.
- Soft pastels for baby showers or spring events.
- Metallic or pearlescent paper for formal occasions.
- Red and green for Christmas.
- White with satin ribbon for elegant wedding favors.
- Patterned scrapbook paper for birthday party favors.
- You can also mix paper and ribbon colors for contrast — for example, navy paper with gold ribbon, or blush paper with ivory handles.
FAQ
Yes — the folds lock into place securely when creased properly.
Absolutely. Once you’ve done one, they’re quick to replicate for events.
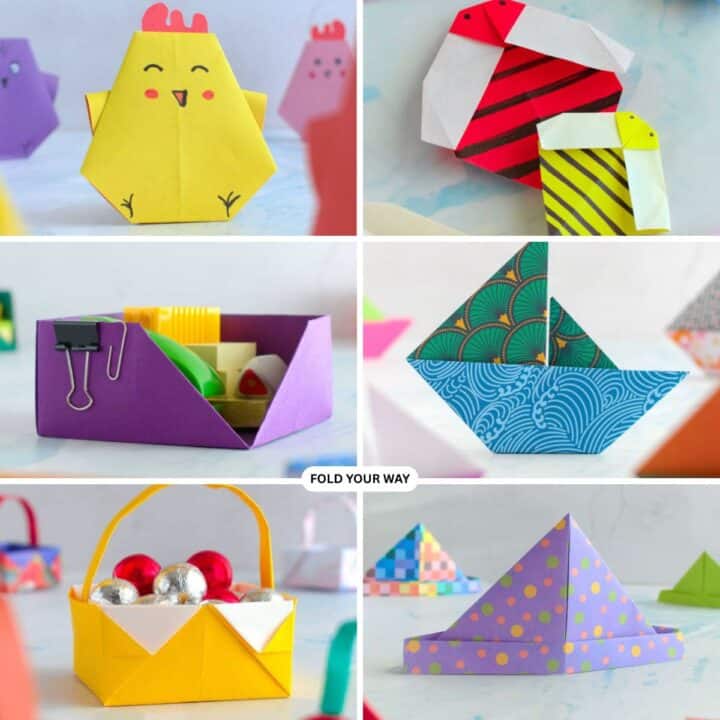
Other Paper Crafts You Might Like To Try:
Helpful Tips and Common Mistakes For Paper Crafts
Paper crafting and origami can be hard sometimes. Which is why we've made this printable PDF just for you.
It outlines helpful tips so that you can successfully complete your craft, and some of the most common mistakes people come across.
You can download the helpful tips and common mistakes for paper crafts printable PDF here.
Stay Connected
Made this pattern? Let us know how it went in the comments below!
Pin this post - Pin now to take your paper crafting skills to the next level.
Share on Instagram or Facebook - Capture the beauty of your finished paper craft project and share it on Instagram or Facebook! Tag us @foldyourway so we can see your work!
Other Patterns You Might Like To Try:
Looking for other easy patterns like this? Try these:
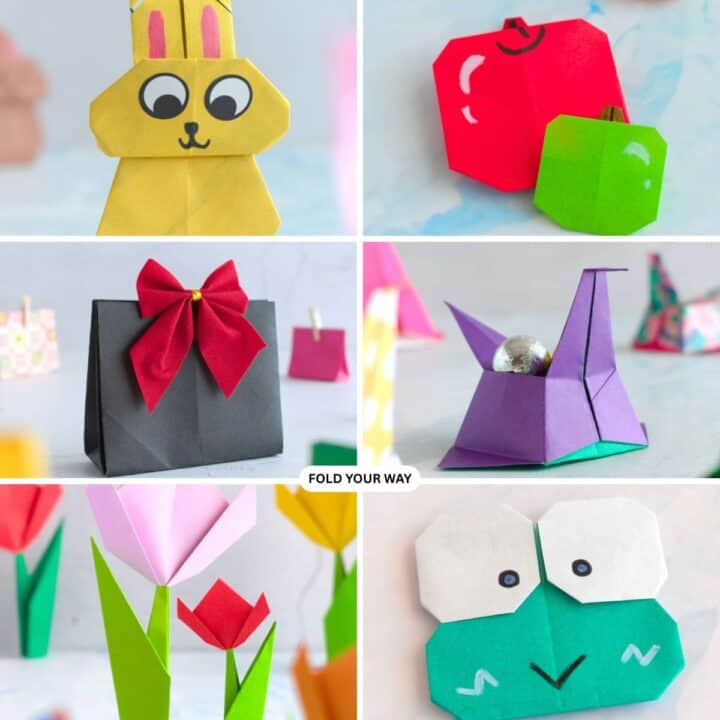
- Easy Origami and Simple Paper Craft Ideas
- Cute Origami Ideas
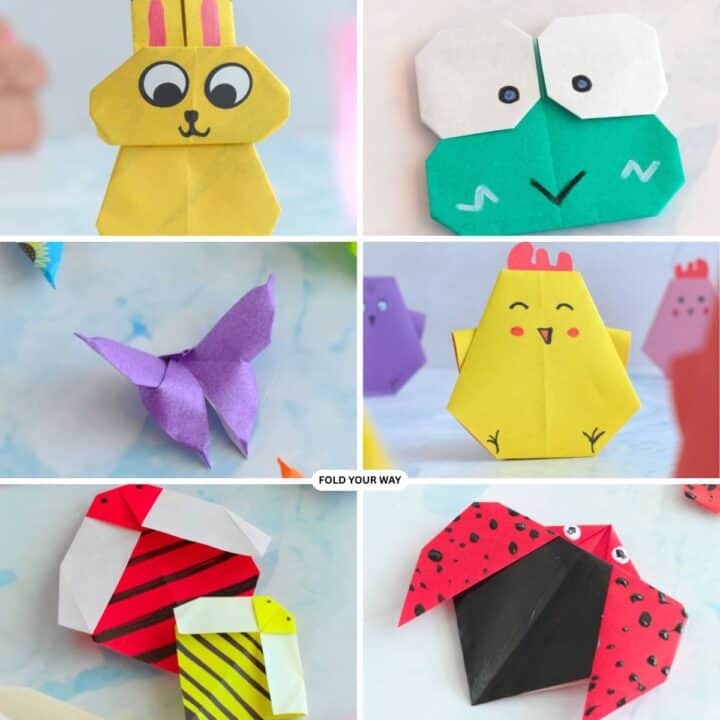
- Easy Origami Animals and Insect Crafts
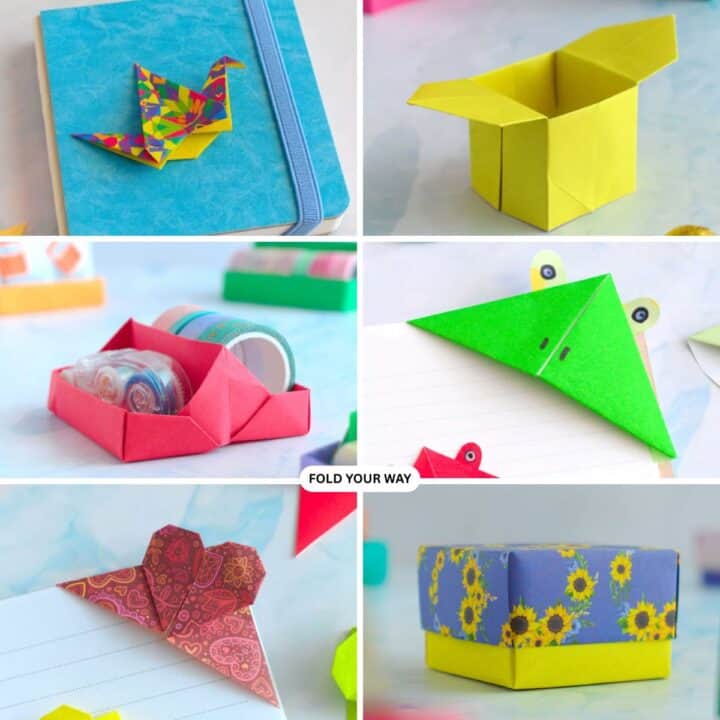
- Easy Origami Boxes, Bookmarks, and Small Paper Crafts
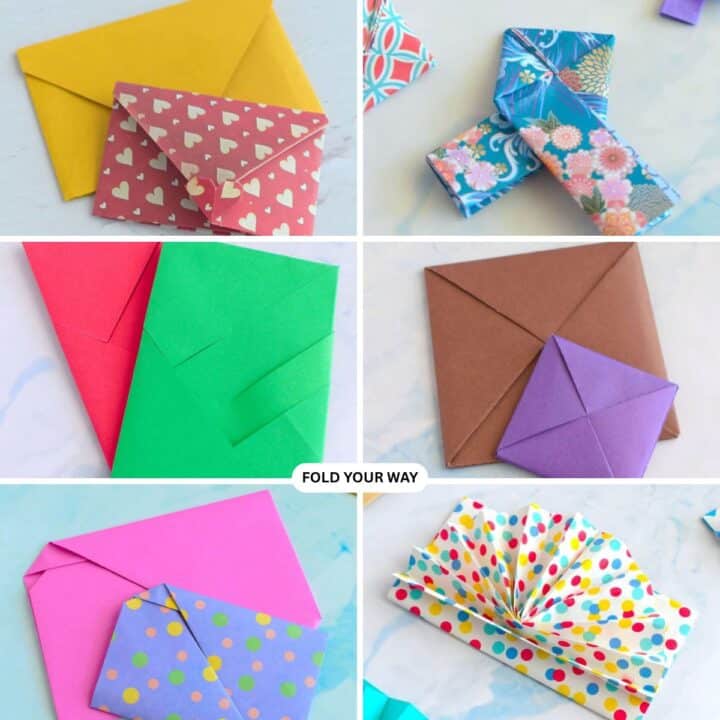
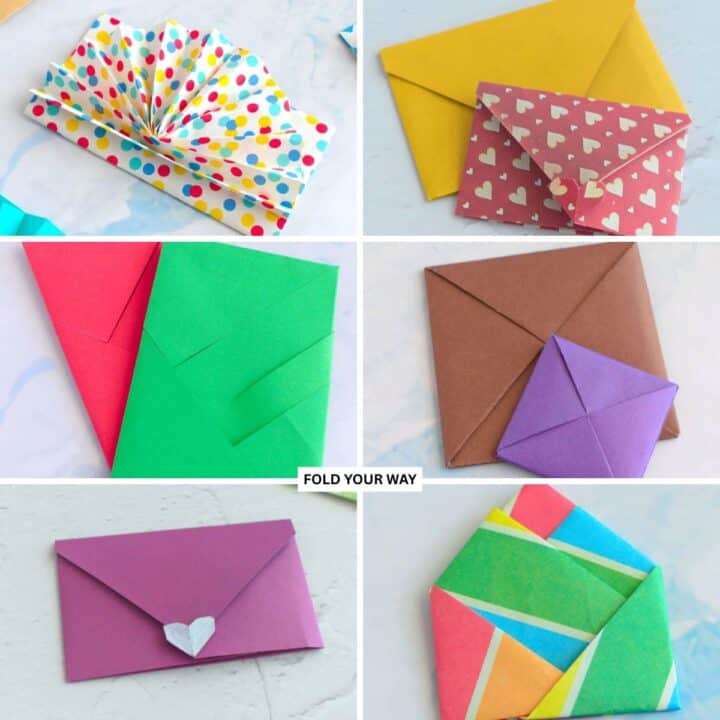
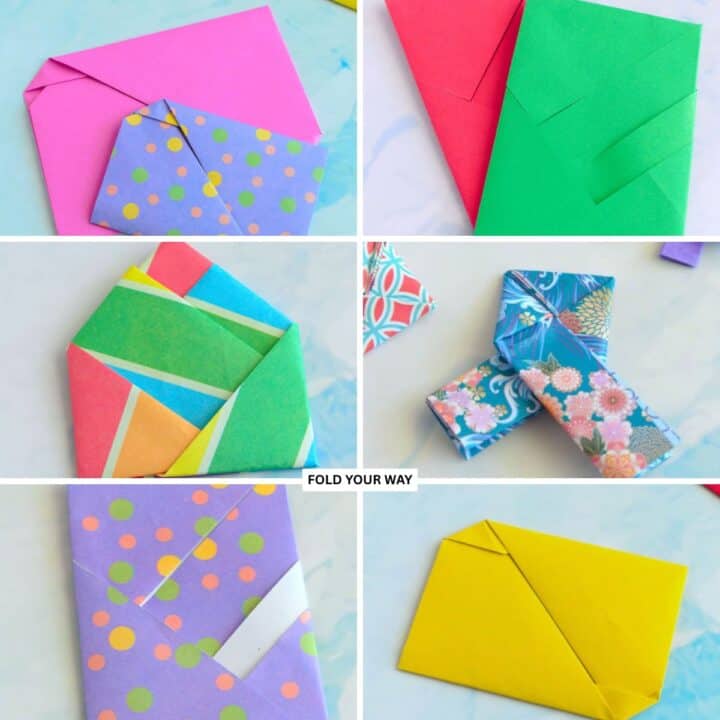
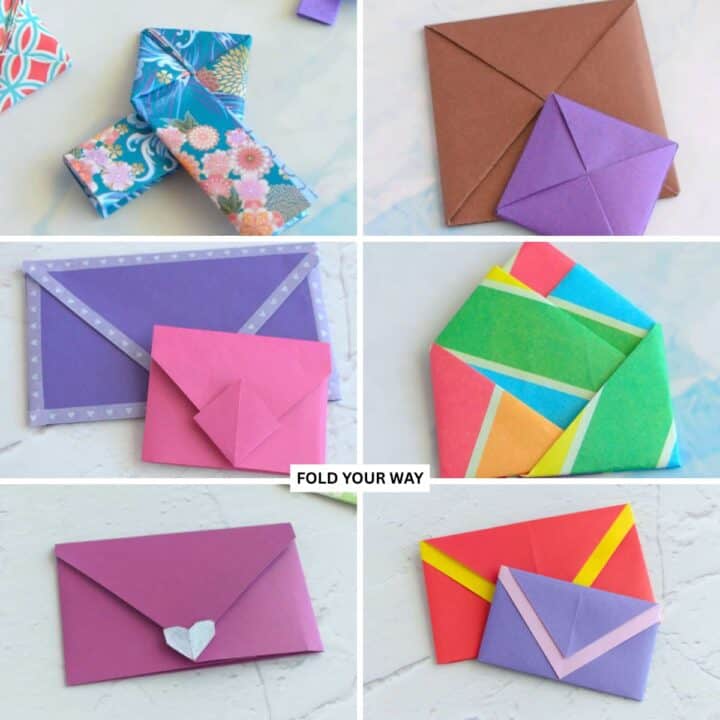
- Origami Envelopes and Letter Folding Techniques
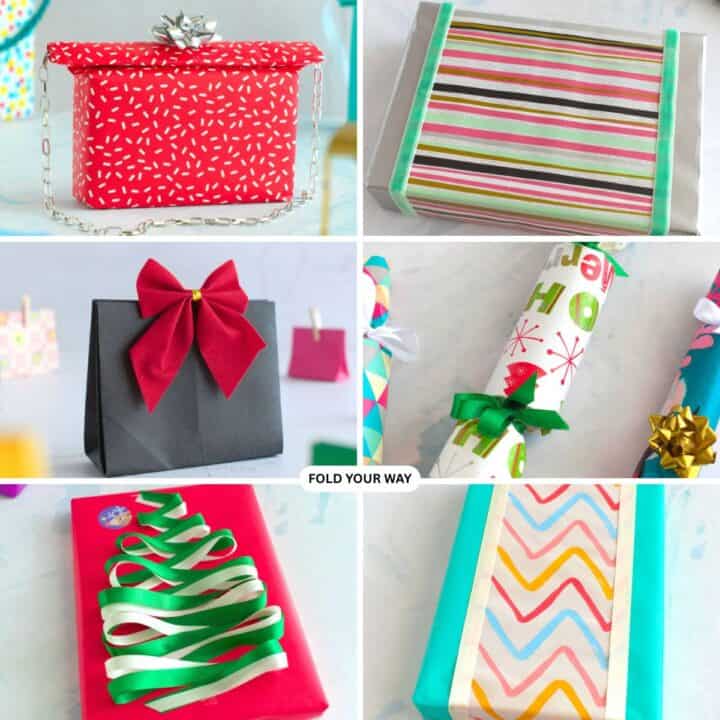
- DIY Gift Wrapping and Paper Presentation Ideas
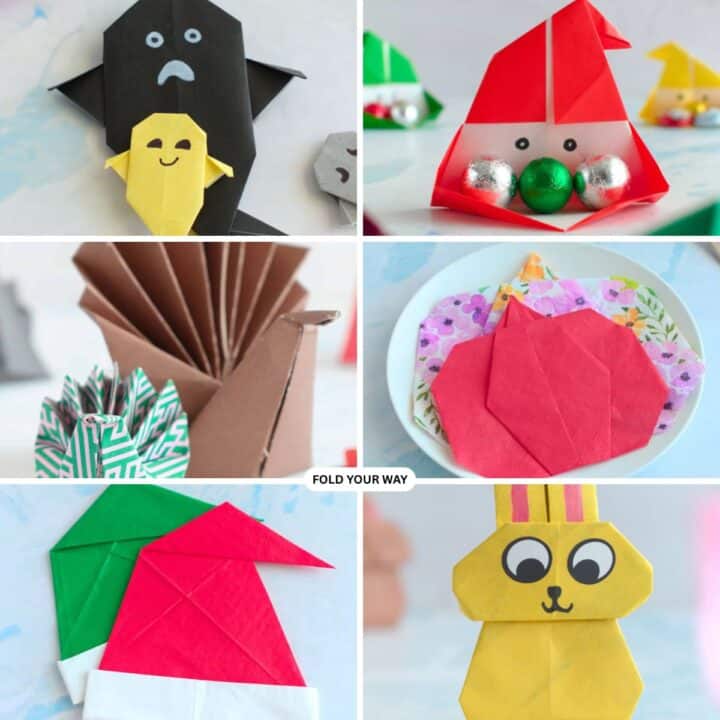
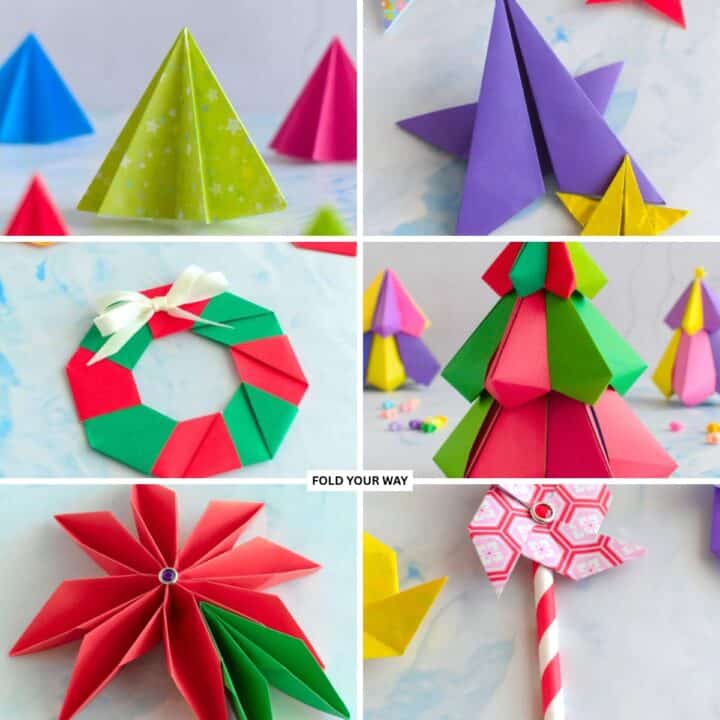
- Seasonal Origami and Holiday Paper Crafts
- Easy Napkin Folding Ideas and Table Decor

Comments
No Comments