
Buzz into some easy paper crafting with this adorable origami bee!
Made with just one square sheet of paper, it’s a fun project for kids, classrooms, or spring decor.
Jump to:
There’s something undeniably charming about bees.
Maybe it’s their bright yellow-and-black stripes, their fuzzy appearance, or just the way they always seem busy and purposeful.
Whether you're putting together spring décor, planning a nature-themed birthday party, or simply want to try out some easy origami ideas, this origami bee is a sweet little project with big personality.
If you’ve never folded before, don’t worry—this tutorial is made for beginners. You won’t need any fancy tools or expensive paper.
In fact, this cute origami design uses just a single sheet of paper and a few basic folds.
You’ll follow step by step instructions that keep things simple and fun, even if you're brand new to origami.
It’s a great project to try with kids, students, or anyone who wants to dip their toes into paper crafting.
It’s a great addition to handmade cards, wall art, or gift toppers. Stick a few onto a wooden skewer to create buzzing bouquet picks, or attach them to a garland for a fun seasonal display.
You can also scale the folding pattern up or down to make a whole swarm in different sizes—super cute for party decorations or classroom bulletin boards.
One of the best things about this paper craft is its flexibility.
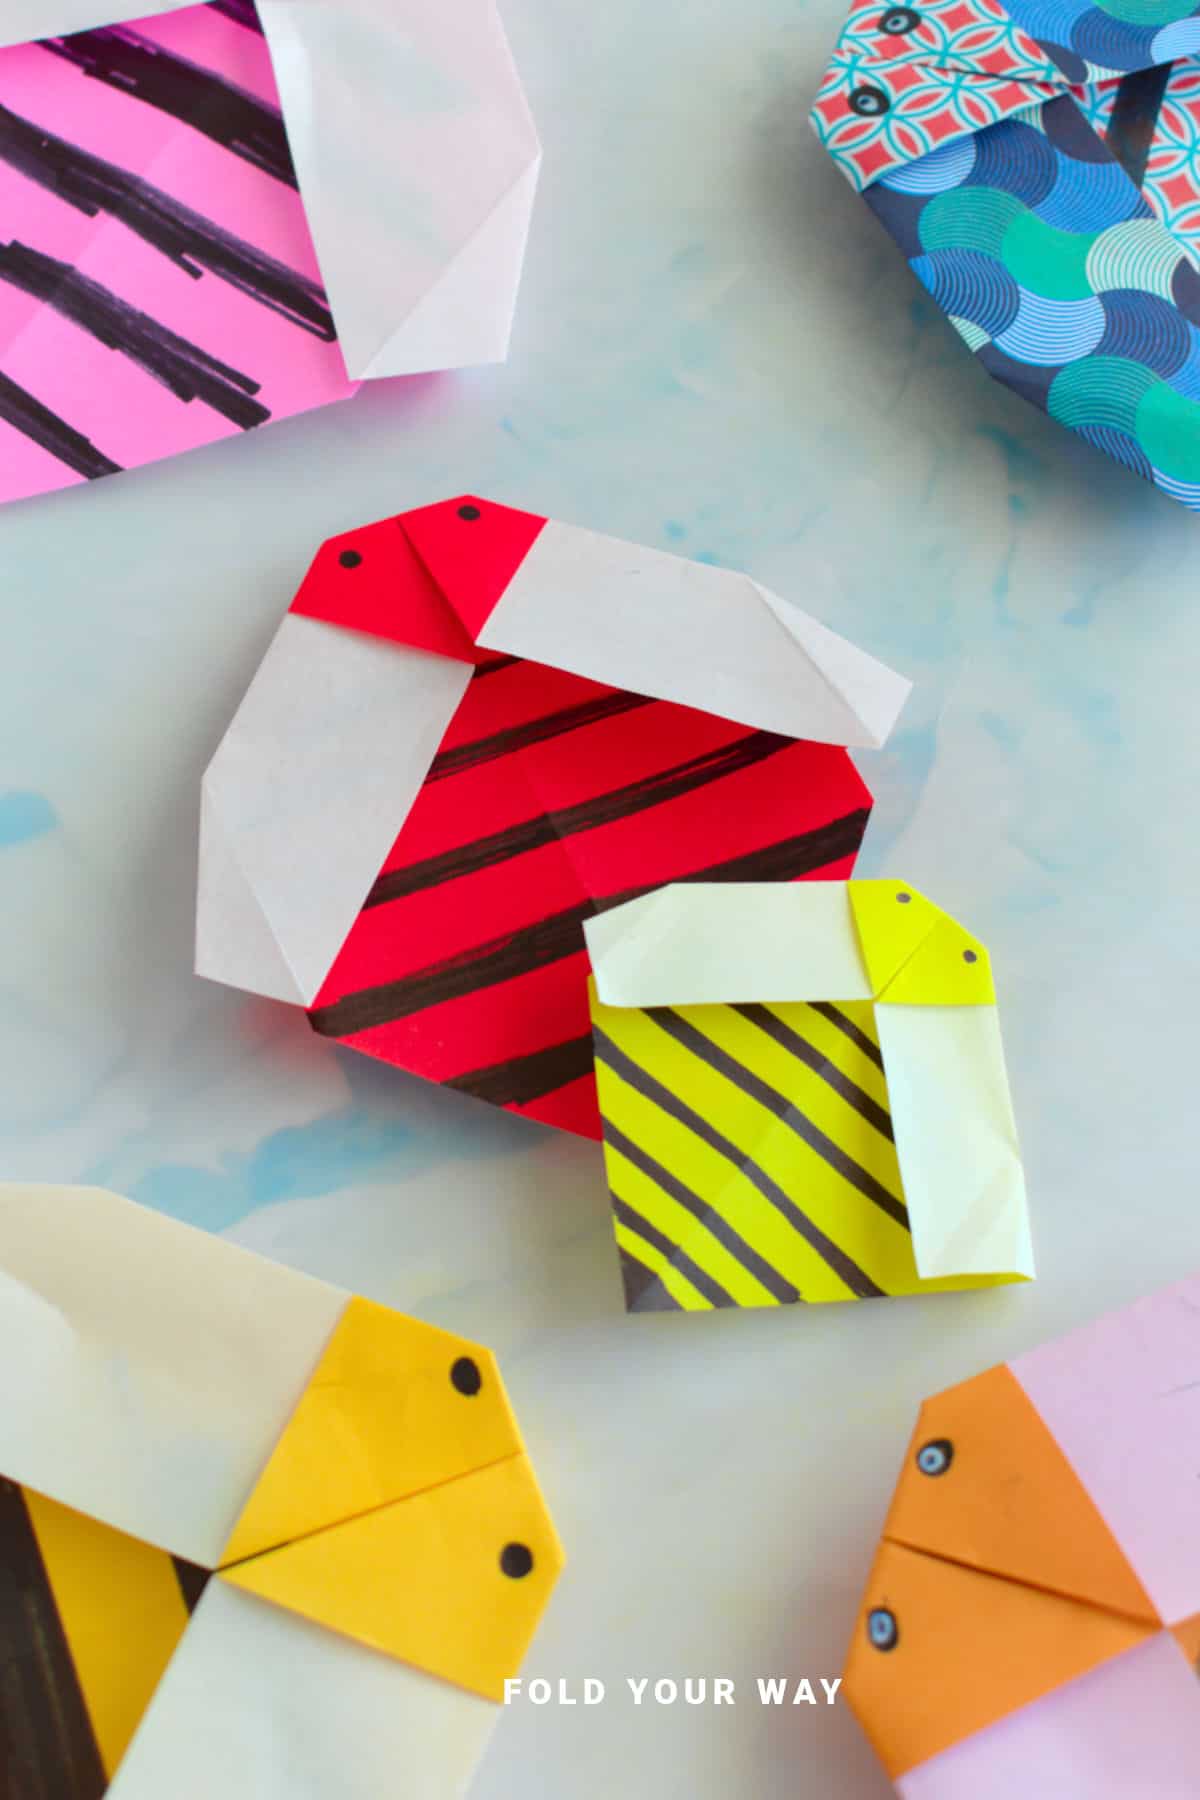
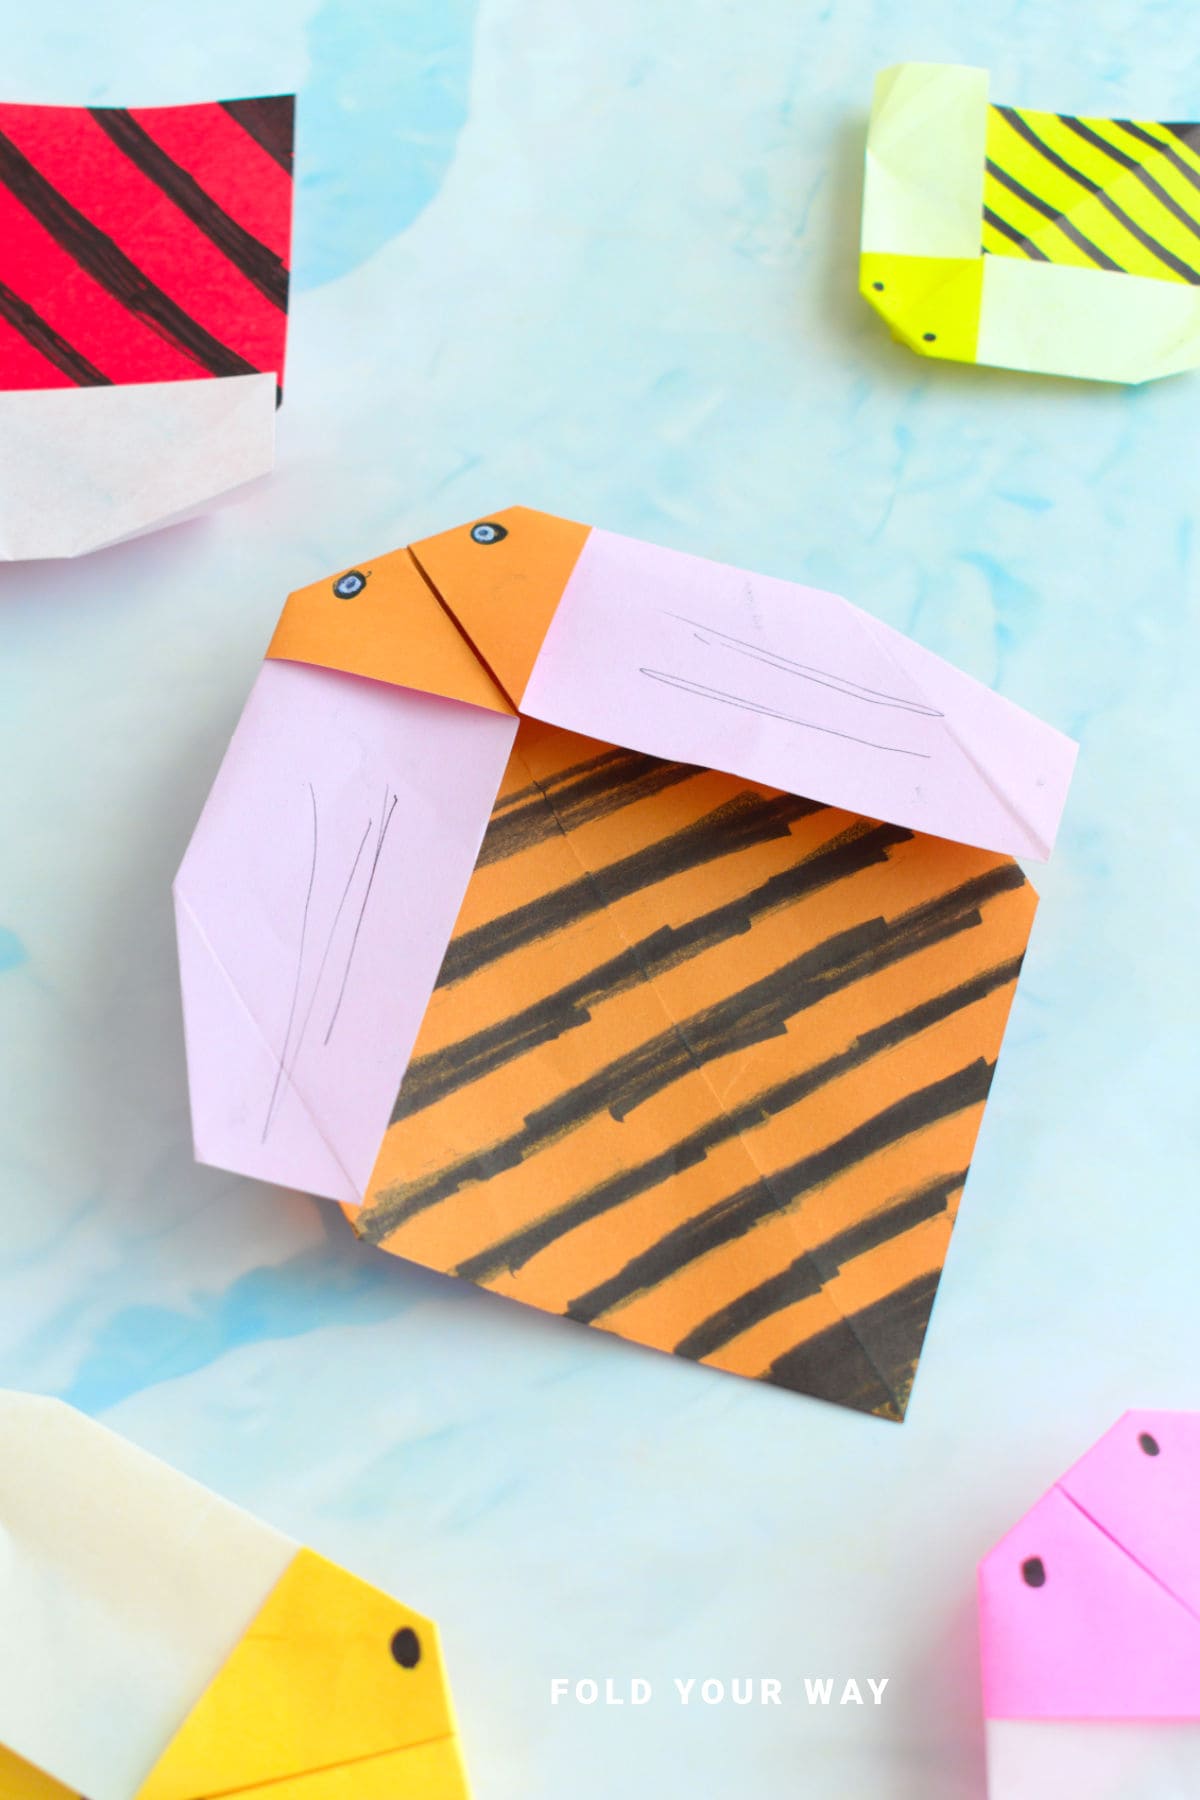
Use bright origami paper for a classic look, or go with pastels, patterns, or even recycled magazine pages for something a little different.
You can make your bee as realistic or as fancy as you like—just don’t forget the stripes!
From classroom projects to springtime gifts, this origami bee adds a bit of brightness to just about anything.
So grab your paper, get folding, and bring a little buzz to your crafting table.
Why You'll Love This Pattern
- Great paper craft for beginners—no tricky folds
- Only takes a few minutes to complete
- Makes a fun handmade gift or party decoration
- Kid-friendly and classroom-appropriate
- Easy to customize with different paper colors and sizes
- Adds a cute seasonal touch to cards, gifts, or garlands
Skill Level
★☆☆☆☆ (Easy)
Materials Needed
- 1 square sheet of paper (yellow, or white for coloring)
- Black marker or paper strips for stripes
Instructions
Step 1: Start with the color you want your bee to be facing down. Arrange your paper to sit like a diamond shape.
Step 2: Fold the bottom point up to meet the top point.
Step 3: Unfold previous step.
Step 4: Fold the left point to meet the right point.
Step 5: Unfold previous step.
Step 6: Fold the top point down to meet the middle.
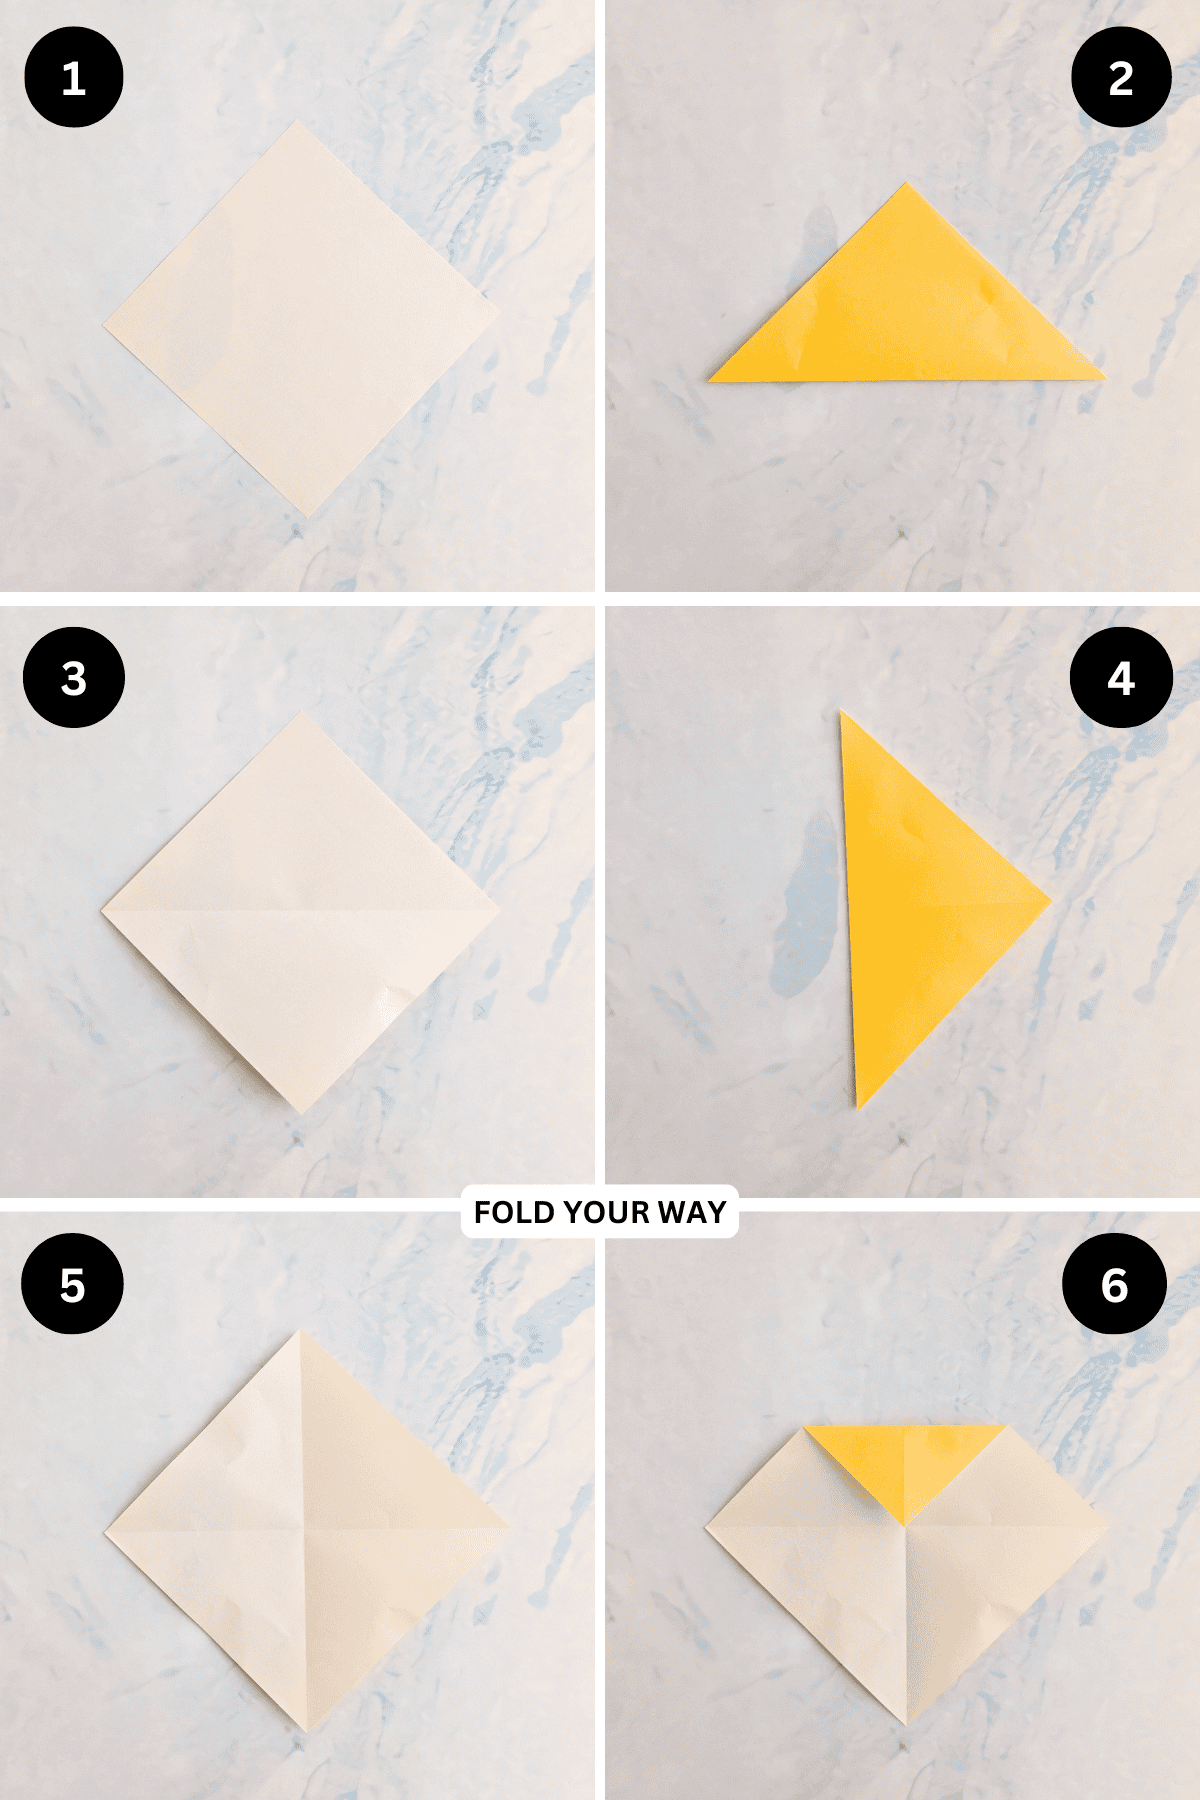
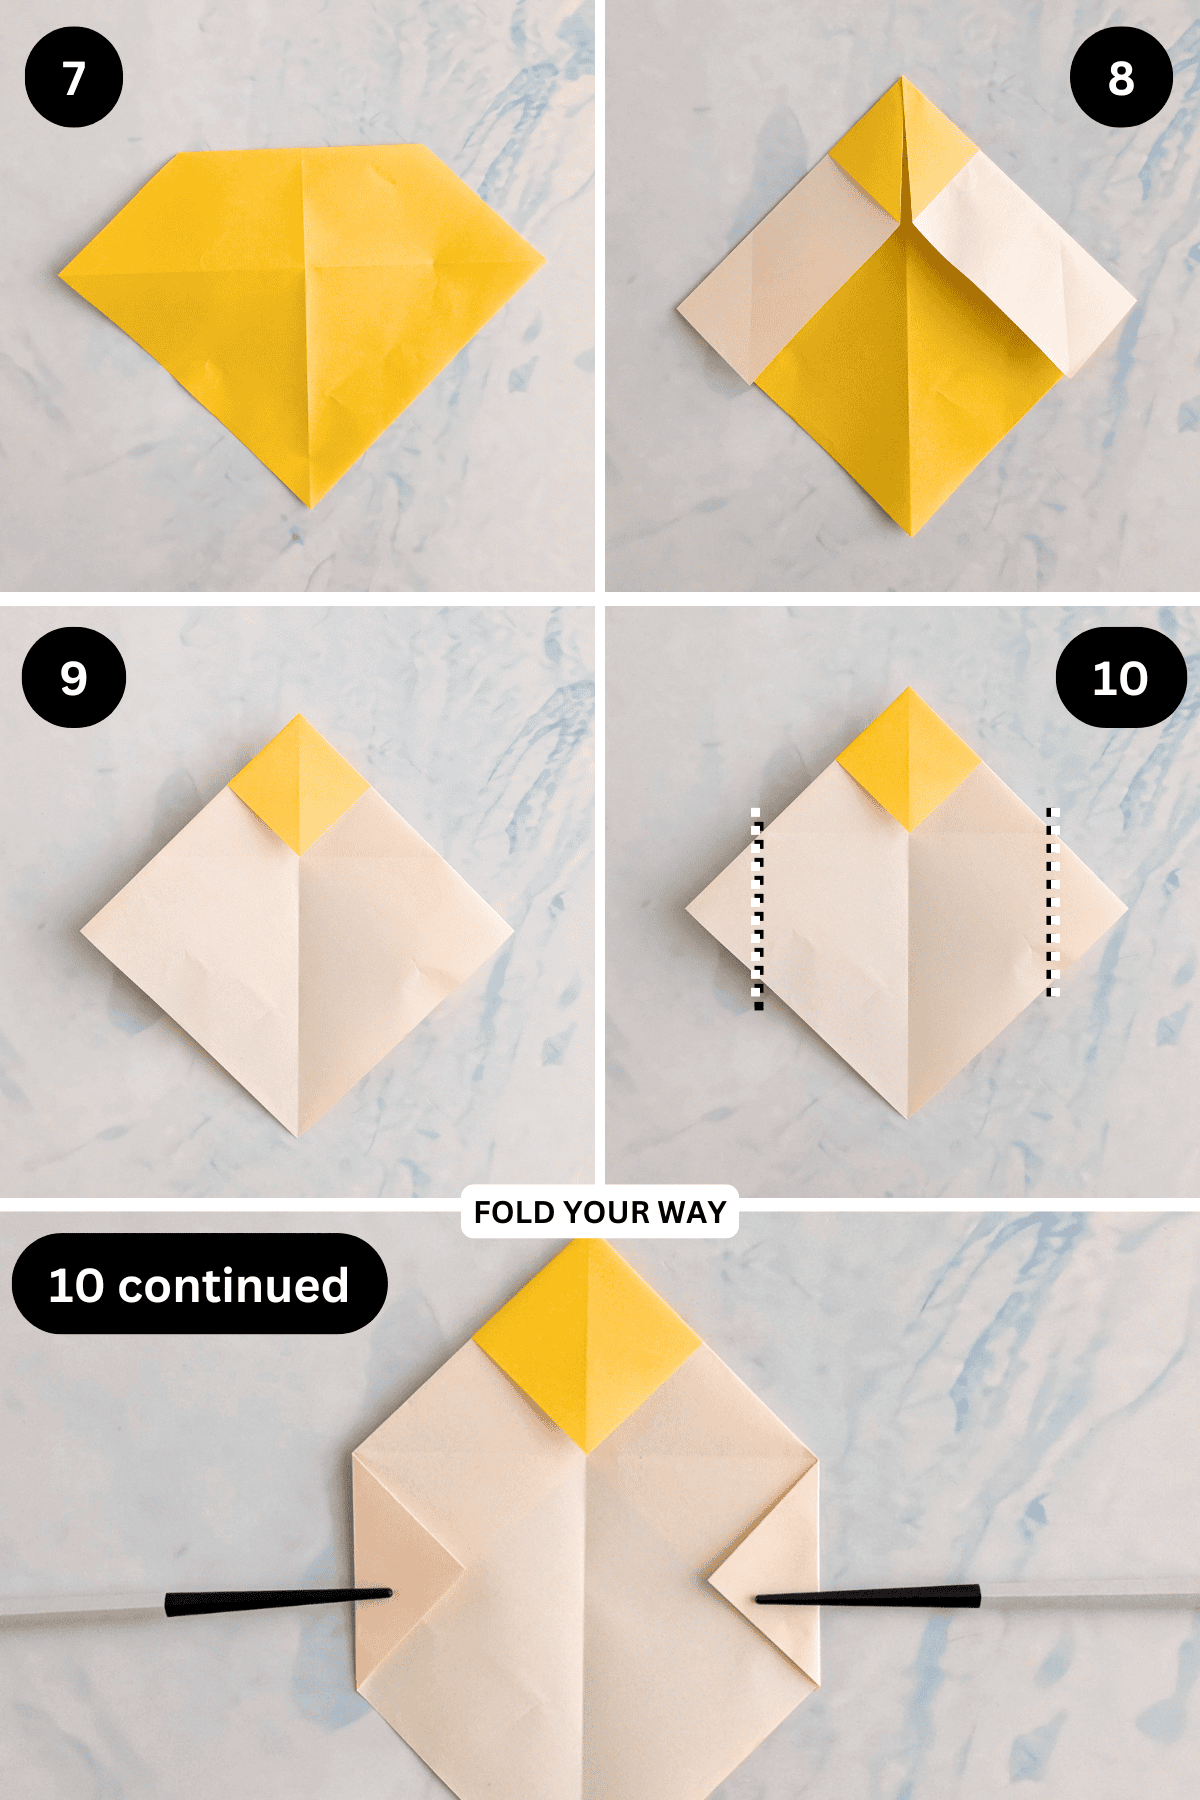
Step 7: Flip your paper over from left to right.
Step 8: Fold both the top left and top right edges in to meet the middle.
Step 9: Flip your paper over from left to right.
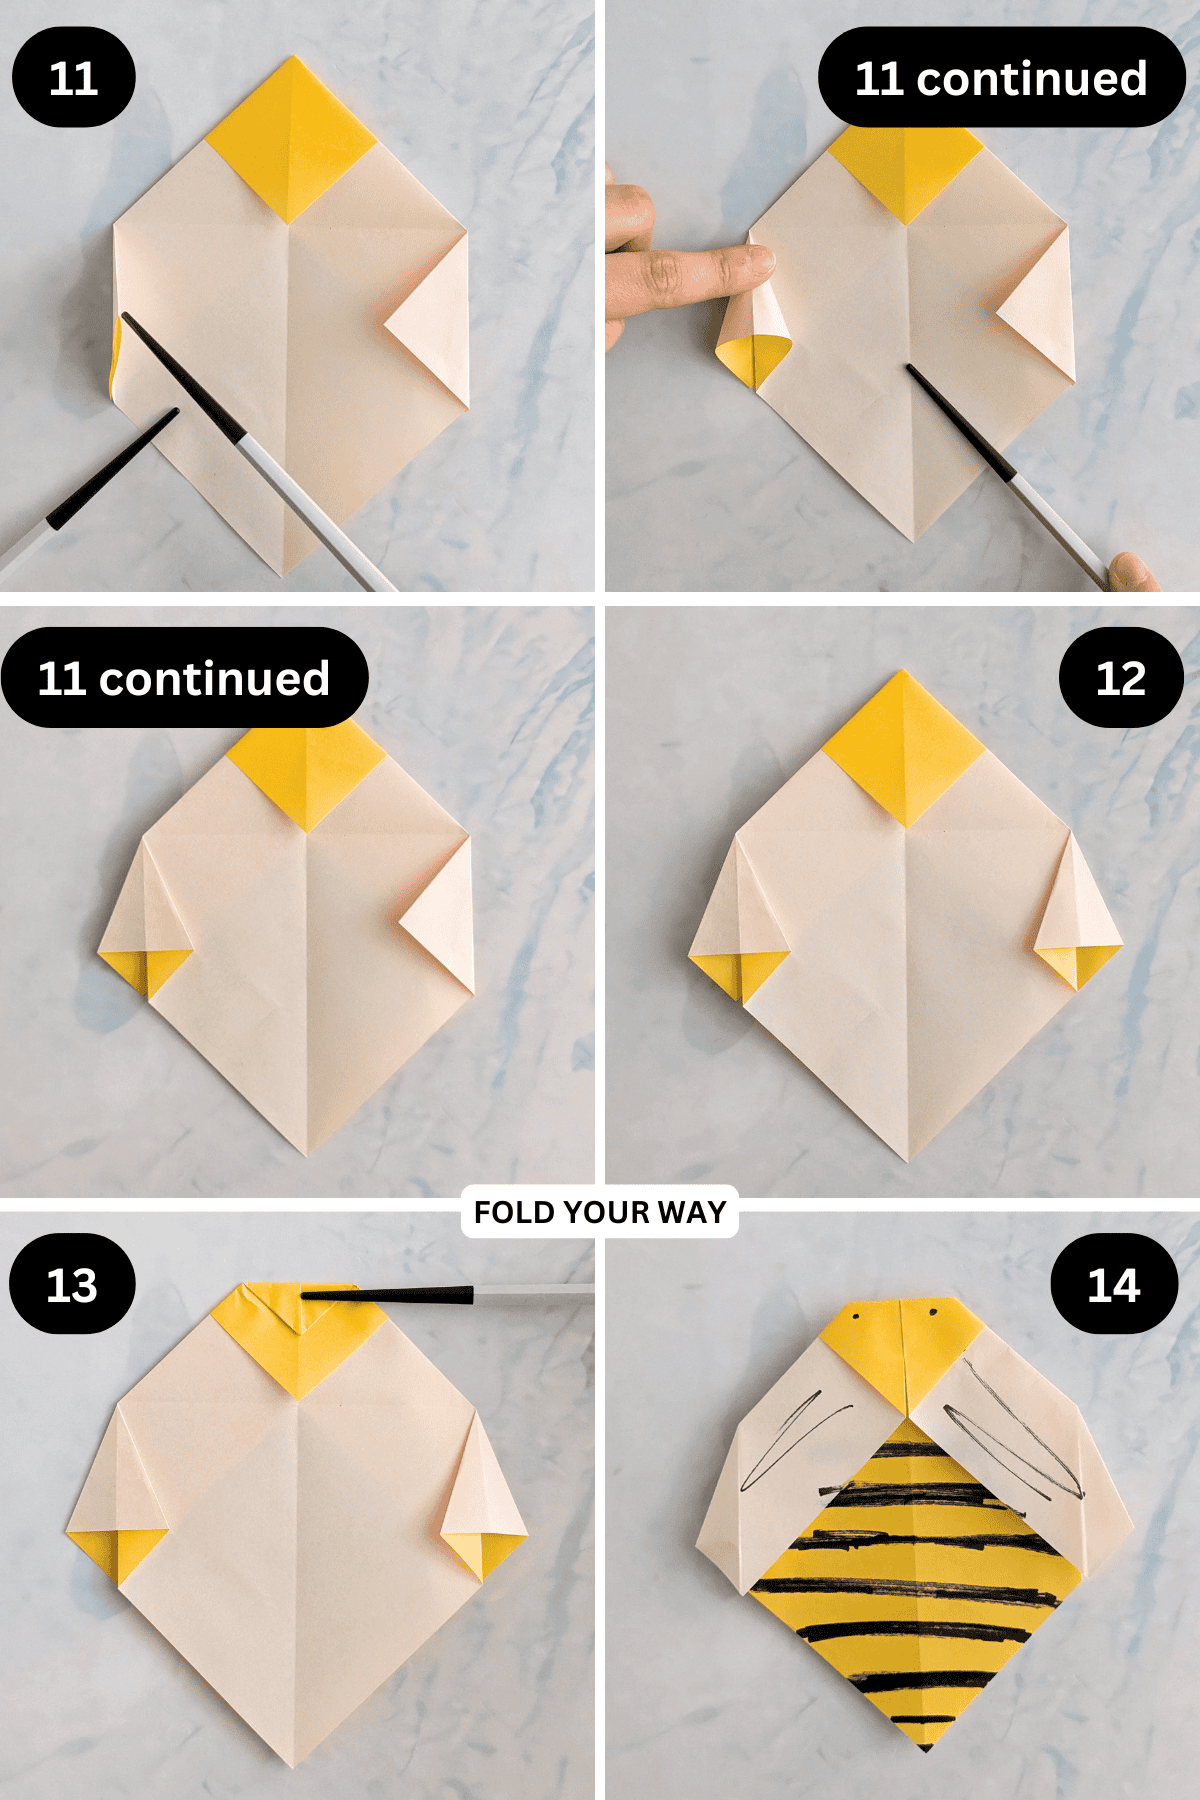
Step 10: Fold both the left and right points in along the lines shown.
✨ You're almost there! ✨
To unlock the final steps and complete your pattern, create a free account with Grow.me. below.
Make sure you tick the box to subscribe to our newsletter and stay up to date with the latest patterns, tips, and more!
Once you're signed up, you'll get instant access to finish your project and enjoy exclusive content in the future.
Already signed up? Hit the button below and select ‘Switch to Log In’ to pick up where you left off and finish your project!
Step 11: Lift the left flap so it stands upright. Then, squash fold it down so it sits flat.
Step 12: Repeat previous step for the right flap.
Step 13: Fold the top point down slightly.
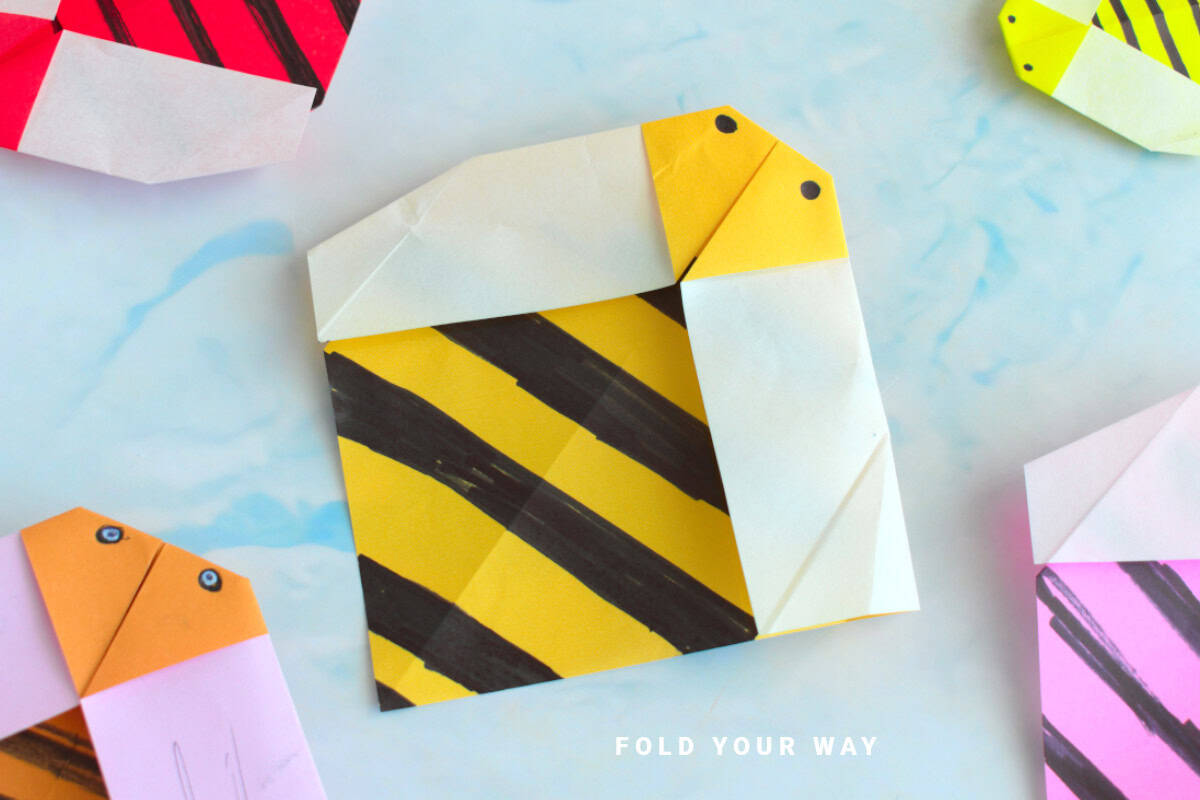
Step 14: Flip your paper over from left to right. Completed bee, decorate as you like.
Tips For Success
- Add black stripes with a marker for a classic bee look
- Use double-sided paper if you want the bee to have a contrasting back
Common Mistakes & How To Avoid Them
Bee looks too plain? Don’t forget to decorate! Stripes and a face add a lot of charm.
Color, Paper Ideas, and Variations
- Classic bumblebee: Yellow paper with black marker stripes
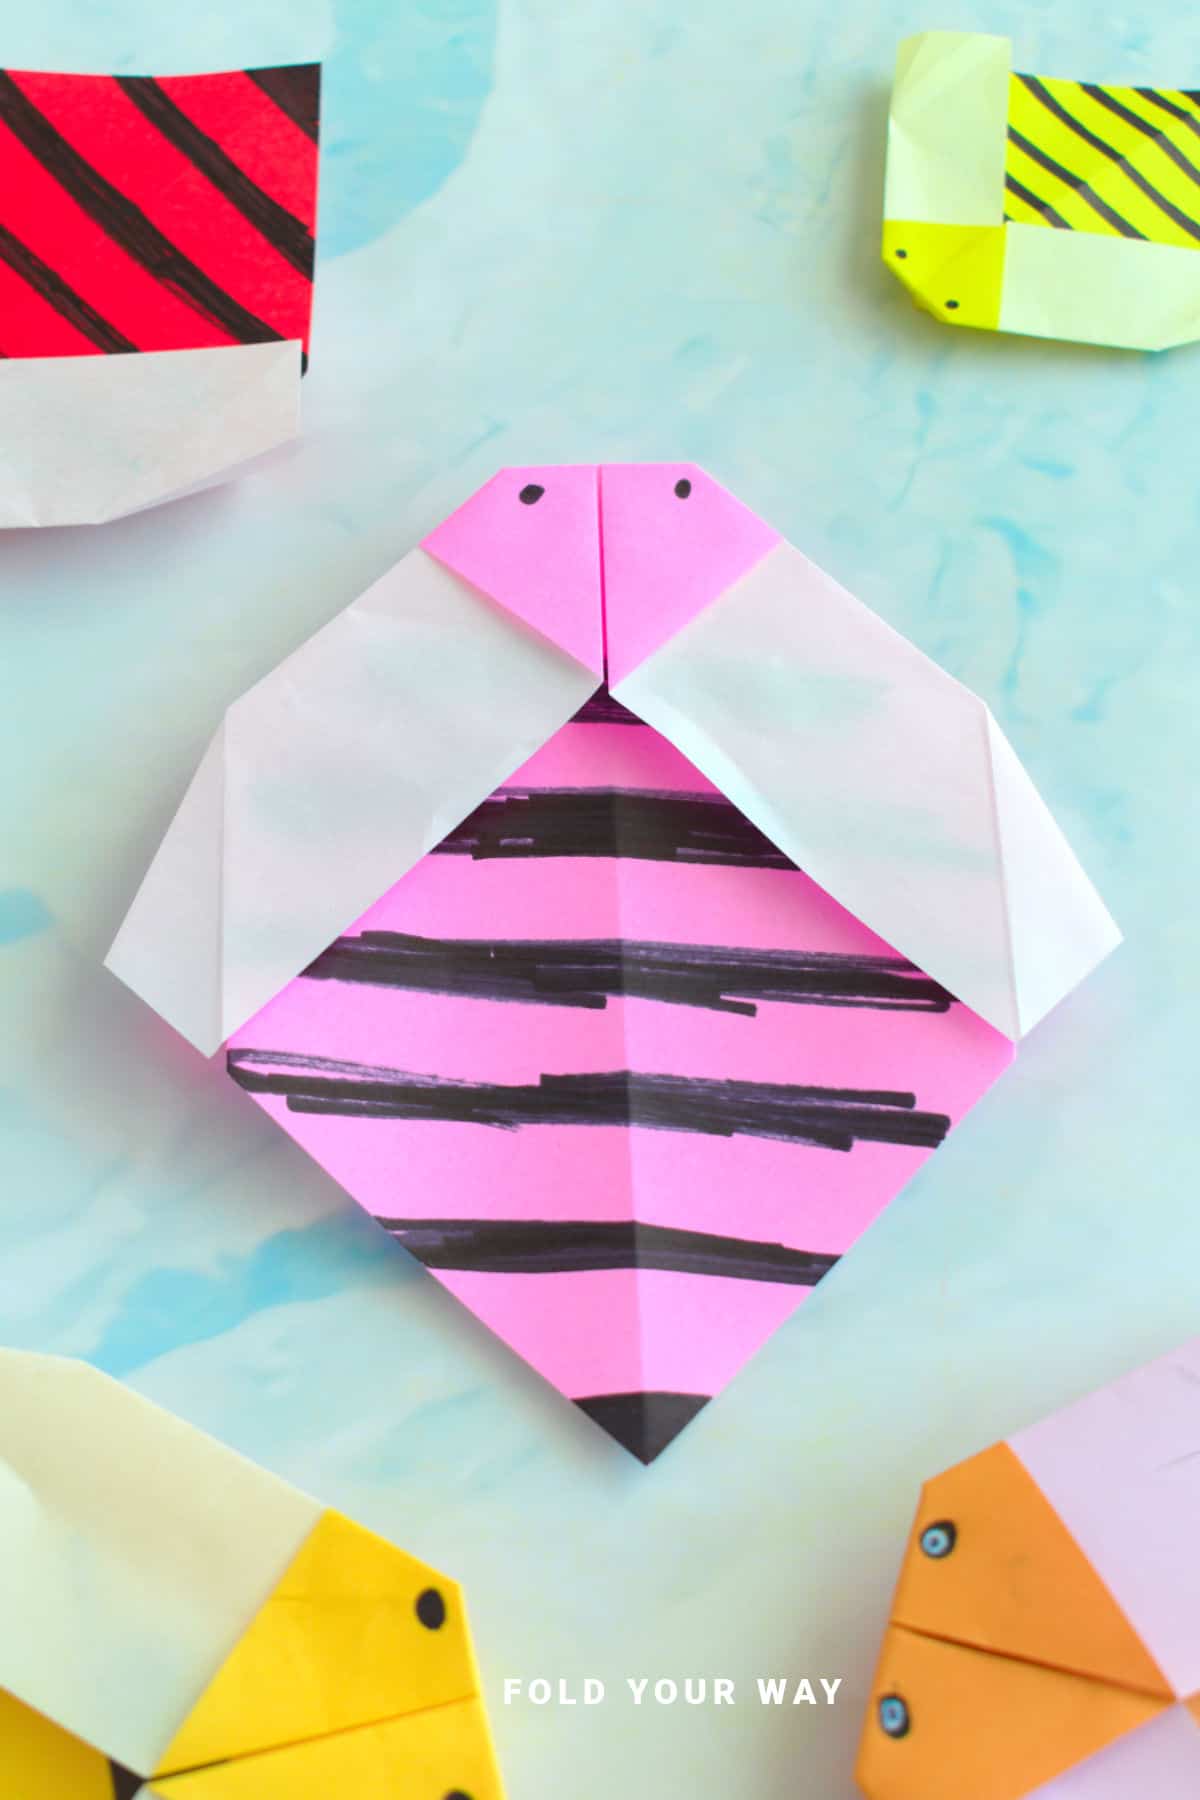
- Pastel bee: Use light pinks or blues for a more playful version
- Metallic bee: Try gold or silver foil paper for a shiny finish
- Winged bee: Cut and glue small white wings from tracing paper
- Mini bees: Make a bunch of small bees for a garland or mobile
FAQ
Yes! You can color it yellow and add black stripes for the classic bee look.
This is a flat bee, perfect for pasting onto paper or hanging as a garland.
Definitely — it’s simple, quick, and doesn’t require glue or scissors unless you want to decorate.
Try adding little antennae, googly eyes, or wings made from paper or vellum!
Other Paper Crafts You Might Like To Try:
Stay Connected
Made this pattern? Let us know how it went in the comments below!
Pin this post - Pin now to take your paper crafting skills to the next level.
Share on Instagram or Facebook - Capture the beauty of your finished paper craft project and share it on Instagram or Facebook! Tag us @foldyourway so we can see your work!
Other Patterns You Might Like To Try:
Looking for other easy patterns like this? Try these:


Comments
No Comments