
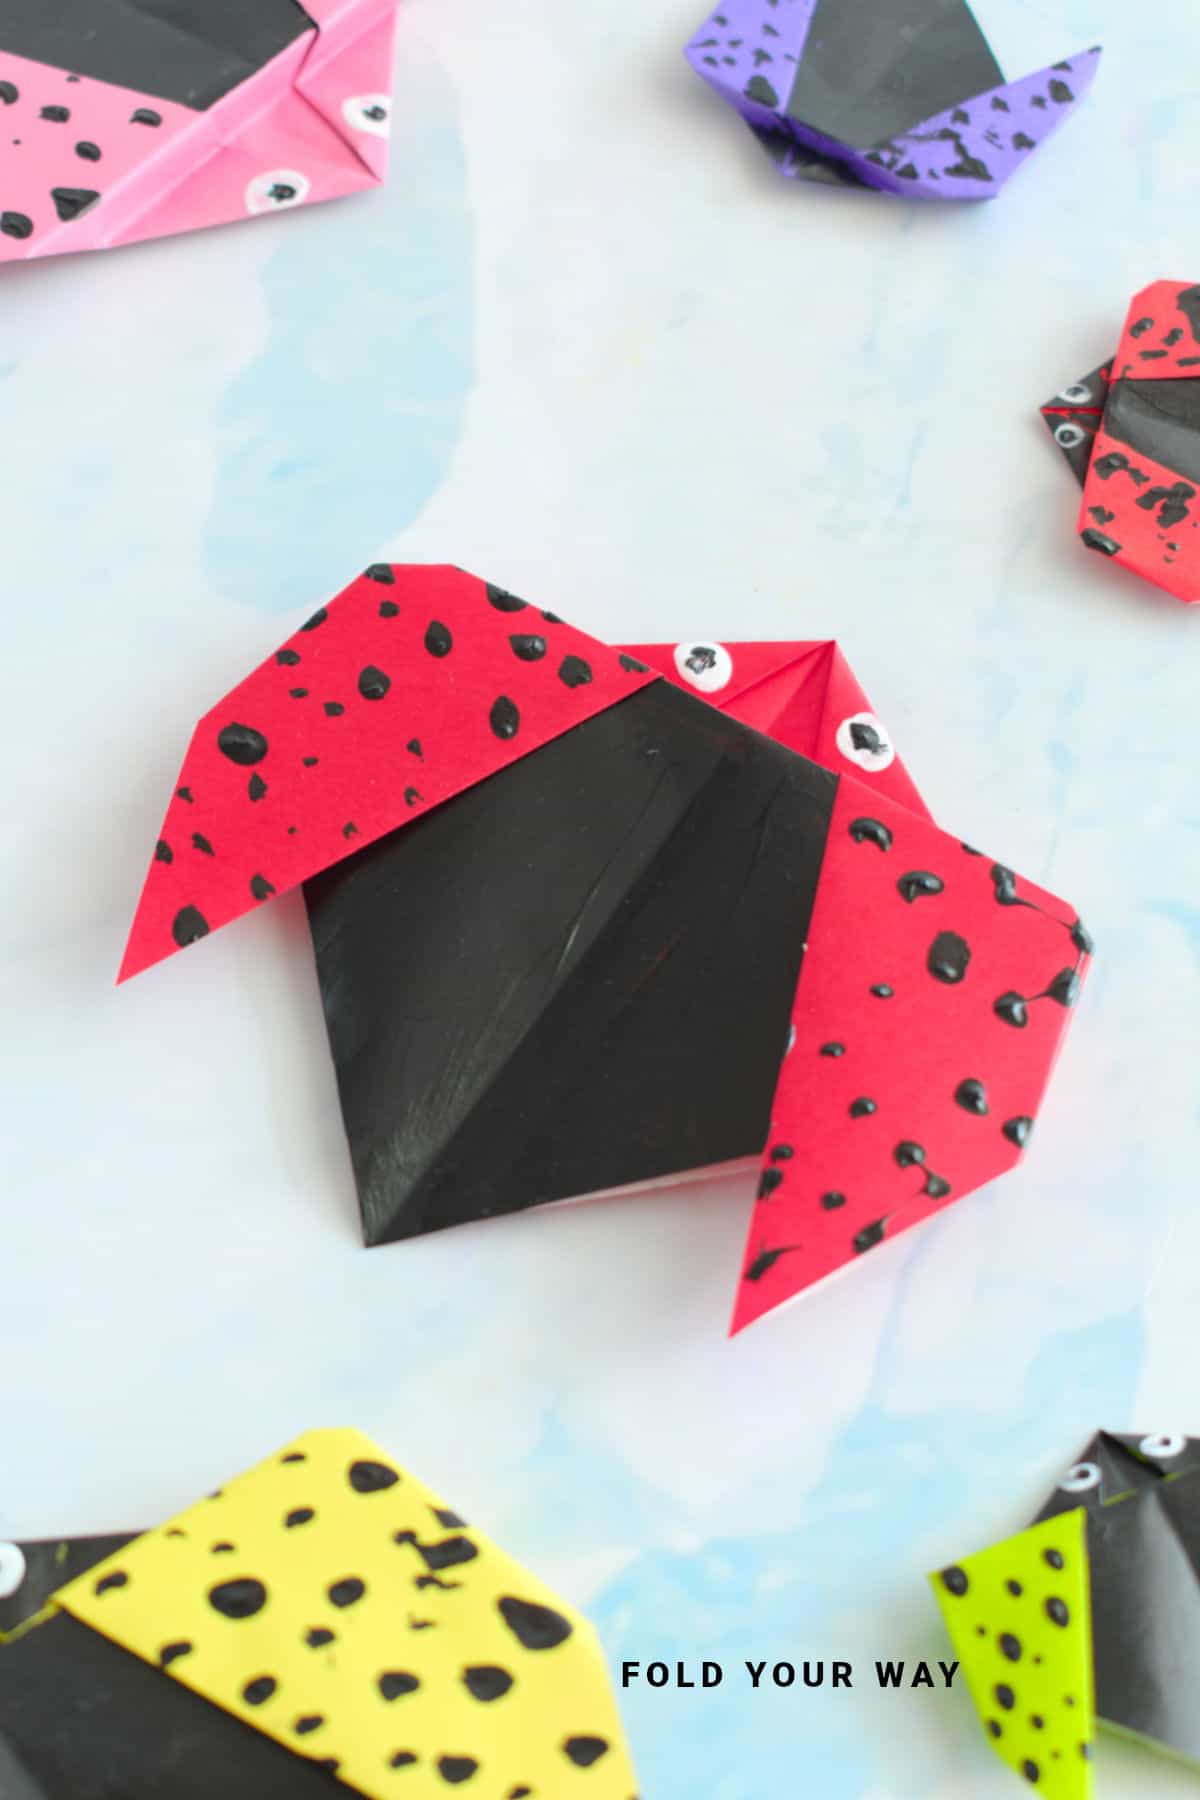
This easy origami ladybird (or ladybug) is the perfect spring or summer craft!
Quick to fold and fun to decorate, it's ideal for kids, nature-themed activities, classroom projects, or just a cheerful afternoon of paper crafting.
Jump to:
Looking for a simple and fun paper craft that brings a pop of color and a touch of charm?
This easy origami ladybird (or ladybug, depending on where you are in the world!) is a lovely little project that only takes a few minutes and a square sheet of paper.
It's a great one to make with kids or for anyone who just wants to do something light, creative, and a little bit cute.
Ladybirds are a favorite symbol of spring and summer, making this a great activity for those warmer months when nature is buzzing.
But honestly, you can enjoy folding these cheerful little bugs any time of year. They're wonderful for classroom crafts, nature or garden-themed birthday parties, or to decorate homemade cards and gift wrap.
You could even create a batch to string together into a garland, or add a magnet on the back for a fun fridge decoration.
What's more is this origami tutorial is beginner-friendly and requires no fancy supplies—just a square piece of paper and a marker to add the signature spots.
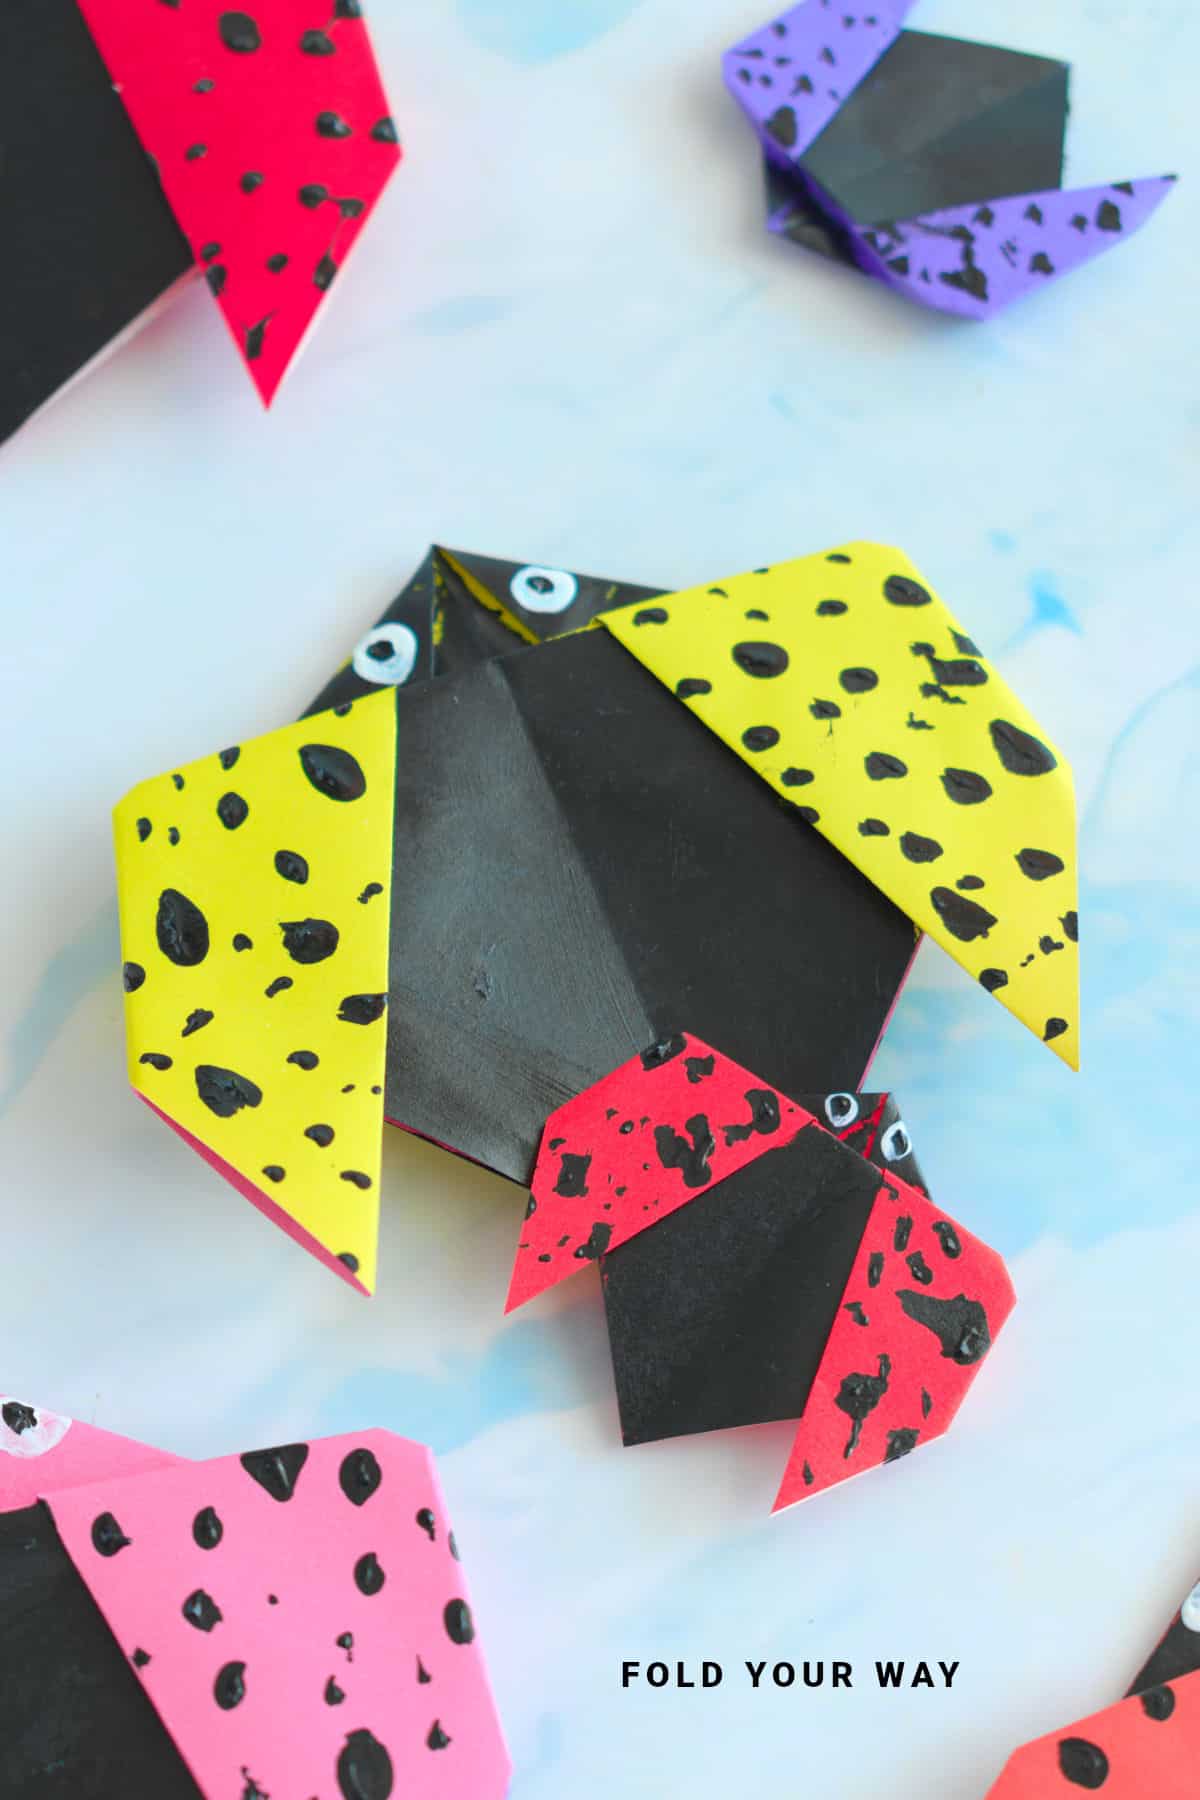
It’s also a great way to use up scraps of paper or experiment with different colors and patterns. You can keep it classic with red and black, or get playful with bright or pastel tones.
Whether you're crafting with little ones, decorating for spring, or simply in the mood for something cheerful, this easy origami ladybug is an easy win.
Why You'll Love This Pattern
- Super beginner-friendly—great for kids or adults
- Takes just one square piece of paper
- Makes cute decorations, classroom displays, or greeting card toppers
- Perfect for nature-themed events, springtime crafts, and rainy-day fun
- Customizable with colors, patterns.
- Great little project to relax and unwind with.
Skill Level
★☆☆☆☆ (Very Easy)
Materials Needed
- 1 square sheet of paper (red, black, or patterned)
- Black marker or pen (for spots and eyes)
Instructions
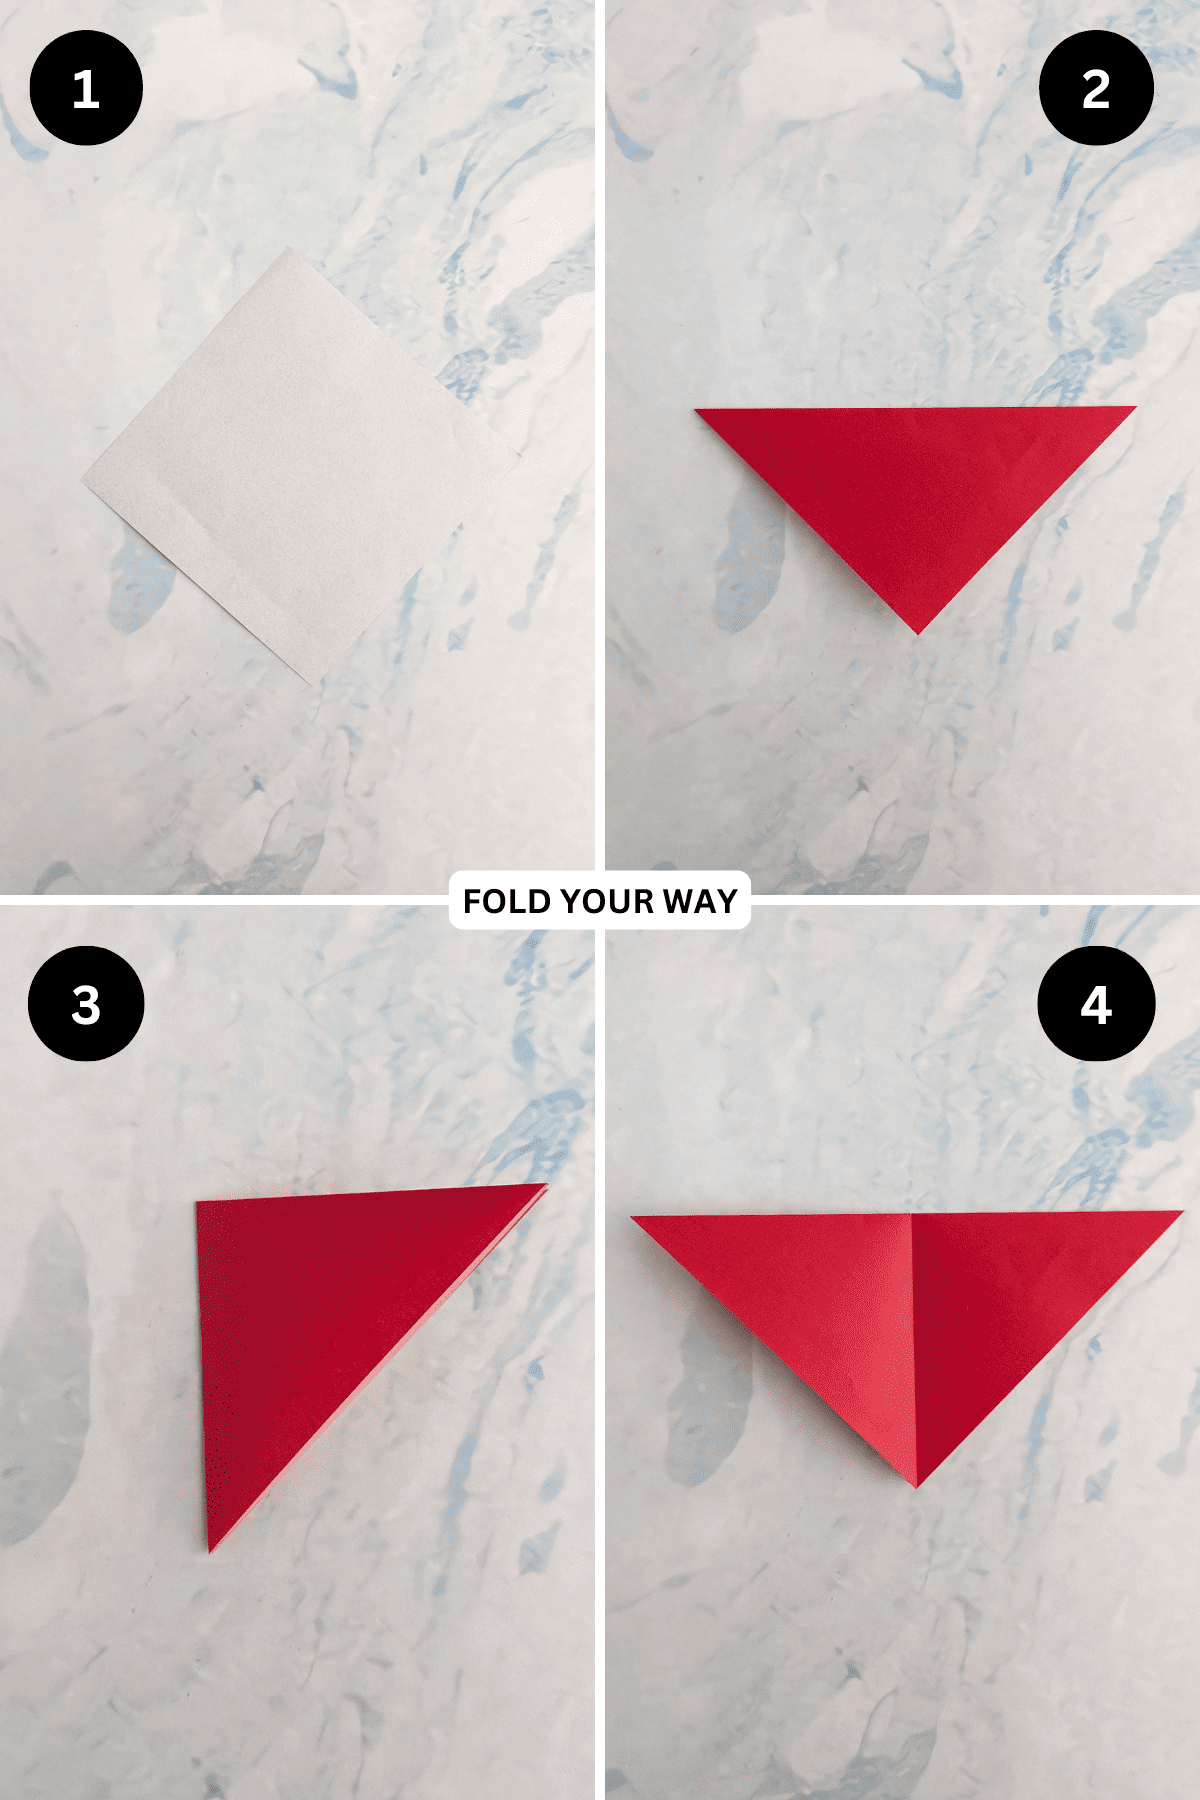
Step 1: Start with the color you want your ladybug to be facing down (e.g. the colored/patterned side). Arrange your paper to sit like a diamond shape.
Step 2: Fold the top point down to meet the bottom point.
Step 3: Fold the left point to meet the right point.
Step 4: Unfold previous step.
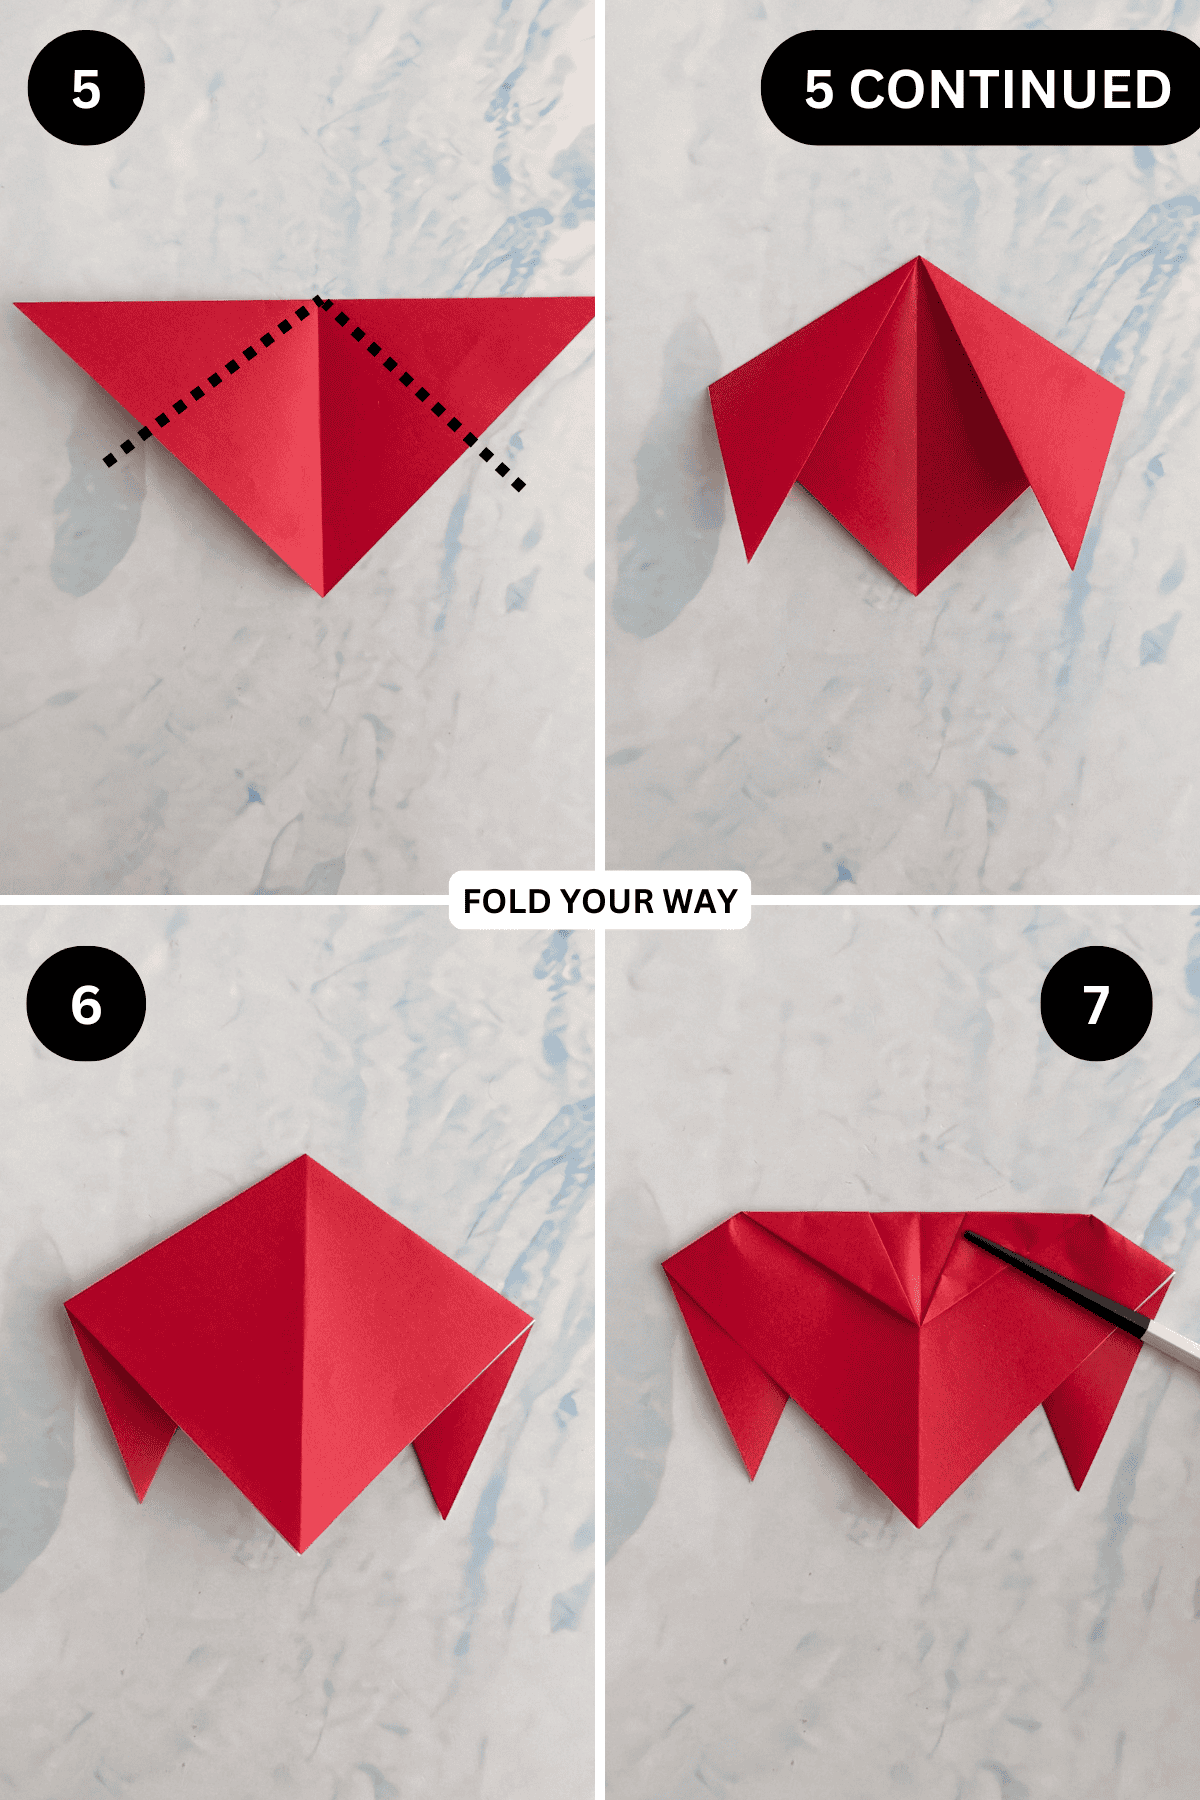
Step 5: Fold both the left and right points down along the lines shown. Keep it as symmetrical as possible.
Step 6: Flip your paper over from left to right.
Step 7: Fold the top point down slightly, so that its tip is almost at the centre of the paper.
✨ You're almost there! ✨
To unlock the final steps and complete your pattern, create a free account with Grow.me. below.
Make sure you tick the box to subscribe to our newsletter and stay up to date with the latest patterns, tips, and more!
Once you're signed up, you'll get instant access to finish your project and enjoy exclusive content in the future.
Already signed up? Hit the button below and select ‘Switch to Log In’ to pick up where you left off and finish your project!
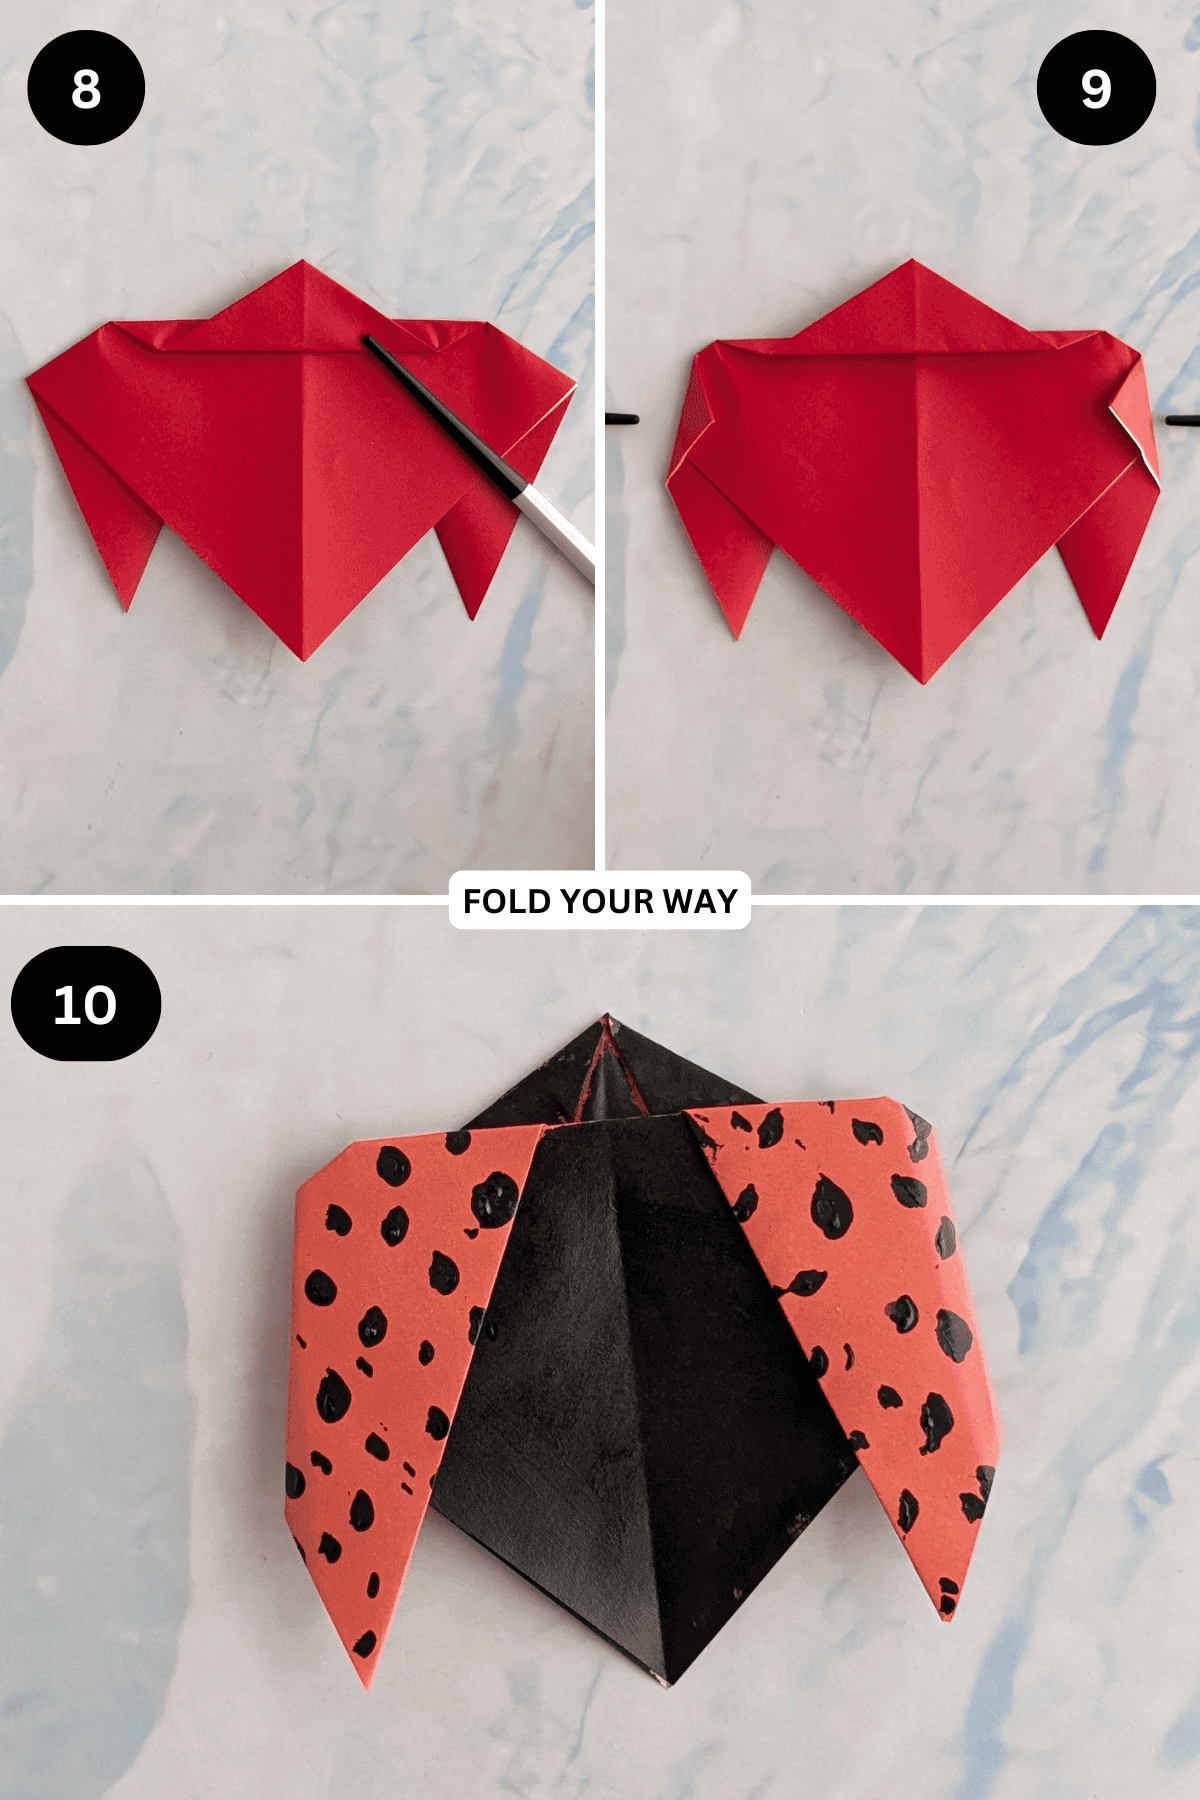
Step 8: Fold that same point back up slightly as shown.
Step 9: Fold both the left and right points inward slightly, keeping it as symmetrical as possible. This will help give shape to your ladybug.
Step 10: Flip your paper over from left to right. Decorate your ladybug with markers. Completed ladybug.
Tips For Success
- Choose thinner paper for easier folding and cleaner creases
- Use a red sheet and add spots after folding for a polished look
- Let kids draw their own patterns—spots, hearts, stars, etc.
- You can glue on tiny cut-out wings or use googly eyes for extra personality
- Try making several ladybirds and using them in a spring-themed display or collage
Color, Paper Ideas, and Variations
- Classic red and black: Keep it traditional with a red ladybird and black spots.
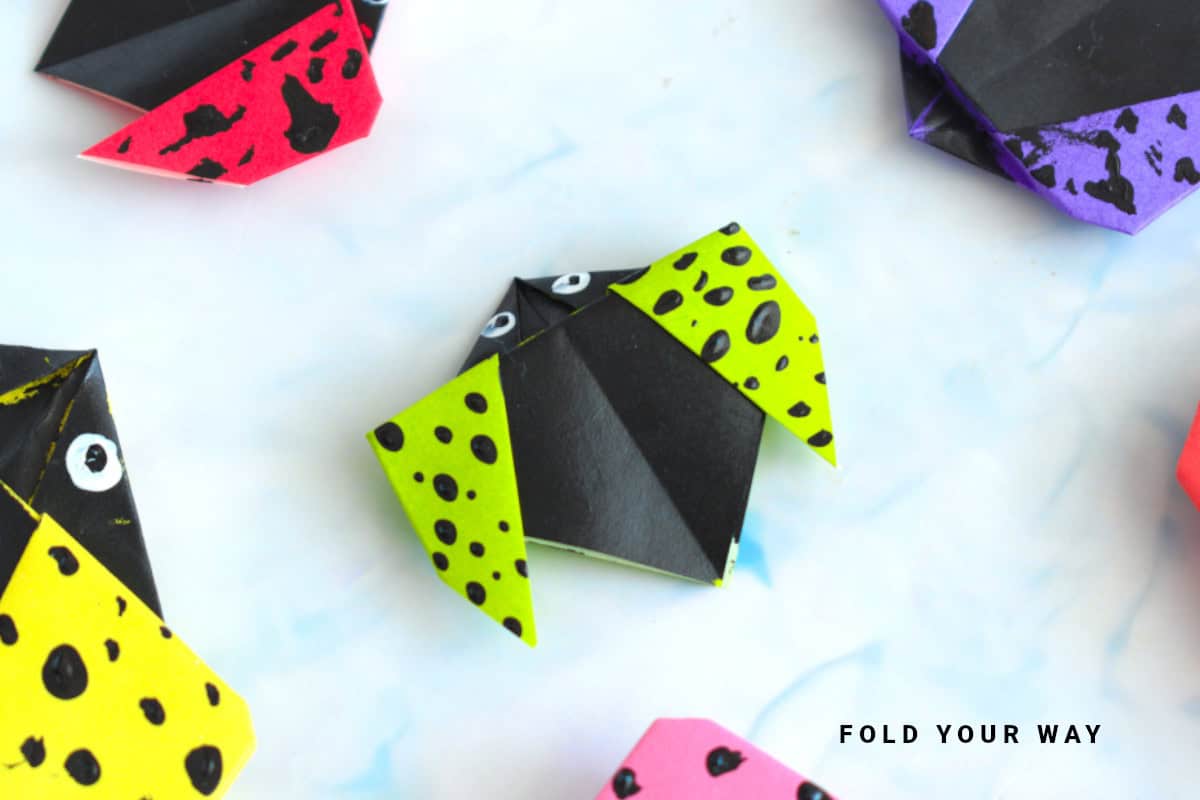
- Bright and bold: Try neon or jewel-toned paper for a fun, cartoony look.
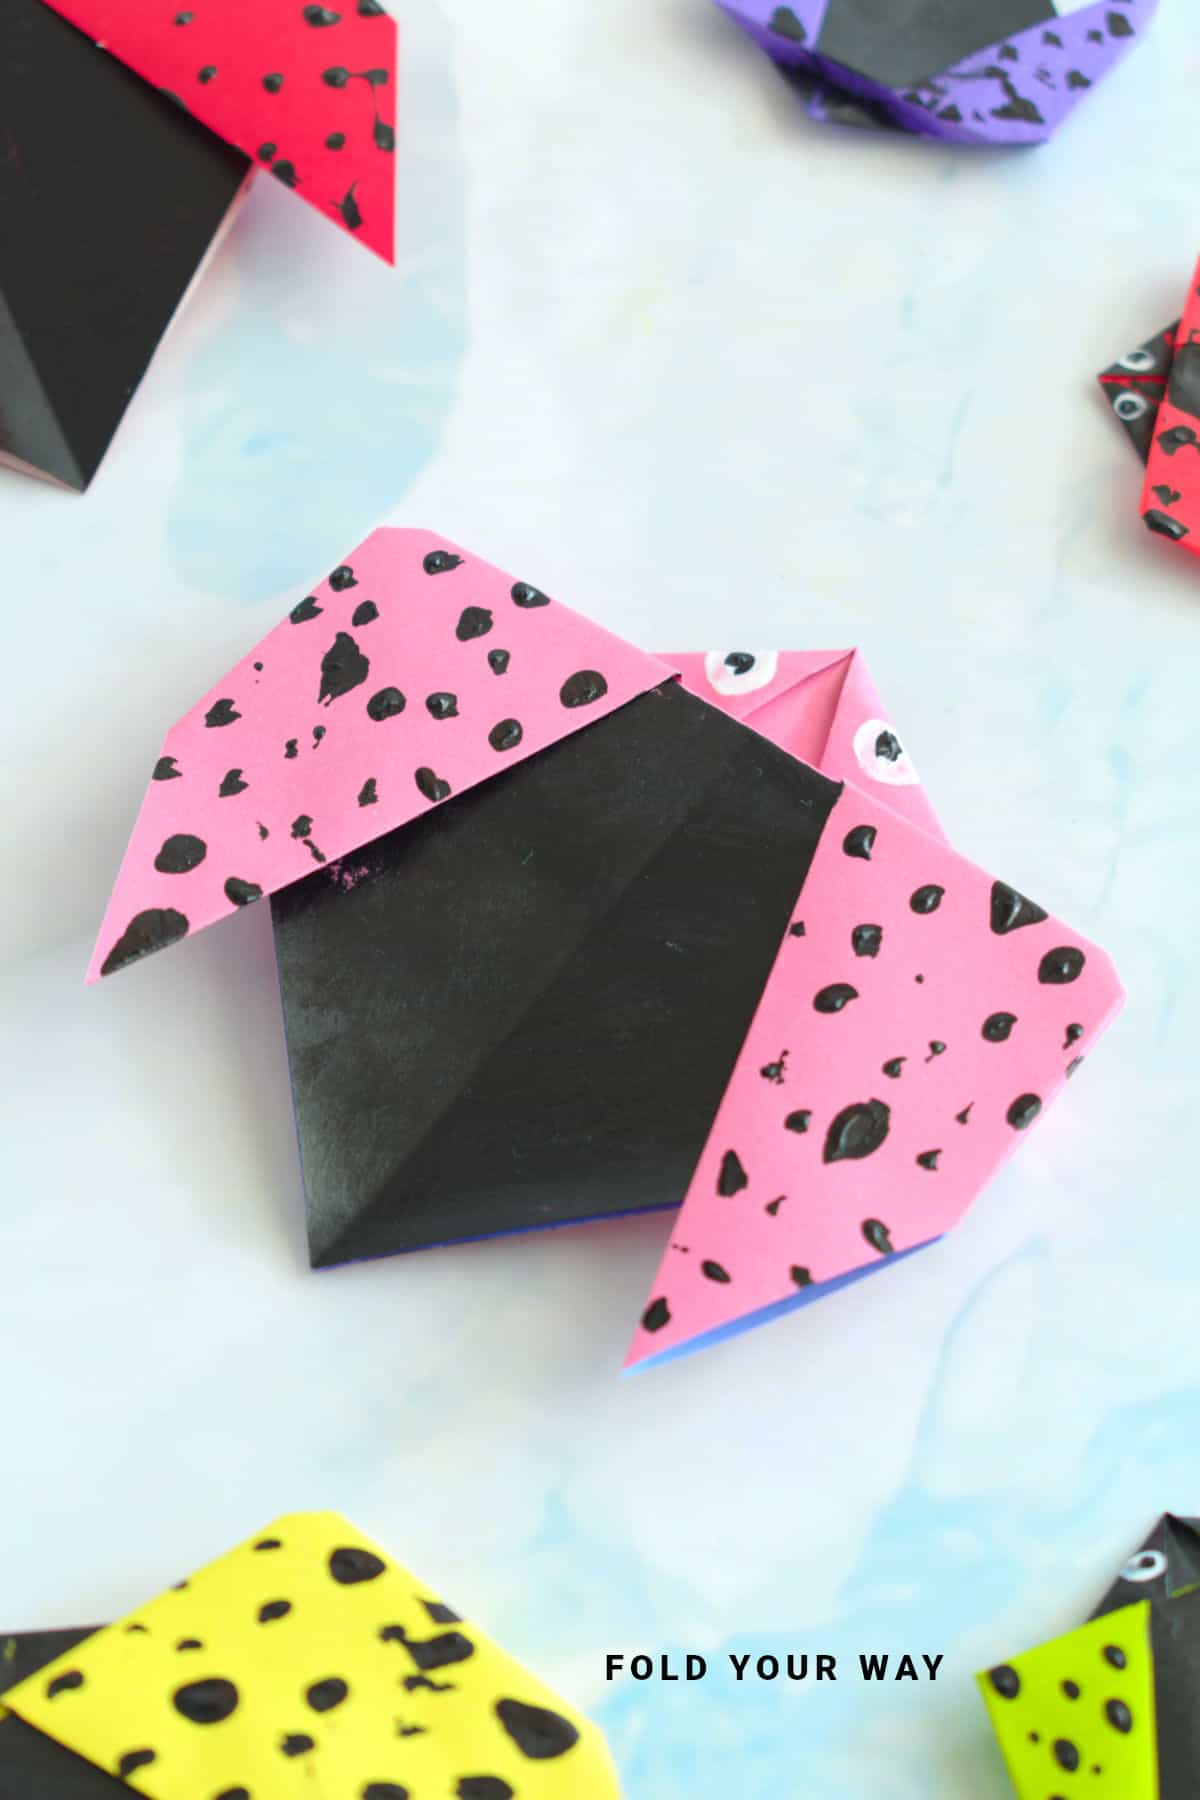
- Pastel tones for spring: Soft pinks, blues, and yellows make for a cute twist.
- Patterned paper: Use polka dots, florals, or even glitter paper to make it extra special.
- Mini versions: Use smaller squares to make tiny ladybirds—perfect for cards or cupcake toppers.
- Turn them into magnets, pins, bookmarks, or part of a larger spring-themed collage.
FAQ
Yes! Just cut it into a square. Origami paper is easier to fold, but printer paper works perfectly fine.
Definitely. Younger children may need help with the folds, but it’s a simple design and decorating it is part of the fun.
Add them to greeting cards, gift tags, or classroom displays. You can also string them up for a seasonal garland or glue a magnet on the back for the fridge.
Not at all—but if you want to add eyes, stickers, or extra embellishments, a bit of glue can help things stay in place.
Other Paper Crafts You Might Like To Try:
Stay Connected
Made this pattern? Let us know how it went in the comments below!
Pin this post - Pin now to take your paper crafting skills to the next level.
Share on Instagram or Facebook - Capture the beauty of your finished paper craft project and share it on Instagram or Facebook! Tag us @foldyourway so we can see your work!
Other Patterns You Might Like To Try:
Looking for other easy patterns like this? Try these:


Comments
No Comments