
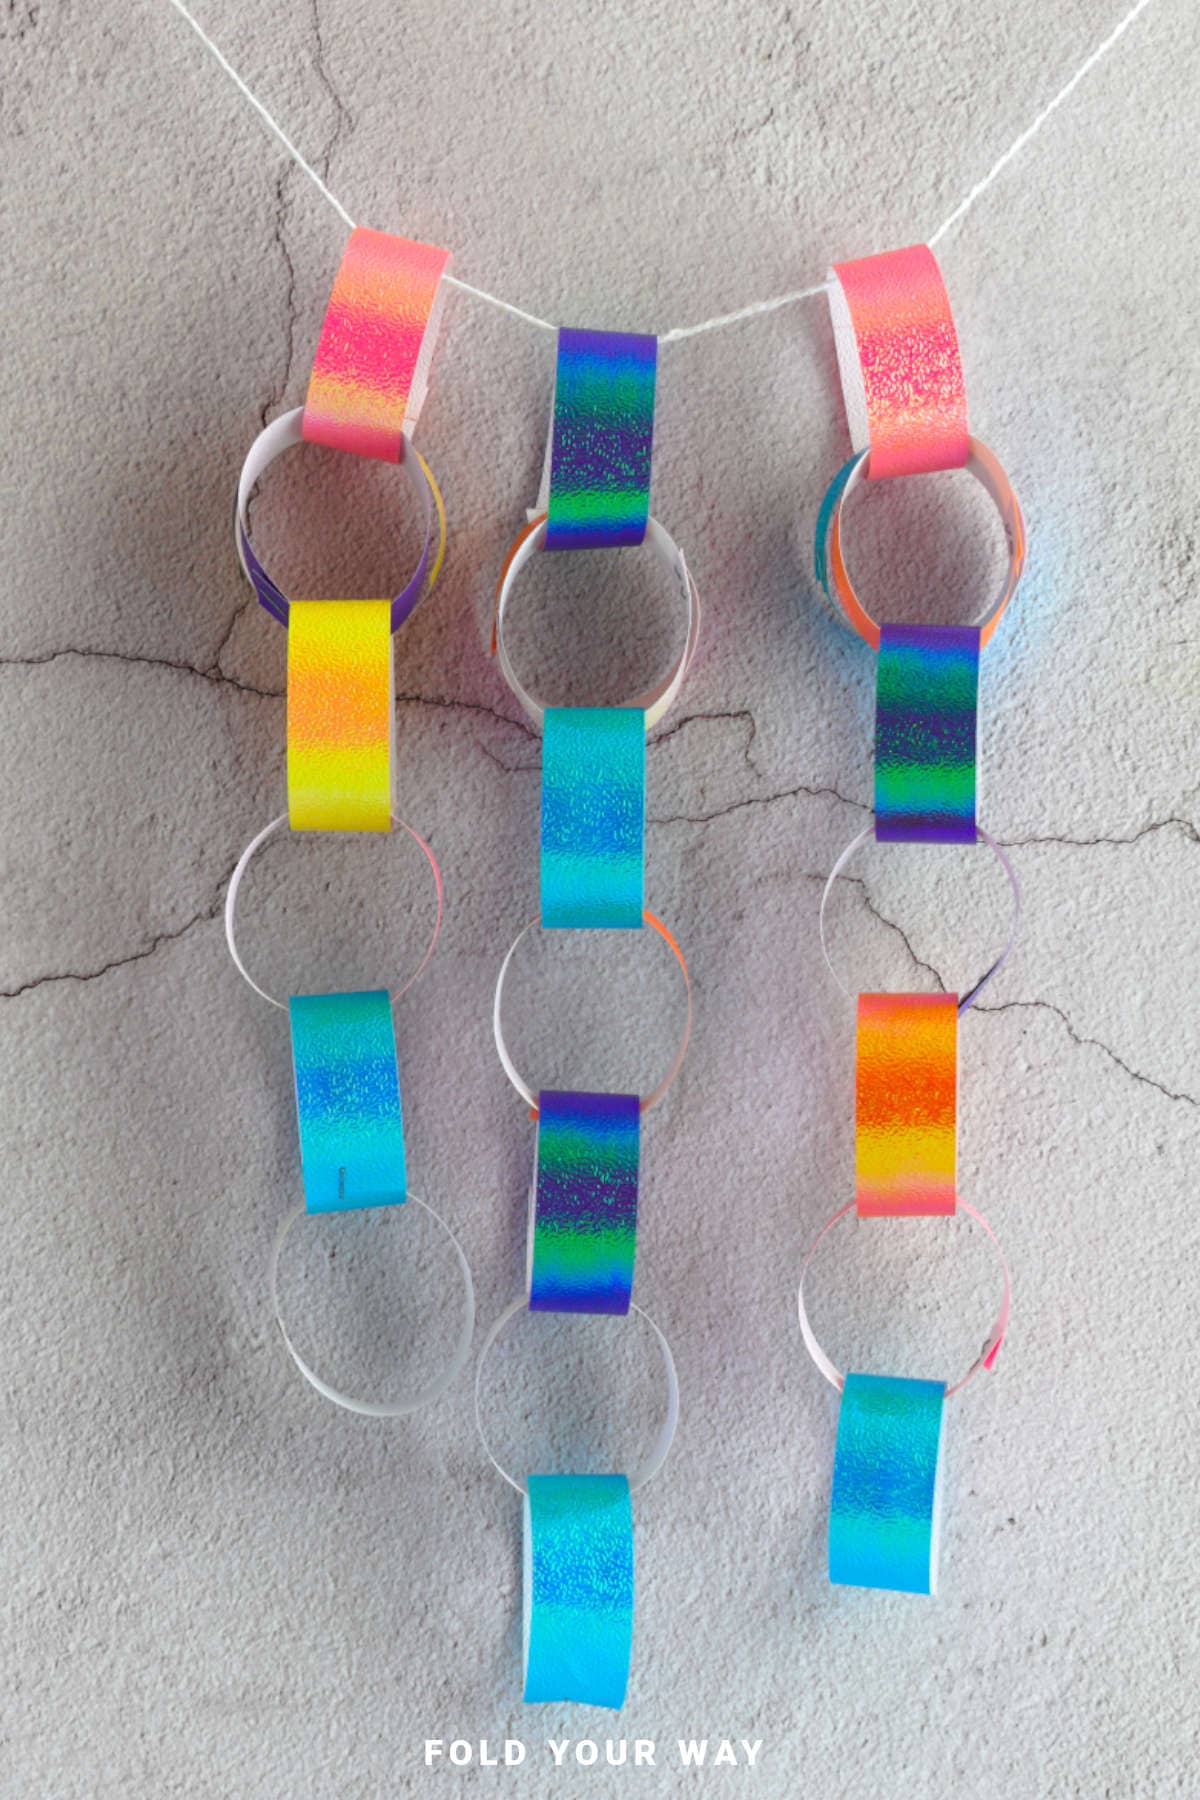
This DIY paper chain is made from strips of paper and a stapler—simple, nostalgic, and fun for all ages.
Customize the colors, strip size, and length to fit any occasion or space.
Jump to:
- Why You'll Love This Pattern
- Skill Level
- Materials Needed
- Instructions
- Tips For Success
- Common Mistakes & How To Avoid Them
- Color, Paper Ideas, and Variations
- FAQ
- Other Paper Crafts You Might Like To Try:
- Helpful Tips and Common Mistakes For Paper Crafts
- Stay Connected
- Other Patterns You Might Like To Try:
- Comments
If you’re looking for a low-prep, high-impact paper craft that’s fun, colorful, and perfect for decorating, this DIY paper chain is it.
DIY paper chains are a simple paper craft made by looping and linking strips of paper into a repeating chain pattern. They are commonly used for party decorations, classroom displays, and festive events. This project is beginner-friendly and can be customised with different colours, patterns, and lengths to suit any occasion.
Made from simple paper strips stapled together in loops, this project is endlessly customizable and great for all ages—from preschoolers to party planners.
The beauty of the diy paper chain lies in its simplicity. It only requires two things: paper and a stapler.
Cut your strips ahead of time or make it part of the crafting session.
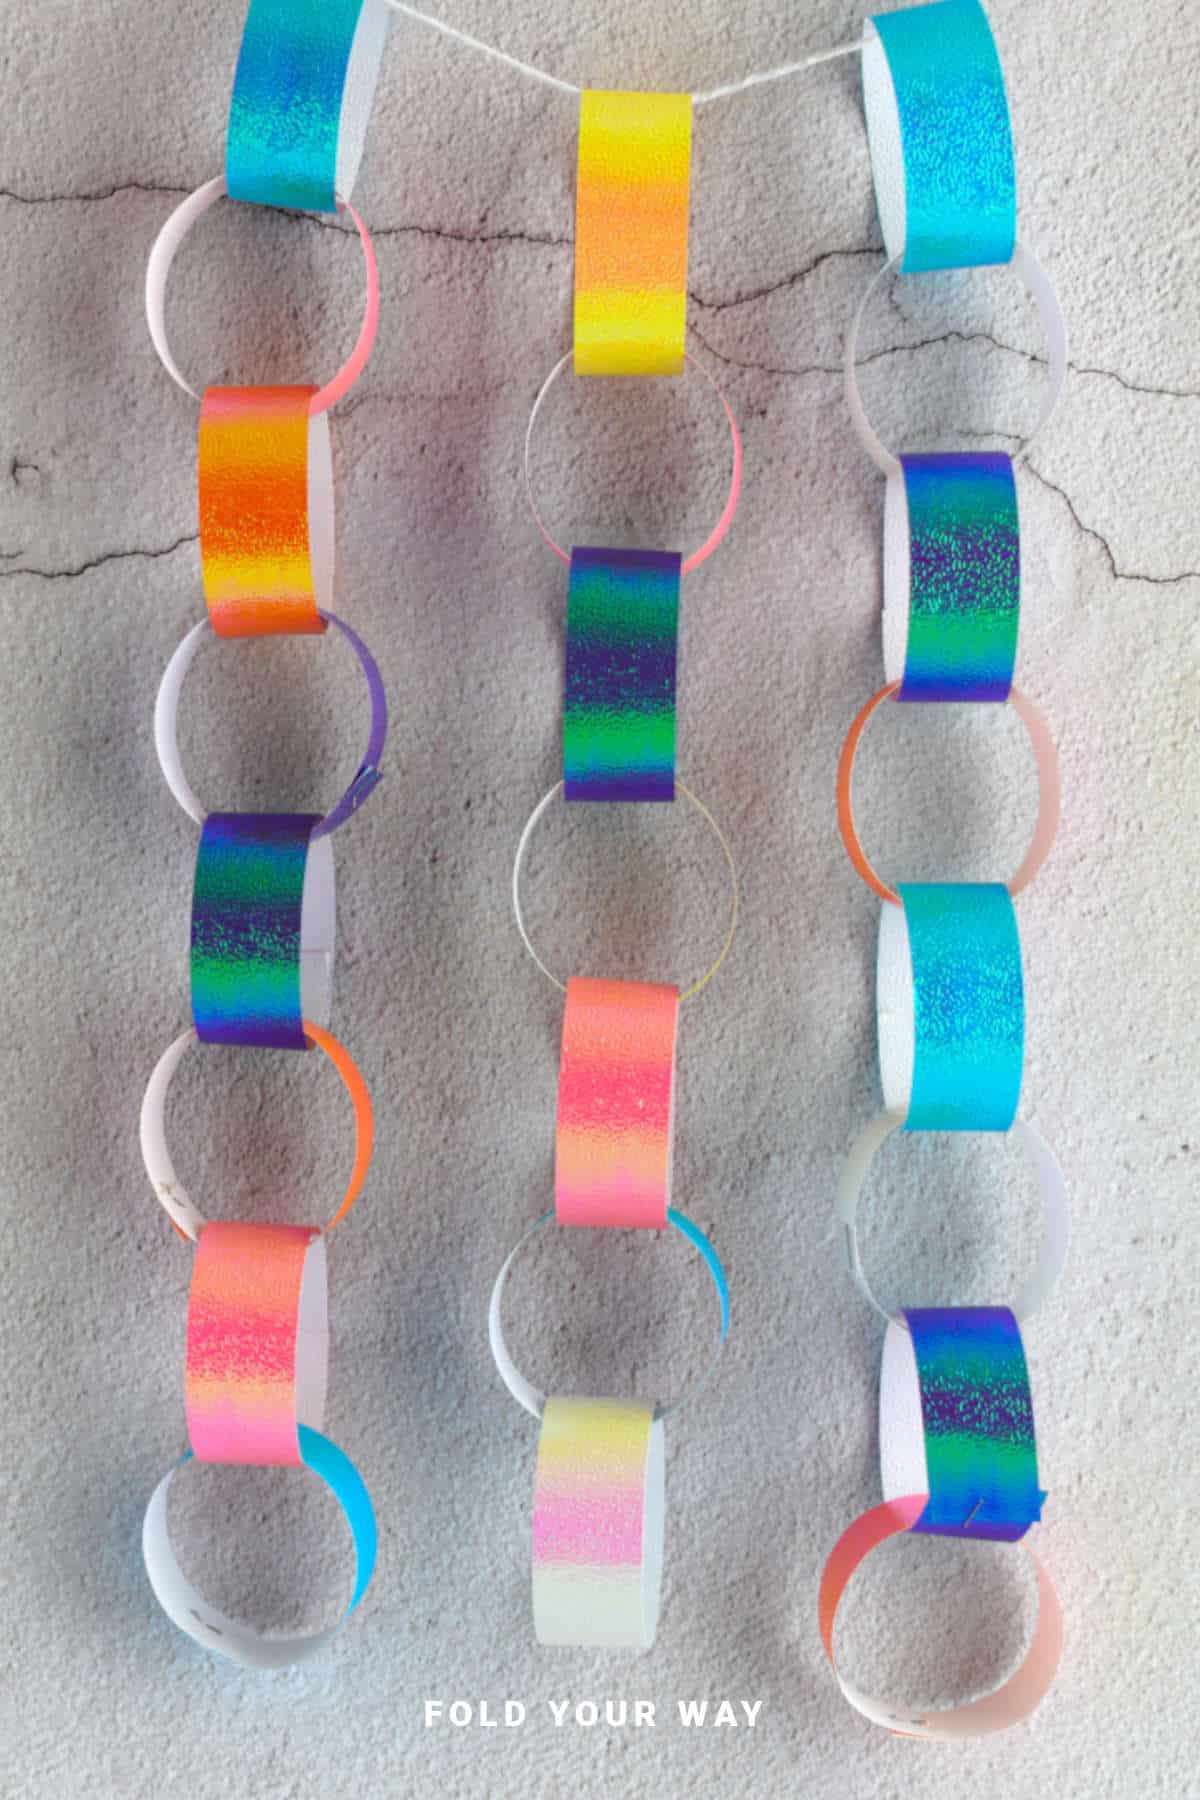
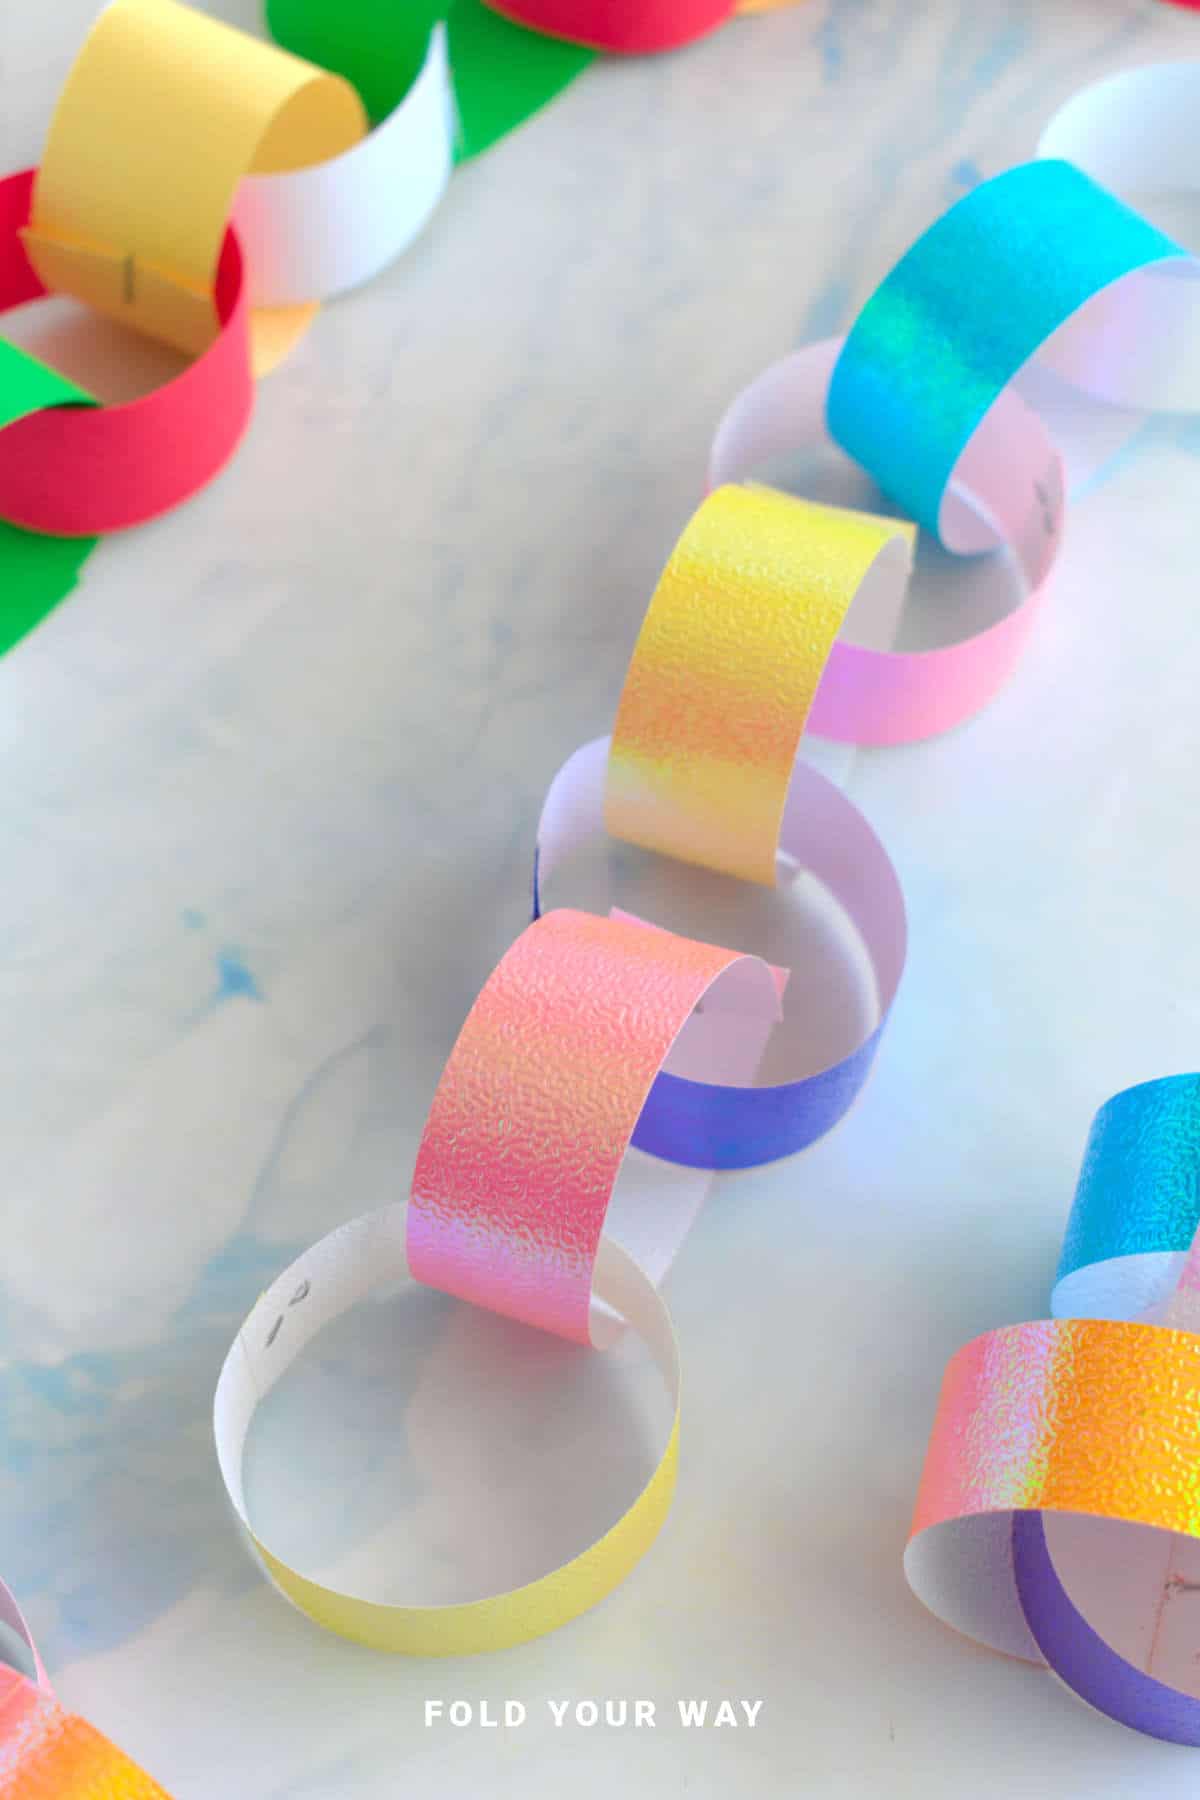
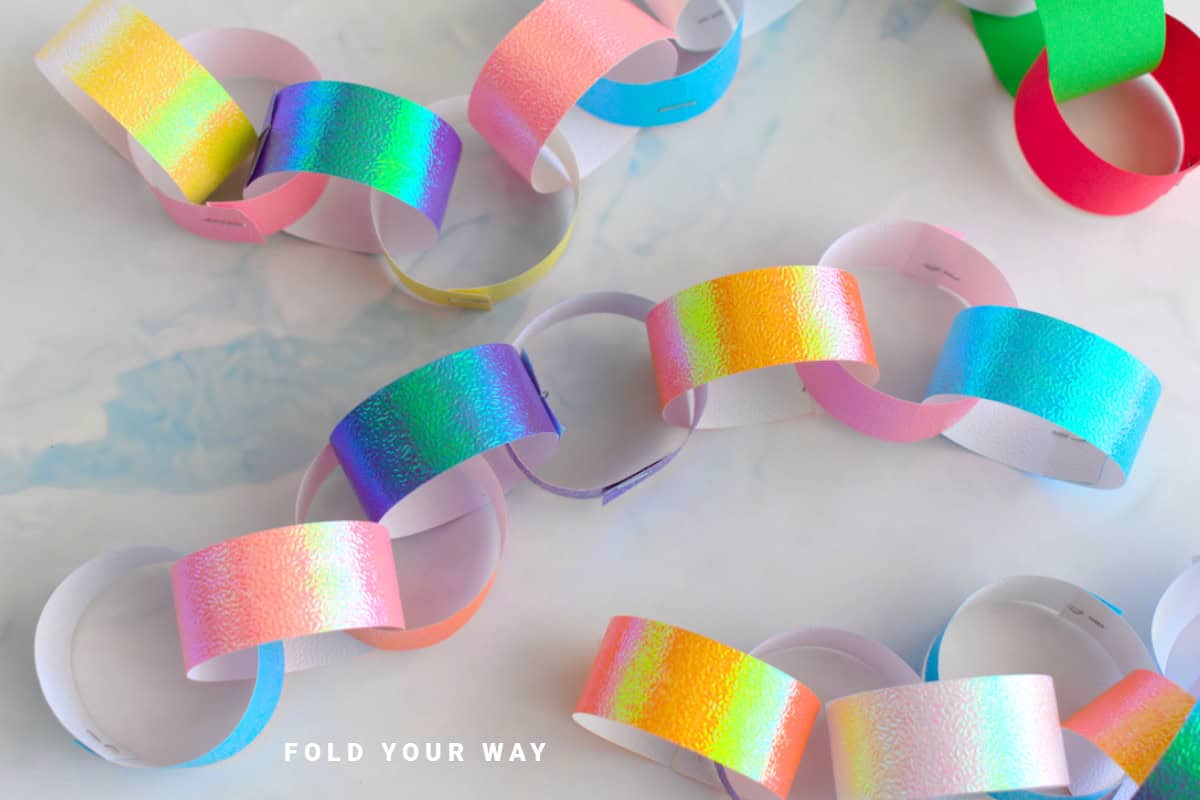
Choose bright colors for birthdays, pastels for baby showers, metallics for weddings, or classic red and green for Christmas. There are no rules here.
This easy DIY tutorial is great for classrooms, rainy day activities, or seasonal decorating.
It also introduces young crafters to pattern-making, counting, and sequencing while keeping their hands busy.
Want to make a longer chain? Just keep going.
Want chunkier loops? Use wider or longer paper strips. The whole thing is adjustable based on what you have on hand.
Beyond being just a decoration, this project makes for a fun countdown activity—remove one link each day leading up to a special event—or use it to mark a memory for each link.
There’s room for creativity in every part of this diy paper chain project.
Why You'll Love This Pattern
- Only uses paper strips and a stapler—no glue or special tools
- Can be made in advance.
- Easy enough for toddlers, fun enough for adults
- Great for holidays, birthdays, classrooms, or party decor
- Customizable strip width, length, and colors
- Fast to make but endlessly expandable
- Great for group crafting or classroom activities
Skill Level
★☆☆☆☆ (Very Easy)
Materials Needed
- Paper strips (cut from A4, U.S. letter, or any scrap paper)
- Stapler (or glue)
- Optional: scissors, ruler, pencil for marking widths
The number of strips you need will depend on how long you want your chain to be.
As a guide, you could make strips that are 0.80 inches x 6 inches (2 cm x 15 cm) long. 8 strips of paper at that length will make a chain that is about 11 inches (30 cm) long.
Instructions
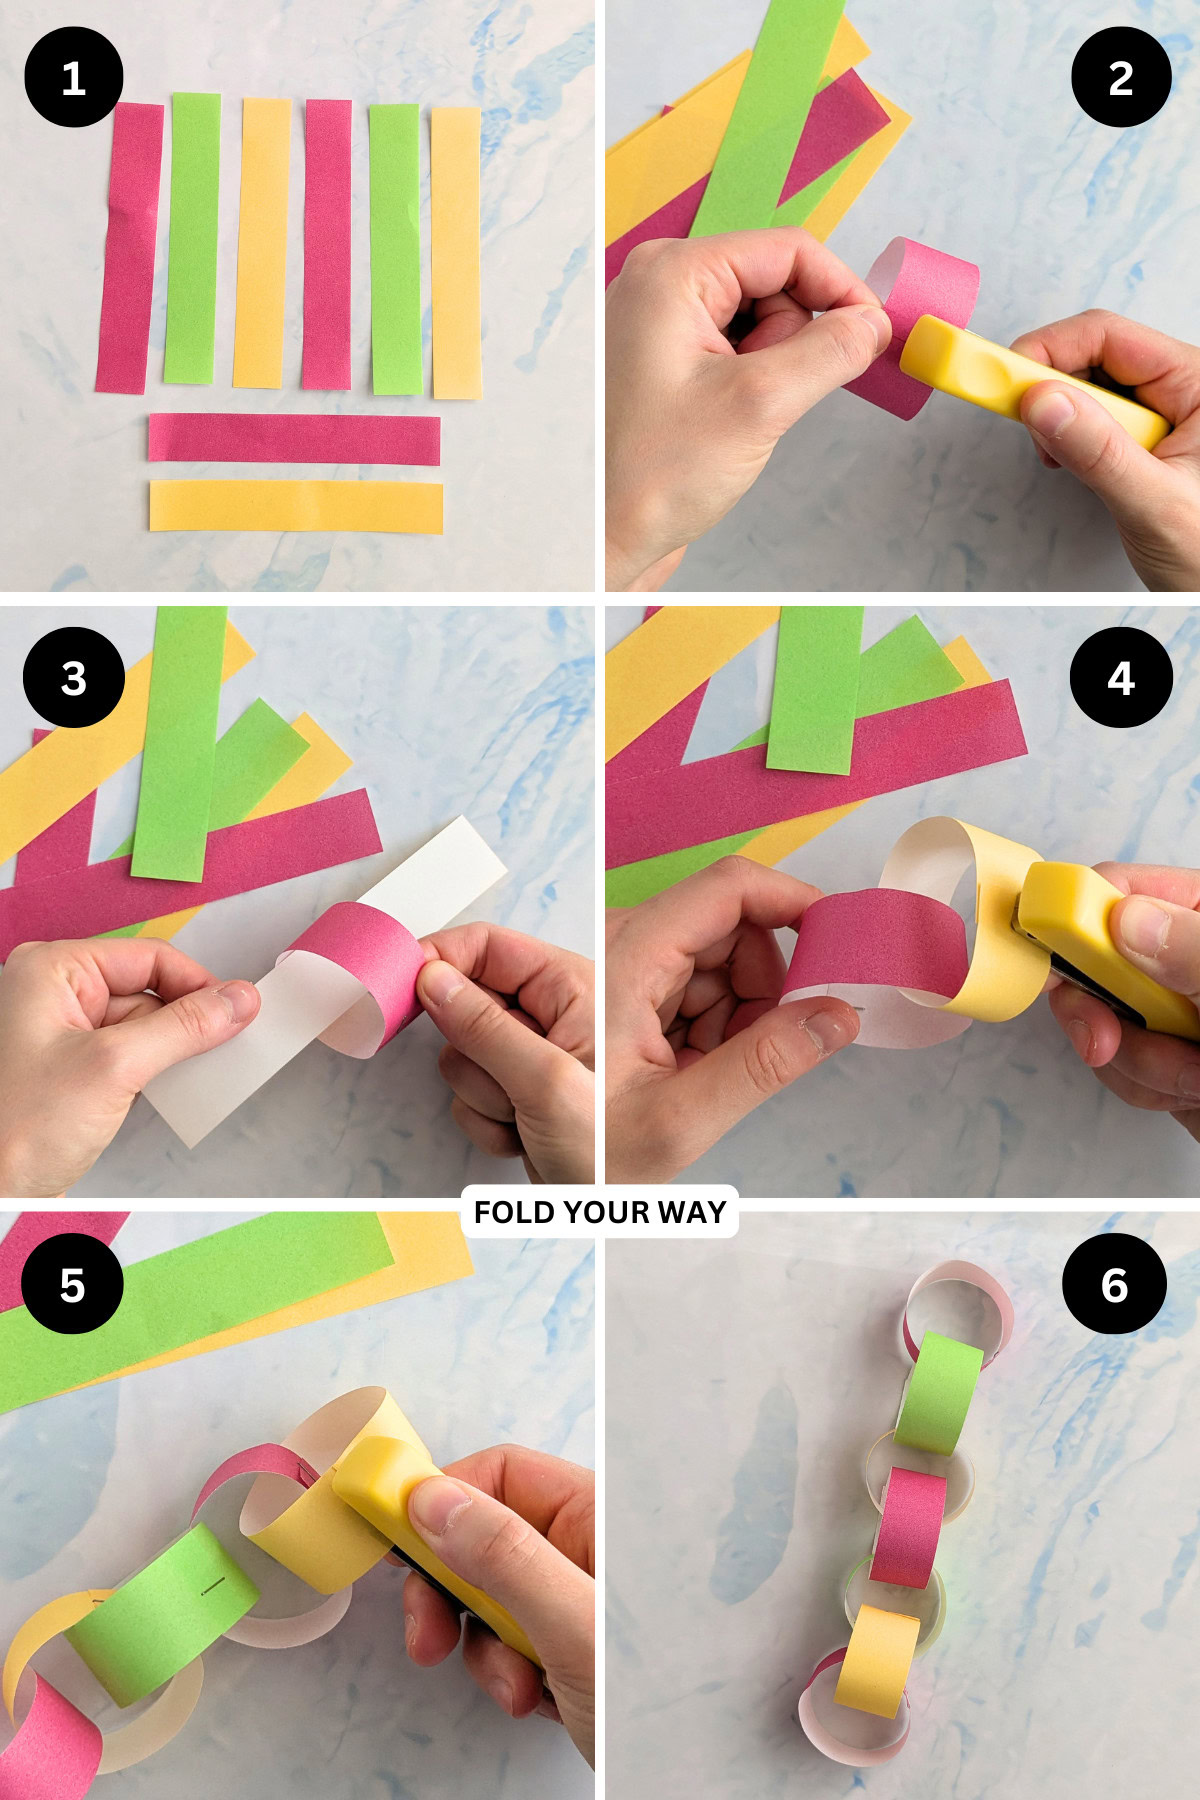
Step 1: Cut out your paper strips to the size you want.
Each strip will become a “link” on the paper chain. The number of strips you need will depend on your strip length and how long you want your chain to be.
As a guide, you could make strips that are 0.80 inches x 6 inches (2 cm x 15 cm) long. 8 strips of paper at that length will make a chain that is about 11 inches (30 cm) long.
Once you have cut out your strips, arrange them in the color order you like. This way you can visually see what the chain can look like before you put it together.
Step 2: Take your first strip and stapler or glue the ends together to form a ring. Tip: Try to match the sides evenly. This will make your link look nicer. If you are using glue, hold the ends together until the glue dries.
Step 3: Take your next strip and place it through the ring you made in the previous step.
Step 4: On that same strip from the previous step, glue or use a stapler to hold the ends together to form a ring.
Step 5: Repeat steps 3 and 4 for as many links as you like.
Step 6: Completed paper chain.
Optional: You could complete the paper chain by adding some string on either end to make it easier to hang.
Or you could use another strip of paper to link both the top and bottom ends of the chain together to form a circle chain.
Tips For Success
- Use a paper cutter or ruler for uniform strips
- Vary the width for different looks—narrow strips for delicate chains, wide for bold
- Alternate colors to create a pattern
- Let kids write messages or draw on each strip before assembling
- Staple near the edge to keep loops wide and flexible
- Store leftover strips in a bag for future quick crafts
Common Mistakes & How To Avoid Them
- Stapling too tightly – Leave a little space so the links move freely
- Staples coming loose – Make sure you staple all the way through and press firmly
- Chain doesn’t hang well – Use consistent strip length and weight for balance
- Paper tears at the staple – Use slightly thicker paper or staple closer to the middle of the overlapping ends
- Making it too short – Cut extra strips ahead of time so you can keep adding
Color, Paper Ideas, and Variations
- Construction paper – Bright, sturdy, and great for kids
- Origami paper – Adds pattern and texture to each loop
- Holiday-themed paper – Perfect for seasonal garlands
- Metallic or foil paper – Elegant for parties or weddings
- Newspaper or book pages – Great for a rustic, upcycled vibe
- Wider strips – Create a chunky, modern chain look
FAQ
Yes, but staples are quicker and less messy—especially for large chains or group crafts.
Try strips about 1 inch wide and 6 inches long (2.5 cm x 15 cm) as a starting point.
Tape or tack one end to the wall, doorway, or ceiling. You can also drape it like bunting. You could even attach some string to make it easier to tie to something.
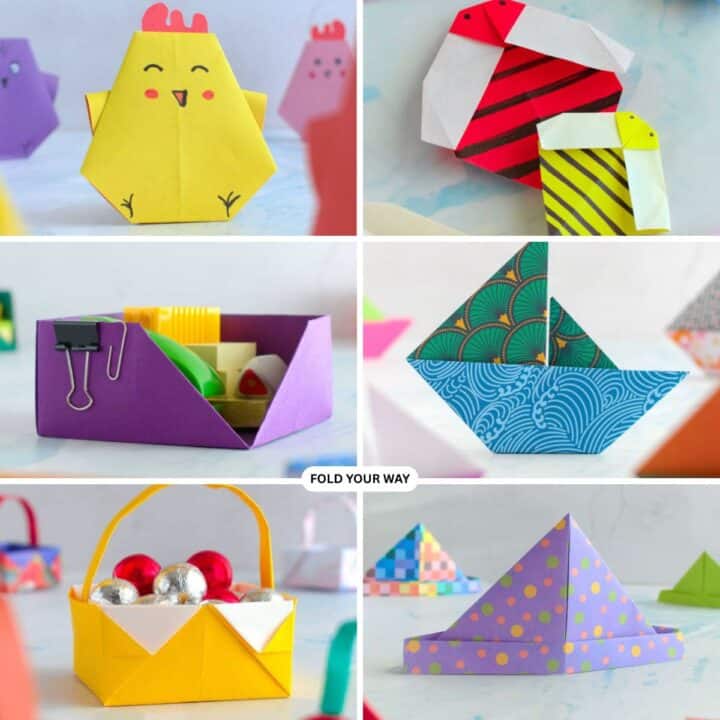
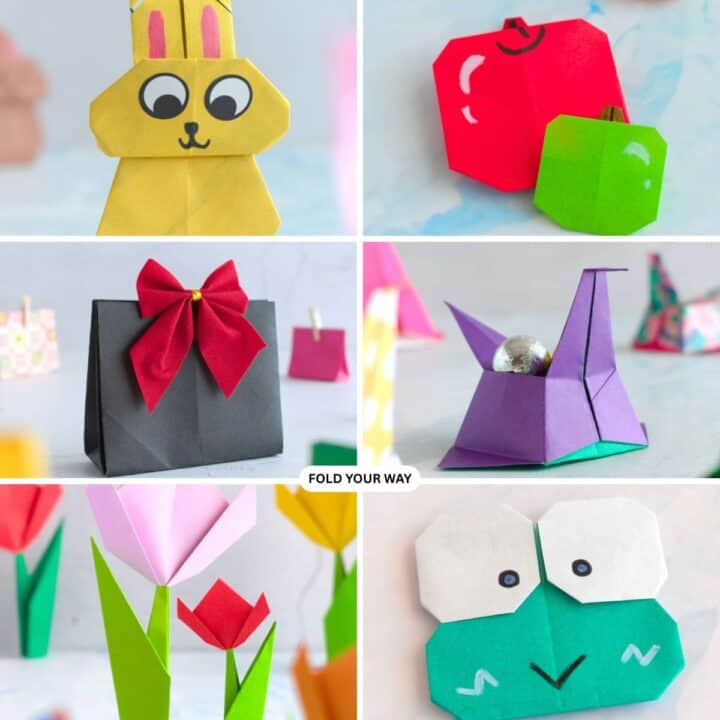
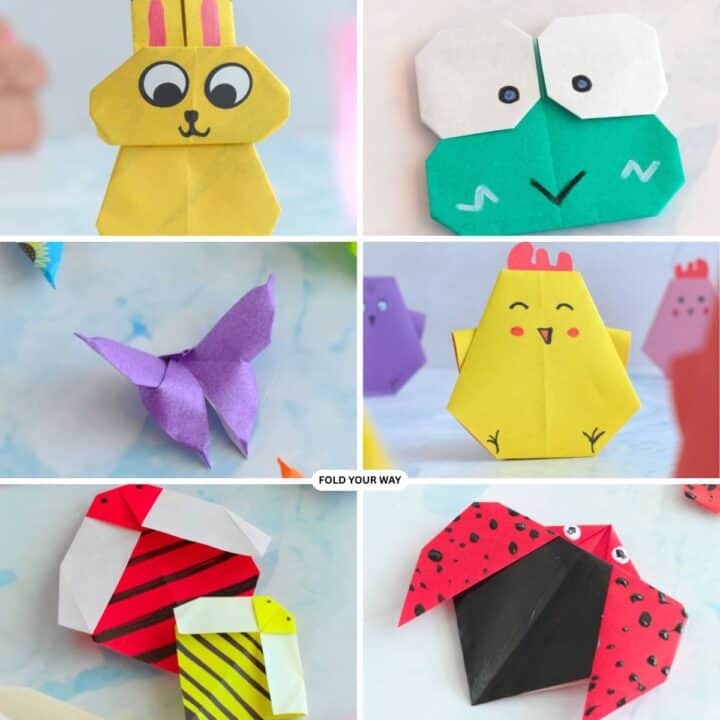
Other Paper Crafts You Might Like To Try:
Helpful Tips and Common Mistakes For Paper Crafts
Paper crafting and origami can be hard sometimes. Which is why we've made this printable PDF just for you.
It outlines helpful tips so that you can successfully complete your craft, and some of the most common mistakes people come across.
You can download the helpful tips and common mistakes for paper crafts printable PDF here.
Stay Connected
Made this pattern? Let us know how it went in the comments below!
Pin this post - Pin now to take your paper crafting skills to the next level.
Share on Instagram or Facebook - Capture the beauty of your finished paper craft project and share it on Instagram or Facebook! Tag us @foldyourway so we can see your work!
Other Patterns You Might Like To Try:
Looking for other easy patterns like this? Try these:
- Easy Origami and Simple Paper Craft Ideas
- Cute Origami Ideas
- Easy Origami Animals and Insect Crafts
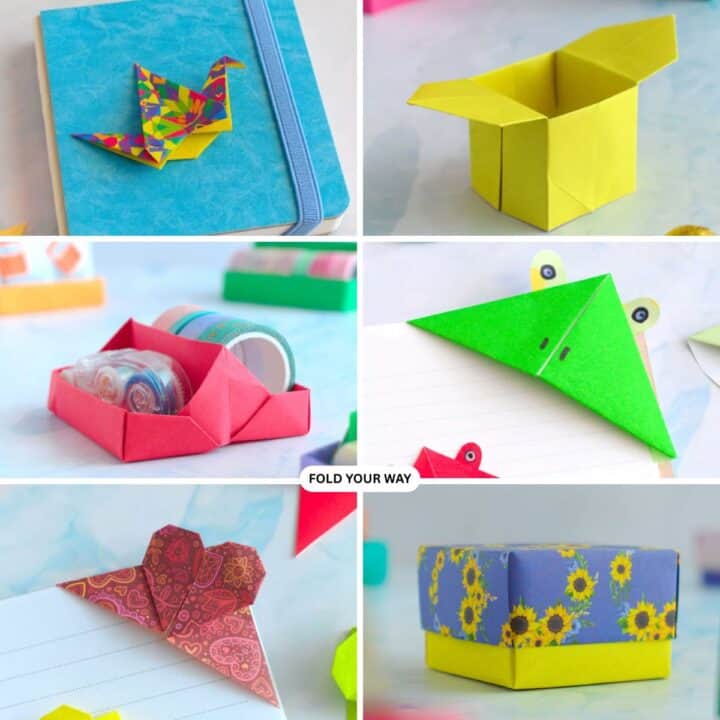
- Easy Origami Boxes, Bookmarks, and Small Paper Crafts
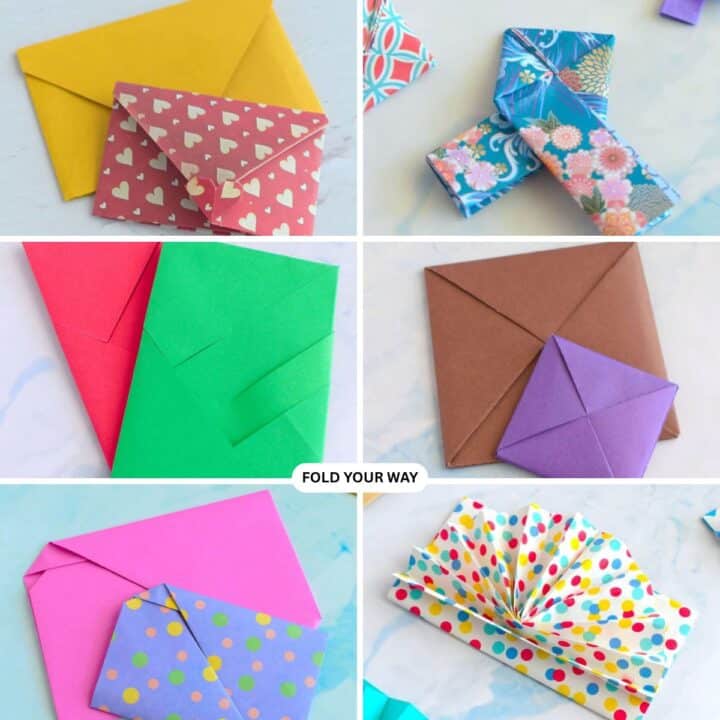
- Origami Envelopes and Letter Folding Techniques
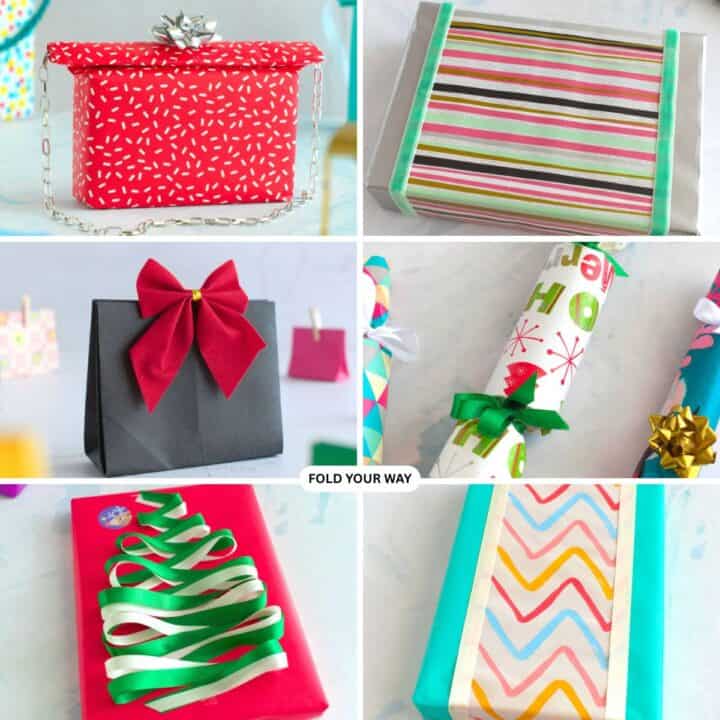
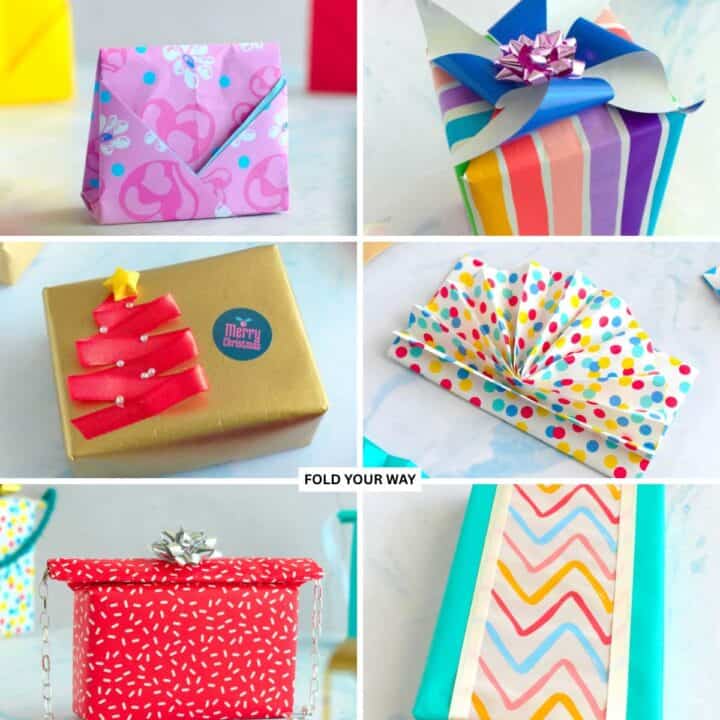
- DIY Gift Wrapping and Paper Presentation Ideas
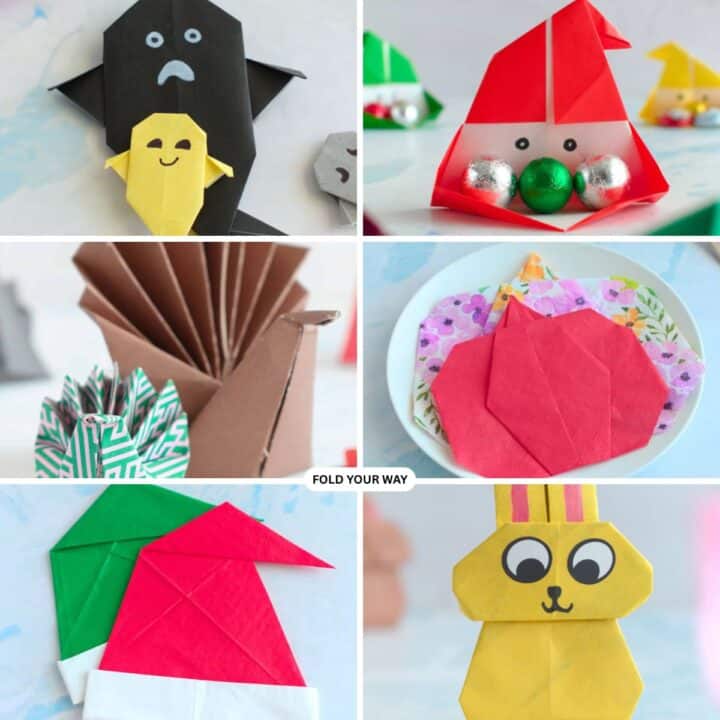
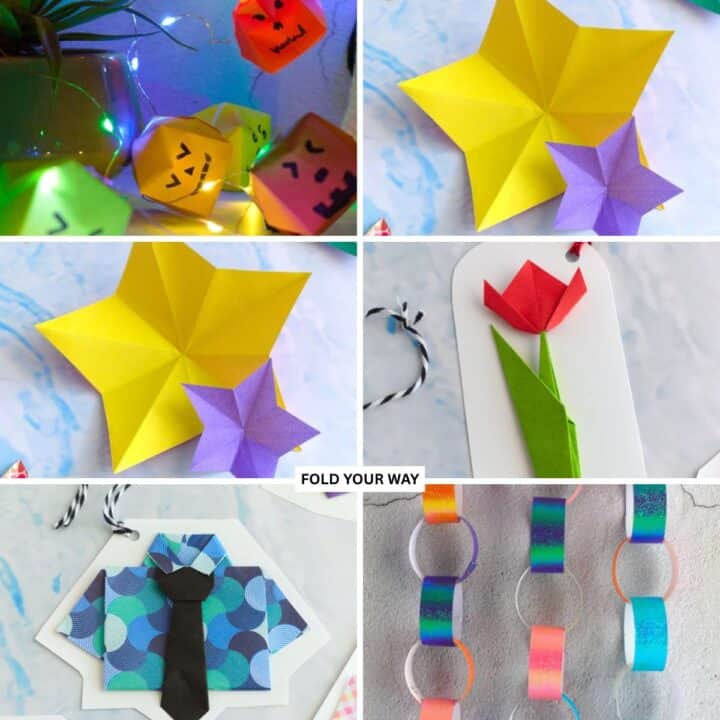
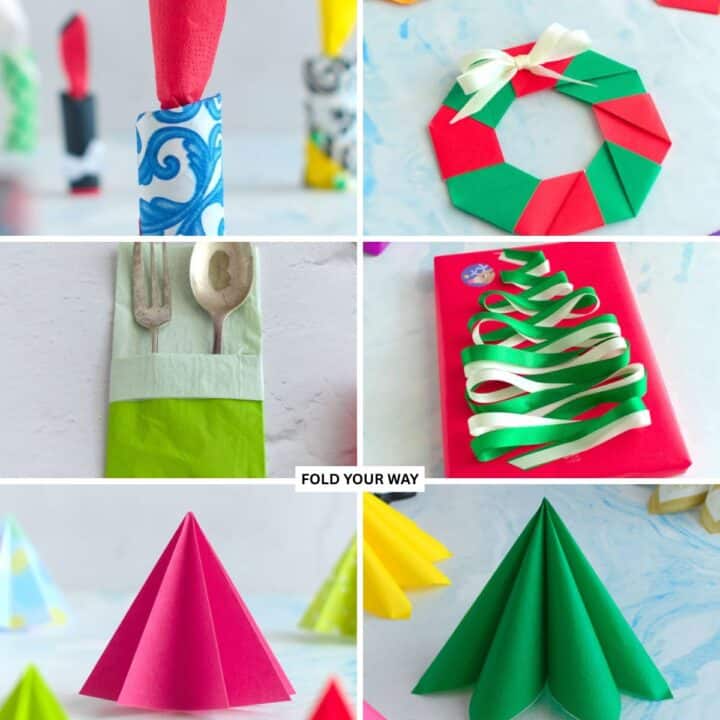
- Seasonal Origami and Holiday Paper Crafts
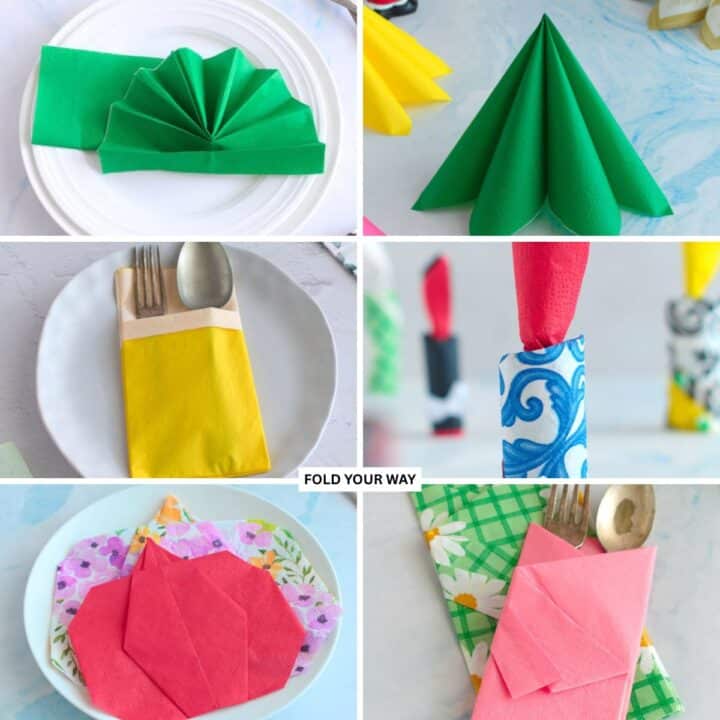
- Easy Napkin Folding Ideas and Table Decor

Comments
No Comments