
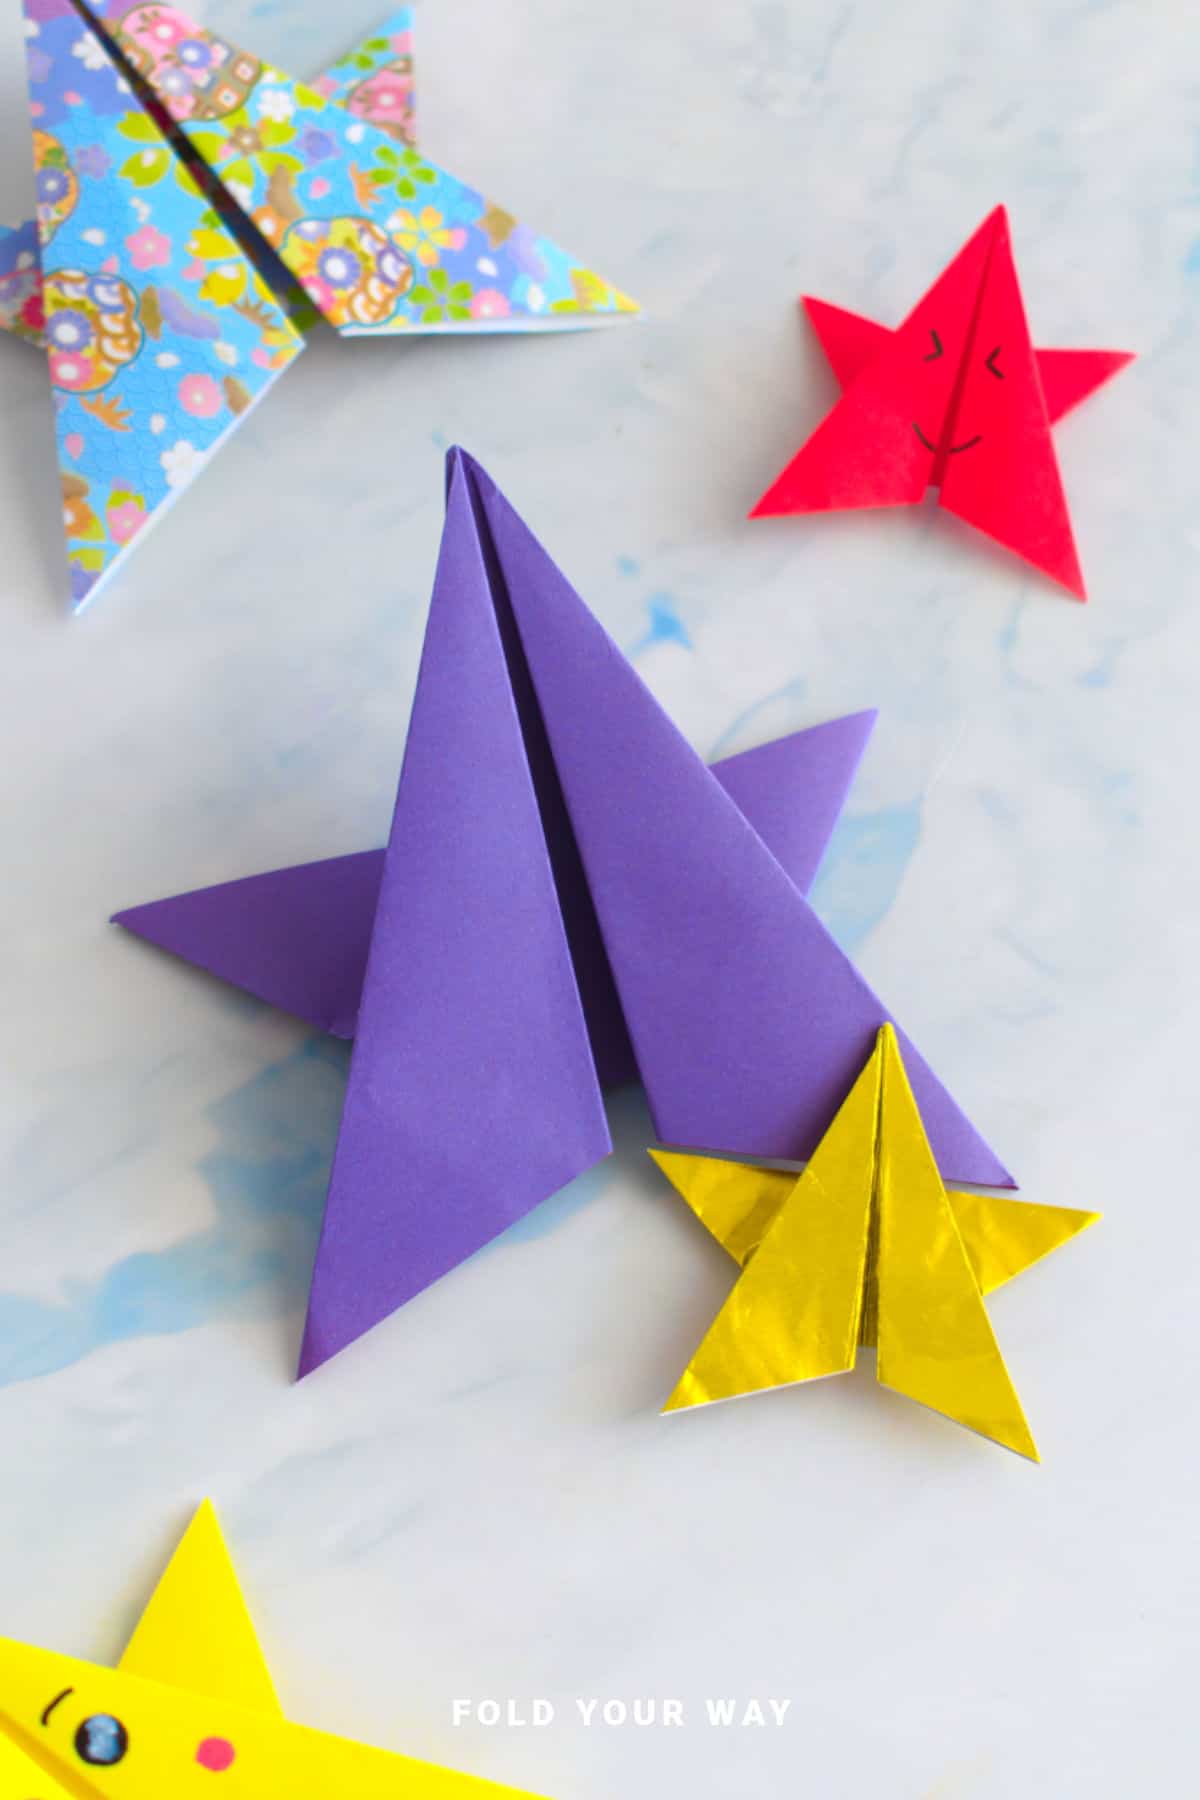
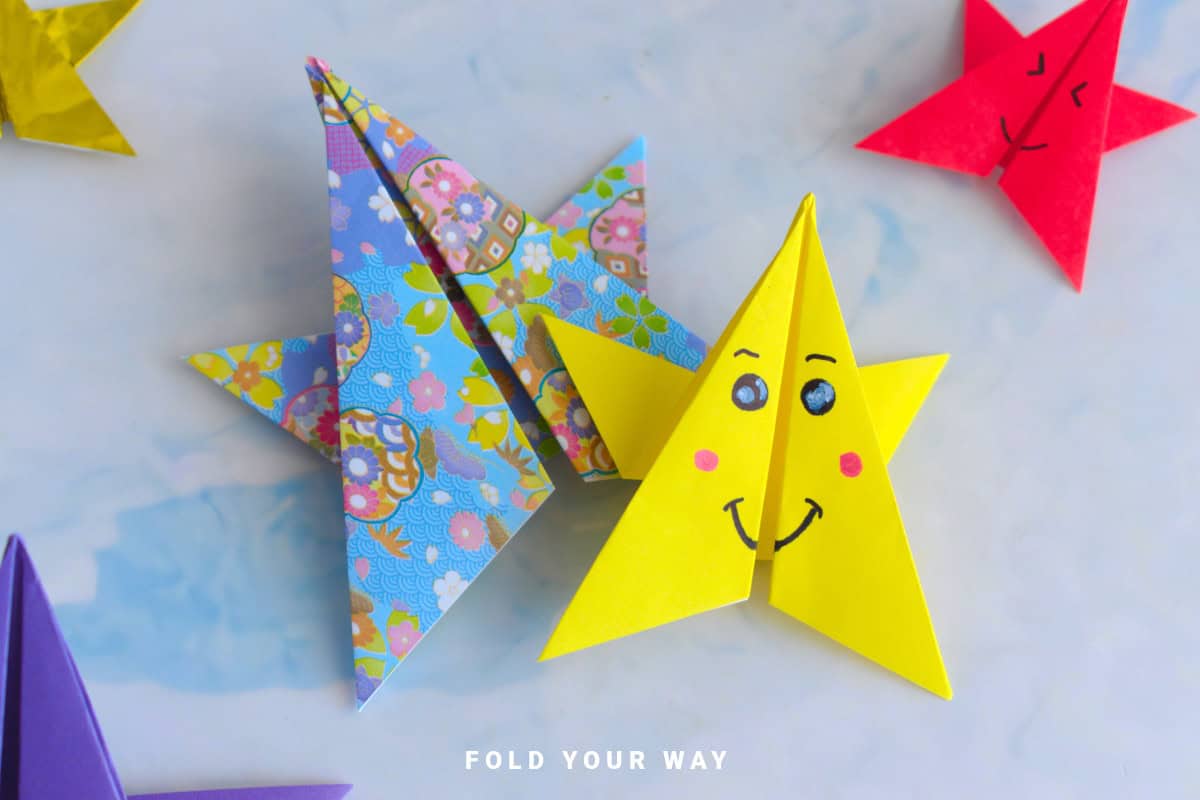
These easy origami stars are a quick and fun way to add sparkle to your seasonal decorating!
Ideal for Christmas, New Year's, birthdays, or just because, this beginner-friendly star design only needs a single sheet of paper and a few folds.
Use them for garlands, table settings, ornaments, or gift toppers!
Jump to:
Origami stars are a charming and versatile decoration suitable for various occasions, from festive holidays to everyday home décor.
An easy origami star is a beginner-friendly folded paper design that creates a symmetrical star shape using simple steps from a single sheet or strips depending on variation. It is widely used for holiday decorations, gift toppers, and craft projects. The design is quick to make and highly versatile for seasonal or everyday décor.
This simple origami star is quick to make and perfect for adding a handmade touch to holiday decorations, birthday crafts, gift wrapping, or DIY garlands. All you need is one sheet of paper and a few folds — no scissors, no glue!
Whether you’re crafting for Christmas, New Year’s, a birthday party, or just looking for an easy afternoon activity, this origami star is always a hit.
It’s ideal for beginners and kids alike, and you only need one square sheet of paper to get started.
These little stars can be used in so many ways.
Add them to garlands, string them up as ornaments, tape them to cards, scatter them across a table for a special celebration, or even use them to top a wrapped gift. You can also make a bunch in different sizes and colors for a fun wall display or classroom decor.
From Christmas crafts to birthday surprises and everything in between, these origami stars fit the occasion.
You can go bold and colorful for parties, soft and neutral for winter decor, or use metallic or glittery paper for a more polished look.
However you style them, they’re a fun and satisfying project that looks much more complicated than it really is — and that’s always a win!
Why You'll Love This Pattern
- Beginner-friendly: Only a few folds, no glue or scissors required.
- Quick to make: Each star takes just a few minutes.
- Versatile: Use them for gift wrap, decor, garlands, and more.
- Festive: Perfect for Christmas, birthdays, New Year’s, and party crafts.
- Great for kids: A fun and simple introduction to origami.
Skill Level
★★☆☆☆ (Easy)
Materials Needed
- 1 square sheet of paper
Note: an origami star made with 6 inches x 6 inches (15 cm x 15 cm) makes a star that is about 3 inches x 4 inches (8 cm x 10 cm).
Paper Type & GSM
- Origami paper or lightweight patterned craft paper (70–90 GSM)
- Avoid heavy cardstock — it’s harder to fold cleanly
Instructions
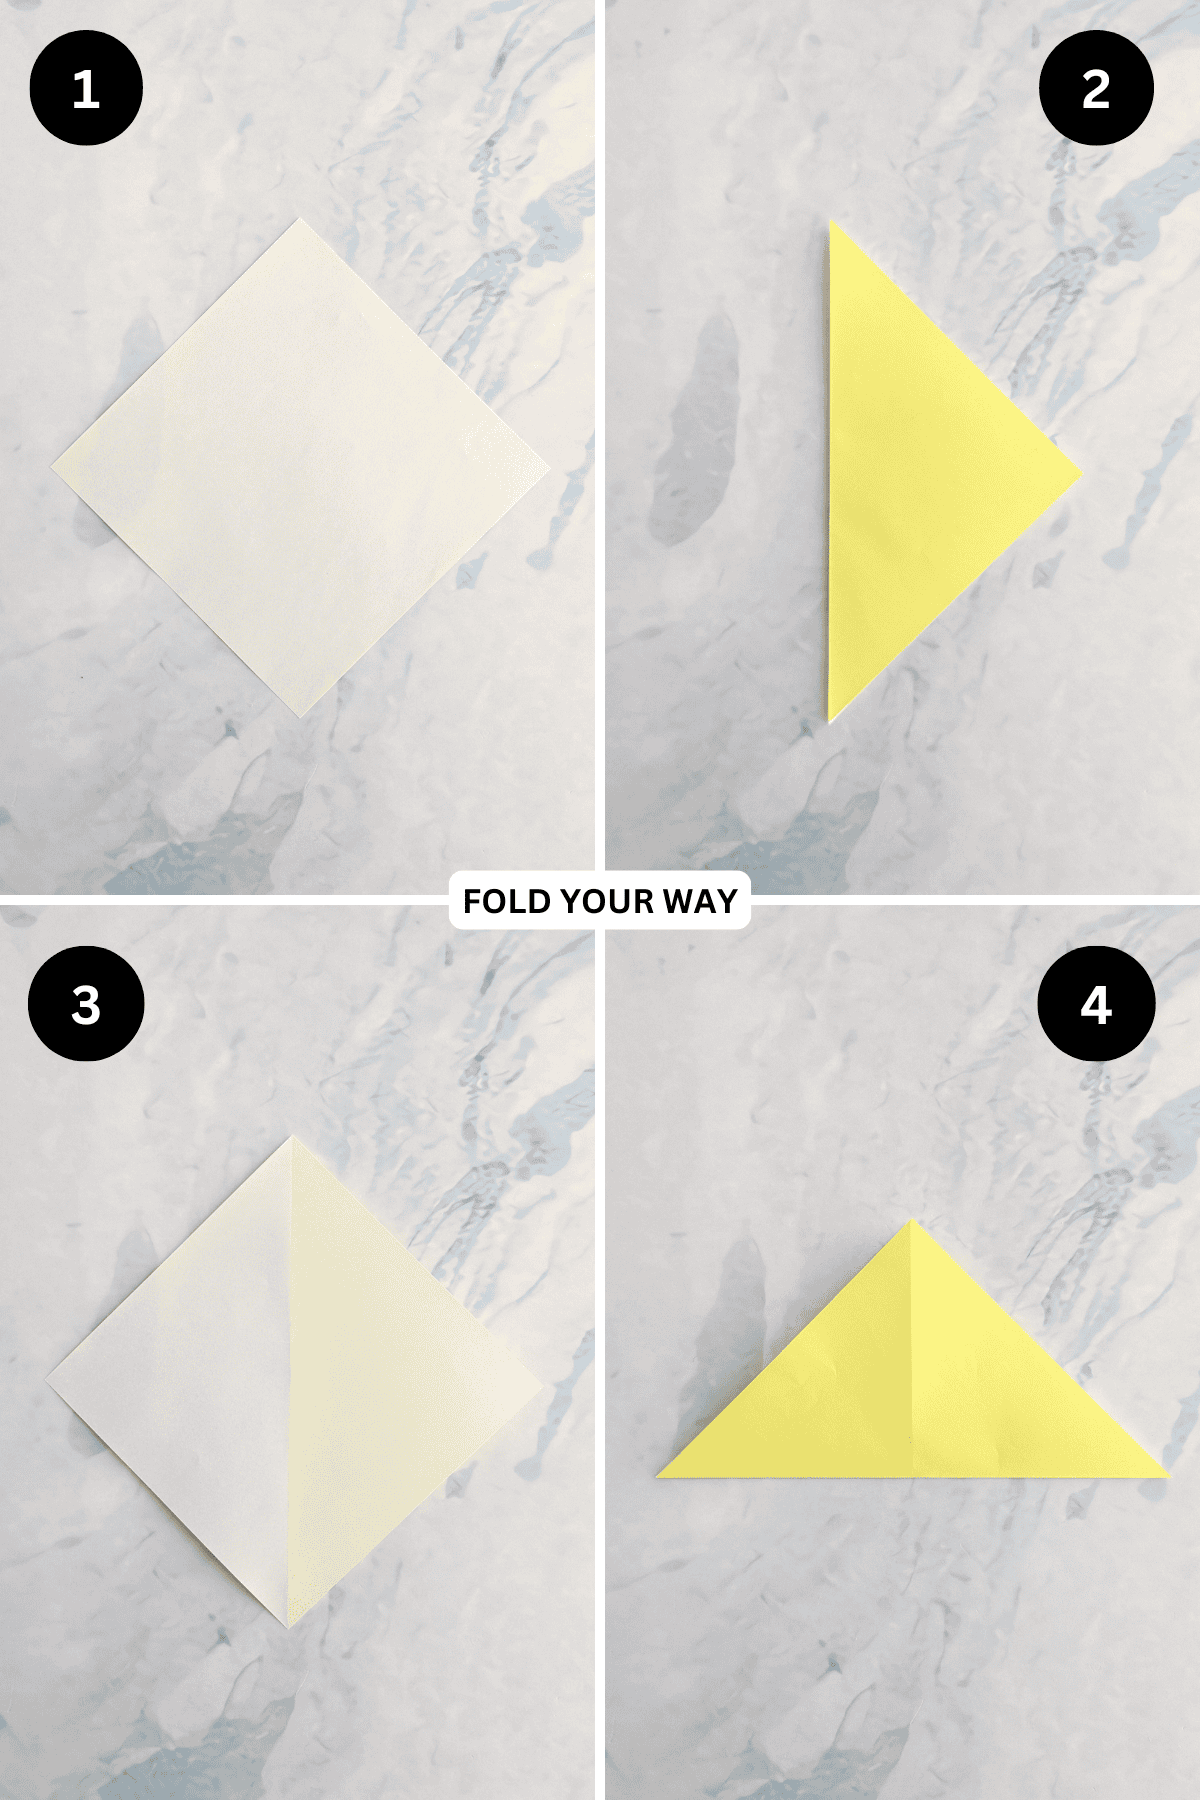
Step 1: Start with the color you want your star to be facing down. Arrange your paper to sit like a diamond shape.
Step 2: Fold the left point to meet the right point.
Step 3: Unfold previous step.
Step 4: Fold the bottom point up to meet the top point.
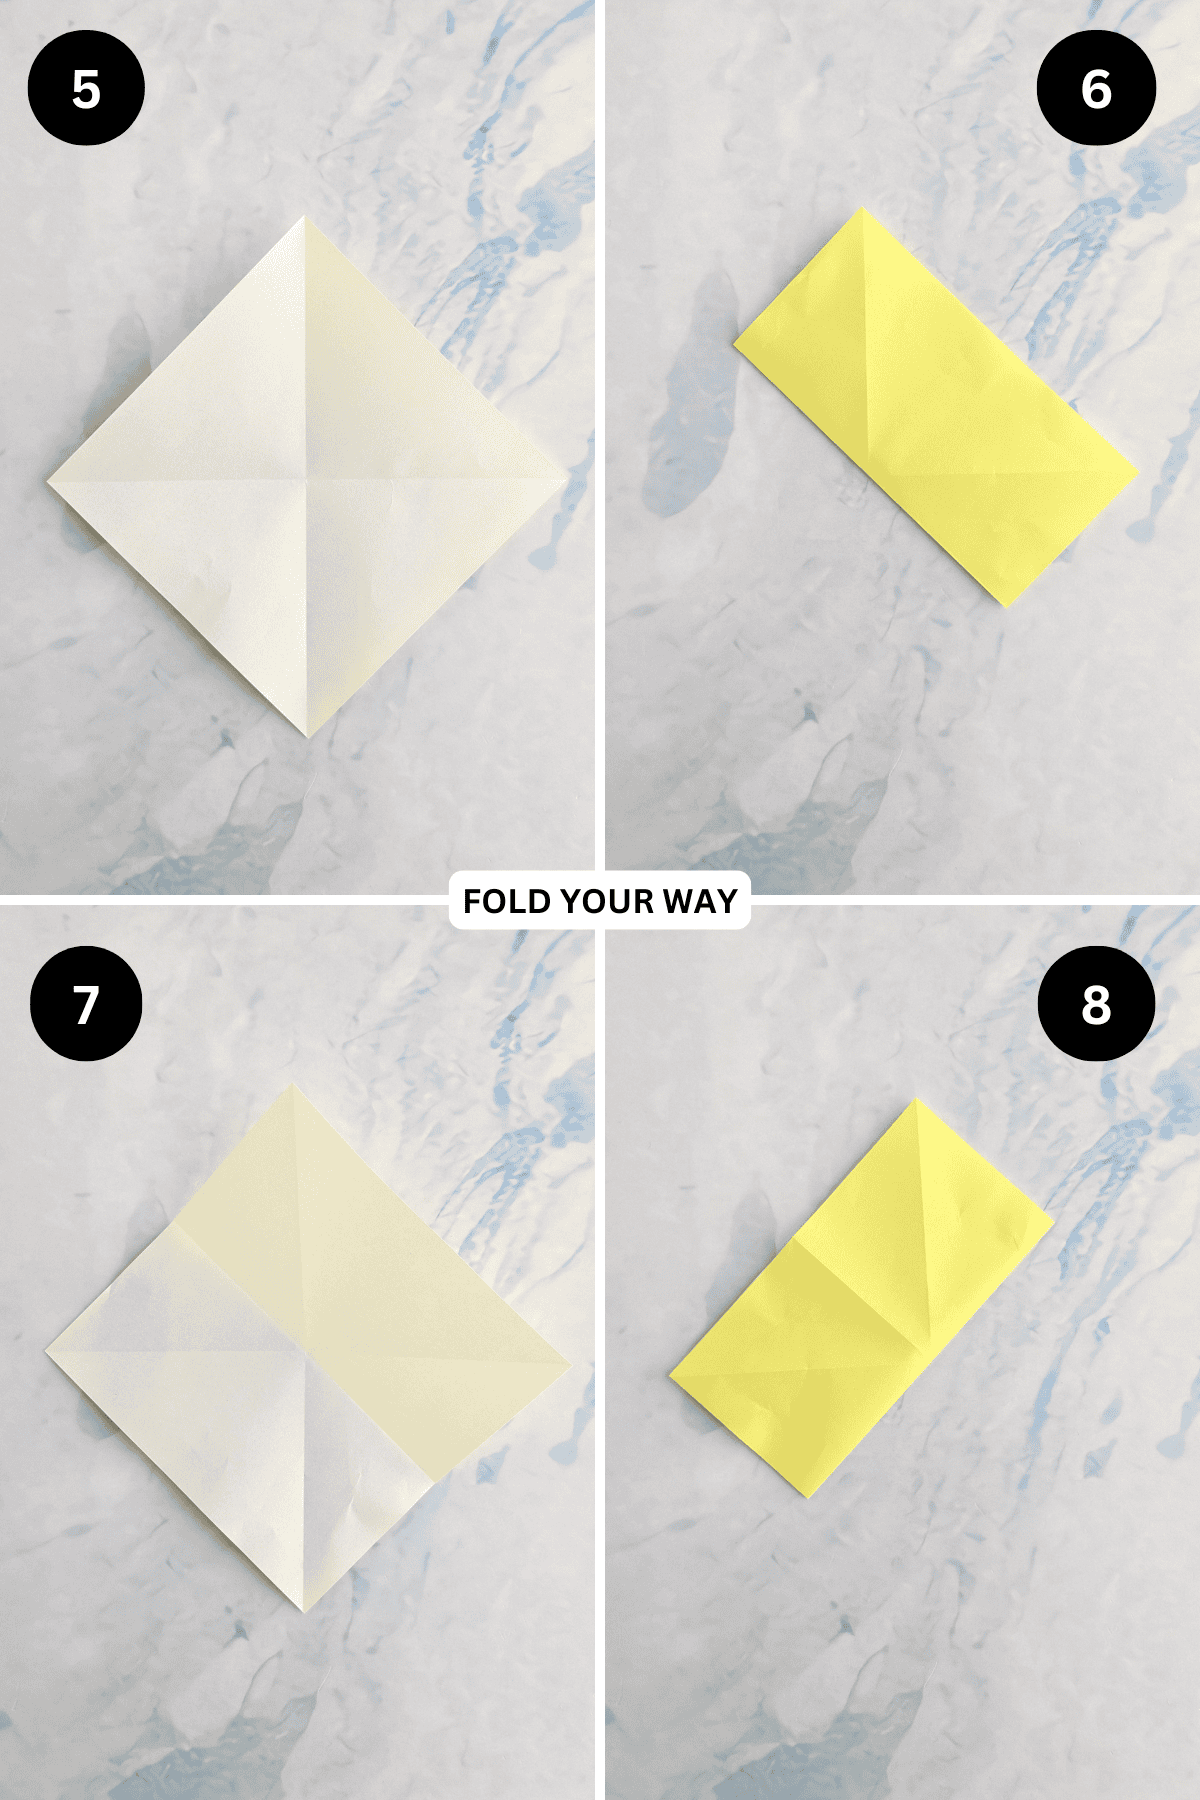
Step 5: Unfold previous step.
Step 6: Fold the bottom left edge up to meet the top right edge.
Step 7: Unfold previous step.
Step 8: Fold the bottom right edge up to meet the top left edge.
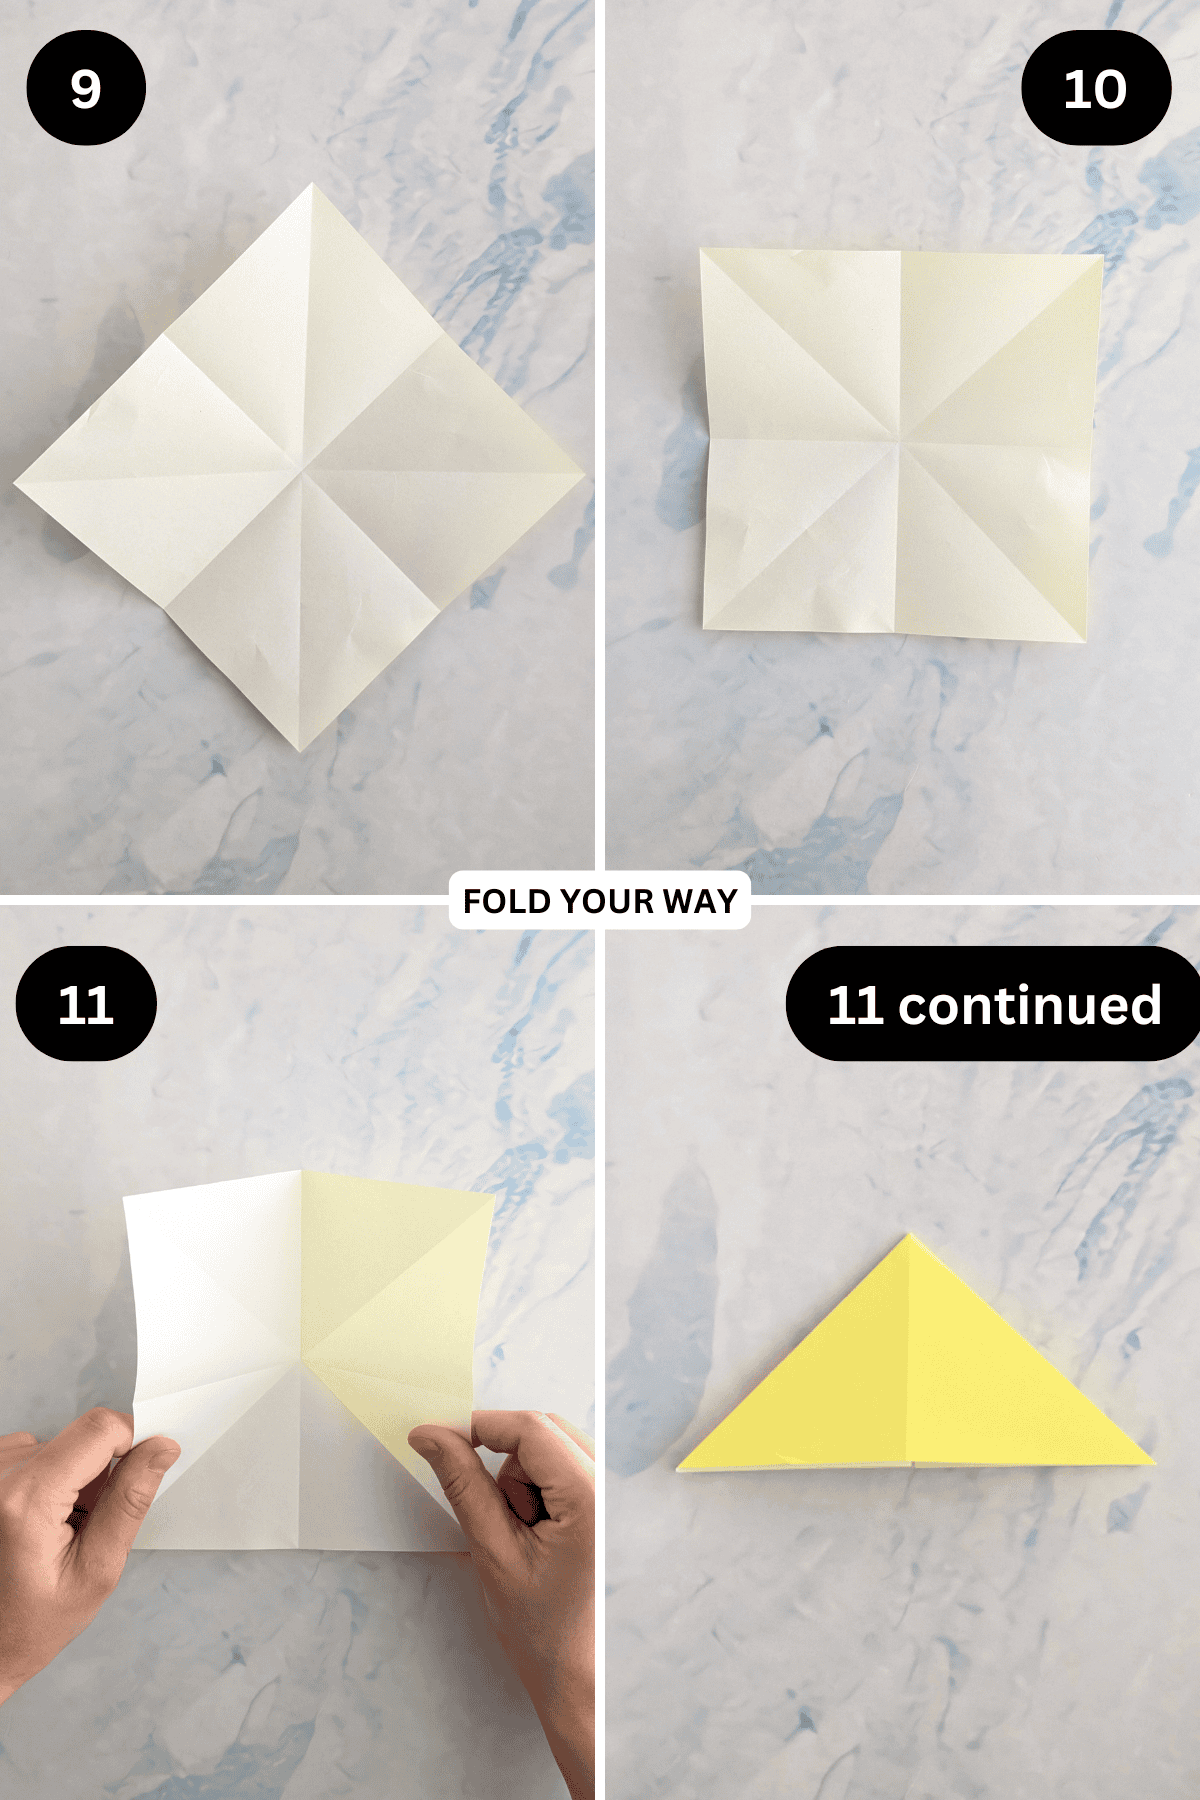
Step 9: Unfold previous step.
Step 10: Rotate your paper 45 degrees so it sits as shown.
Step 11: Holding the left and right edges of the paper, begin to bring them inwards and down.
You will find that the paper starts to collapse on itself and will form a triangle shape.
Step 12: Fold both the left and right edges (top layer only) in to meet the middle crease.
Step 13: Unfold previous step.
Step 14: Fold the left edge (top layer only) to meet the 1st crease from the right.
Step 15: Unfold previous step.

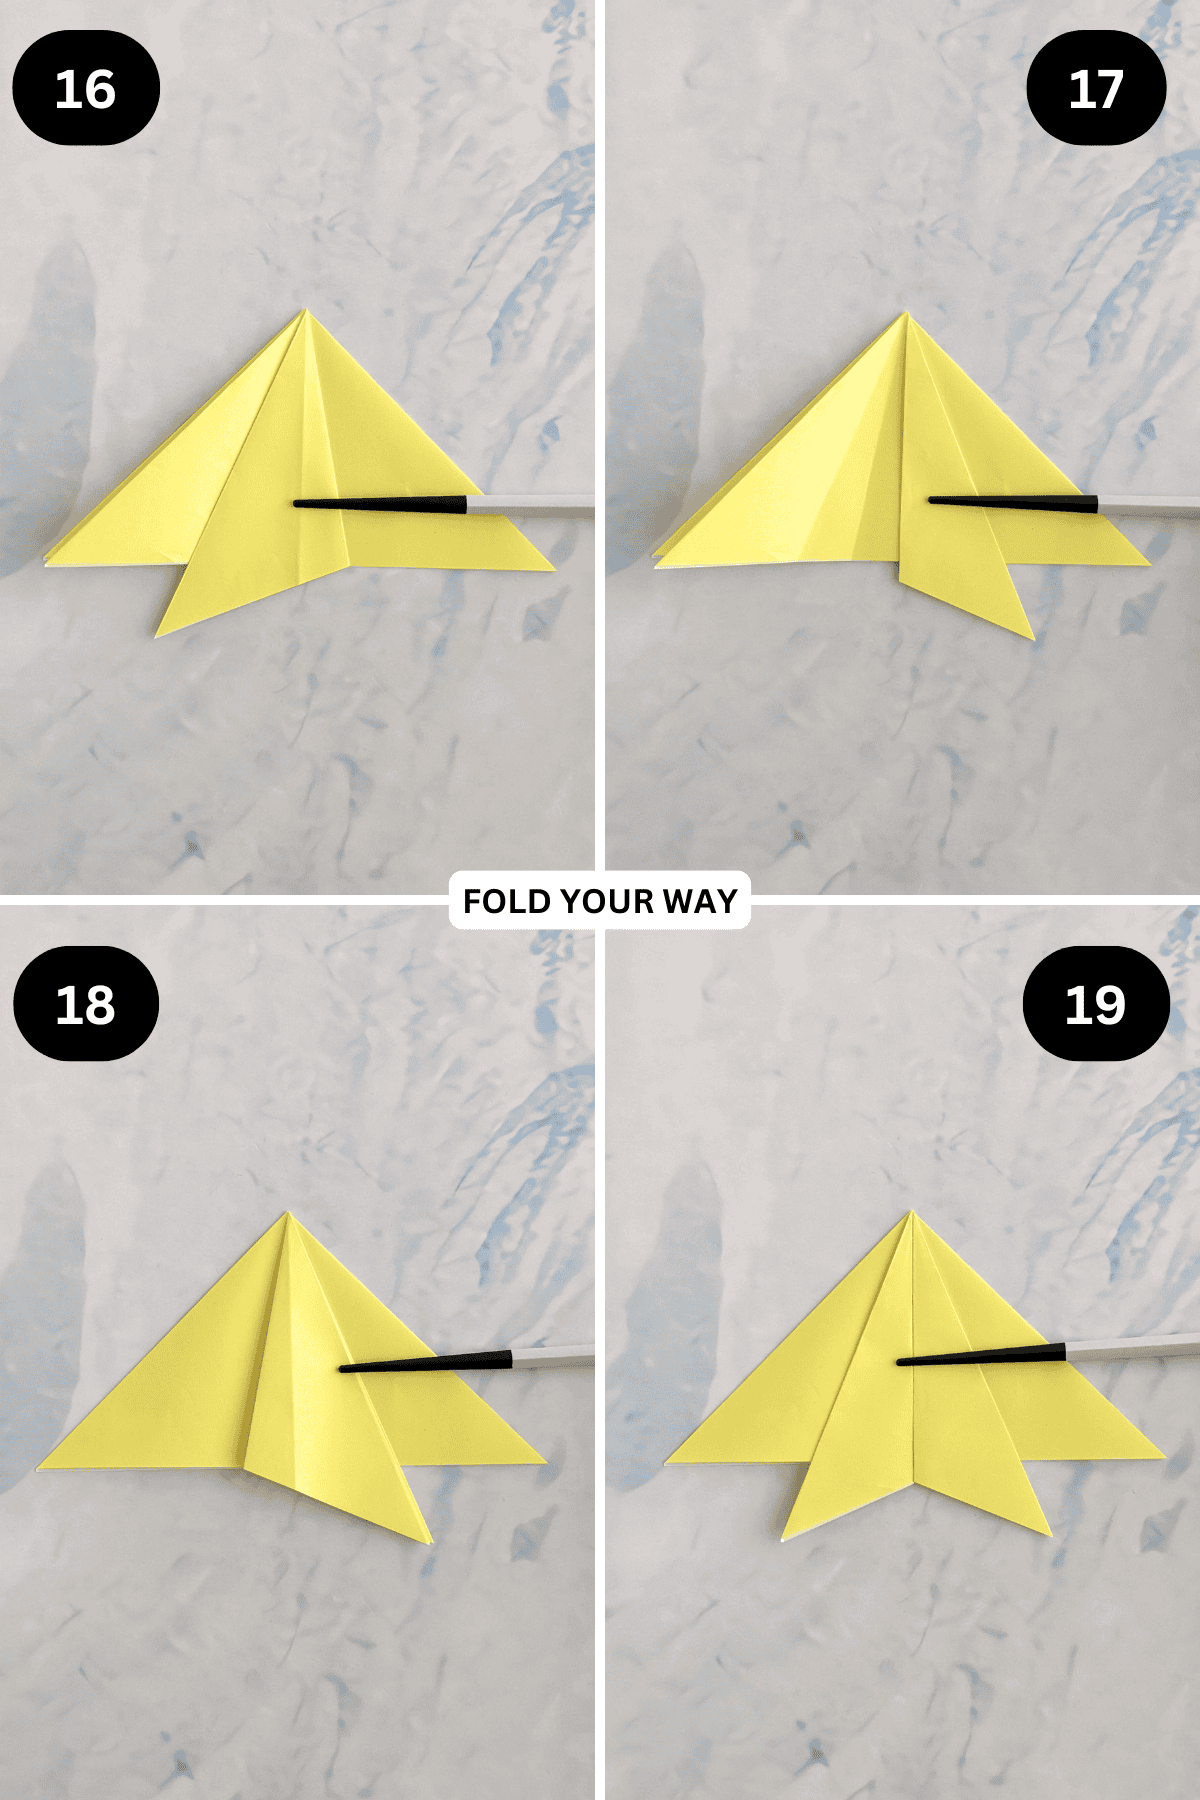
Step 16: Fold the right edge (top layer only) to meet the 1st crease from the left.
Step 17: Fold the same flap back towards the right but this time along the centre vertical crease.
Step 18: Fold the left edge (top layer only) back towards the right along the crease you made in step 14.
Step 19: Fold that same flap back towards the left but this time along the centre vertical crease.
✨ You're almost there! ✨
To unlock the final steps and complete your pattern, create a free account with Grow.me. below.
Make sure you tick the box to subscribe to our newsletter and stay up to date with the latest patterns, tips, and more!
Once you're signed up, you'll get instant access to finish your project and enjoy exclusive content in the future.
Already signed up? Hit the button below and select ‘Switch to Log In’ to pick up where you left off and finish your project!
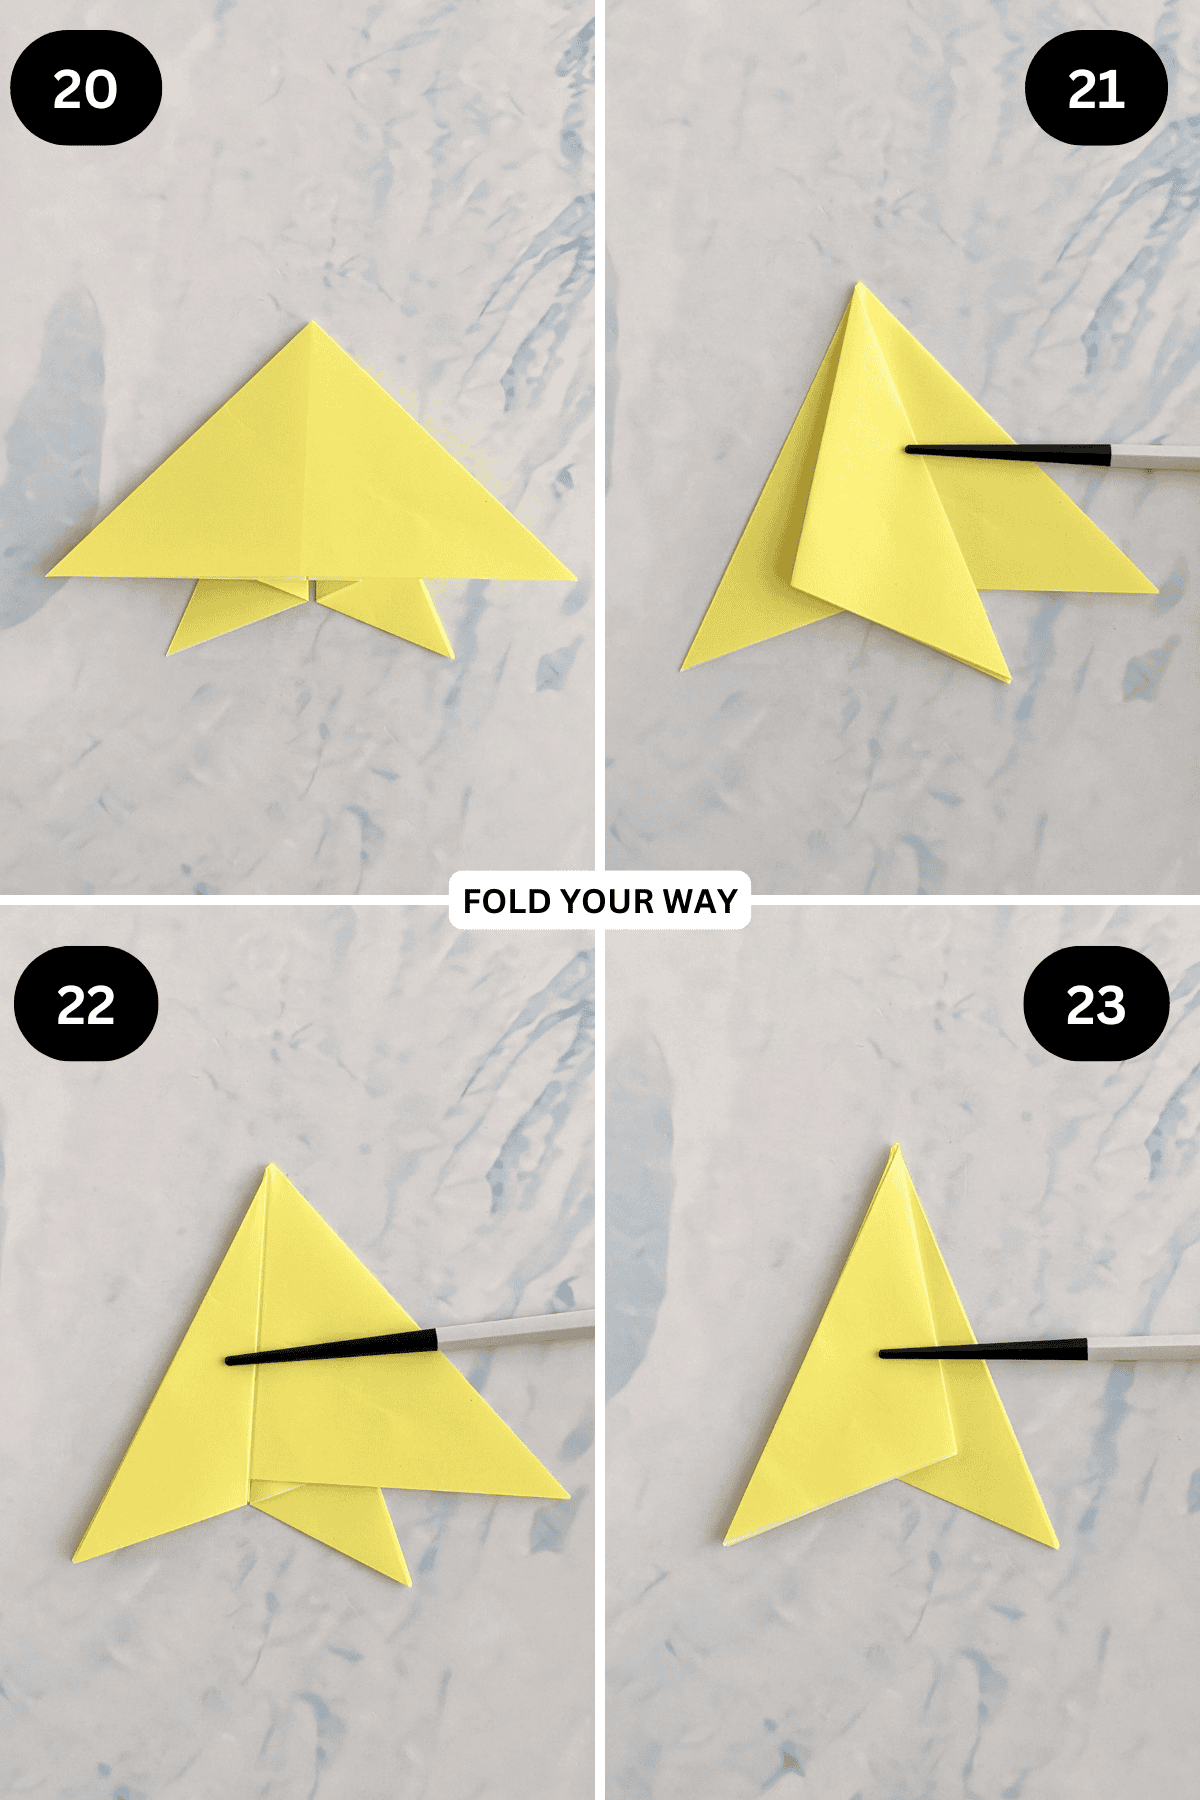
Step 20: Flip your paper over from left to right.
Step 21: Fold the left corner to the right, aligning it’s point with the bottom right corner.
Step 22: Fold that same flap back to the left and align the point with the bottom left corner.
Step 23: Fold the top right corner towards the left and align it’s point with the left corner.
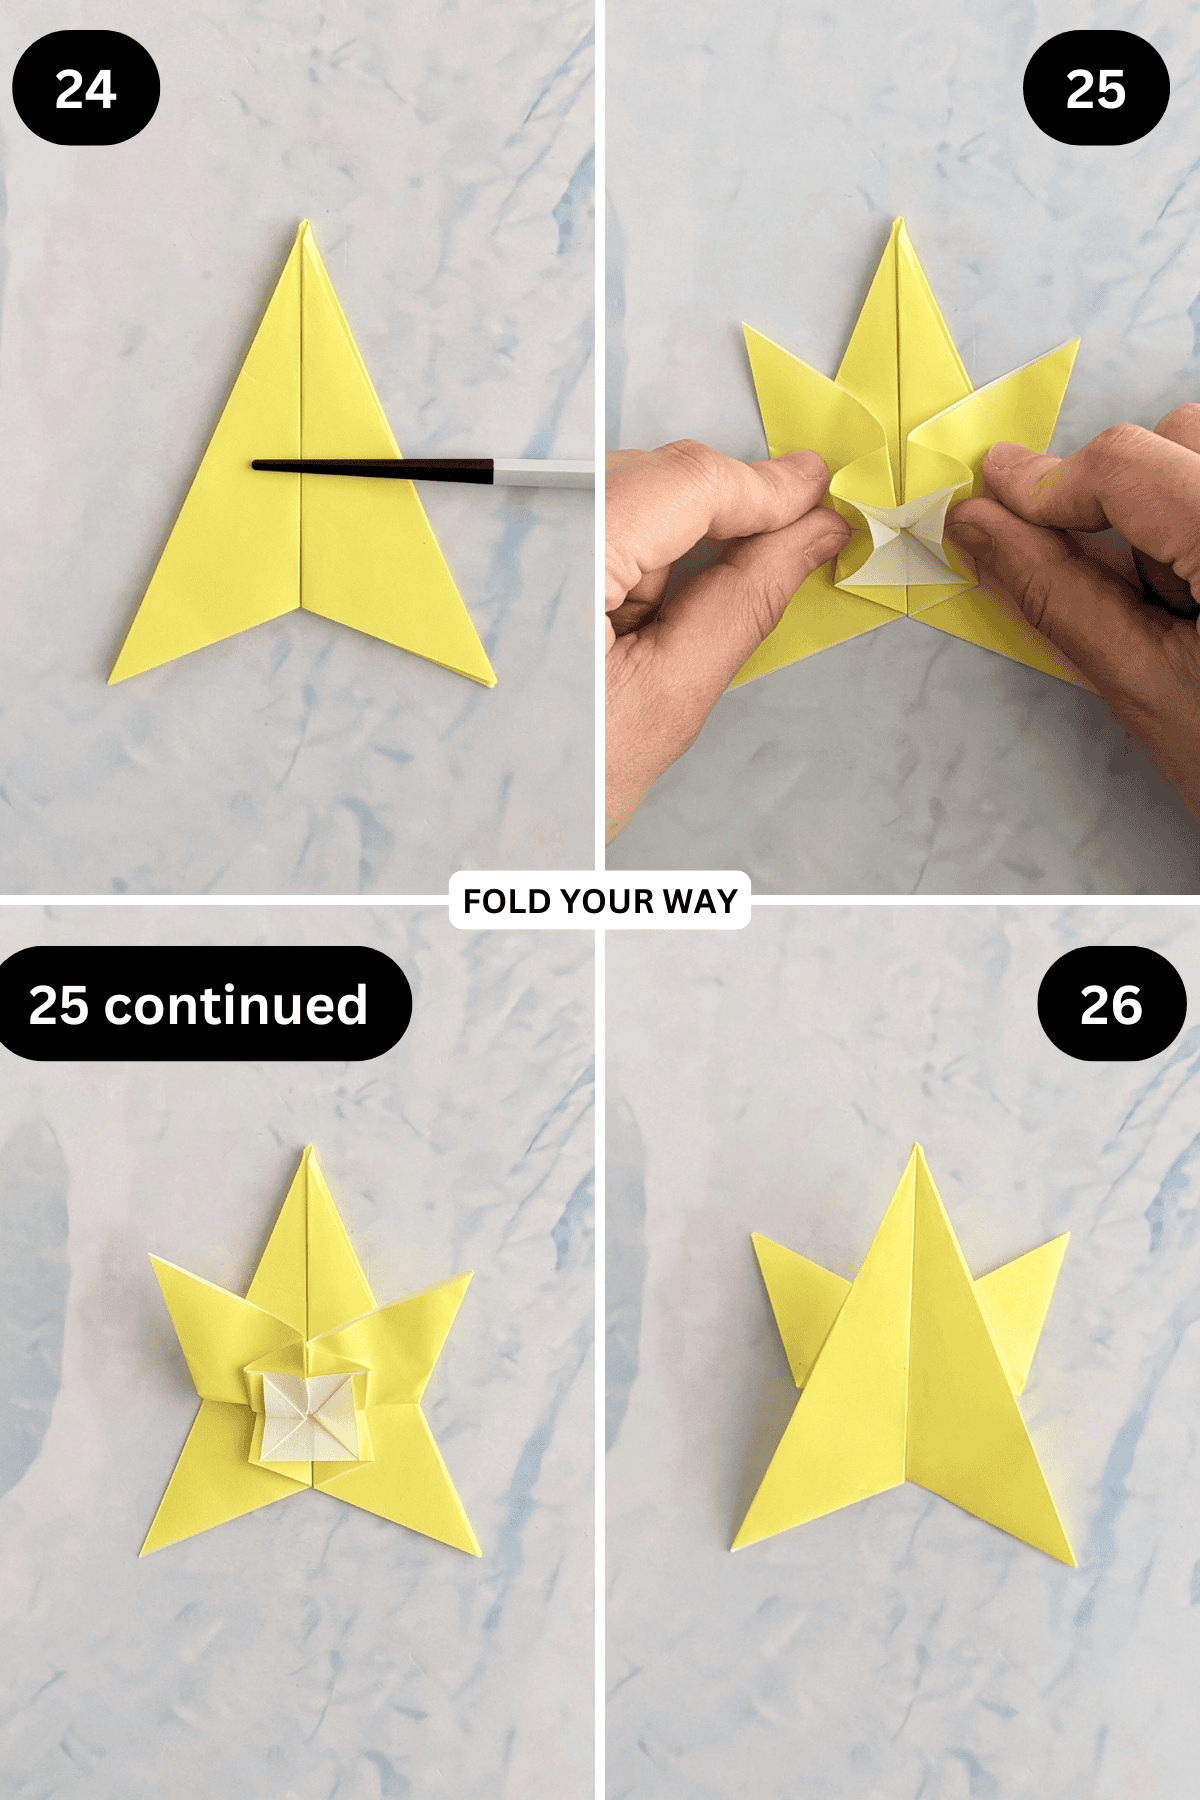
Step 24: Fold the same flap back towards the right to align with the bottom right corner.
Step 25: Fold the bottom left and right corners (top layer only) up as shown. Once you have folded them up, you will need to flatten the small corners found in the center of the paper to form two smaller triangles.
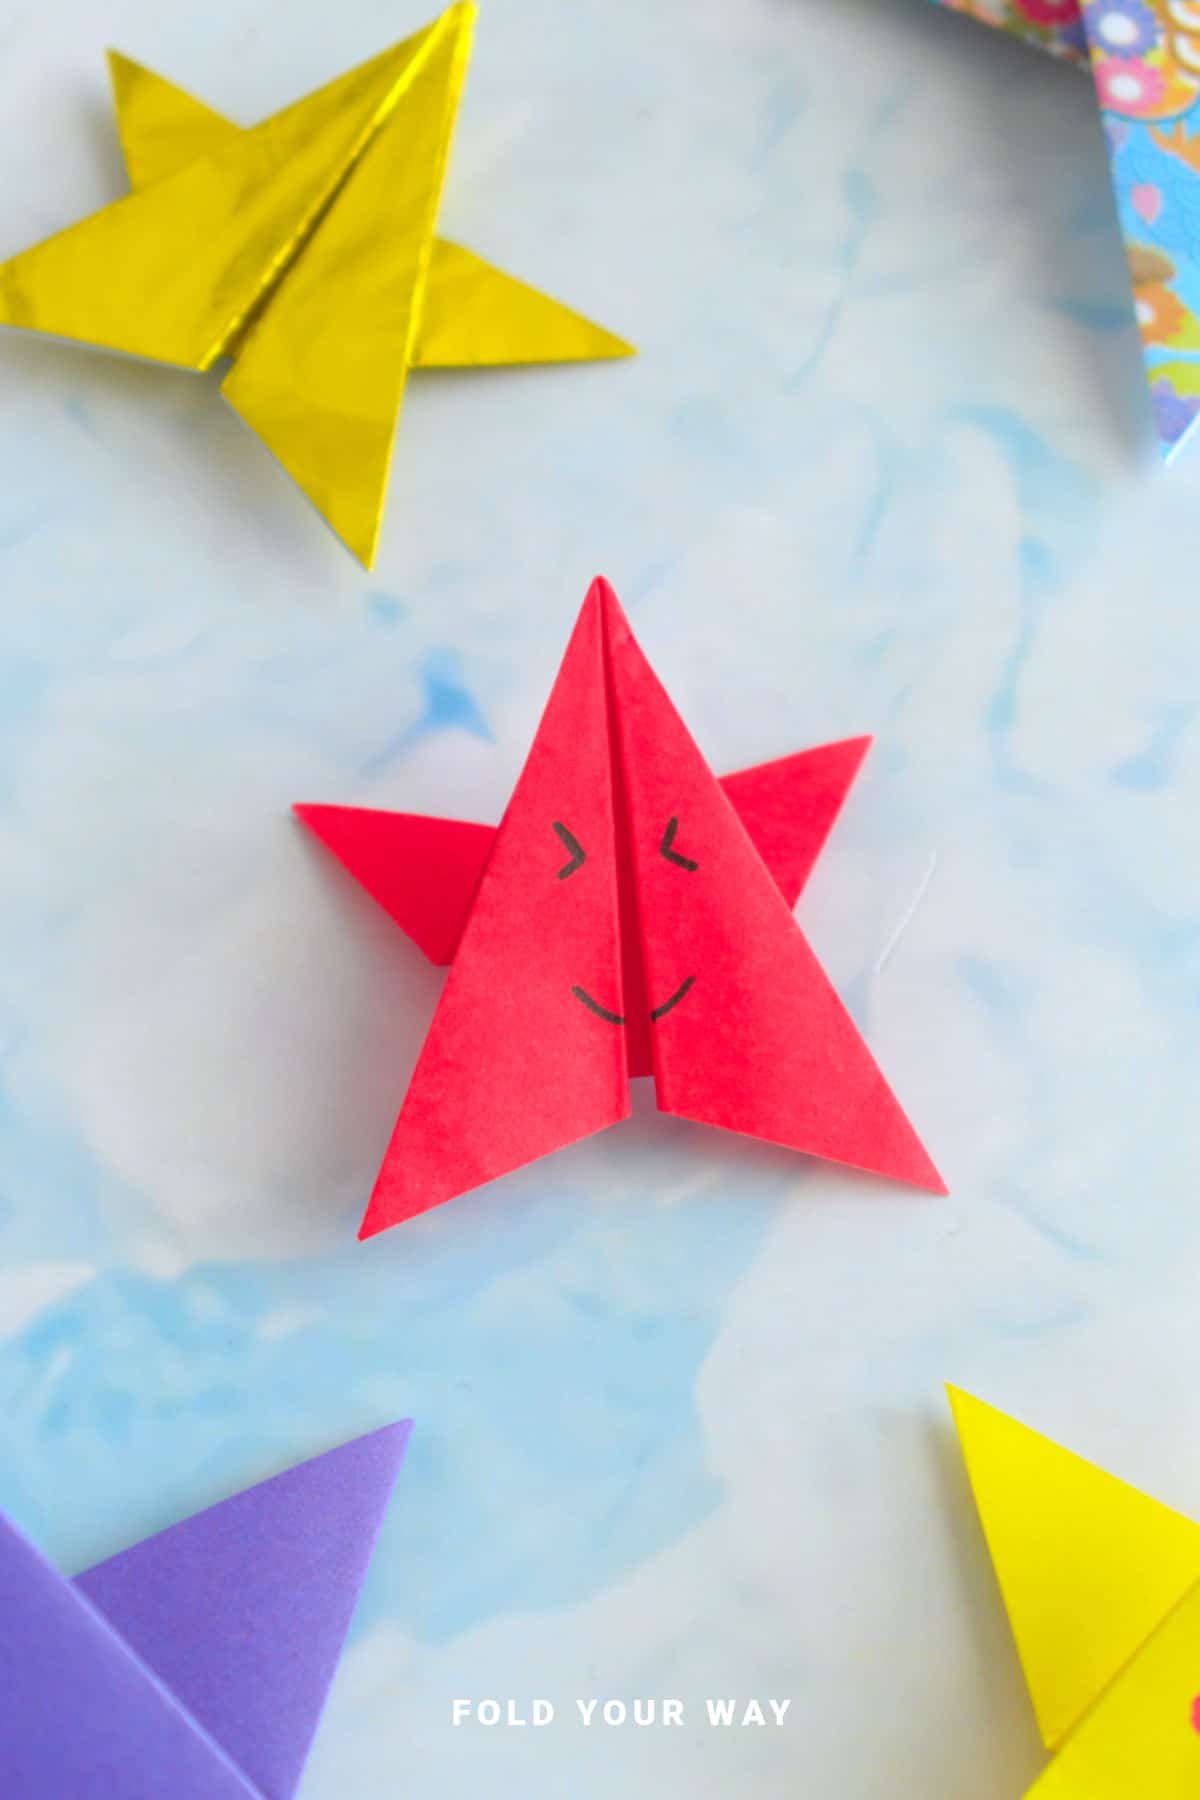
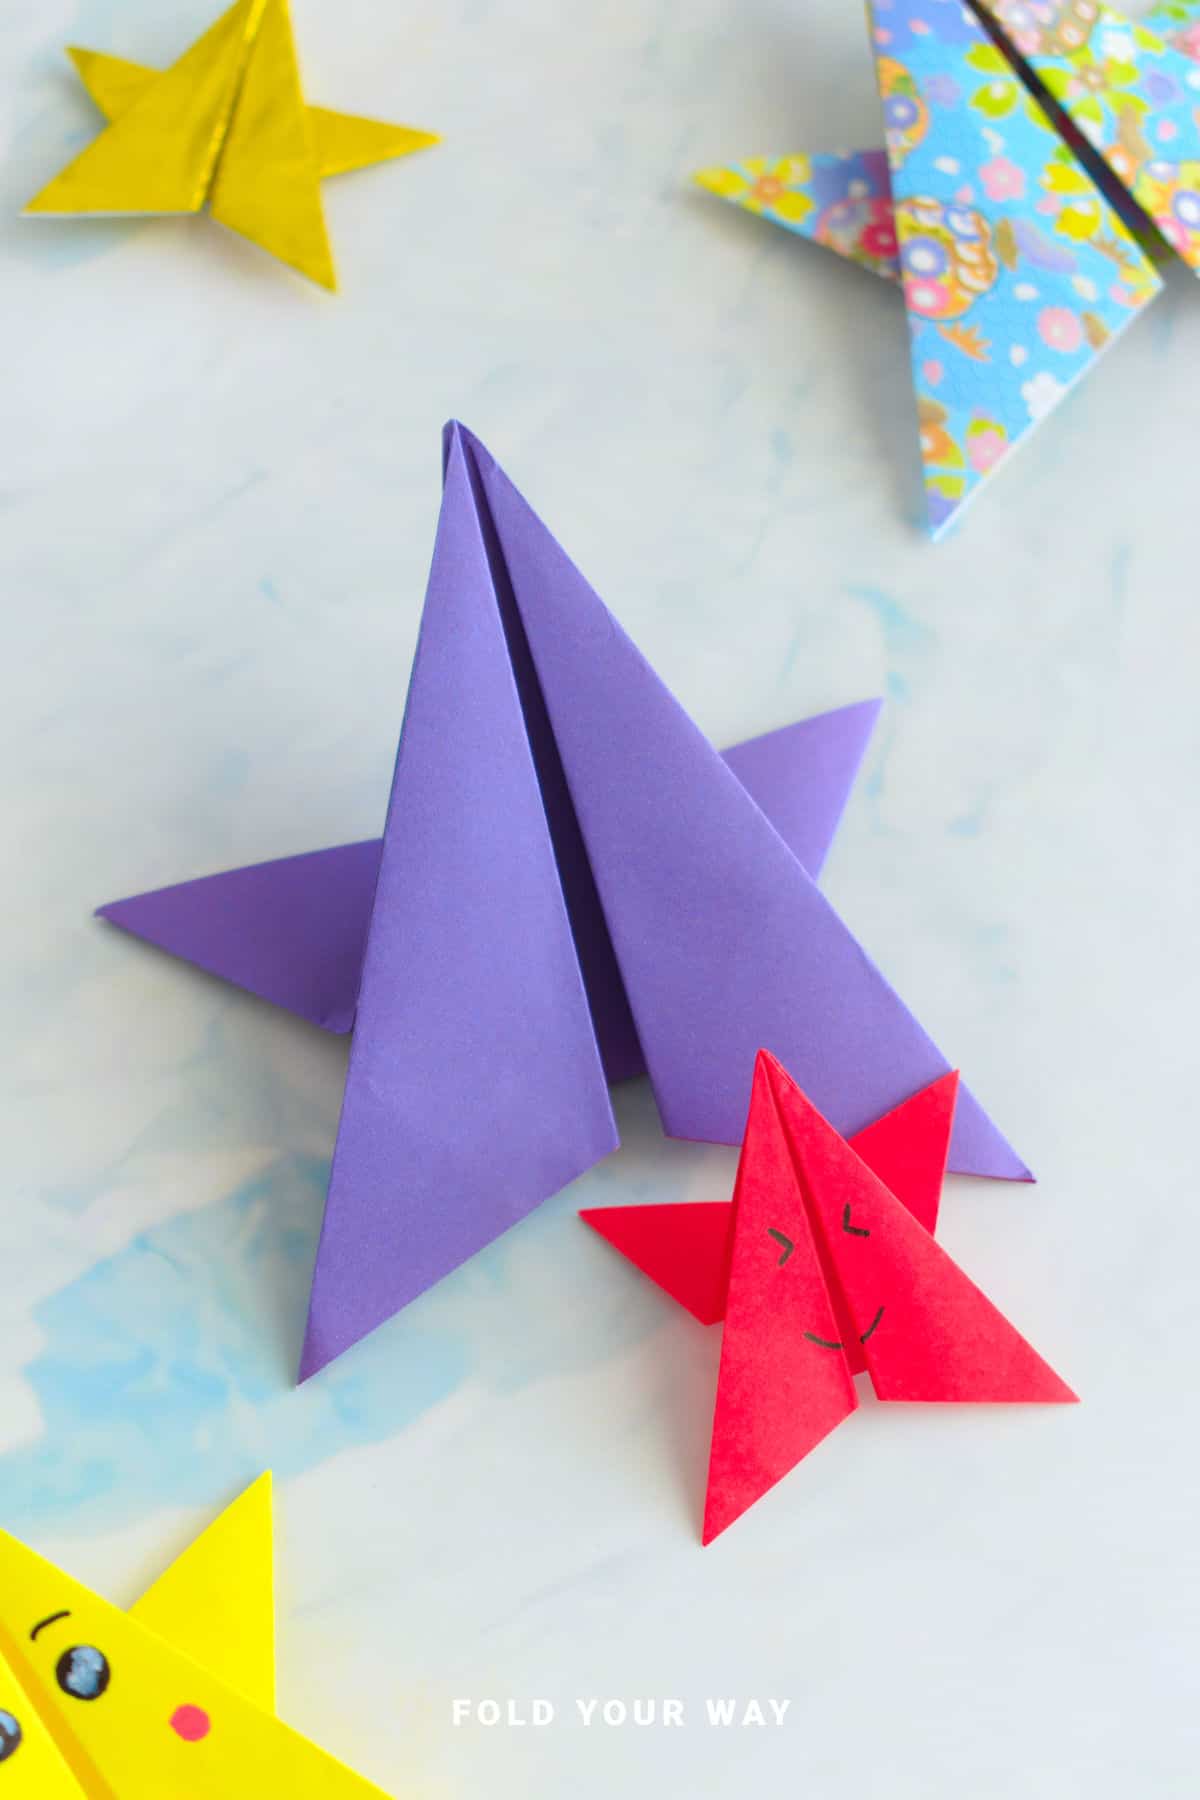
Step 26: Flip your paper over from left to right. Completed star.
To make your star stand, slightly adjust the back flap.
If you want to turn your origami star into an ornament or garland you could punch a hole in the top of your origami star and attach a string.
Tips For Success
- Use your fingernail or a bone folder to crease sharply for crisp points.
- If your folds don’t line up perfectly at first, try slowing down and double-checking corners.
- Practice with scrap paper before using specialty or decorative sheets.
Common Mistakes & How To Avoid Them
Star looks uneven: Make sure all folds are symmetrical and sharp.
Color, Paper Ideas, and Variations
- Try red, green, gold, silver, or white for Christmas
- Pastels: Perfect for Easter or springtime party decorations
- Bold brights: Great for birthdays, kids’ rooms, or classroom crafts
- Metallic or glitter paper: Adds an elegant sparkle for New Year’s or weddings
- Make it a garland: String several stars together with thread or twine
- Star Cake Toppers: Attach a toothpick or skewer on the back of the star to make a star cake topper.
FAQ
Just a few minutes — even quicker once you get the hang of the folds.
Yes! Cut it into a square first.
Definitely — they’re beginner-friendly.
Try scattering them on tables, hanging them with thread, or attaching them to cards or gifts.
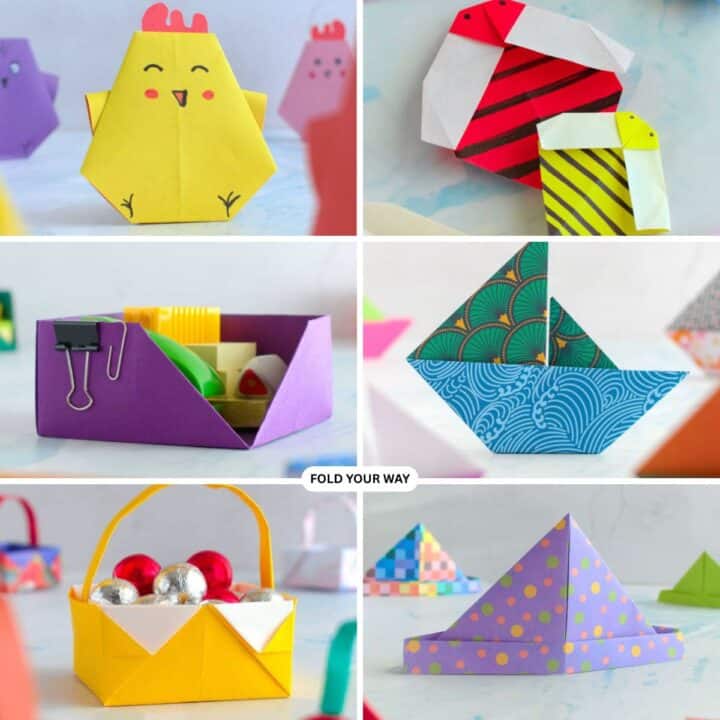
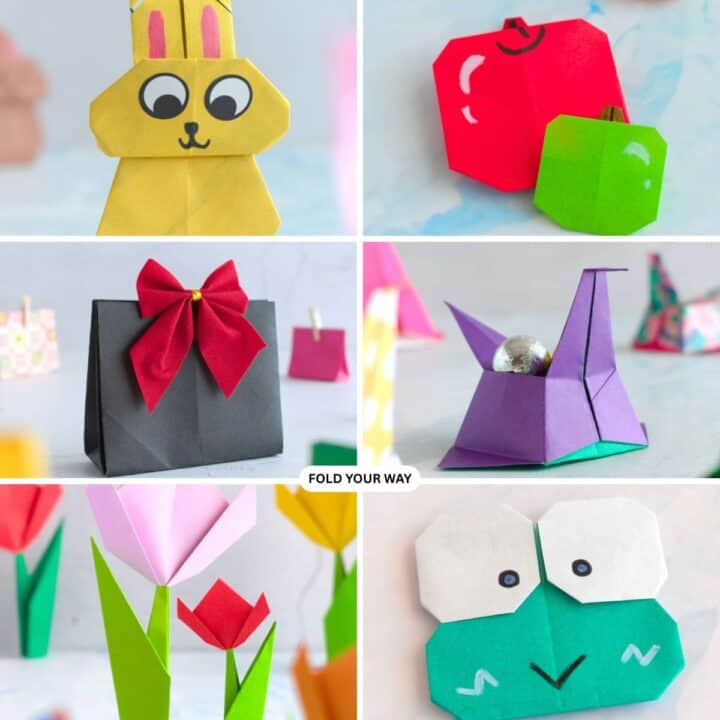
Other Crafts You Might Like To Try:
Helpful Tips and Common Mistakes For Paper Crafts
Paper crafting and origami can be hard sometimes. Which is why we've made this printable PDF just for you.
It outlines helpful tips so that you can successfully complete your craft, and some of the most common mistakes people come across.
You can download the helpful tips and common mistakes for paper crafts printable PDF here.
Stay Connected
Made this pattern? Let us know how it went in the comments below!
Pin this post - Pin now to take your paper crafting skills to the next level.
Share on Instagram or Facebook - Capture the beauty of your finished paper craft project and share it on Instagram or Facebook! Tag us @foldyourway so we can see your work!
On the hunt for more paper craft tutorials like this?
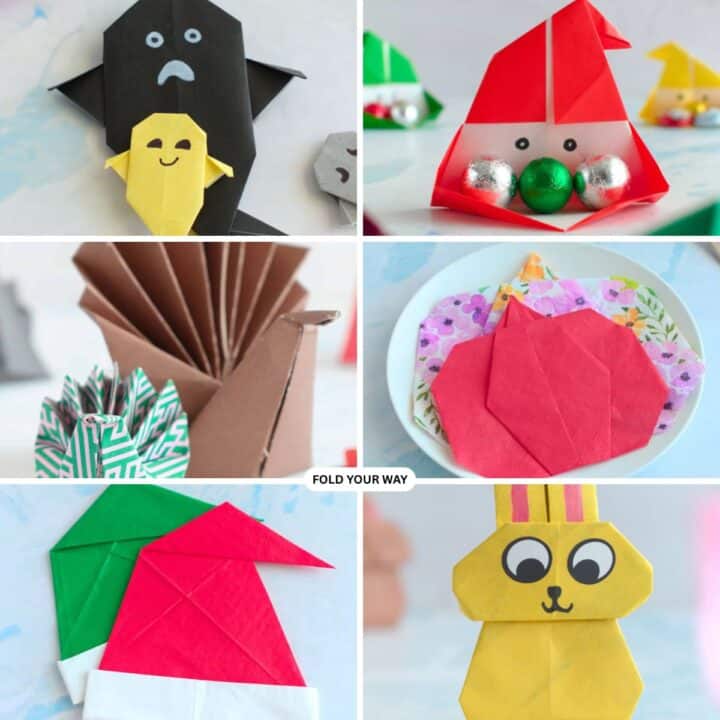
Why not try this DIY shirt gift tag, origami ghost, origami pear, birthday gift wrapping ideas, 3D origami pumpkin, Christmas napkin folding ideas, origami chicken, fox face, whale, or origami acorn.
Other Patterns You Might Like To Try:
Looking for other easy patterns like this? Try these:
- Easy Origami and Simple Paper Craft Ideas
- Cute Origami Ideas
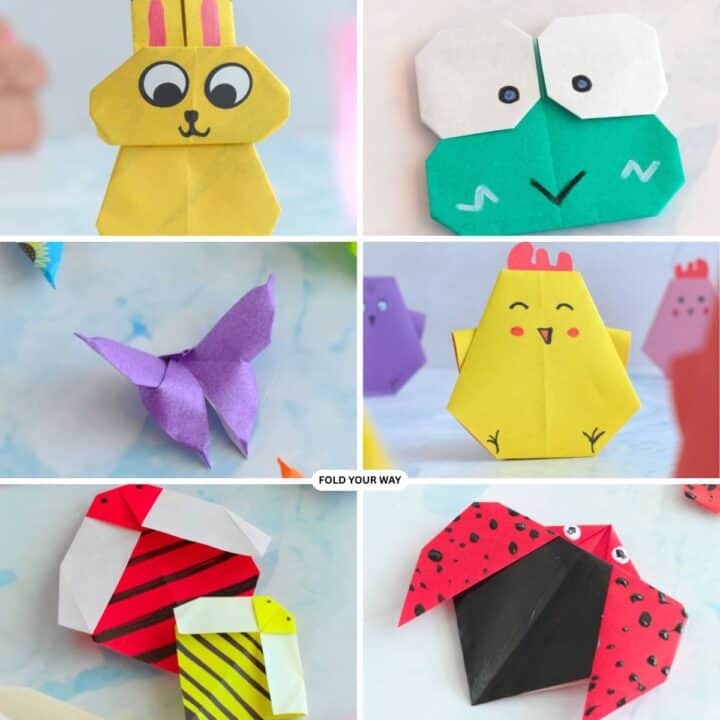
- Easy Origami Animals and Insect Crafts
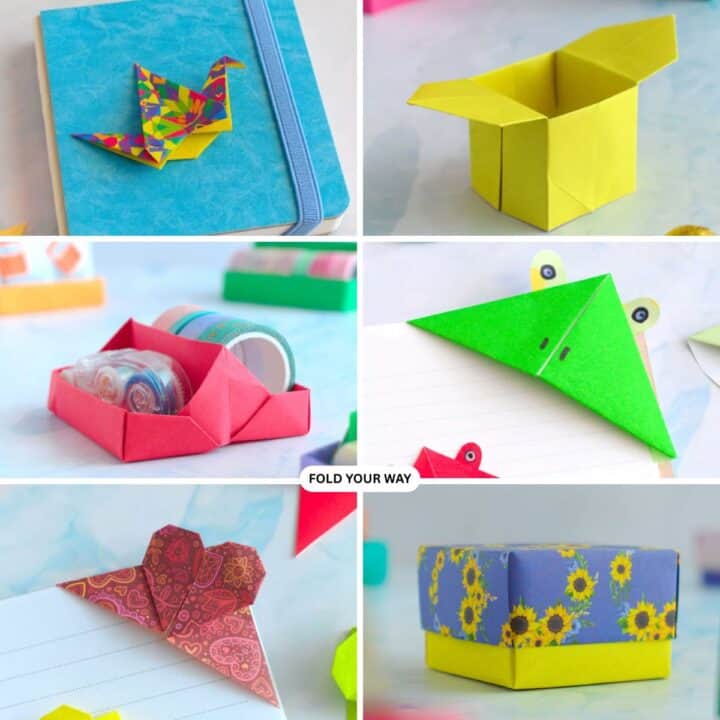
- Easy Origami Boxes, Bookmarks, and Small Paper Crafts
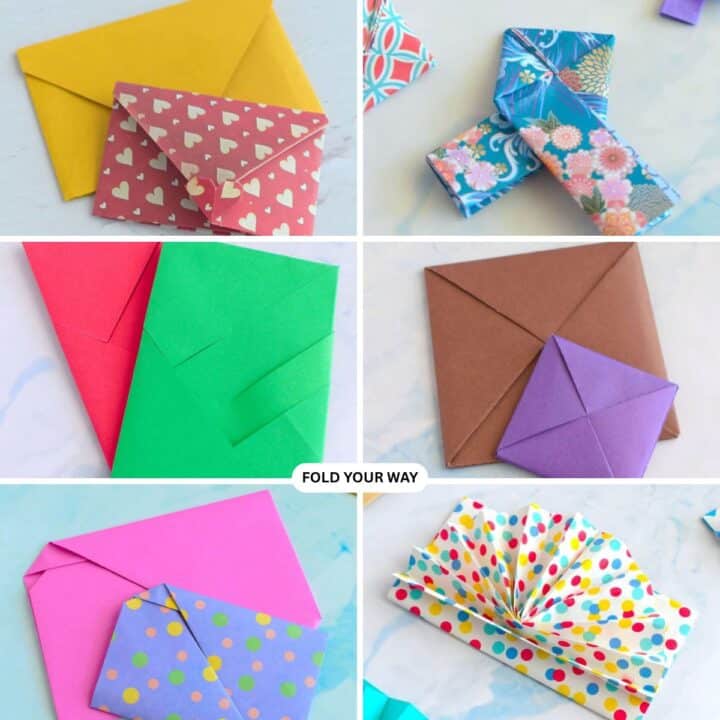
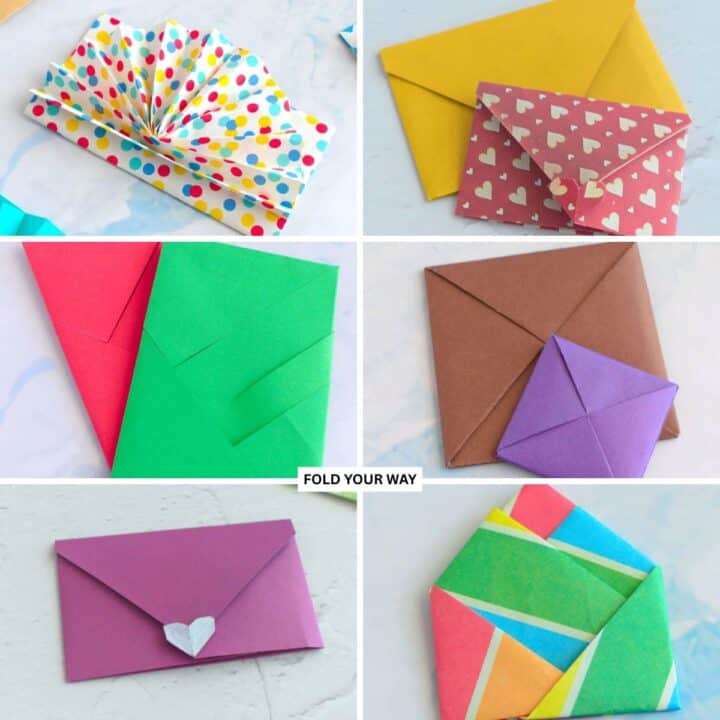
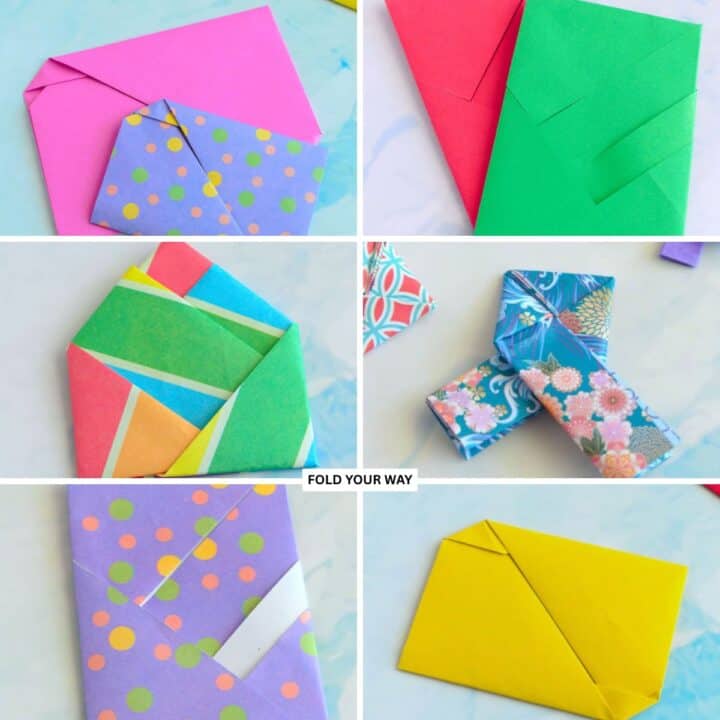
- Origami Envelopes and Letter Folding Techniques
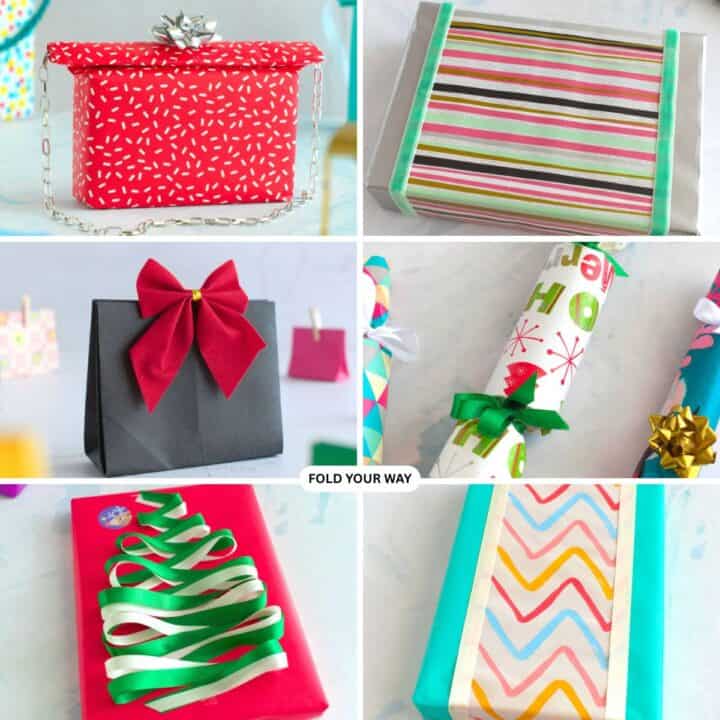
- DIY Gift Wrapping and Paper Presentation Ideas
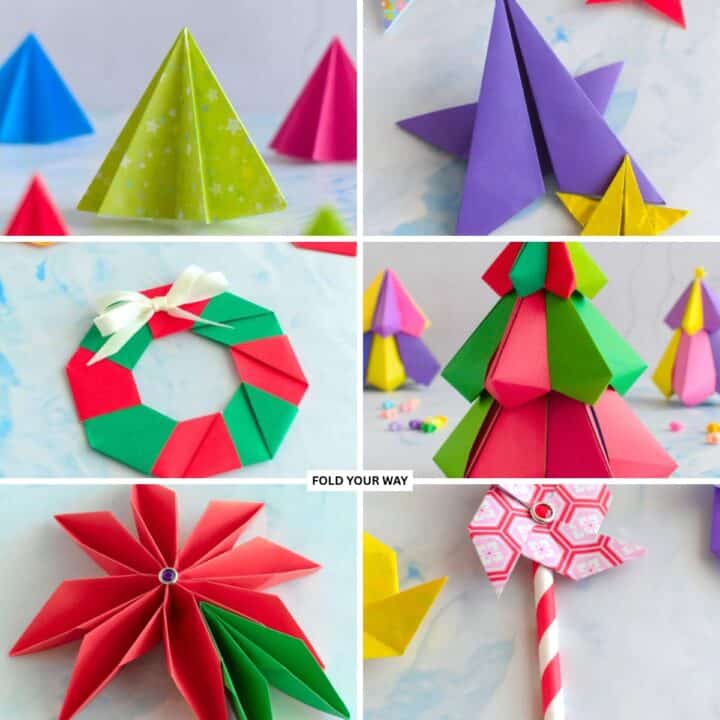
- Seasonal Origami and Holiday Paper Crafts
- Easy Napkin Folding Ideas and Table Decor

Comments
No Comments