
Got a tricky gift to wrap?
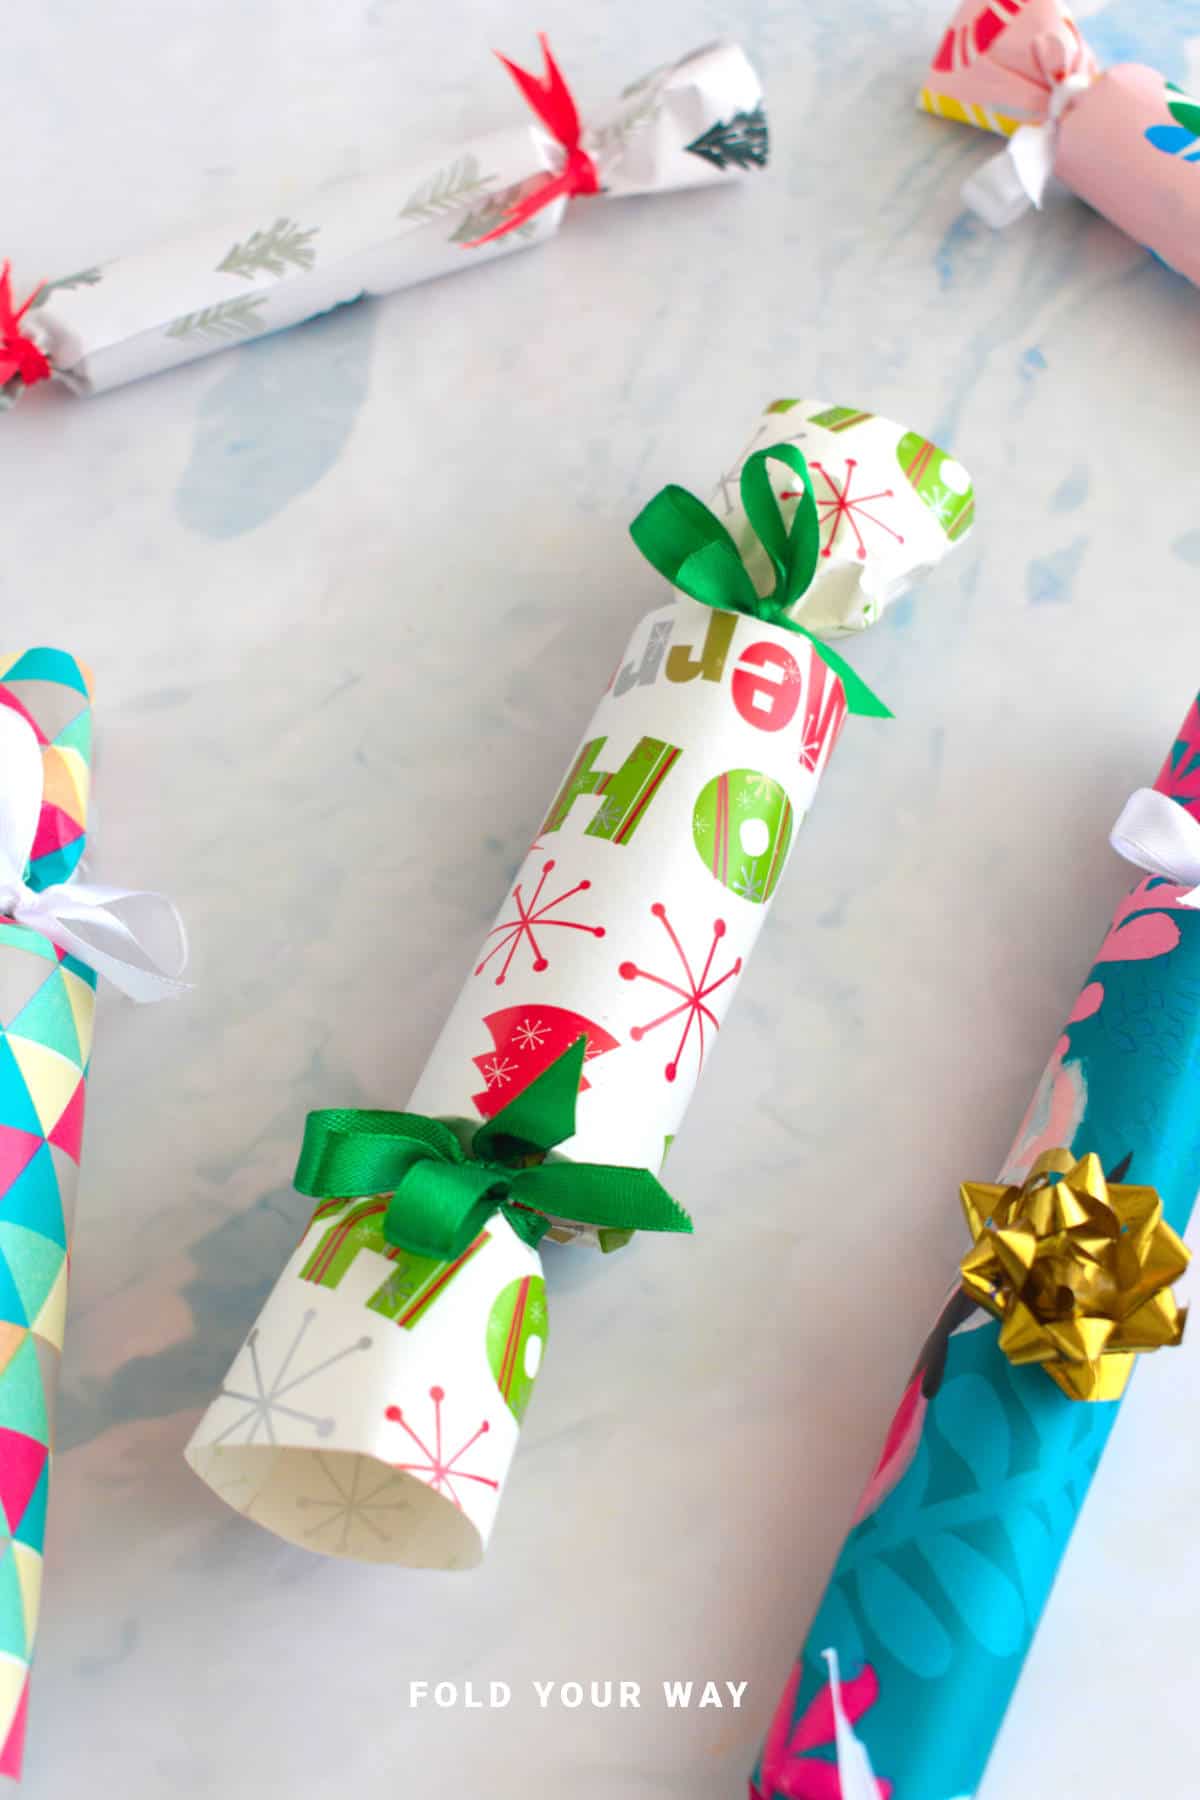
This cylinder gift wrapping idea is perfect for odd-shaped presents like cookie tins, candles, chocolates, or even scarves.
It's easier than you think—and looks beautifully polished with minimal effort!
Jump to:
Ever tried wrapping a round gift and ended up with a crumpled mess of paper and tape?
Cylindrical presents—like cookie tins, candles, rolled-up scarves, and jars of treats—are classic holiday, birthday, and thank-you gifts, but they’re definitely not the easiest to wrap with regular flat paper.
The good news? You don’t need a box or a gift bag.
With this simple cylinder gift wrapping idea, you'll learn how to wrap these shapes cleanly and stylishly, no awkward bulges or puckered paper in sight.
This easy wrapping technique is ideal for all sorts of occasions—Christmas, Mother’s Day, Easter, Valentine’s Day, teacher appreciation gifts, and birthday parties.
Whether you’re wrapping up homemade cookies, beauty products, or a special keepsake, this method gives your gift a polished look while keeping it fun and festive.
Best of all, it works with almost any kind of wrapping paper, and you don’t need any fancy tools—just some scissors, tape, and a little patience.
Use this diy craft trick when you're looking for gift wrapping inspiration that’s practical, pretty, and easy to personalize.
Ready to make those round gifts shine?
Why You'll Love This Pattern
- Perfect for awkward shapes – Great for cookie tins, candles, mugs, rolled clothes like t-shirts and scarves, jars, or bath bombs.
- Ideal for all occasions – Works for Christmas, birthdays, Easter, Mother’s Day, or just-because gifts.
- No special supplies needed – Just scissors, tape, and wrapping paper.
- Clean and polished finish – Makes your gift look neat and intentional, not rushed.
- Personalizable – Add ribbon, tags, or washi tape for a creative twist.
- Quick to master – Once you’ve done it once, you’ll want to wrap every gift this way!
Skill Level
★☆☆☆☆ (Very Easy)
Materials Needed
- Wrapping paper (cut to size)
- Double-sided tape or regular clear tape
- Scissors
- Ribbon, twine, or stickers (optional)
- The gift! (e.g. candle, scarf in a roll, jar, cookie tin, rolled artwork)
Instructions
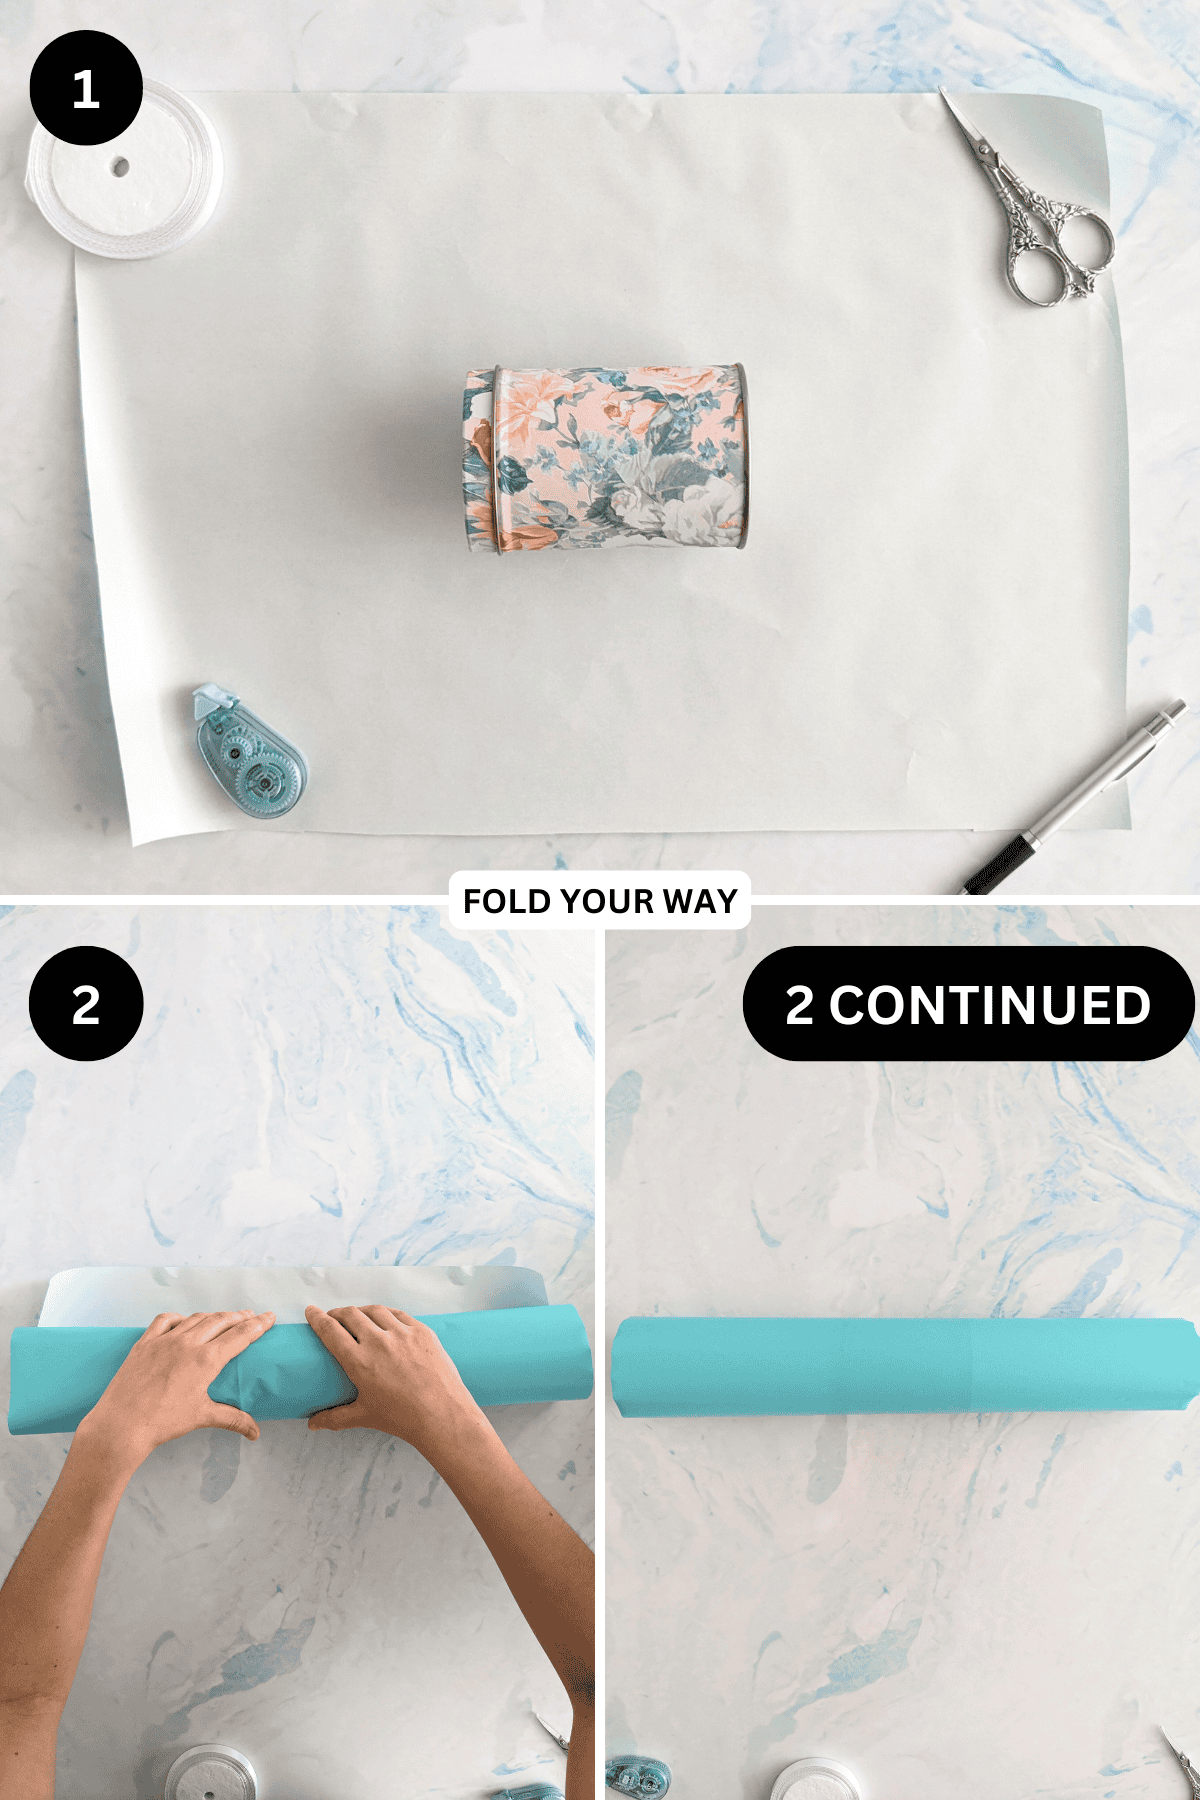
Step 1: Cut your wrapping paper to size. The wrapping paper must be able to go all the way around your cylinder shape and have a few inches on either end. Note: the wider your gift, the more paper you will need on either end. It is best to trim more than what you think you need for the sides as you can always trim it down later if needed.
Step 2: Centre your gift in the middle of the wrapping paper, then roll it up. Secure it at the end with some double sided tape, glue, or normal tape.
✨ You're almost there! ✨
To unlock the final steps and complete your pattern, create a free account with Grow.me. below.
Make sure you tick the box to subscribe to our newsletter and stay up to date with the latest patterns, tips, and more!
Once you're signed up, you'll get instant access to finish your project and enjoy exclusive content in the future.
Already signed up? Hit the button below and select ‘Switch to Log In’ to pick up where you left off and finish your project!
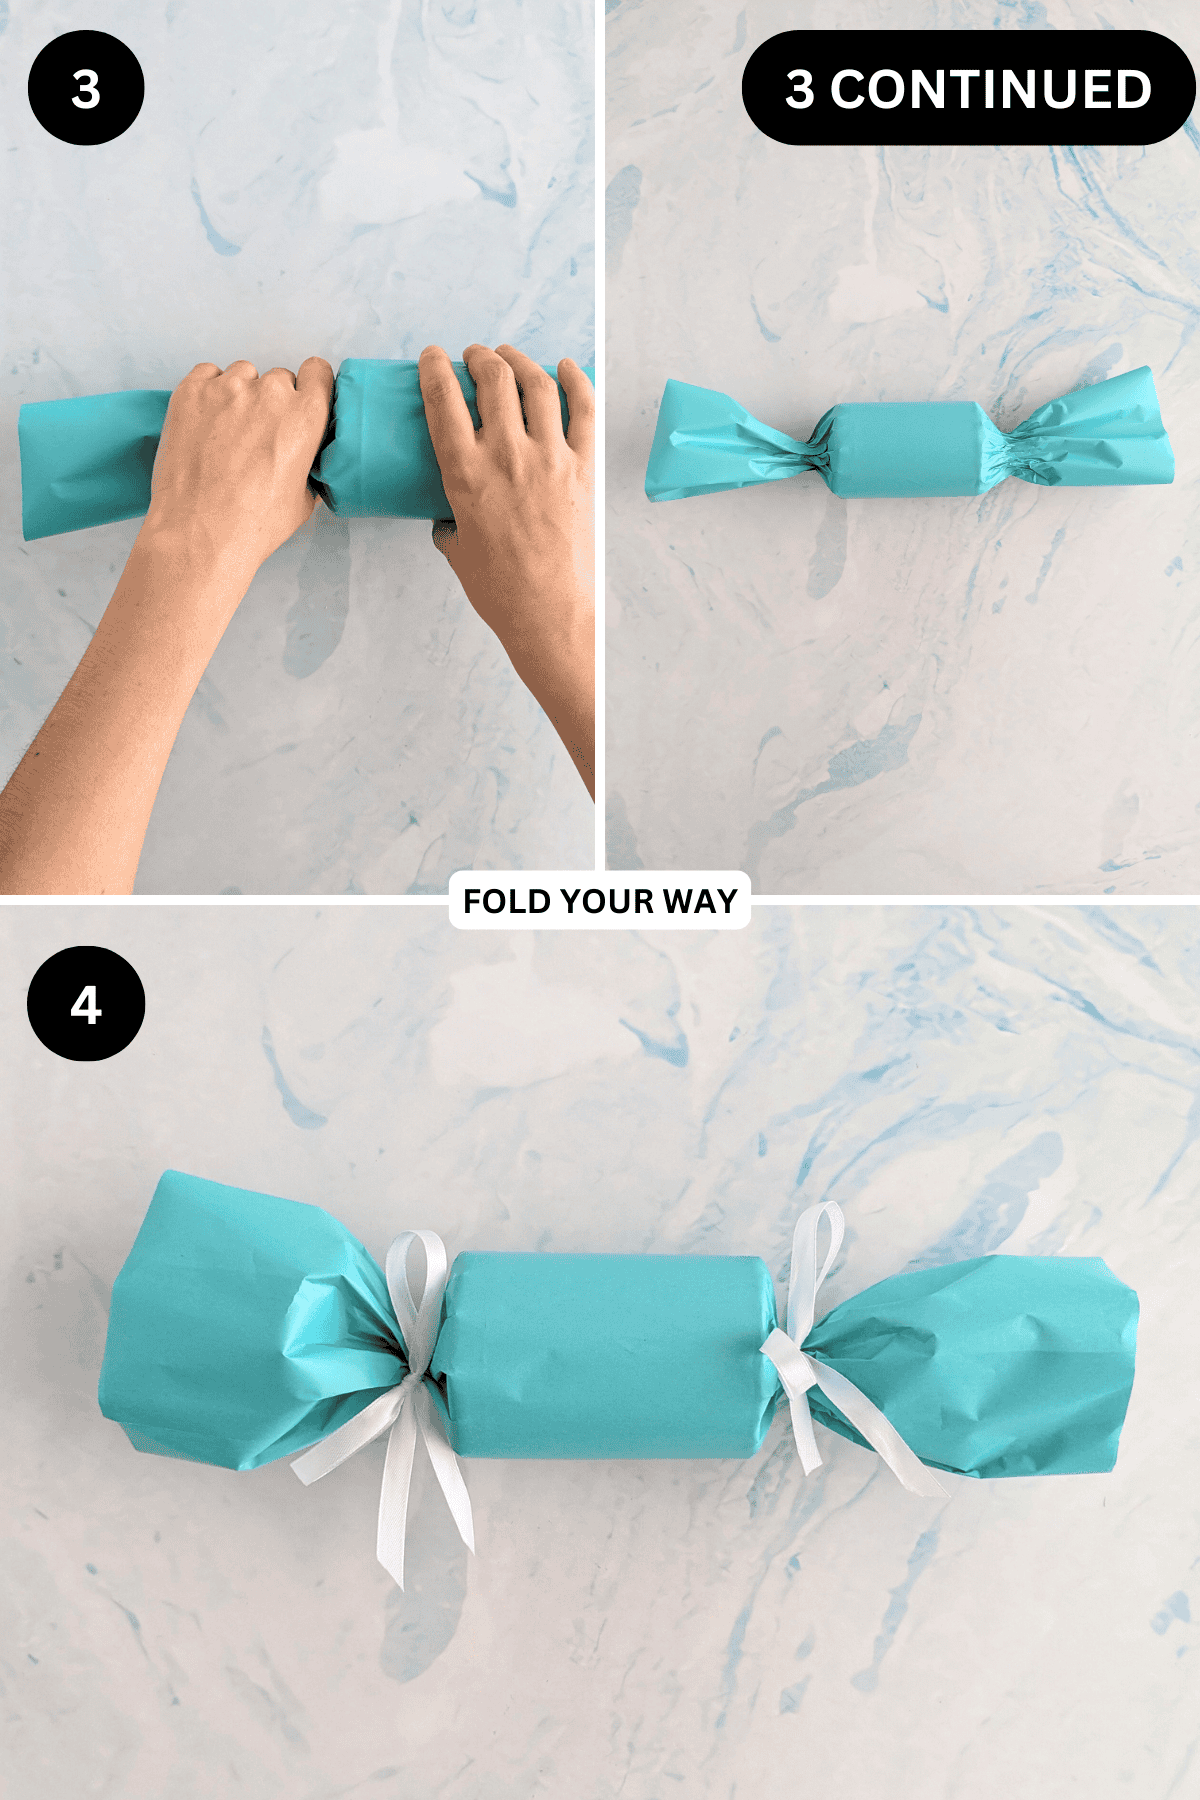
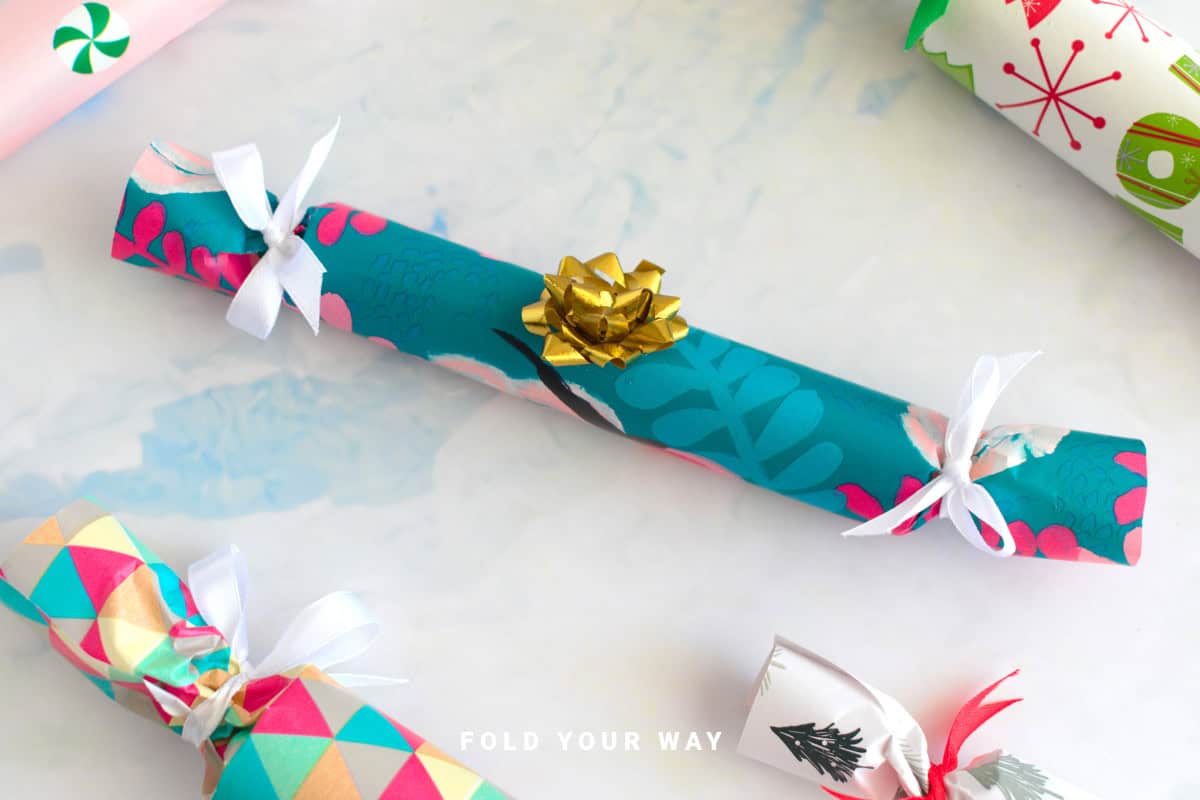
Step 3: While holding the center of the gift, pinch both ends of the paper where it meets the edge of the gift.
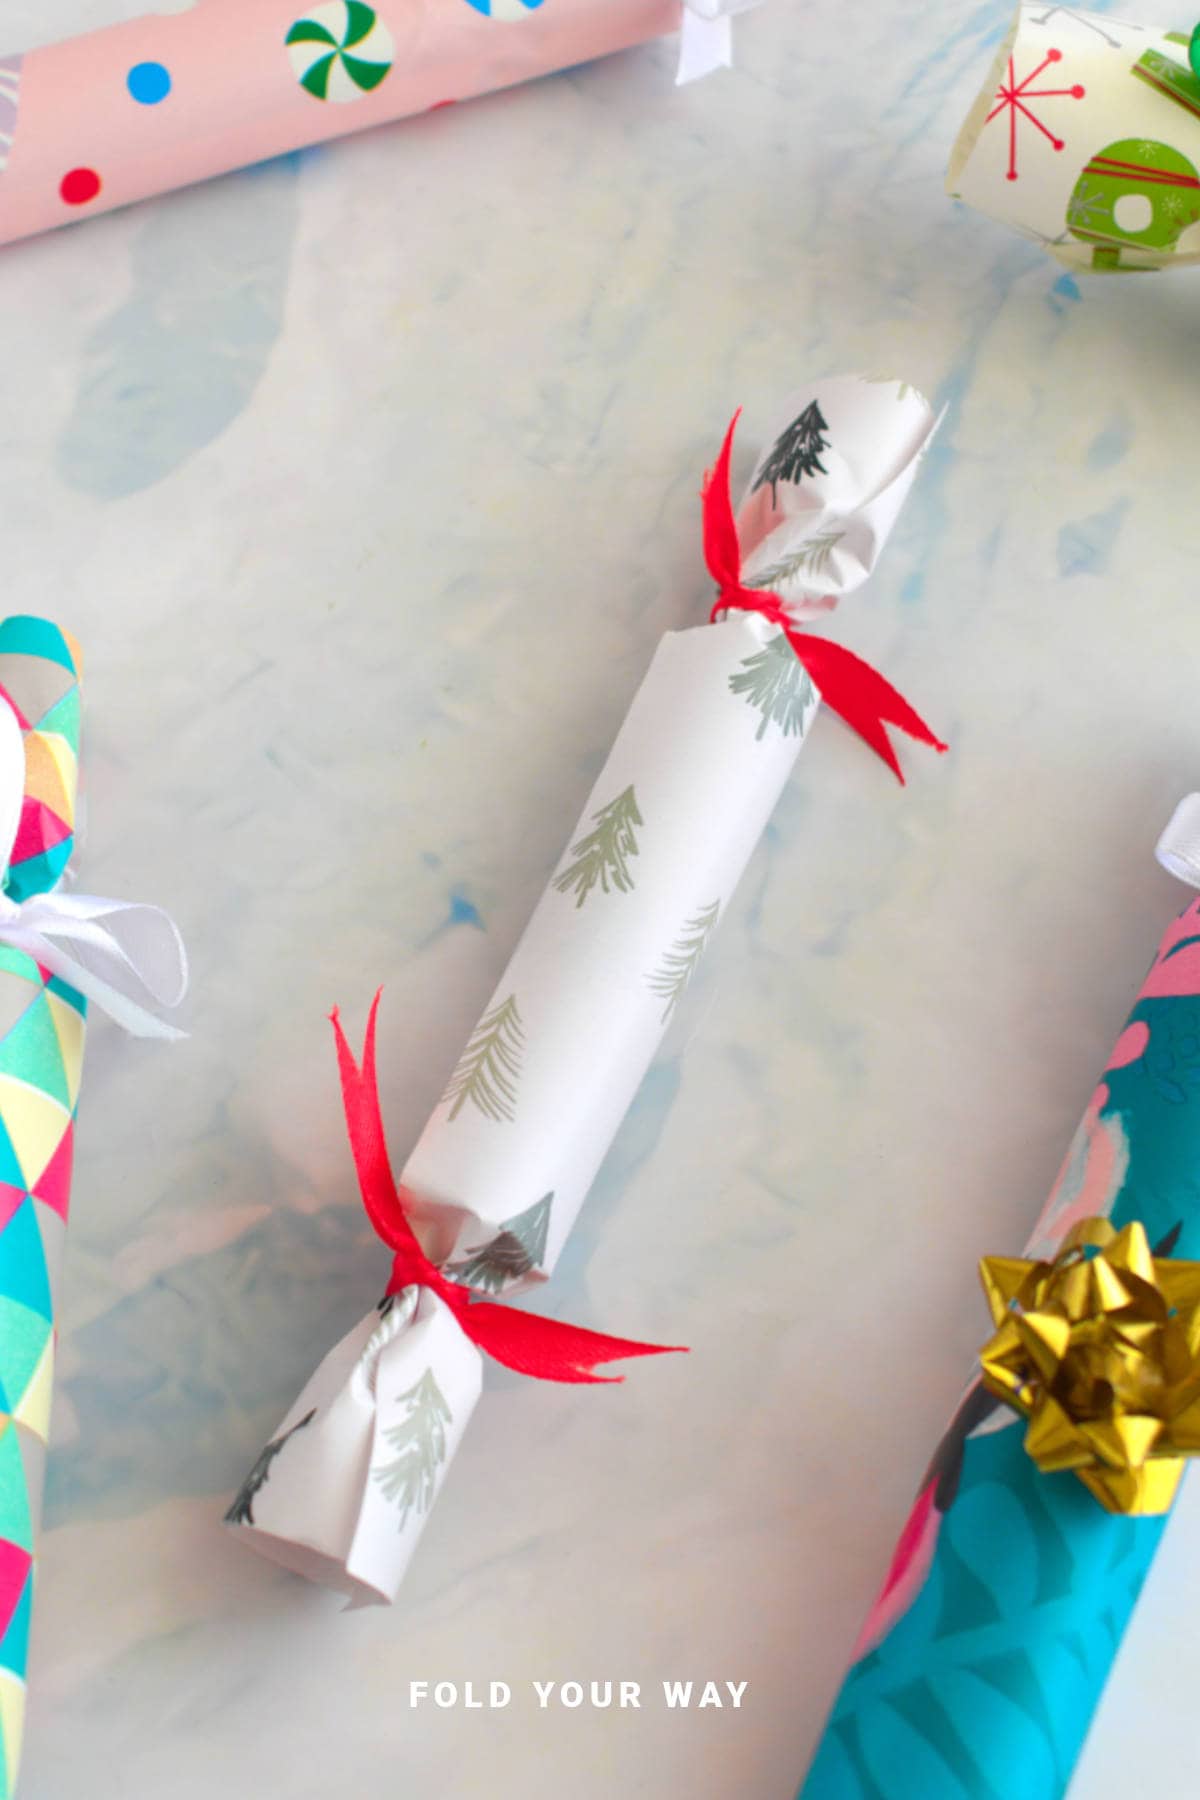
Step 4: Tie a ribbon or string to each end of the gift. Completed wrapped gift.
Tips For Success
- Use lightweight paper – Heavier paper may not pleat or fold cleanly around the ends.
- Use double-sided tape – It gives a seamless look with fewer visible tape lines.
- Tie with twine or ribbon – Adding a simple bow or gift tag helps secure and dress up the finished wrap.
Color, Paper Ideas, and Variations
- Holiday-themed – Use classic red and green prints for Christmas, or try gold with white ribbon for a modern twist.
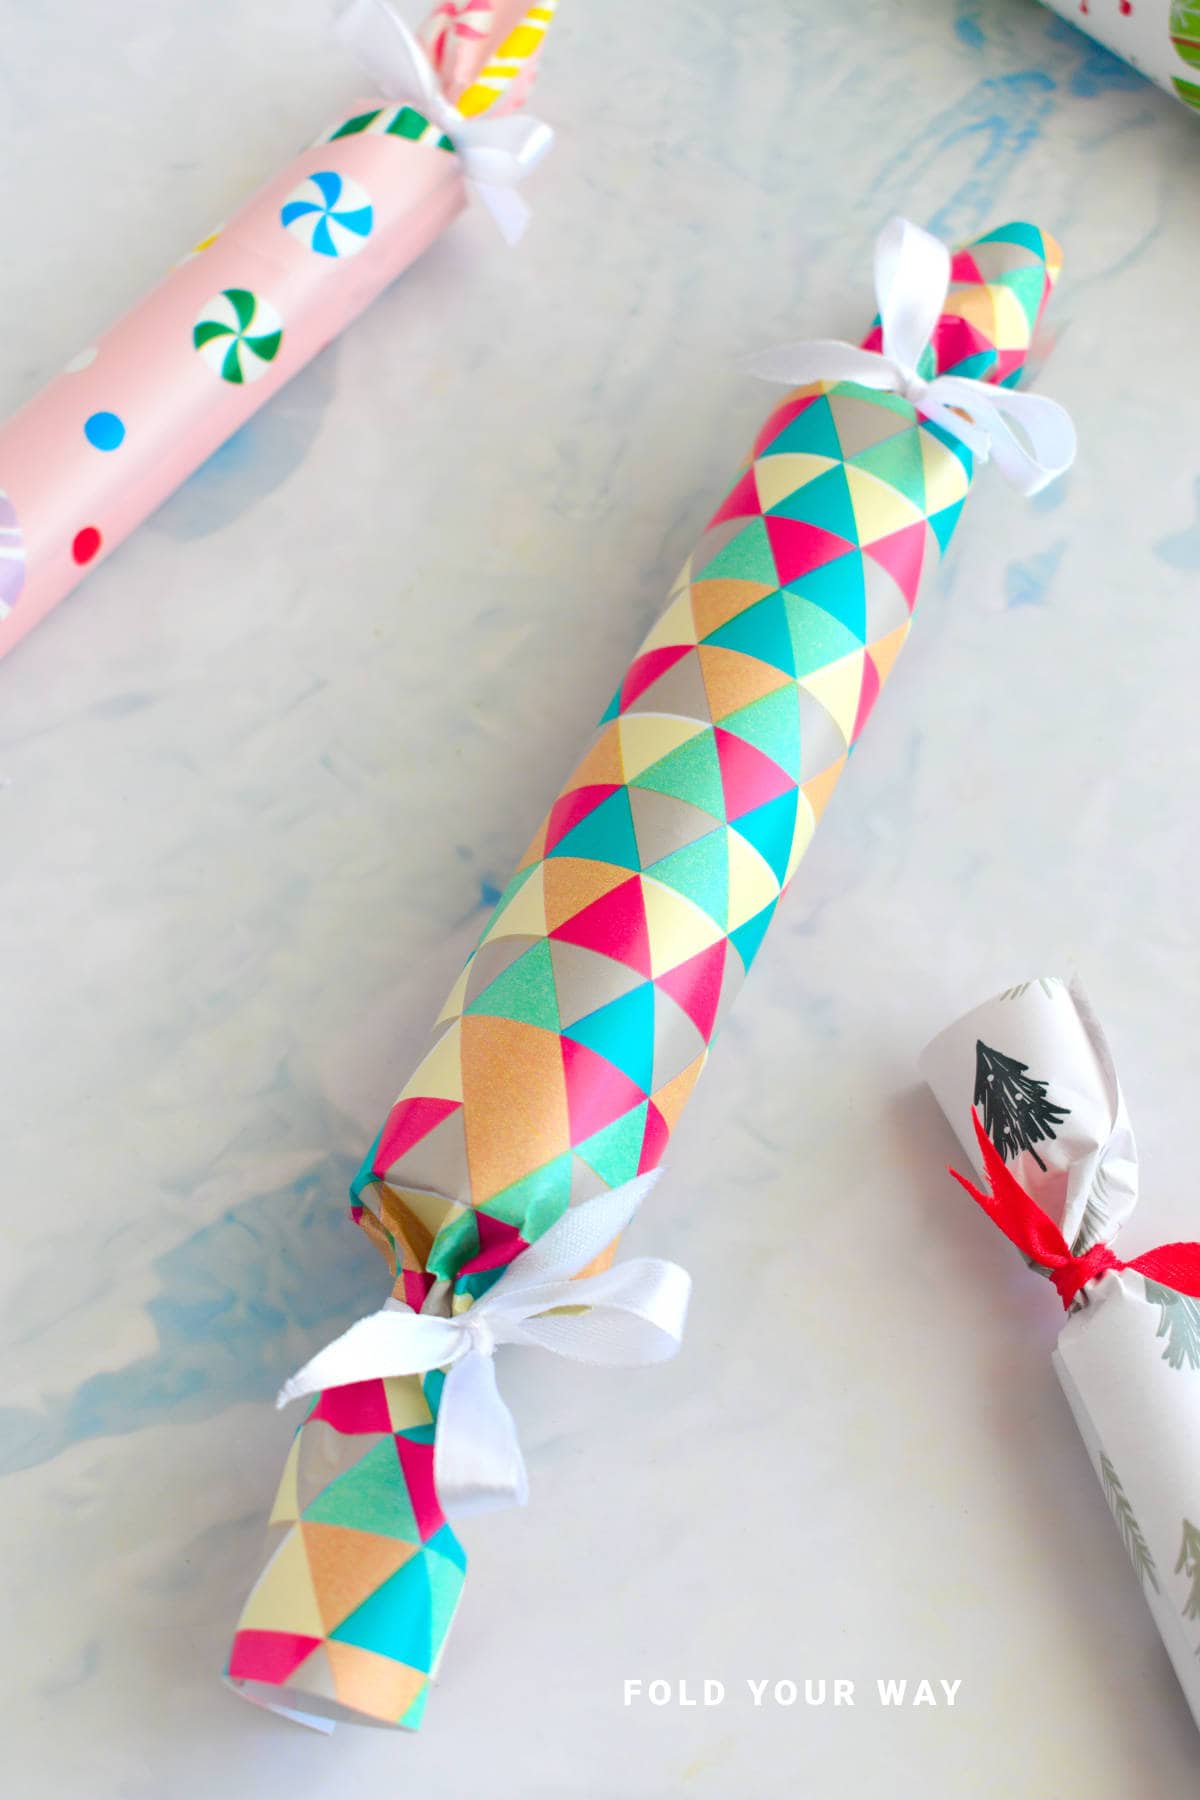
- Birthday fun – Go bold with polka dots, stripes, or even metallic paper.
- Easter-friendly – Soft pastels or floral patterns pair beautifully with a twine bow.
- Valentine’s Day – Wrap in pink or red paper and tie with a heart-shaped gift tag.
- Rustic & simple – Try kraft paper with baker’s twine and a sprig of greenery or a dried flower.
- Cartoon or character wrapping paper makes it fun and playful.
FAQ
Yes!
Just double-layer it for strength and be gentle with folding.
You can trim the ends off after wrapping using regular scissors or decorative edge scissors (craft edge scissors).
Absolutely—just make sure they’re evenly rolled to keep the cylinder shape before you wrap.
Helpful Tips and Common Mistakes For Paper Crafts
Paper crafting and origami can be hard sometimes. Which is why we've made this printable PDF just for you.
It outlines helpful tips so that you can successfully complete your craft, and some of the most common mistakes people come across.
You can download the helpful tips and common mistakes for paper crafts printable PDF here.
Stay Connected
Made this pattern? Let us know how it went in the comments below!
Pin this post - Pin now to take your paper crafting skills to the next level.
Share on Instagram or Facebook - Capture the beauty of your finished paper craft project and share it on Instagram or Facebook! Tag us @foldyourway so we can see your work!
Other Patterns You Might Like To Try:
Looking for other easy patterns like this? Try these:


Comments
No Comments