
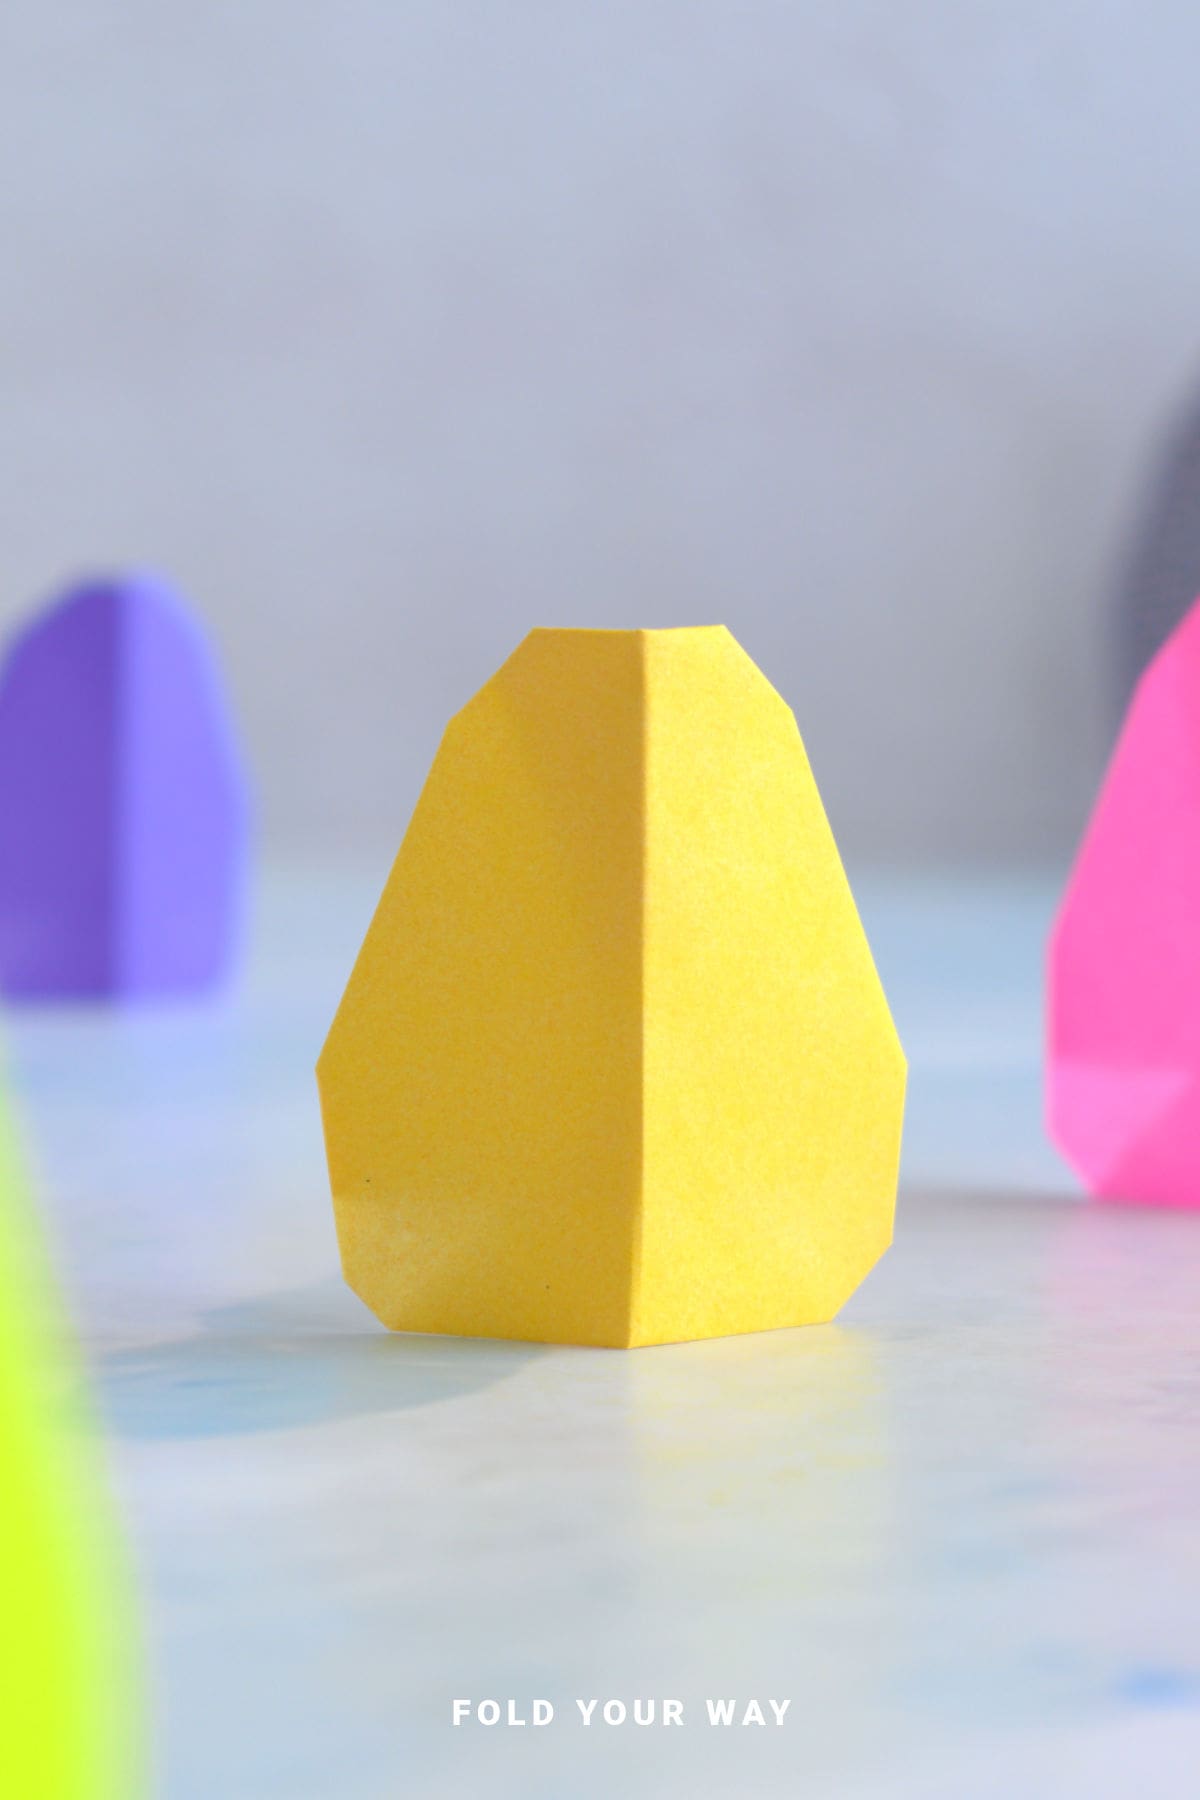
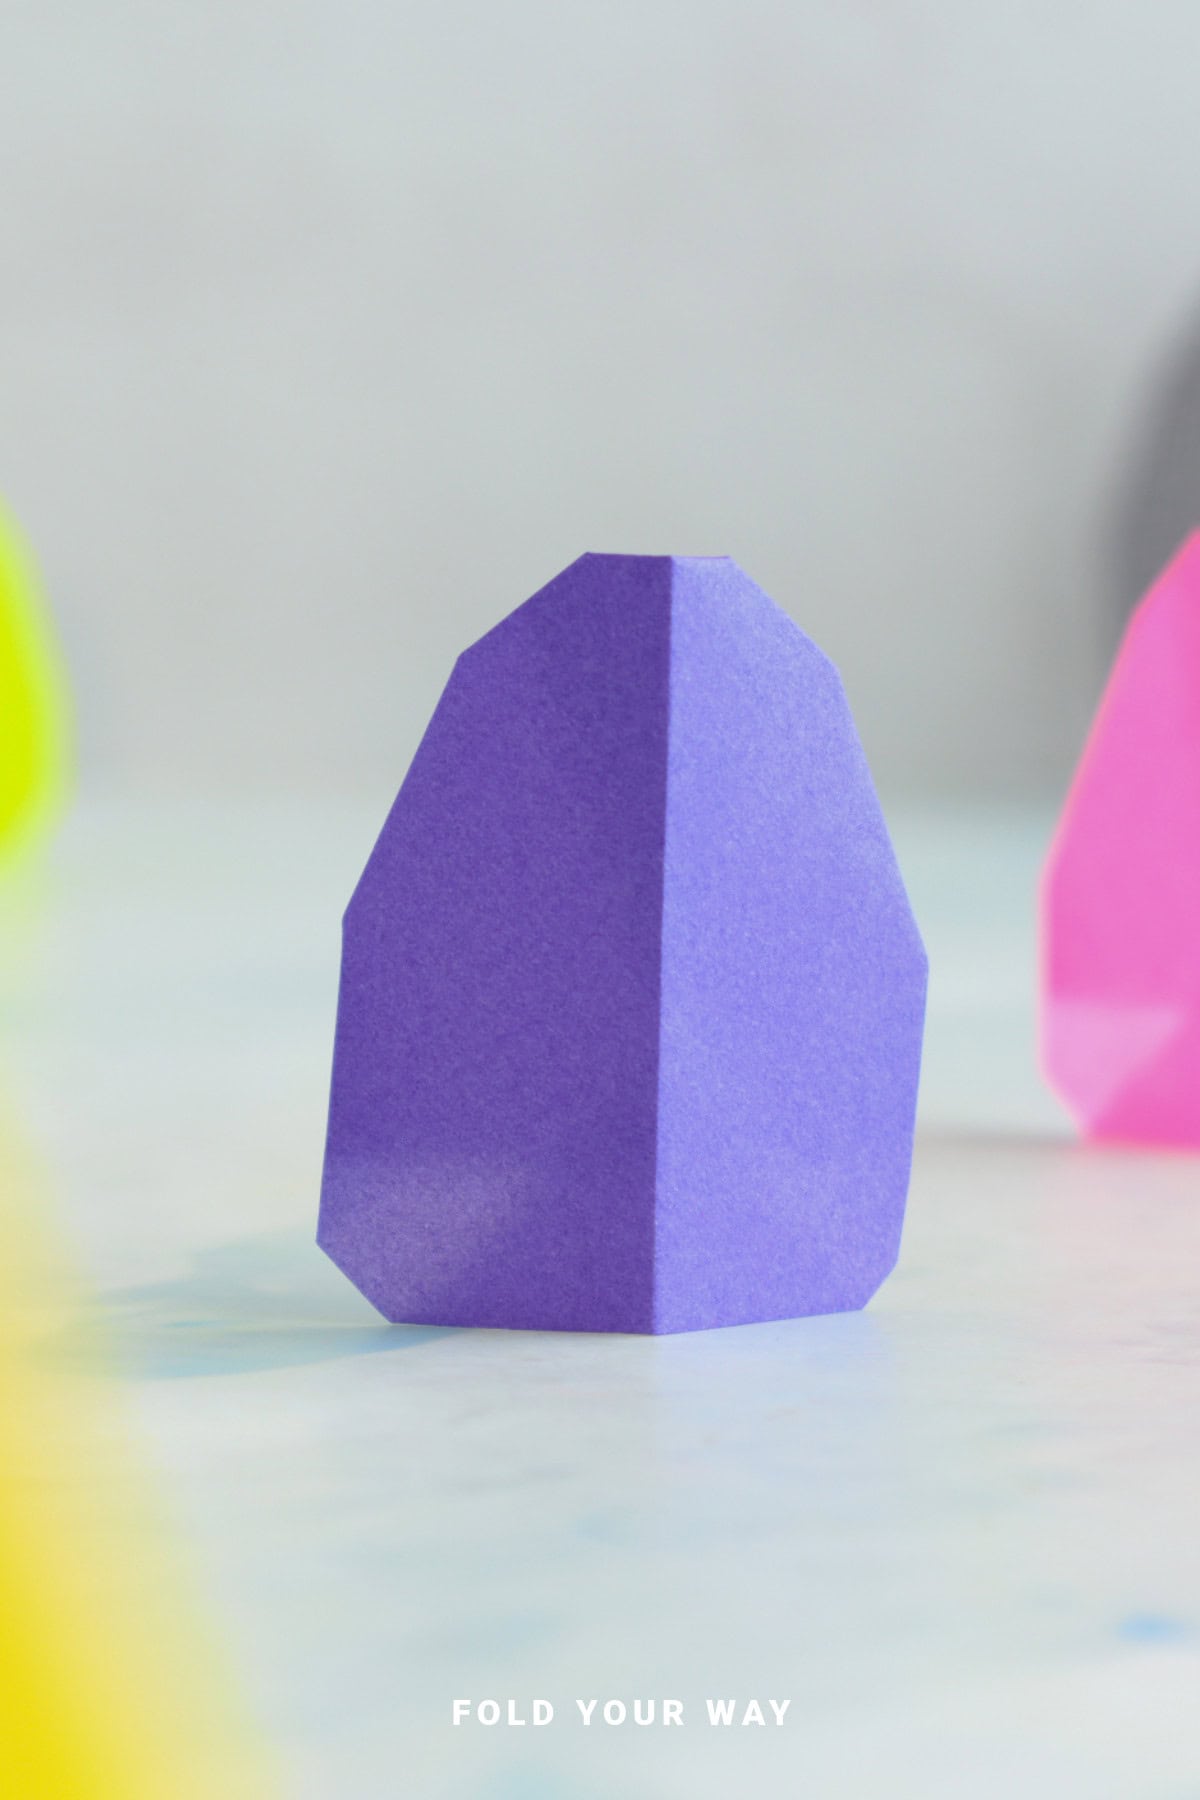
This easy origami egg is the perfect 2D paper craft for spring, Easter, and beyond!
All you need is a square sheet of paper to make this sweet, simple shape—perfect for garlands, cards, table decorations, and DIY fun with the kids.
Jump to:
Looking for a simple but satisfying craft?
This easy origami egg is a quick, beginner-friendly project that’s perfect for Easter, springtime decorating, or just a fun afternoon of crafting with the kids.
Made from a single square piece of paper, this 2D paper egg makes a great addition to handmade cards, banners, garlands, or table place settings.
And since it’s flat, it’s also perfect for scrapbooking, DIY tags, or even framing for seasonal wall art.
This is one of those easy paper crafts that feels just right for all ages—kids will love folding and decorating them, while adults can get creative with color palettes and paper styles.
These little eggs also make thoughtful touches on homemade gifts, especially when paired with other Easter crafts or spring-themed DIYs.
You can keep it simple, or jazz it up with doodles, stickers, or even a bit of glitter glue.
This origami egg is fast and fun to fold—so once you’ve made one, you might find yourself making a whole collection.
Hang a string of them as a garland, add one to an Easter basket, or pop a few into party favor bags.
However you use them, they’re a cheerful seasonal project that anyone can enjoy.

Why You'll Love This Pattern
- Quick and beginner-friendly: Great for kids or anyone new to origami.
- Ideal for Easter, springtime, or baby shower decorations.
- Great for gift wrapping: Attach to a gift or tuck into a card as a festive surprise.
- Make garlands, place cards, tags, or simple décor.
- Decorate with markers, stickers, or other embellishments.
Skill Level
★☆☆☆☆ (Very Easy)
Materials Needed
1 square sheet of origami paper
| Paper Size | Final Egg Size | |
| Small Origami Egg | 3 inch x 3 inch (7.5 cm x 7.5 cm) | 2.5 inches x 2 inches (5.5 cm x 5 cm) |
| Large Origami Egg | 6 inch x 6 inch (15 cm x 15 cm) | 5 inches x 4 inches (12 cm x 11 cm) |
Instructions
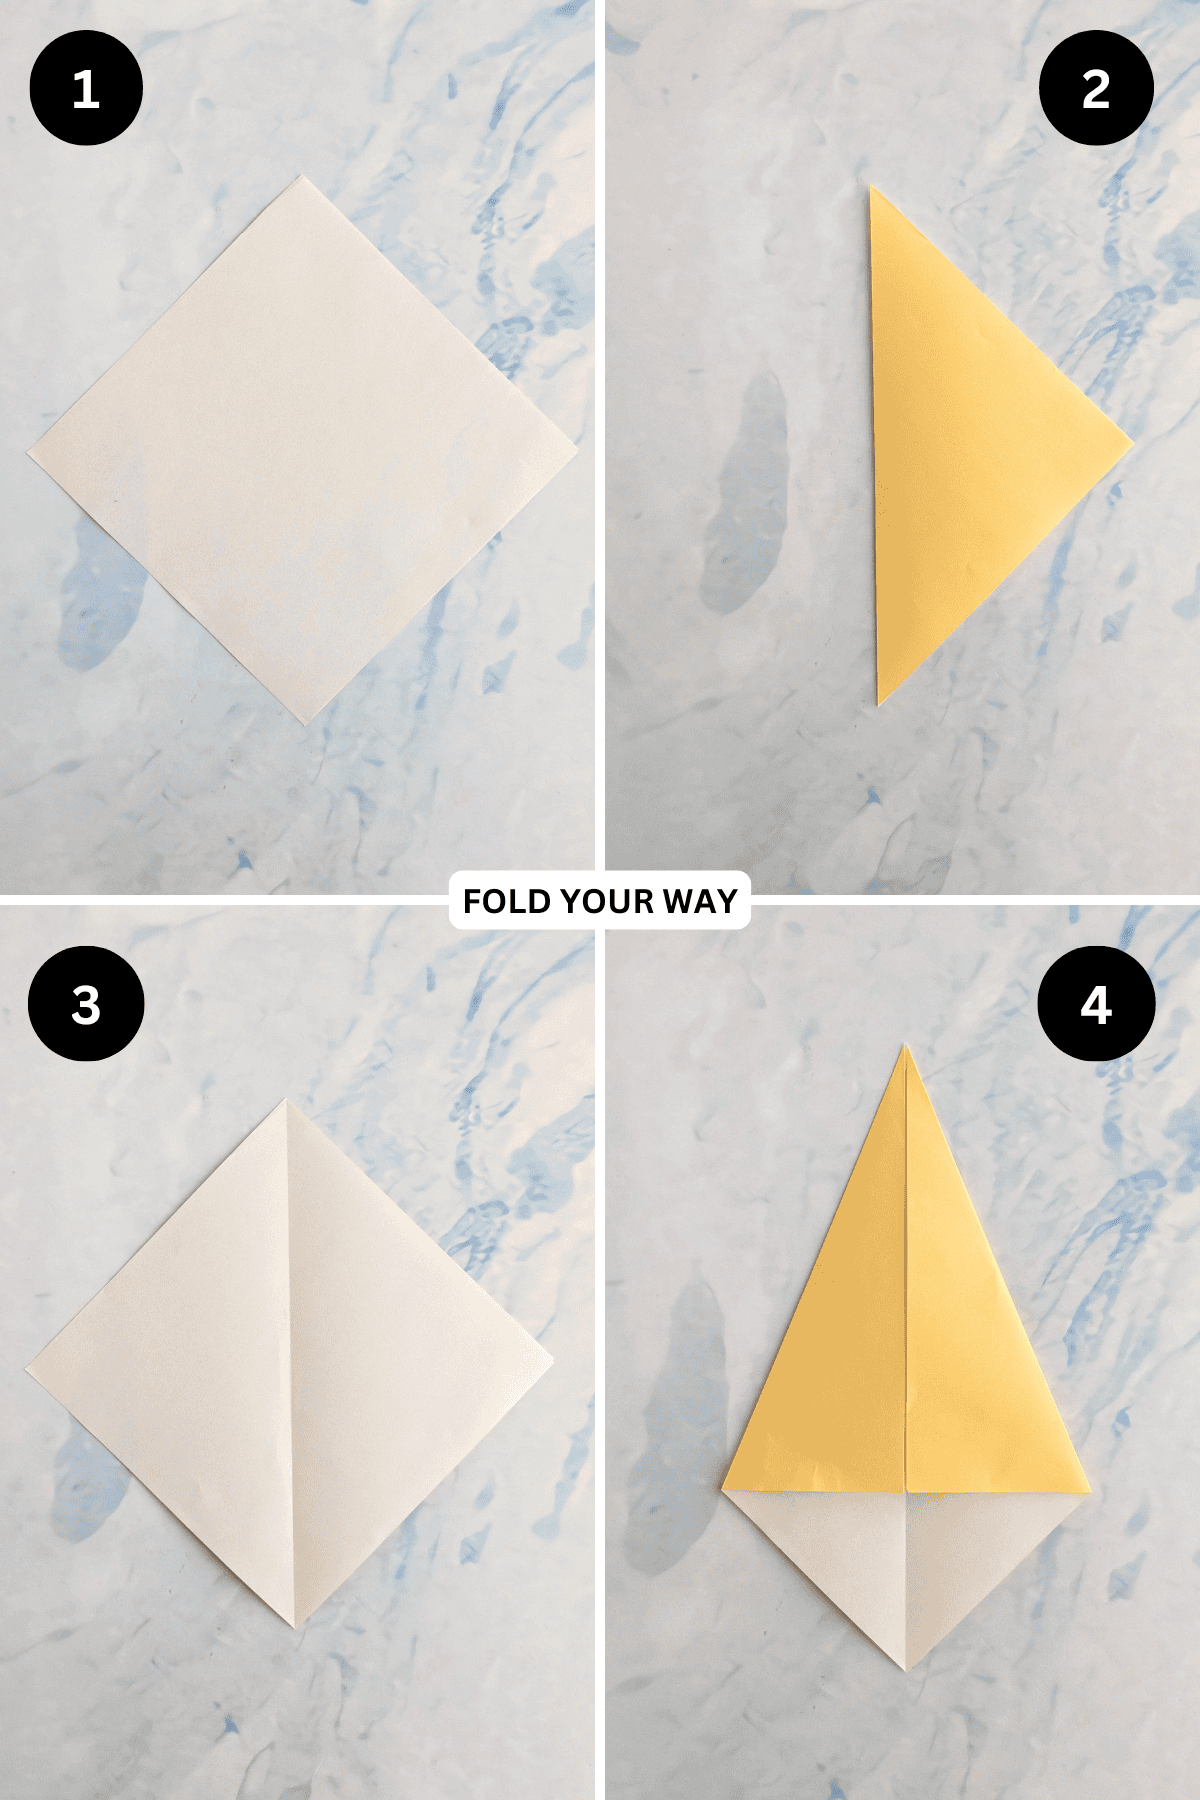
Step 1: Start with the color you want your egg to be facing down. Arrange your paper to sit like a diamond shape.
Step 2: Fold the left point to meet the right point.
Step 3: Unfold previous step.
Step 4: Fold both the top left and top right edges in to meet the middle crease.
✨ You're almost there! ✨
To unlock the final steps and complete your pattern, create a free account with Grow.me. below.
Make sure you tick the box to subscribe to our newsletter and stay up to date with the latest patterns, tips, and more!
Once you're signed up, you'll get instant access to finish your project and enjoy exclusive content in the future.
Already signed up? Hit the button below and select ‘Switch to Log In’ to pick up where you left off and finish your project!
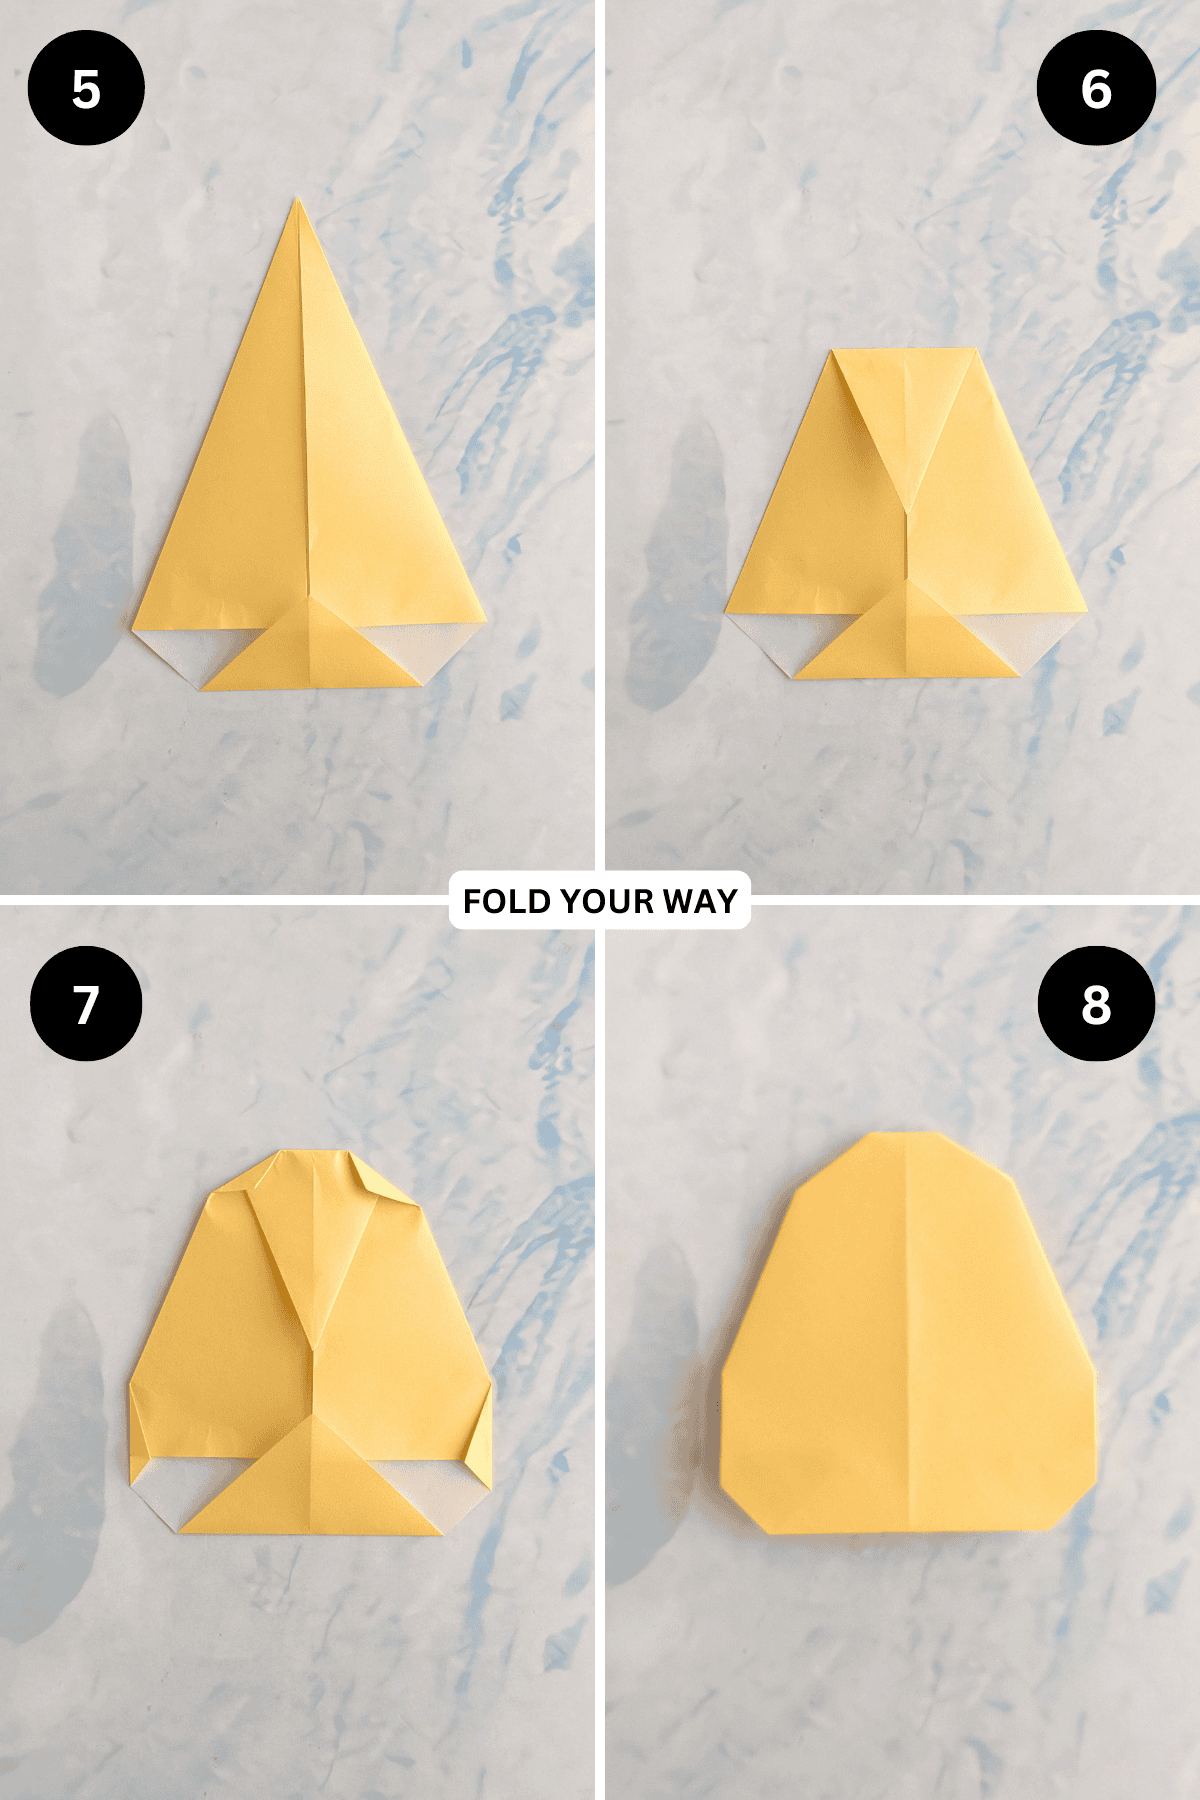
Step 5: Fold thebottom point up. The amount you fold it up is up to you. This will determine the shape of your egg’s bottom.
Step 6: Fold the top point down. Once again, how far down you fold is up to you. Fold less means a taller egg, folding more means a shorter egg.
Step 7: Fold the top and side corners in as shown.
Step 8: Flip your paper over. Completed egg. Note: To make your egg stand, fold it in half slightly.
Tips For Success
- Use thinner paper: It’s easier to fold and helps keep the final egg nice and flat.
- Decorate after folding. That way, you’ll see exactly where the designs will land.
- Try folding multiple eggs in coordinating paper styles for a cohesive look.
Color, Paper Ideas, and Variations
- Soft pinks, lilacs, mints, and baby blues are perfect for springtime. Use a mix of pastels to create a cheerful Easter garland or basket fillers.
- Think sunny yellows, bright oranges, reds, and blues. These colors are fun, engaging, and stand out beautifully when strung up as decorations.
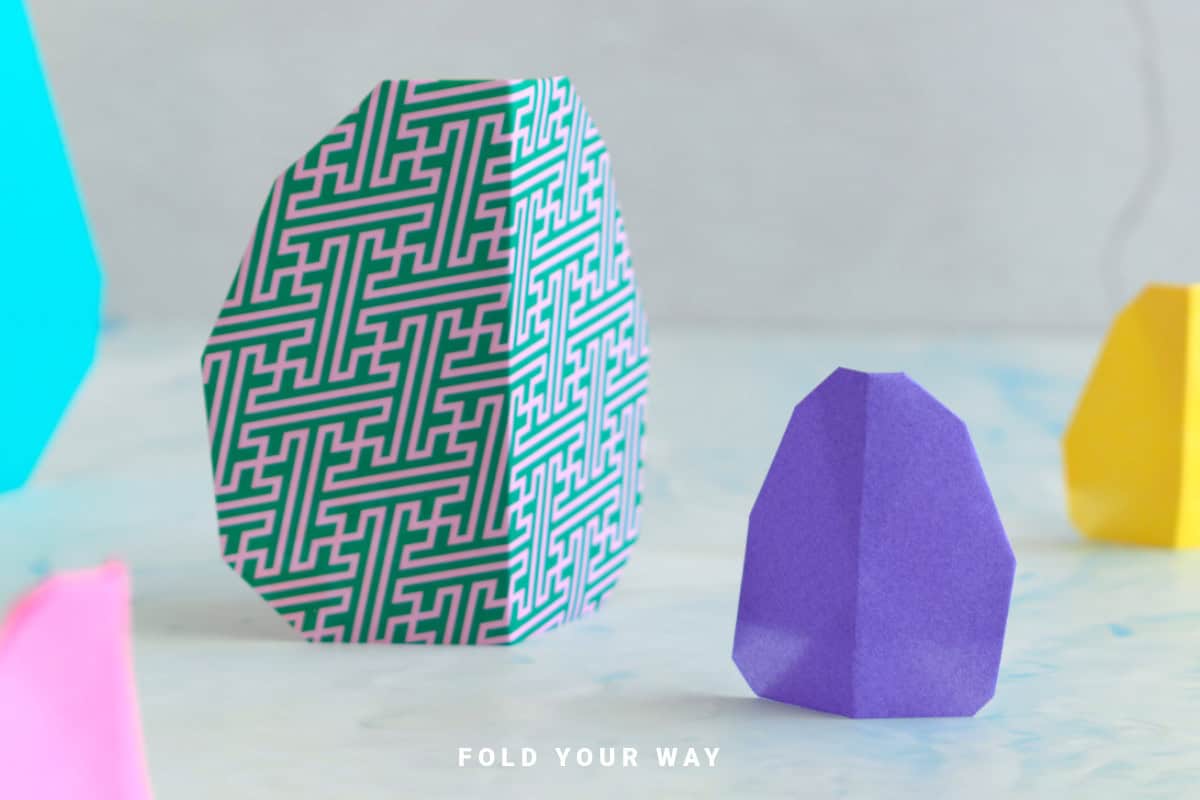
- Floral prints, polka dots, stripes, or even tiny animal patterns make the eggs pop without any need for extra decorating. Great for scrapbook paper leftovers!
- Kraft paper and white pen for a rustic look: This combo gives a handmade, natural feel—great for more minimal, boho, or farmhouse-style décor.
- Shiny golds, silvers, or glittery cardstock can turn these simple eggs into festive decorations for birthday parties or even New Year’s events.
- Mix and match for garlands: Make a set of eggs in a coordinated color scheme to string across the mantel, along a table, or in a classroom. Try alternating solids and prints for visual interest.
FAQ
Any square will do! A 6 inch x 6 inch (15 cm x 15 cm) sheet is a good starting point, but you can go bigger or smaller depending on how you want to use the egg.
Yes! Just punch a small hole near the top and string it with twine or ribbon.
Definitely—it's a great intro to origami and a fun activity for classrooms, rainy days, or Easter events.
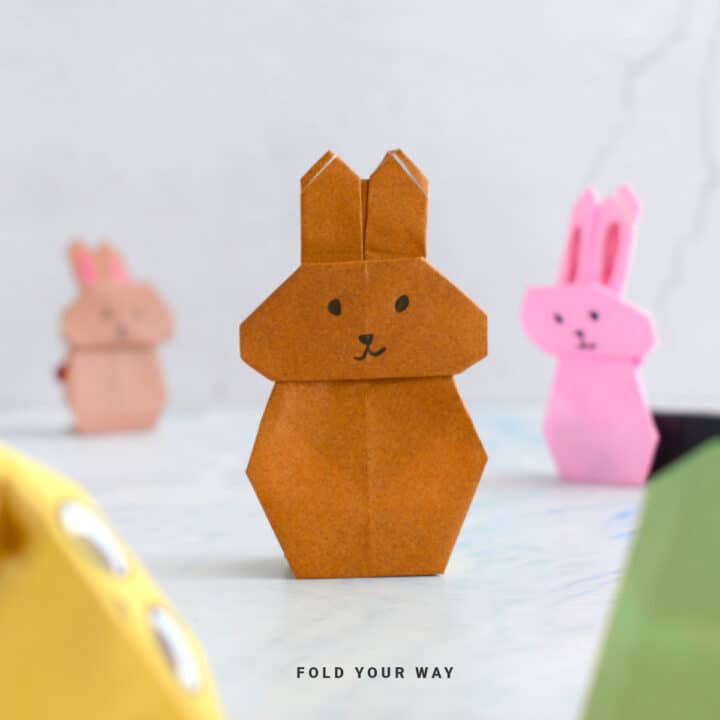
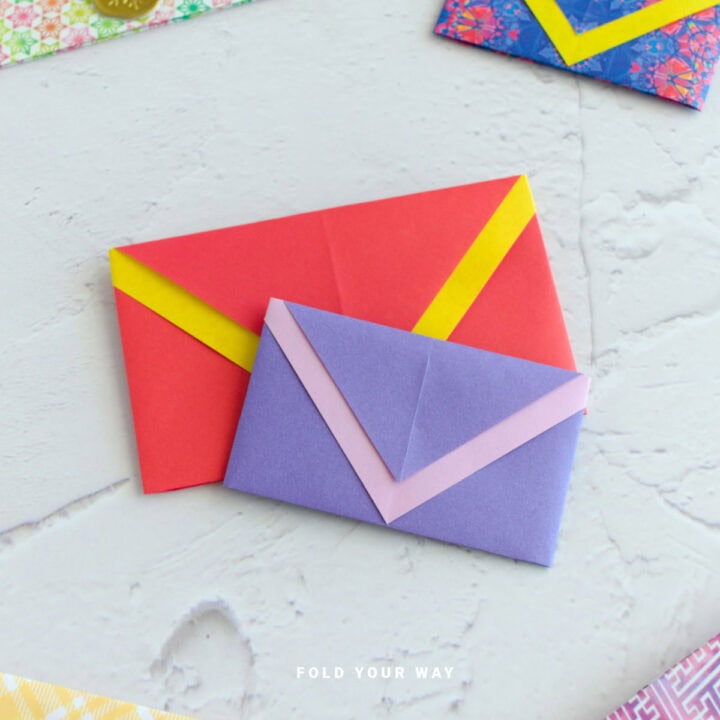
Other Paper Crafts You Might Like To Try:
Helpful Tips and Common Mistakes For Paper Crafts
Paper crafting and origami can be hard sometimes. Which is why we've made this printable PDF just for you.
It outlines helpful tips so that you can successfully complete your craft, and some of the most common mistakes people come across.
You can download the helpful tips and common mistakes for paper crafts printable PDF here.
Stay Connected
Made this pattern? Let us know how it went in the comments below!
Pin this post - Pin now to take your paper crafting skills to the next level.
Share on Instagram or Facebook - Capture the beauty of your finished paper craft project and share it on Instagram or Facebook! Tag us @foldyourway so we can see your work!
Looking for more easy paper crafts.
Why not try this easy self closing box, origami dress, paper skull, gift wrapping idea with pinwheel, 2D boat, square envelope, pumpkin napkin fold, mushroom, lovers knot, apple, star, butterfly, tulip gift tag, or diy letterfold envelope.
Other Patterns You Might Like To Try:
Looking for other easy patterns like this? Try these:


Comments
No Comments