
A charming and functional way to wrap small notes or flat gifts—this square origami envelope is quick, easy, and fun to make for any occasion.
Use this to hold gift cards, notes, or invitations for weddings, holidays, or special events.
Jump to:
There’s something extra special about giving a handwritten note or small gift in a handmade envelope.
This square origami envelope is the perfect way to add a thoughtful and creative touch to your message.
Whether you’re slipping in a sweet note for a friend, a gift card for a birthday, or even using it to tuck into a journal or scrapbook, this simple fold is incredibly versatile and satisfying to create.
Made from just one square sheet of paper, the fold is beginner-friendly and can be customized for any season or celebration—be it Easter, Valentine’s Day, Mother’s Day, Christmas, birthdays, or even thank-you notes.
You can use anything from plain origami paper to patterned scrapbooking sheets or even recycled wrapping paper.
This envelope holds together without glue, though you can add a sticker or washi tape for a secure and decorative seal.
With its clean lines and polished look, the square origami envelope is a lovely little project that’s great for gifting, crafting with kids, or simply adding a handmade element to your day.
Why You'll Love This Pattern
- No glue or scissors needed—just a square sheet of paper
- Perfect for small notes, cards, gift cards, or flat keepsakes
- Easy to customize with stickers, stamps, or embellishments
- Ideal for holidays, special occasions, and everyday surprises
- Quick, calming, and beginner-friendly
Skill Level
★★☆☆☆ (Easy)
Materials Needed
- Square origami paper
Scrapbook paper or recycled wrapping paper also works well.
Avoid thick cardstock, especially if you are making a smaller envelope. We only recommend using thick cardstock if you are making a really large envelope.
| Paper Size | Final Envelope Size | |
| Small Origami Envelope | 6 inch x 6 inch (15 cm x 15 cm) | 2 inch x 2 inch (5 cm x 5 cm) |
| Medium Origami Envelope | 7.5 inch x 7.5 inch (19 cm x 19 cm) | 2.5 inch x 2.5 inch (6.5 cm x 6.5 cm) |
| Large Origami Envelope (great for gift cards) | 10 inch x 10 inch (25 cm x 25 cm) | 3 inch x 3 inch (8.5 cm x 8.5 cm) |
Instructions
Step 1: Start with the color your want your envelope to be facing down.
Step 2: We will begin by dividing our paper into thirds. Hold the paper in your hand as shown, so that it makes an “S” shape.
Then, make a slight crease on both edges. Tip: Make sure you crease your edges well in the previous step.
Step 3: Place your paper back onto your table. You should now have 2 small creases on the right edge.

Step 4: Fold the bottom edge towards the top edge, starting at the bottom small crease you made in the previous step.
Step 5: Unfold previous step.
Step 6: Fold the top edge towards the bottom edge, starting at the top small crease.
Step 7: Unfold previous step.

Step 8: Rotate your paper so that the creases run vertically. Then repeat previous steps to divide your paper into thirds once again. You will end up with your paper divided into 9 small squares.
Step 9: Fold the bottom left point up to meet the top right point.
Step 10: Unfold previous step.
Step 11: Fold the bottom right point up to meet the top left point.

Step 12: Unfold previous step.
Step 13: Flip your paper over from left to right.
Step 14: Fold the bottom left point up to meet the point shown, creasing only along the dotted line.

Step 15: Unfold previous step.
Step 16: Fold the bottom right point up to meet the point shown, creasing only along the dotted line.

Step 17: Unfold previous step.
Step 18: Fold the top right point down to meet the point shown, creasing only along the dotted line.

Step 19: Unfold previous step.
Step 20: Fold the top left point down to meet the point shown, creasing only along the dotted line.

✨ You're almost there! ✨
To unlock the final steps and complete your pattern, create a free account with Grow.me. below.
Make sure you tick the box to subscribe to our newsletter and stay up to date with the latest patterns, tips, and more!
Once you're signed up, you'll get instant access to finish your project and enjoy exclusive content in the future.
Already signed up? Hit the button below and select ‘Switch to Log In’ to pick up where you left off and finish your project!
Step 21: Unfold previous step.
Step 22: Flip your paper over from left to right.
Step 23: Valley fold the creases shown by the white lines, and mountain fold the creases shown by the black lines.

Step 24: Adjust and flatten the paper so that it forms a shape like a dart.
Step 25: Fold the left point in as shown.

Step 26: Then, fold the top and right points in as shown.
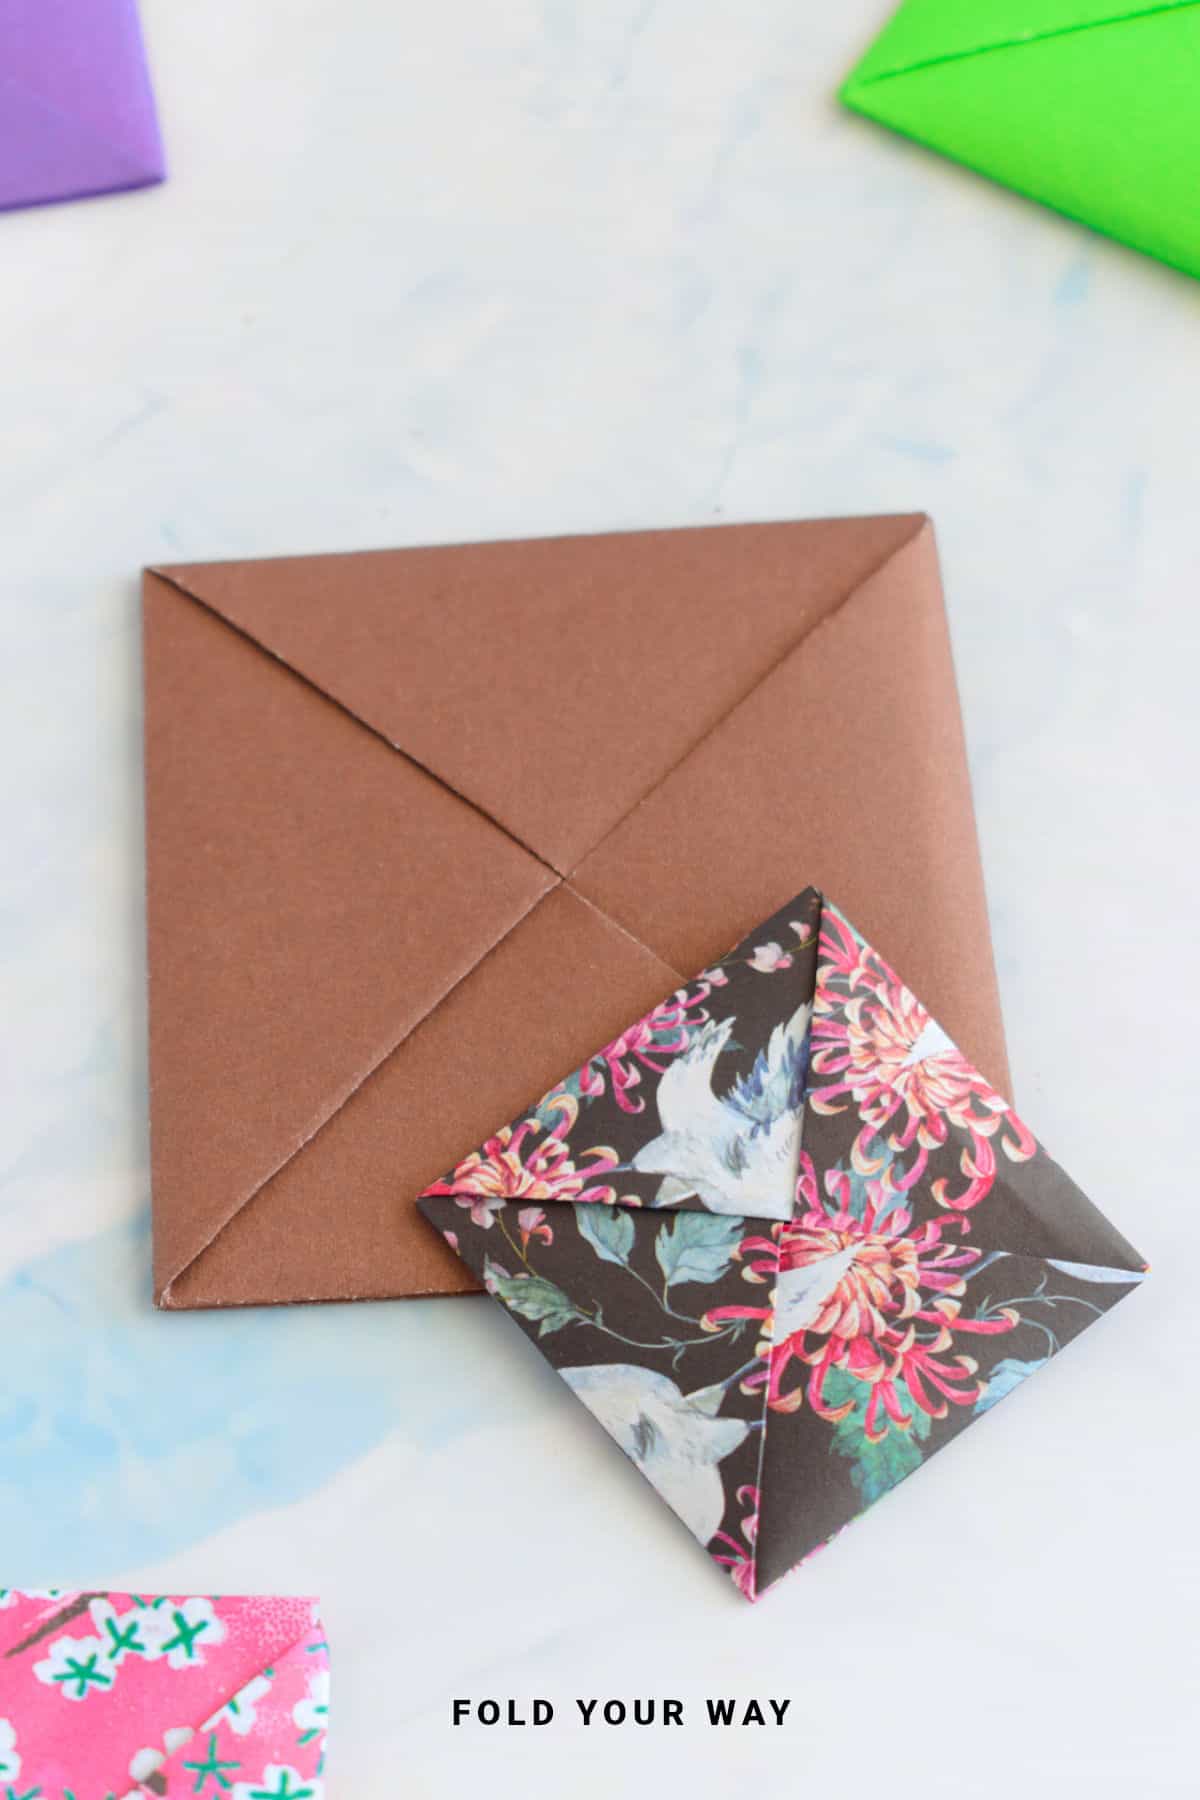
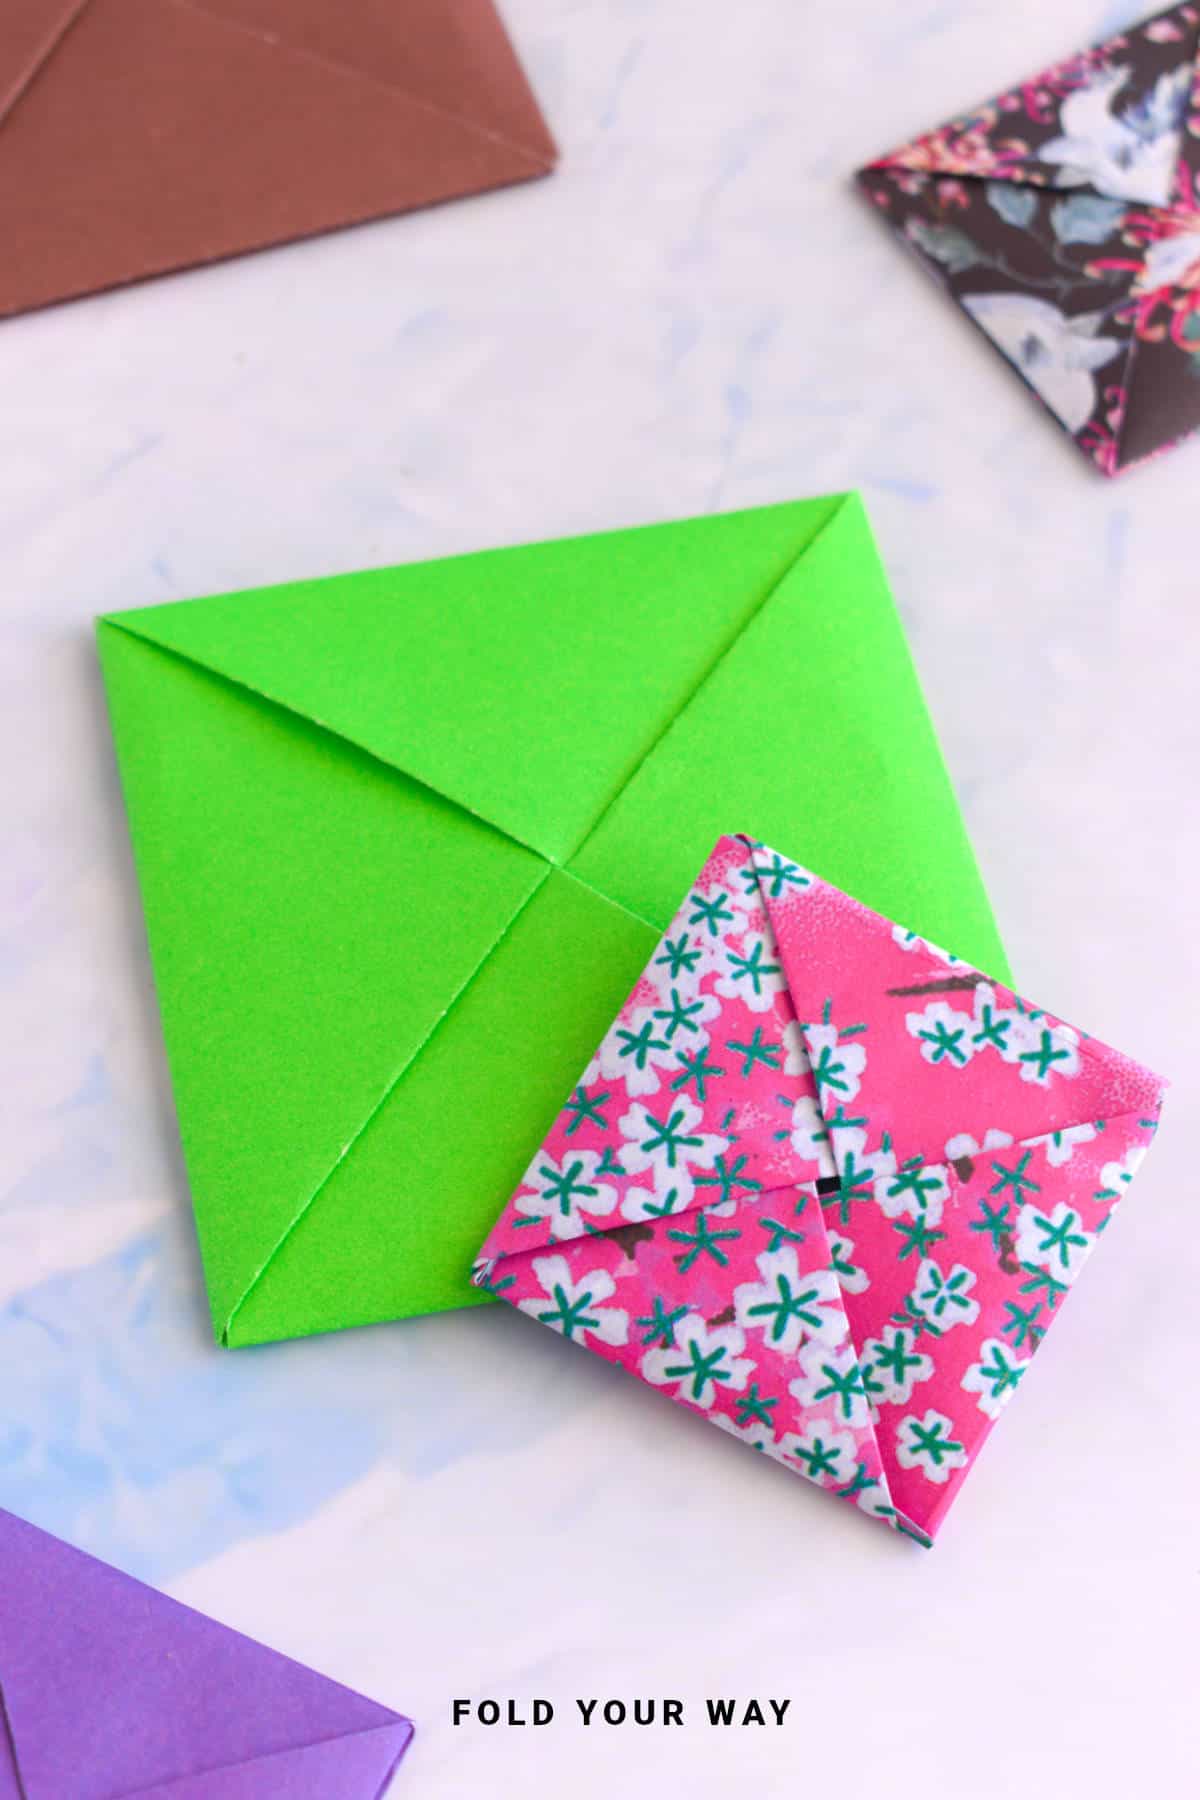
Step 27: Tuck the bottom point into the pocket. Completed envelope.

Tips For Success
- Press your creases firmly to keep the envelope neat
- Use patterned paper for an extra special touch
- A small sticker or wax seal can add charm and keep the flap secure

Color, Paper Ideas, and Variations
- Use floral paper for spring or Mother’s Day notes
- Red or pink with heart stickers for Valentine’s Day
- Festive paper and a gold seal for Christmas
- Kraft paper with twine for a rustic or eco look
- Let kids decorate plain white paper with crayons.
FAQ
Yes, just cut it into a square first.
This origami envelope can seal by itself. However, if you want, you can use a small sticker, or washi tape.
Other Paper Crafts You Might Like To Try:
Helpful Tips and Common Mistakes For Paper Crafts
Paper crafting and origami can be hard sometimes. Which is why we've made this printable PDF just for you.
It outlines helpful tips so that you can successfully complete your craft, and some of the most common mistakes people come across.
You can download the helpful tips and common mistakes for paper crafts printable PDF here.
Stay Connected
Made this pattern? Let us know how it went in the comments below!
Pin this post - Pin now to take your paper crafting skills to the next level.
Share on Instagram or Facebook - Capture the beauty of your finished paper craft project and share it on Instagram or Facebook! Tag us @foldyourway so we can see your work!

Other Patterns You Might Like To Try:
Looking for other easy patterns like this? Try these:


Comments
No Comments