
Give your Christmas gifts a simple yet stunning makeover with this easy Christmas tree gift wrapping idea.
Using plain wrapping paper and satin ribbon, you’ll create a beautiful tree shape on top of your present that’s perfect for holiday celebrations and gift exchanges.
Jump to:
- Why You'll Love This Pattern
- Skill Level
- Materials Needed
- Instructions
- Tips For Success
- Common Mistakes & How To Avoid Them
- Color, Paper Ideas, and Variations
- FAQ
- Other Paper Crafts You Might Like To Try:
- Helpful Tips and Common Mistakes For Paper Crafts
- Stay Connected
- Other Patterns You Might Like To Try:
- Comments
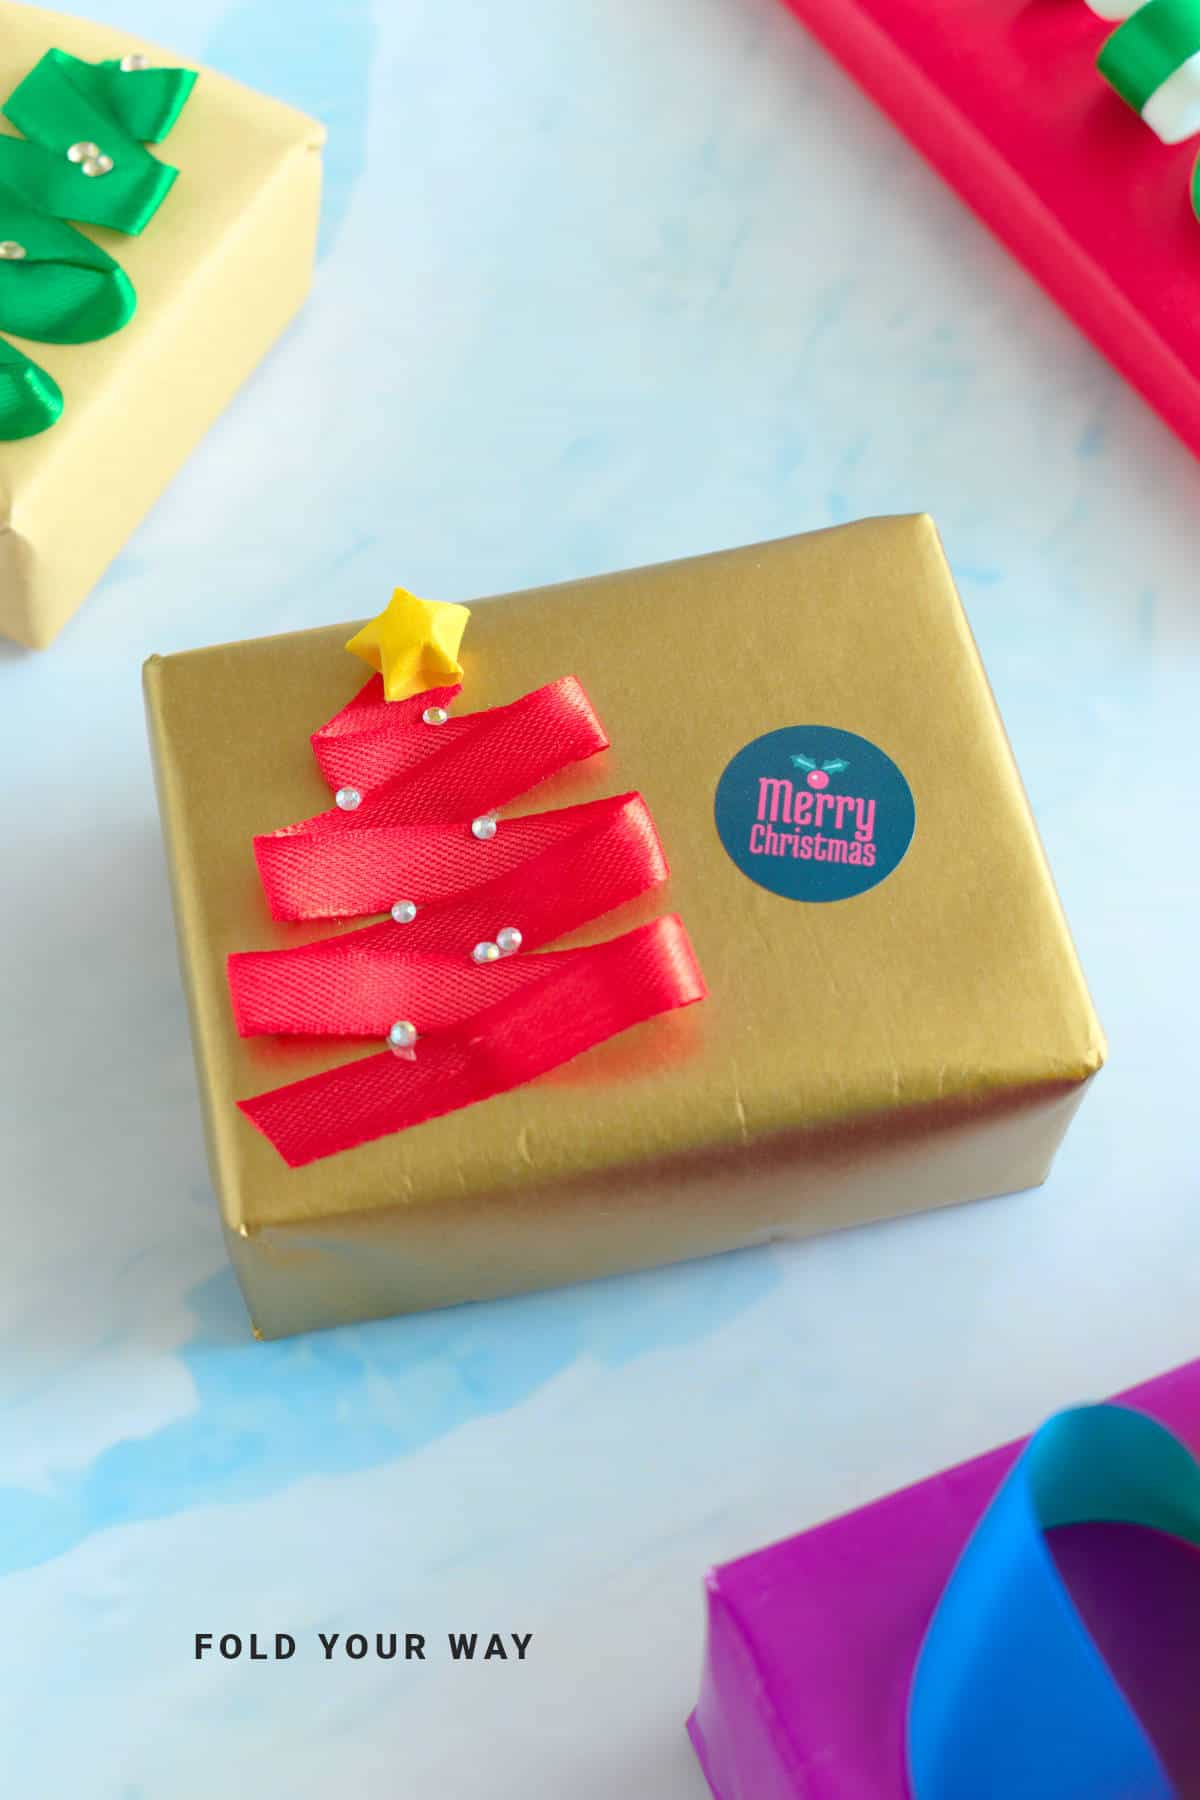
Add a festive and elegant touch to your holiday presents with this simple Christmas tree gift wrapping idea.
Using your choice of plain wrapping paper and satin ribbon, you can create a beautiful tree shape on top of your gift with just a few folds and some double-sided tape.
This easy DIY tutorial offers a stylish, minimalistic alternative to traditional gift wrapping that’s perfect for Christmas morning, office parties, and holiday gift exchanges.
This paper craft project is ideal if you want a clean and classic look for your presents while still keeping things fun and creative.
Whether you’re wrapping small boxes or larger gifts, the satin ribbon forms a delicate tree silhouette that instantly conveys the spirit of the season.
It’s a thoughtful way to make your gifts stand out under the tree and delight your family and friends.
This wrapping idea works best on rectangular or square boxes, where the ribbon can be neatly arranged to form a balanced Christmas tree shape.
It’s especially great for standard gift sizes like books, clothing boxes, or small electronics, ensuring a clean and polished look every time.
With a simple set of materials, this Christmas gift wrapping technique can be adapted to suit any color scheme or occasion, making it perfect for holiday gatherings like Christmas Eve dinners, school parties, and even New Year’s celebrations.
Plus, the step by step origami tutorial-style folding and taping makes it easy for beginners and experienced paper crafters alike.
Why You'll Love This Pattern
- Creates a festive and elegant Christmas tree design with minimal materials
- Uses plain wrapping paper and satin ribbon for a clean, classic look
- Quick and easy DIY gift wrapping idea anyone can do
- Perfect for Christmas morning, office parties, and holiday gift exchanges
- Easy-to-follow step by step instructions make this paper craft fun and achievable for everyone, whether you’re a beginner or a seasoned crafter.
Skill Level
★★☆☆☆ (Easy)
Materials Needed
- Plain wrapping paper (your choice of color)
- Satin ribbon (in any festive shade, green or red recommended)
- Double-sided tape
- Scissors
- Your gift!
Instructions
Step 1: Let’s start by wrapping your gift. First, cut your wrapping paper to size.
Ideally, you want both the bottom and top edges to have enough that it can fold up just about a quarter of the gift.
The sides of the gift should have enough to cover the gift (e.g. 1 ¼ times the width of the gift on either side). It’s okay if you cut a bit extra because you can always cut it later.
Step 2: Fold the left edge over to cover your gift. Then fold the right edge over your gift, so that it overlaps the left.
Once you have positioned the paper, tape along the middle of the gift as well as the top section (this makes it easier to fold the edges in the next steps). If you want to hide the tape, you could use double sided tape.
Step 3: Using your fingers, run them along the bottom edge of your gift. Then bring the paper down as shown.
Step 4: Straighten out the bottom left and right sides of the paper as shown. Make sure they align with the sides of the gift. Then, fold both the left and right sides of the bottom edge in.
Step 5: Fold the bottom edge up (note; if you think your bottom edge is a bit too long, you can trim it down slightly) and secure it with tape. You don’t want the bottom edge to go over the top of the gift.

✨ You're almost there! ✨
To unlock the final steps and complete your pattern, create a free account with Grow.me. below.
Make sure you tick the box to subscribe to our newsletter and stay up to date with the latest patterns, tips, and more!
Once you're signed up, you'll get instant access to finish your project and enjoy exclusive content in the future.
Already signed up? Hit the button below and select ‘Switch to Log In’ to pick up where you left off and finish your project!
Step 6: Repeat steps 3 to 5 for the top edge.
Step 7: Flip your gift over and then place some double-sided tape along the middle of your gift, to the length of how long you want your tree to be.
Step 8: Take your ribbon and place one end on the top of the double sided tape as shown.
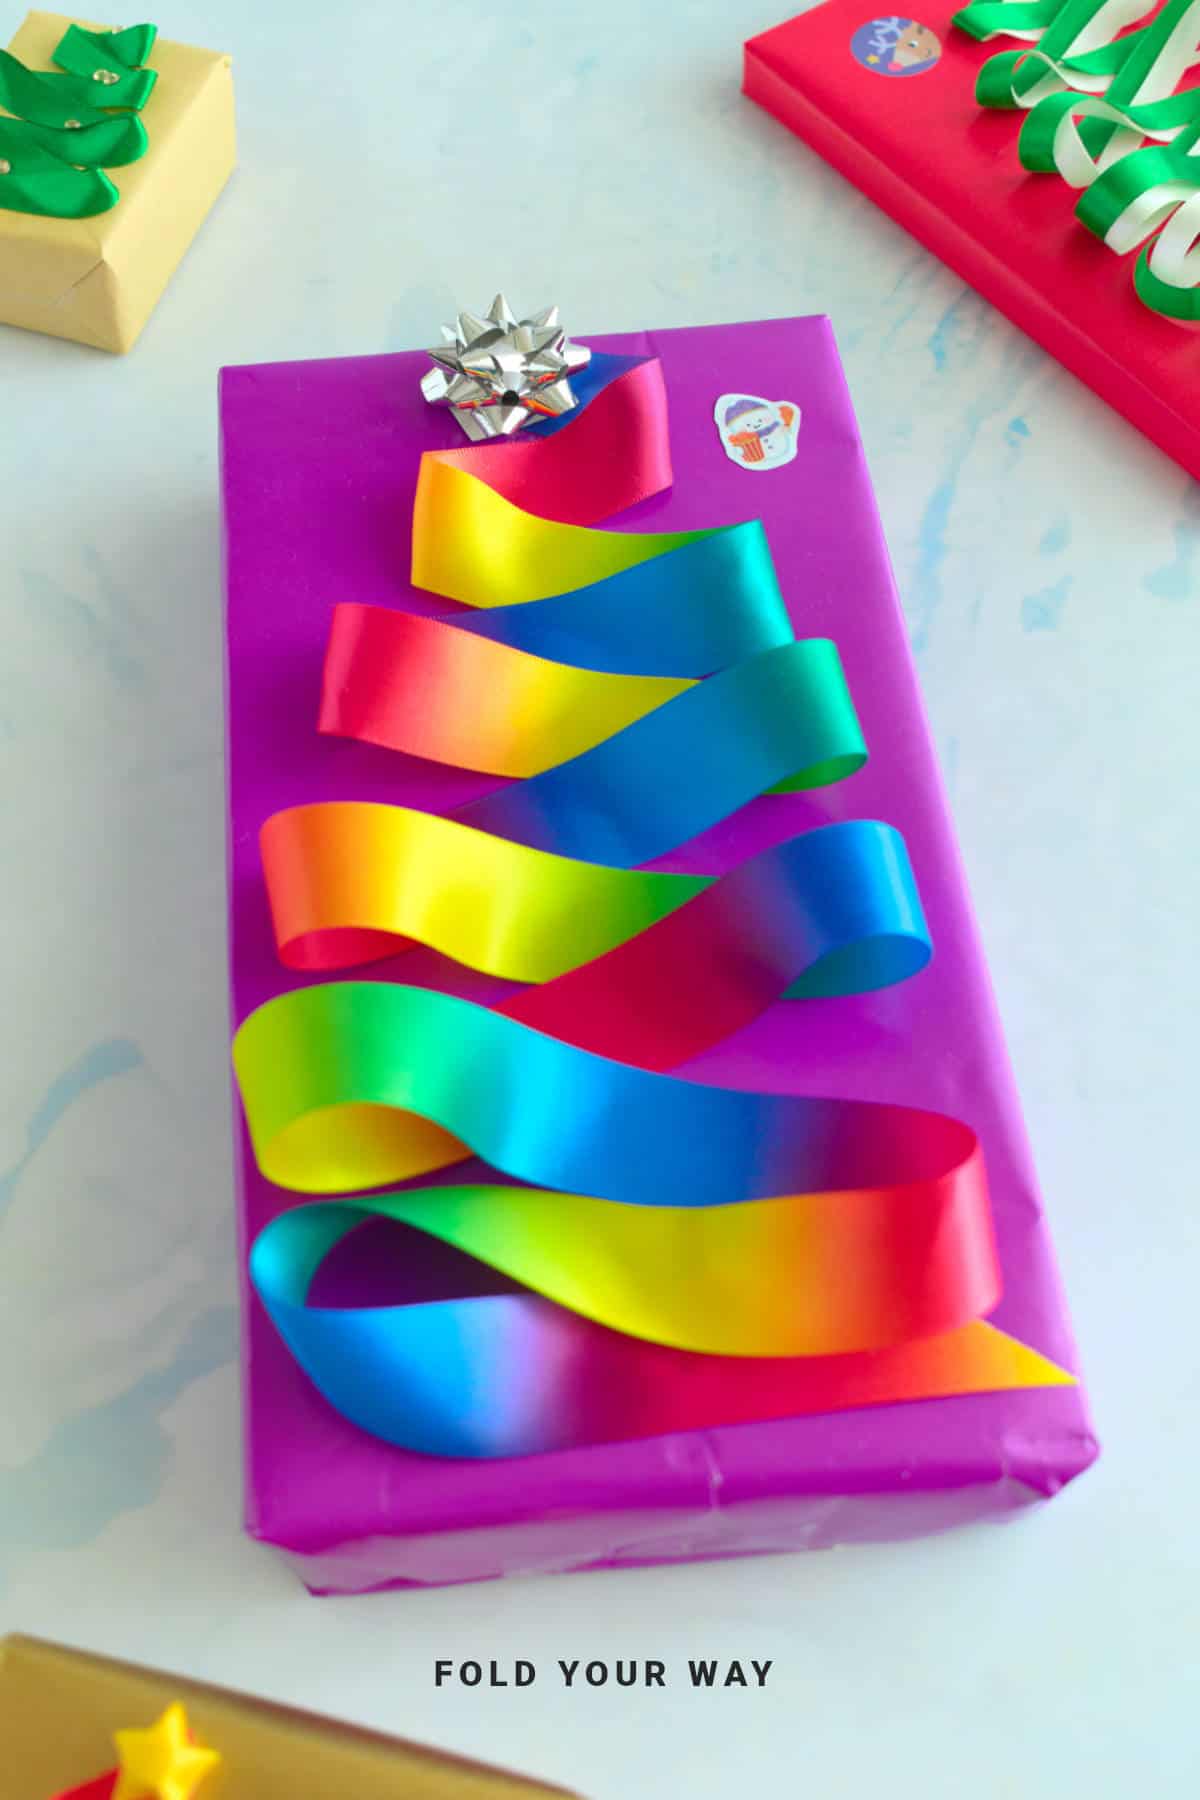
Step 9: Weave your ribbon from right to left, working your way down the gift. Start by having the top closer to the double sided tape and get wider as you go down.
Step 10: Completed wrapped gift.
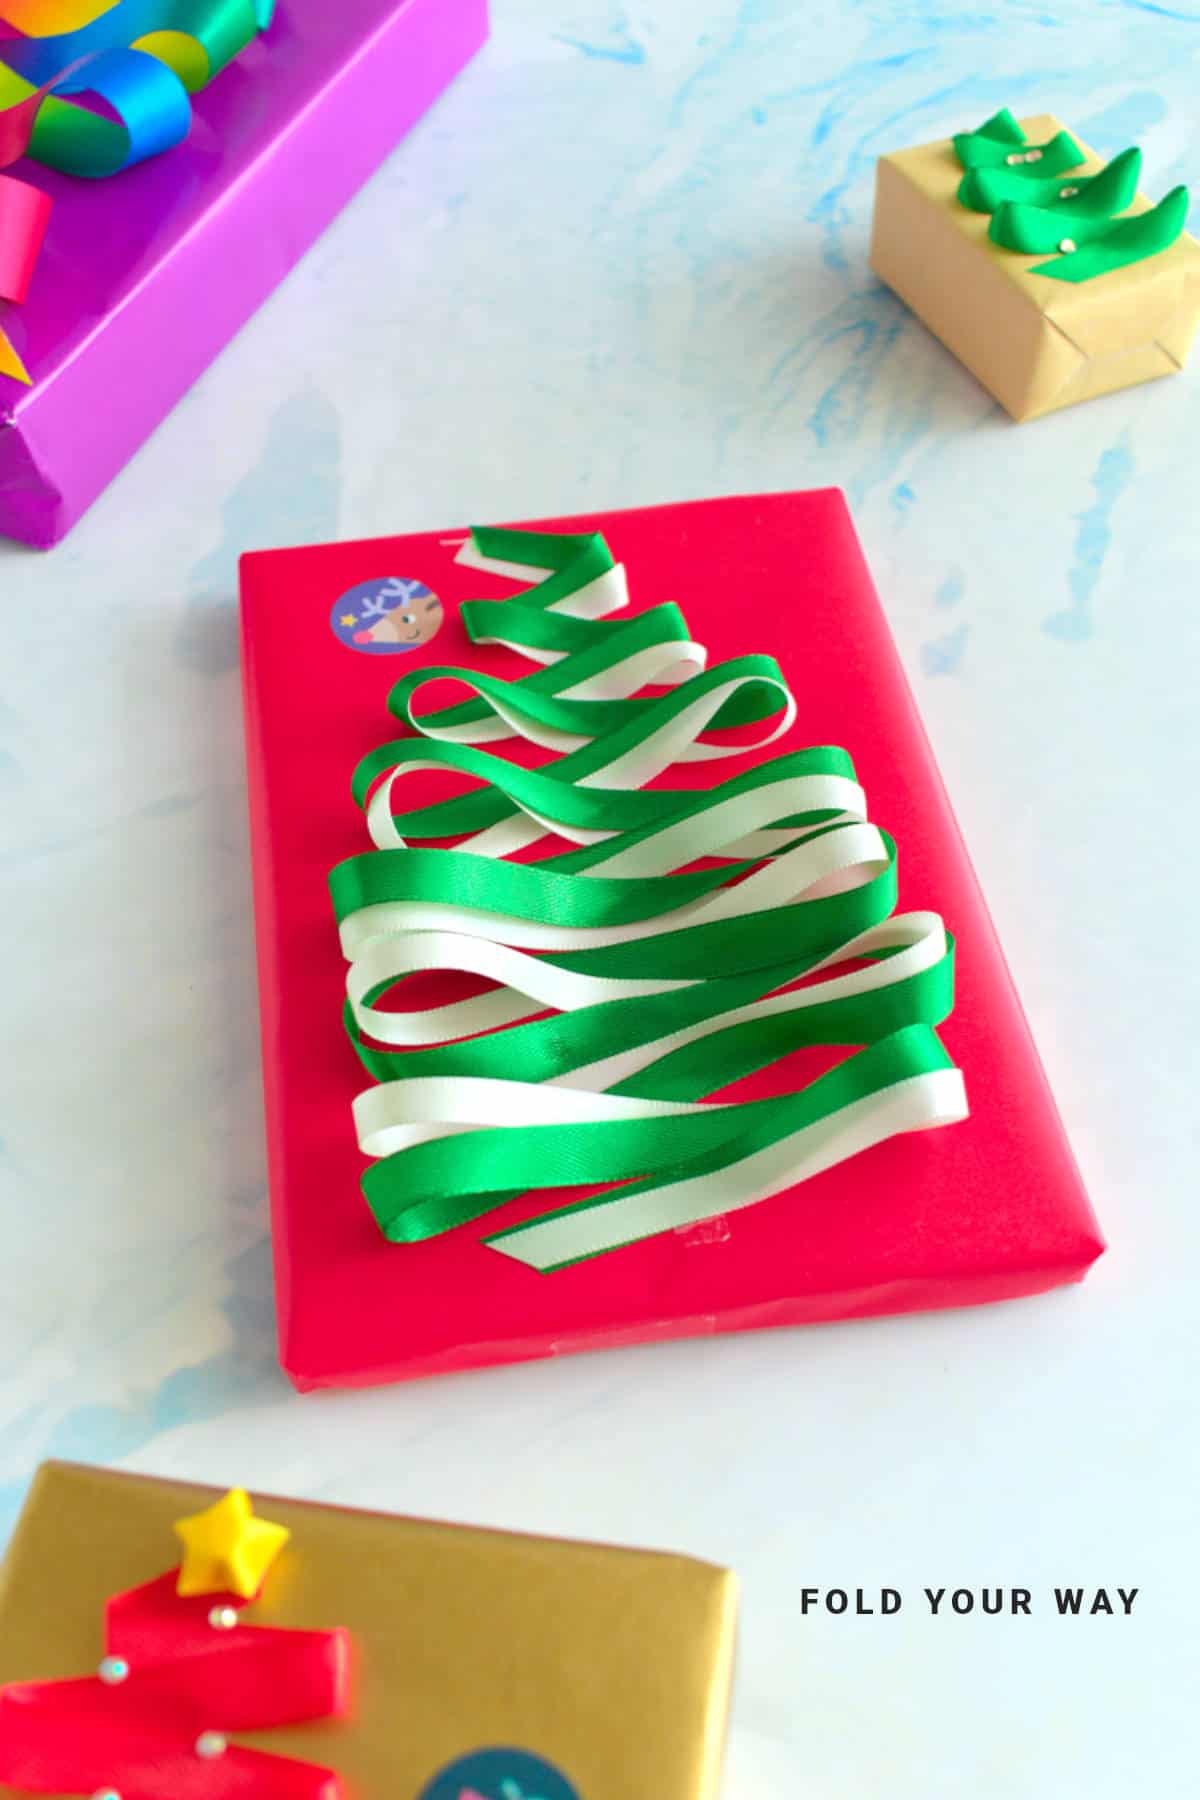
Tip: You could use two ribbons to make a double stranded Christmas tree.

Tips For Success
- Choose a ribbon width that fits proportionally with your gift size.
- Use double-sided tape for a seamless look without visible adhesive.
- Experiment with different ribbon colors to match your holiday décor.
- For larger gifts, use longer ribbon strips to make a fuller tree shape.
- Add small embellishments like mini ornaments or a star sticker on top for extra charm.

Common Mistakes & How To Avoid Them
- Uneven tree shape: Plan your ribbon placement before taping to keep symmetry. Start small at the top and gradually make it wider as you go donw.
- Ribbon curling: Use flat satin ribbons and smooth them before attaching.
Color, Paper Ideas, and Variations
- Classic green ribbon on white or kraft paper for a rustic Christmas look.
- Red ribbon on gold or silver paper for an elegant holiday style.
- Metallic ribbon for a festive sparkle effect.
- Layer multiple ribbons for a 3D tree appearance.
- Combine with handmade gift tags shaped like stars or snowflakes.
FAQ
Plain paper works best to highlight the ribbon tree, but subtle patterns can also look nice if not too busy.
Yes, it can be adapted for small or large gifts by adjusting ribbon length and width.
Definitely! Small bows, stickers, or tiny ornaments add a special touch.
Yes, the step by step tutorial style makes it easy to follow and replicate.
Other Paper Crafts You Might Like To Try:
Helpful Tips and Common Mistakes For Paper Crafts
Paper crafting and origami can be hard sometimes. Which is why we've made this printable PDF just for you.
It outlines helpful tips so that you can successfully complete your craft, and some of the most common mistakes people come across.
You can download the helpful tips and common mistakes for paper crafts printable PDF here.
Stay Connected
Made this pattern? Let us know how it went in the comments below!
Pin this post - Pin now to take your paper crafting skills to the next level.
Share on Instagram or Facebook - Capture the beauty of your finished paper craft project and share it on Instagram or Facebook! Tag us @foldyourway so we can see your work!
Other Patterns You Might Like To Try:
Looking for other easy patterns like this? Try these:


Comments
No Comments