
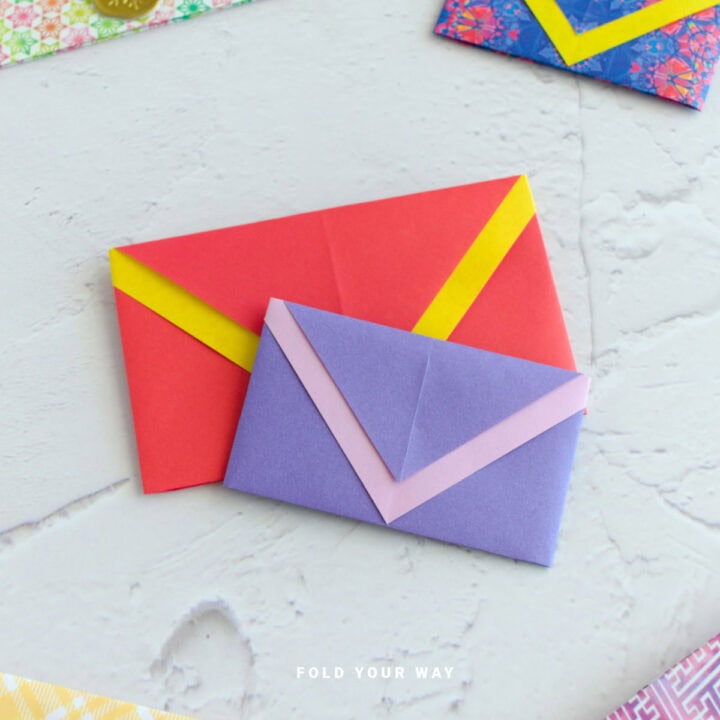
Need a quick and charming way to wrap a note or small gift?
This DIY letterfold envelope is made with one sheet of rectangular paper—no cutting, no glue, and it’s ready in minutes!

Jump to:
- Why You'll Love This Pattern
- Skill Level
- Materials Needed
- Instructions
- Tips For Success
- Common Mistakes & How To Avoid Them
- Color, Paper Ideas, and Variations
- FAQ
- Other Paper Crafts You Might Like To Try:
- Helpful Tips and Common Mistakes For Paper Crafts
- Stay Connected
- Other Patterns You Might Like To Try:
- Comments
Have you ever needed an envelope at the last minute — for a heartfelt note, a gift card, or even a small photo — but didn’t have one on hand?
This diy letterfold envelope is the perfect little project to have in your back pocket.
It's made entirely from a single rectangle sheet of paper (A4, US letter size, or even A5 for a smaller one) and doesn’t require any scissors, glue, or complicated measuring.
Just fold and you're ready to go! It's quick, simple, and so satisfying to make — and it’s surprisingly elegant, too.
This easy origami paper envelope is the kind of project that’s handy for so many occasions: birthdays, weddings, Valentine's Day, Christmas, Easter, baby showers, or just a random day when you want to send someone a small surprise.
You can use it for invitations, thank you cards, little gifts like necklaces, gift cards, letters, tiny art prints, or even little keepsakes.
It’s also a fun craft to make with kids, or a sweet personal touch if you’re putting together a handmade gift.
Plus, you can easily customize it with different types of paper, washi tape, or stickers.
Once you learn it, you'll want to fold a whole stack to have ready for whenever you need them!

Why You'll Love This Pattern
- Zero waste — No cutting, no scraps, no glue required
- Quick and beginner-friendly — Only basic folds needed, great for kids and adults
- Works for any occasion — Weddings, birthdays, Valentine's Day, Christmas, baby showers, and more
- Customizable — Use any color, pattern, or size of paper to fit the moment
- Perfect for last-minute gifts — Quickly wrap a gift card, handwritten note, or small flat keepsake
- Budget-friendly — No need to buy envelopes if you have paper on hand
- Creative and personal — Adds a lovely handmade touch to even the simplest gifts
- Relaxing and satisfying — Quick crafts like this are great for winding down
Skill Level
★☆☆☆☆ (Very Easy)
Materials Needed
- 1 sheet of rectangular paper (A4, US letter, or A5)
| Paper Size | Final Envelope Size | |
| Small DIY Envelope | A5 paper | 4 inches x 3 inches (10.5 cm x 7 cm) |
| Large DIY Envelope | A4 paper | 6 inches x 4 inches (15 cm x 10.5 cm) |
Instructions
Step 1: Start with the color you want your envelope to be facing down. Arrange your paper so it sits vertically as shown.
Step 2: Fold your paper in half from left to right.
Step 3: Unfold previous step.
Step 4: Fold both the top left and top right corners in to meet the middle crease.

✨ You're almost there! ✨
To unlock the final steps and complete your pattern, create a free account with Grow.me. below.
Make sure you tick the box to subscribe to our newsletter and stay up to date with the latest patterns, tips, and more!
Once you're signed up, you'll get instant access to finish your project and enjoy exclusive content in the future.
Already signed up? Hit the button below and select ‘Switch to Log In’ to pick up where you left off and finish your project!
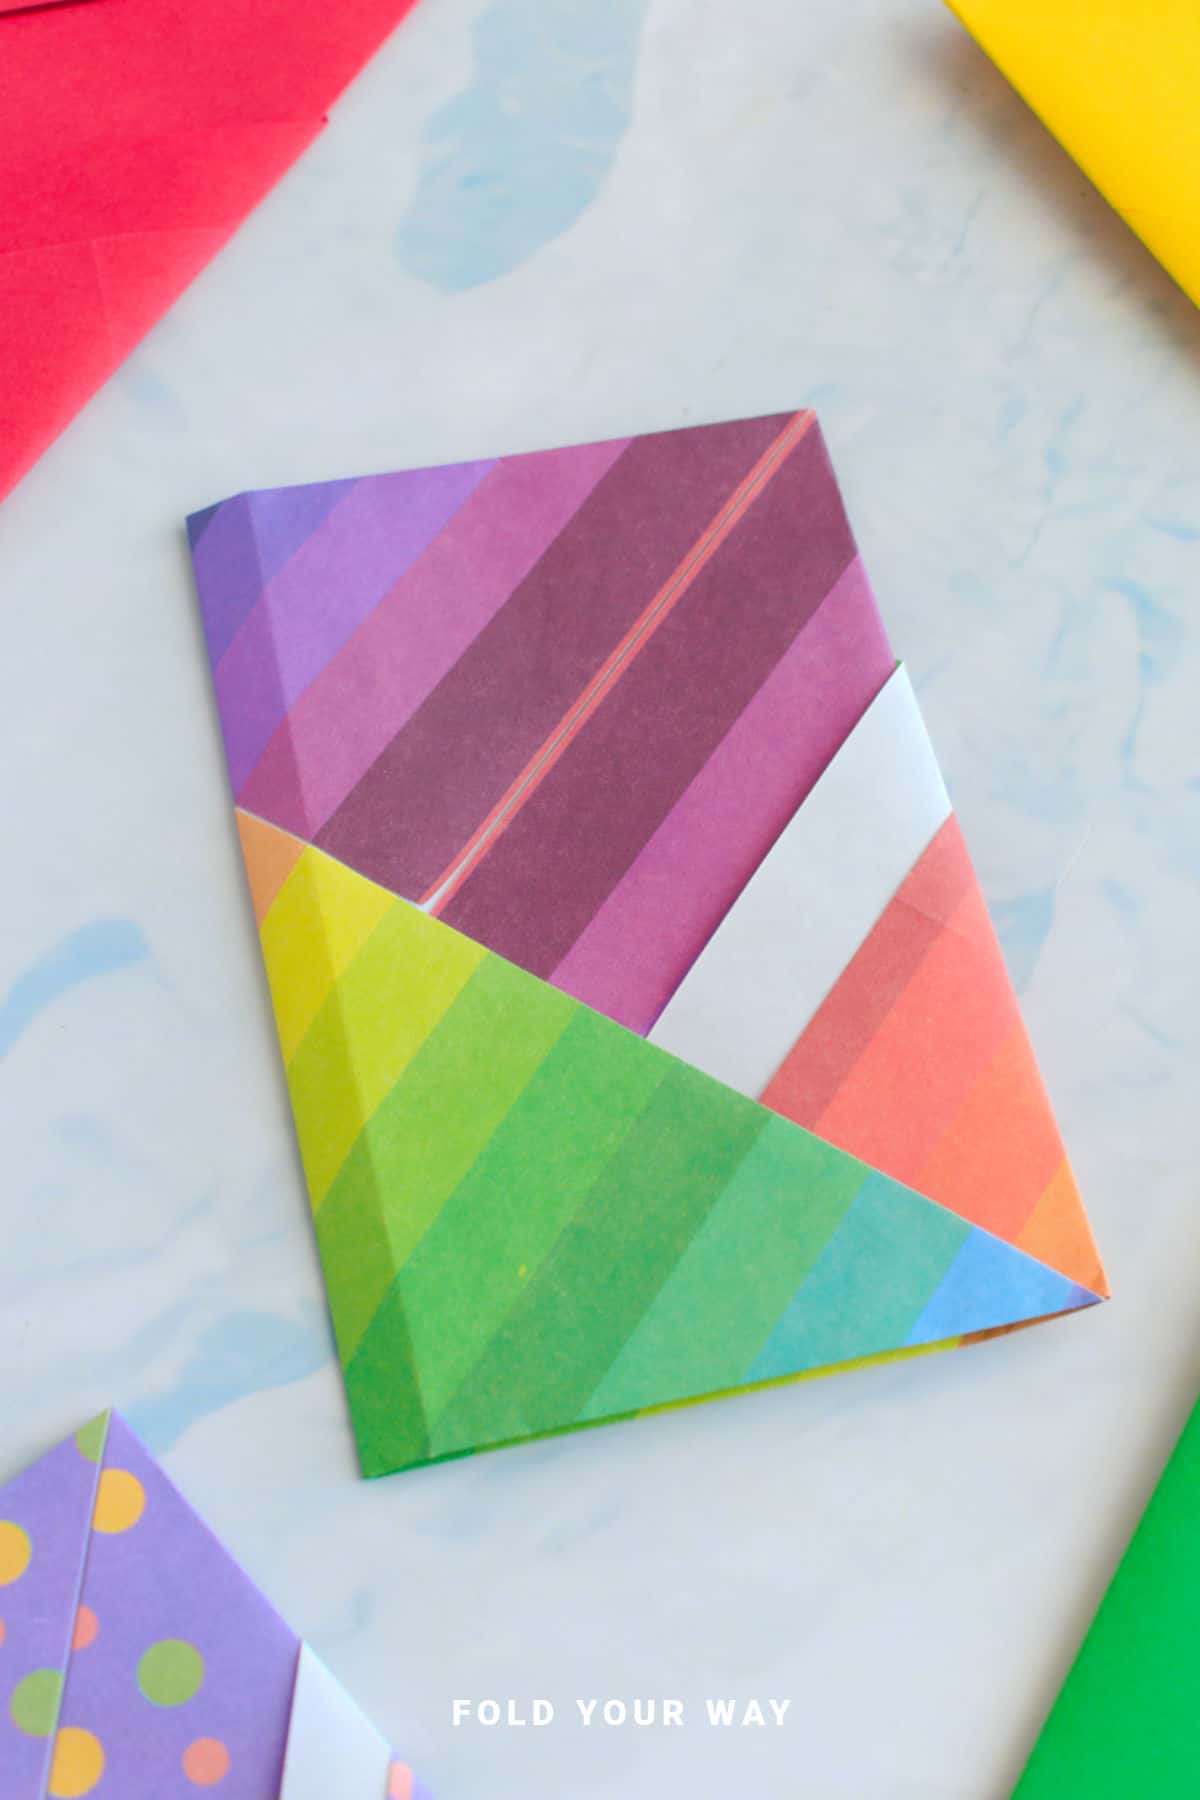
Step 5: Fold the right edge of the paper up on a diagonal to meet the edges of the folds you made in the previous step.
Step 6: Flip your paper over and arrange it to sit as shown.
Step 7: Fold the bottom edge up along the line shown.

Step 8: Fold the top edge down along the edge of the fold you made in the previous step.
Step 9: Tuck the top flap into the envelope. Completed envelope.

Tips For Success
- Sharpen your folds with a bone folder or ruler for a crisp, professional finish
- Choose thicker paper (like kraft paper or cardstock) for a sturdy envelope, or thinner paper for an easier fold
- If your flap doesn’t stay tucked in well, use a sticker, washi tape, or a tiny dab of glue to secure it
- Write your note before folding the envelope if you prefer less handling afterward
- Make a few at once in different colors or patterns to have a stash ready to go

Common Mistakes & How To Avoid Them
- Flap popping open? Double-check that your folds are sharp and even. Tucking the flap deeply inside helps it stay closed.
- Paper tearing or cracking? Avoid super thick or textured papers. Smooth, medium-weight paper works best.
Color, Paper Ideas, and Variations
- Solid pastel colors: Lovely for weddings, baby showers, or springtime notes
- Bold prints or florals: Perfect for birthday cards, Mother’s Day, or cheerful everyday surprises
- Christmas or holiday paper: Use festive prints for small holiday gifts or advent calendar surprises
- DIY decorated paper: Let kids draw, paint, or stamp their designs before folding
- Recycled materials: Upcycle old maps, sheet music, magazine pages, or brown paper bags for a unique touch
- Mini envelopes: Fold from smaller sheets (like A5 or even half a sheet of US letter) for tiny notes and treasures
- Layered envelopes: Use translucent paper layered over a printed sheet inside for a modern look
- Sticker seals or wax stamps: Secure the flap with stickers, ribbon, twine, or even a classic wax seal for a vintage finish
FAQ
This fold works best with a rectangle. If you only have square paper, you’ll need to trim it first.
It’s best for flat, lightweight items. If needed, reinforce the folds inside with a small piece of tape.
No, the design usually holds itself shut! But feel free to use a sticker or washi tape for extra security.
Absolutely — stickers, stamps, drawings, and even a splash of watercolor can make each envelope unique.
Other Paper Crafts You Might Like To Try:
Helpful Tips and Common Mistakes For Paper Crafts
Paper crafting and origami can be hard sometimes. Which is why we've made this printable PDF just for you.
It outlines helpful tips so that you can successfully complete your craft, and some of the most common mistakes people come across.
You can download the helpful tips and common mistakes for paper crafts printable PDF here.
Stay Connected
Made this pattern? Let us know how it went in the comments below!
Pin this post - Pin now to take your paper crafting skills to the next level.
Share on Instagram or Facebook - Capture the beauty of your finished paper craft project and share it on Instagram or Facebook! Tag us @foldyourway so we can see your work!
Other Patterns You Might Like To Try:
Looking for other easy patterns like this? Try these:


Comments
No Comments