
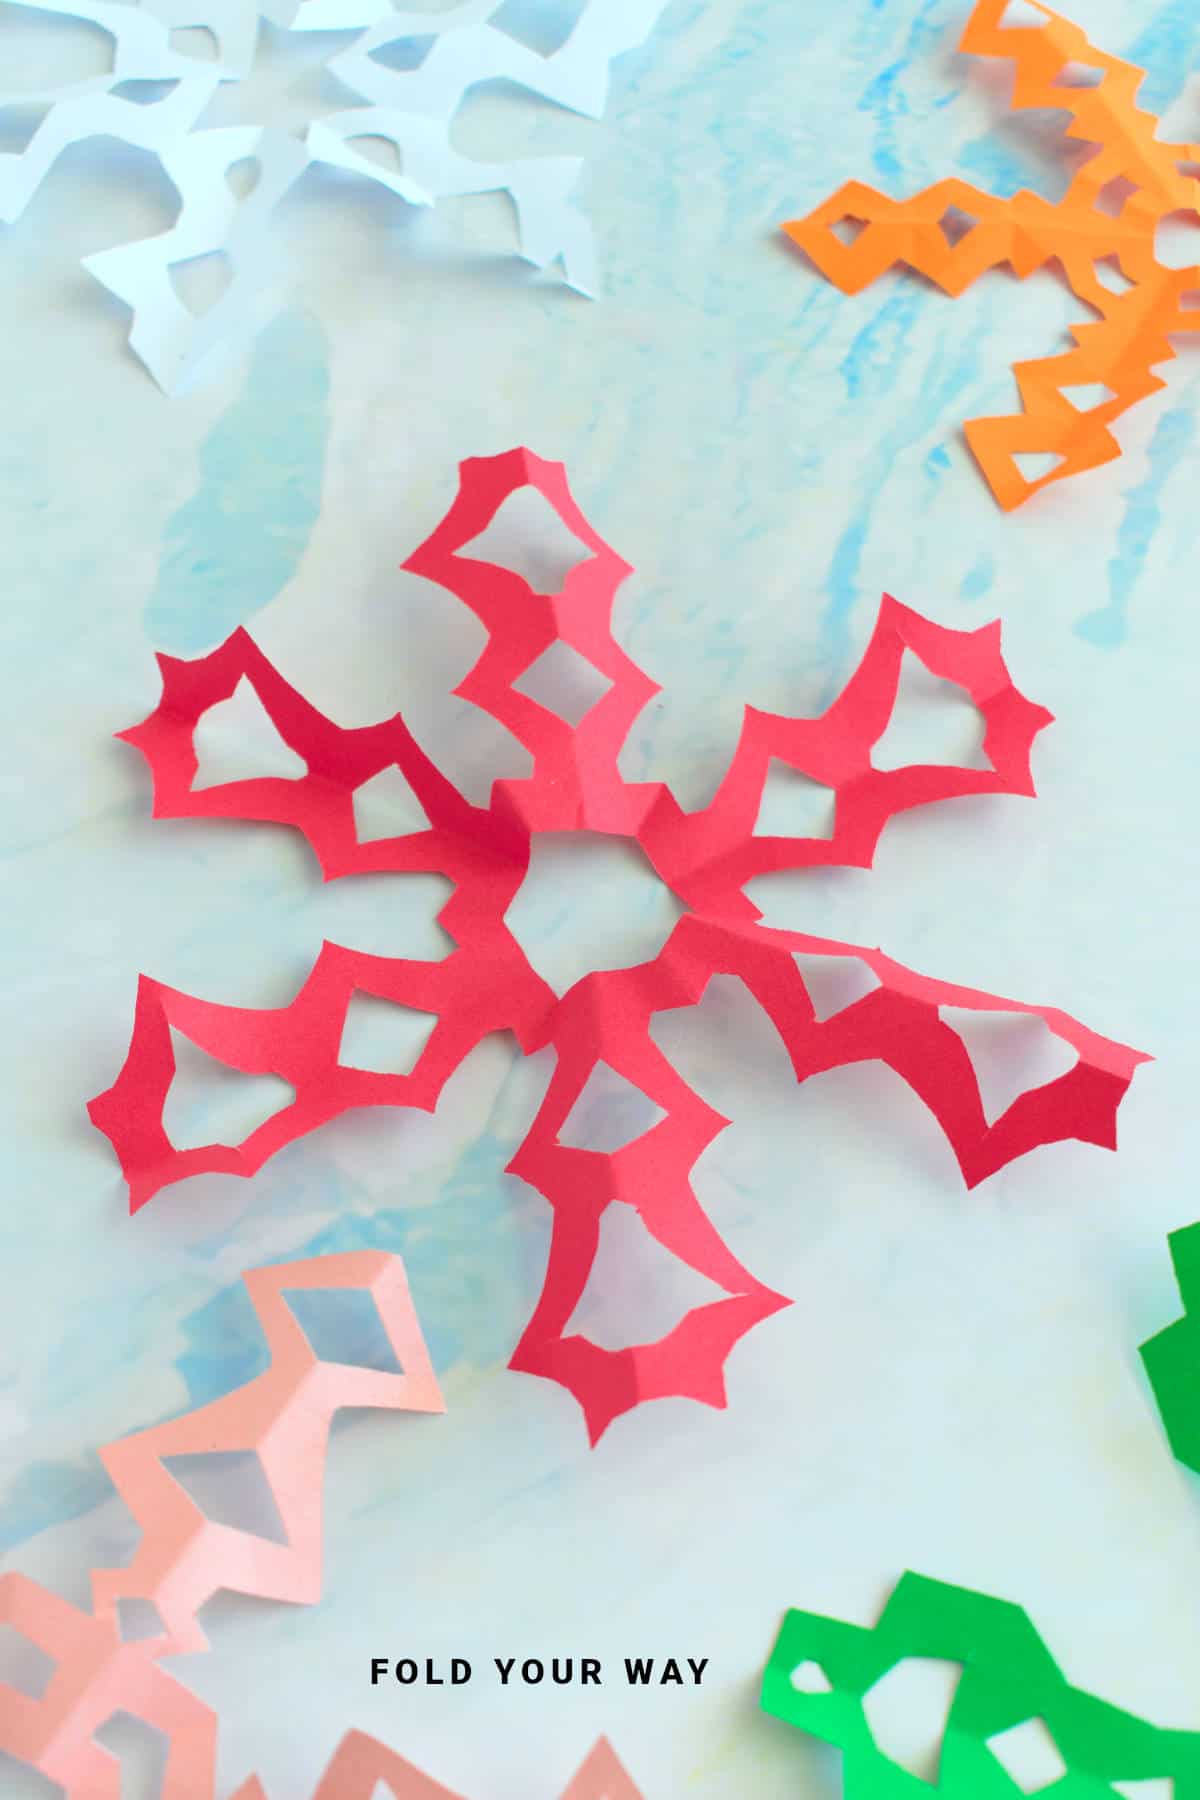
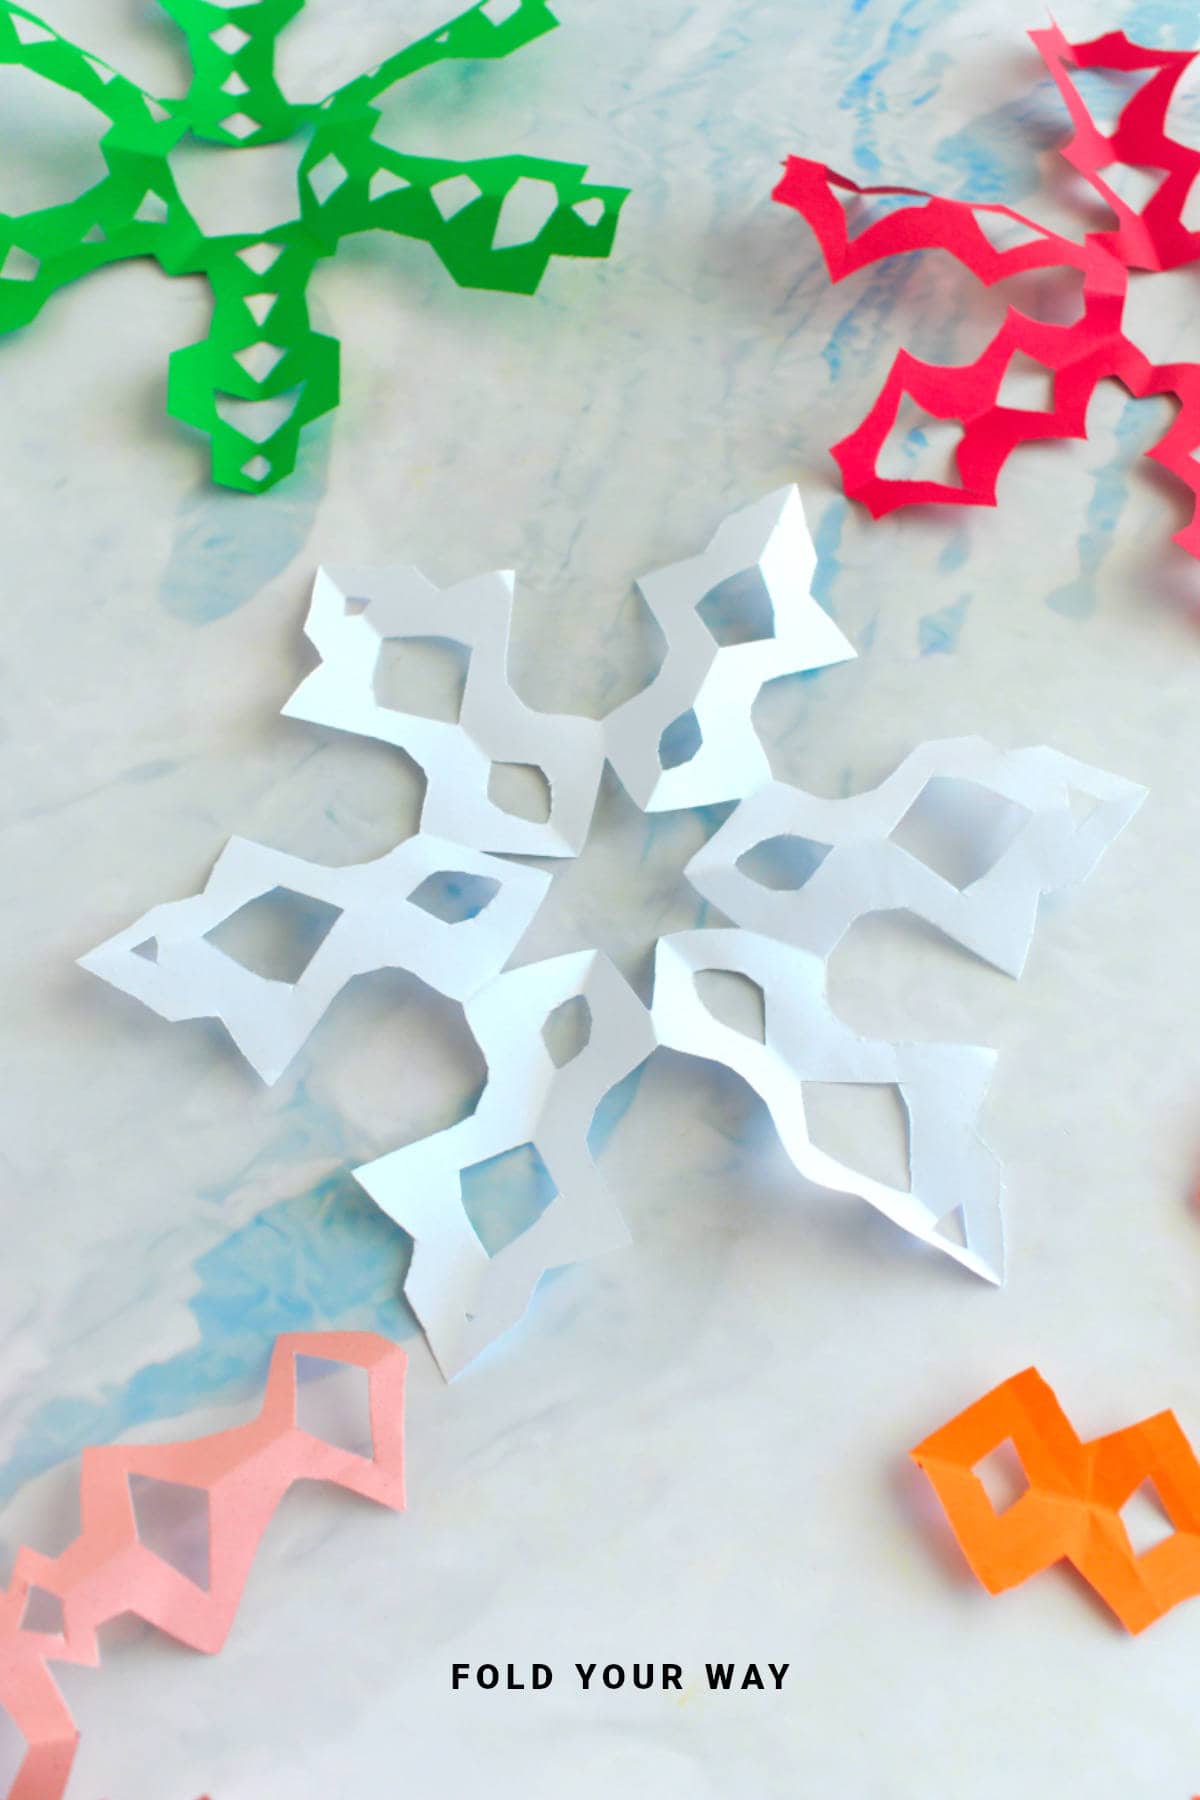
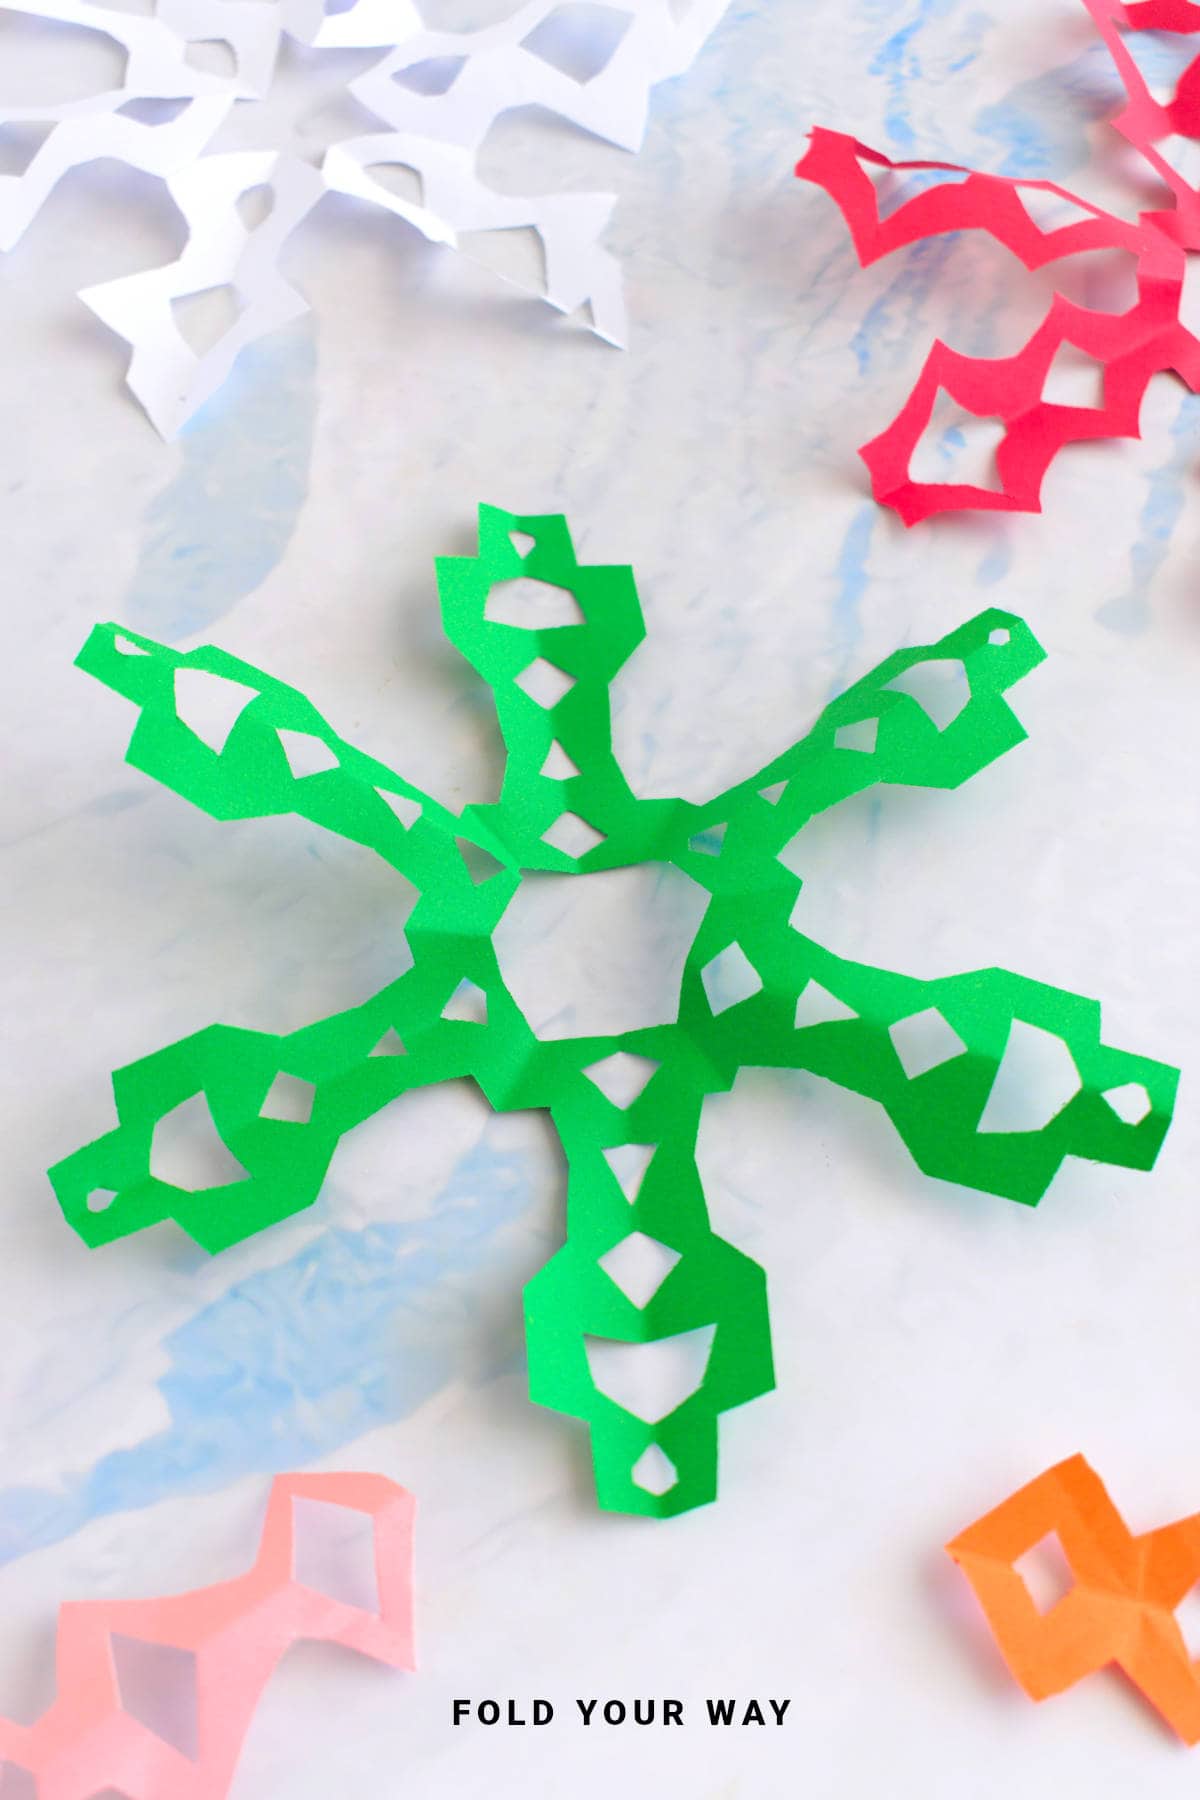
Bring the magic of winter indoors with these easy paper snowflakes!
All you need is a sheet of paper, a pencil, and a pair of scissors to start creating your own flurry of festive designs.
Perfect for Christmas, winter parties, or cozy craft days, these snowflakes are simple enough for beginners and endlessly customizable.
Jump to:
- Why You'll Love This Pattern
- Skill Level
- Materials Needed
- Instructions
- Tips For Success
- Common Mistakes & How To Avoid Them
- Color, Paper Ideas, and Variations
- FAQ
- Other Paper Crafts You Might Like To Try:
- Helpful Tips and Common Mistakes For Paper Crafts
- Stay Connected
- Other Patterns You Might Like To Try:
- Comments
There's something magical about a freshly fallen snowflake — no two are ever alike, and each one is a beautiful, delicate work of art.
While we can’t always control the weather, we can certainly make our own snowflakes at home!
Crafting your own paper snowflakes is a fun, easy, and affordable way to add some festive charm to your winter decorations.
From trimming the edges of wrapping paper to decorating windows and greeting cards, these snowflakes are so versatile that you’ll be dreaming up new ways to incorporate them into your holiday décor.
Plus, they’re a fantastic craft to do with kids or a group of friends, and you can use any type of paper you have around the house.
Want to make your own snowflake garland or festive centerpieces?
It's super simple, and this project will only take you minutes to complete.
The best part about making paper snowflakes is how customizable they are. You can experiment with different sizes, paper types, and designs, creating a collection of snowflakes that reflect your personal style or the vibe of your season.
Whether you’re aiming for classic, elegant snowflakes or want to add a modern twist with bold patterns, the possibilities are endless.
Ready to get started? Let’s dive in and make your very own paper snowflakes!
Why You'll Love This Pattern
- Quick and easy: This project is fast, and you can make several in just a short time.
- Fun for all ages: Ideal for kids and adults alike, and it’s perfect for group activities.
- Great for decorating: Use your snowflakes for holiday cards, tree decorations, window displays, or even as garlands.
- No fancy tools needed: All you need are scissors, paper, and a pencil.
- Customizable designs: Change the shape, size, and complexity to suit your style or the occasion.
Skill Level
★☆☆☆☆ (Very Easy)
Materials Needed
- Square sheet of paper, such as origami paper.
- Pencil
- Scissors
If you want to make smaller snowflakes, use a smaller square (e.g. 4 inches x 4 inches [10 cm x 10 cm]). Likewise, if you want a larger snowflake use a bigger square (e.g. 8 inches x 8 inches [20 cm x 20 cm]).
Note: You can use single sided paper (e.g. white on one side and colored on the other) or double sided paper.
Instructions
Step 1: Start with your square sitting like a diamond shape as shown. If you are using single sided paper (e.g. one side is white and the other is colored/patterened), start with the color you want your snowflake to be facing up.
Step 2: Fold the bottom point up to meet the top point.
Step 3: Fold the right point to meet the left point.
Step 4: Fold the right edge down towards the left a third of the way. It can help to roughly mark out thirds.
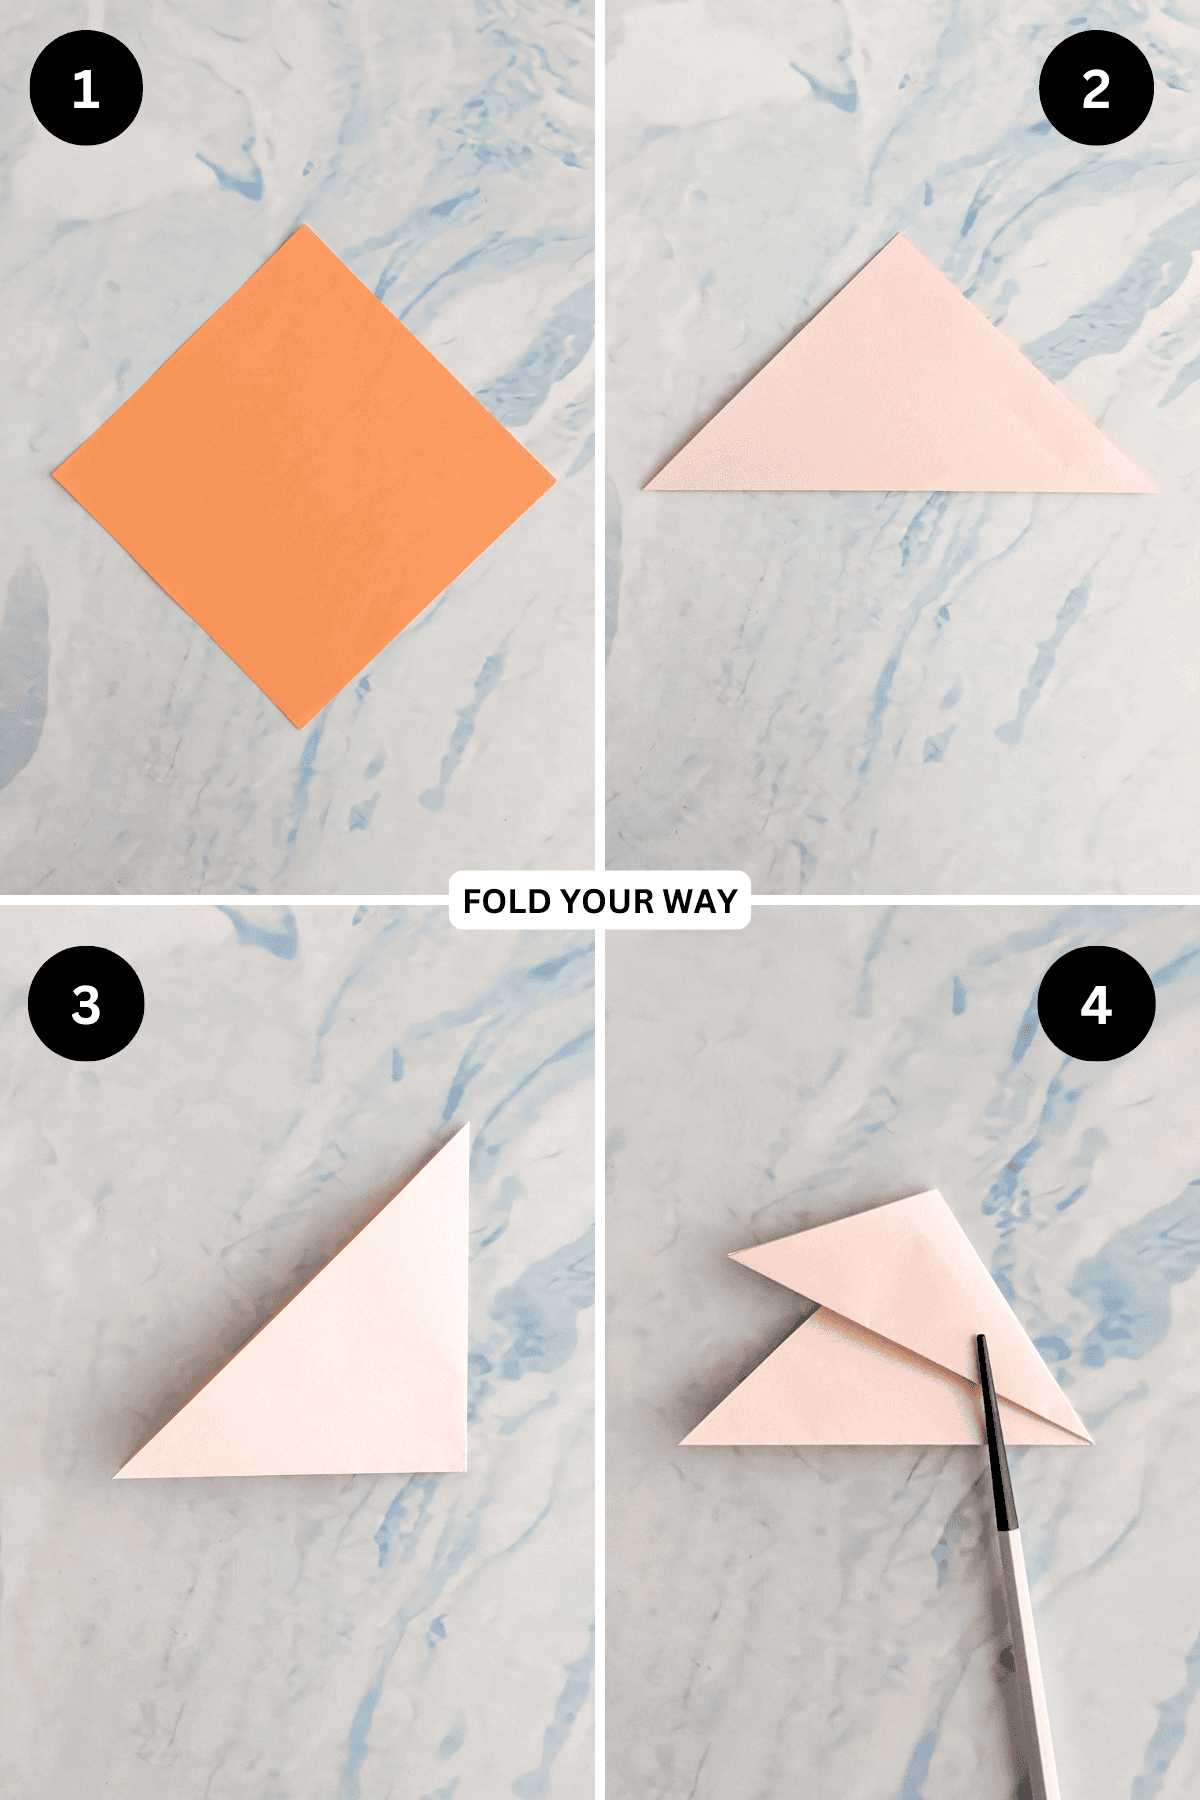
Step 5: Fold the bottom edge up to match the folded right edge. If you have divided your paper into thirds correctly, the folds should align well. If they don’t you may need to refold your paper and adjust the folds.
Step 6: Flip your paper over from top to bottom.
Step 7: Trim the paper along the line shown.

✨ You're almost there! ✨
To unlock the final steps and complete your pattern, create a free account with Grow.me. below.
Make sure you tick the box to subscribe to our newsletter and stay up to date with the latest patterns, tips, and more!
Once you're signed up, you'll get instant access to finish your project and enjoy exclusive content in the future.
Already signed up? Hit the button below and select ‘Switch to Log In’ to pick up where you left off and finish your project!
Step 8: Working along the completely folded edge (the one that doesn’t open up), draw an outline of what you would like your snowflake to look like. Remember, the small point of the triangle will become the middle of your snowflake. If you want a more delicate looking snowflake, trace long thin strips.
Note: The folded edge is what will hold your snowflake together. Do not cut out too much of the folded edge or your snowflake may come apart. You will also need to make sure that you trace your snowflake shape so that it spans to the left and right edges of the bottom half of the snowflake. Otherwise, your snowflake may not hold together when you cut it out.
Step 9: Cut out along the traces you made.
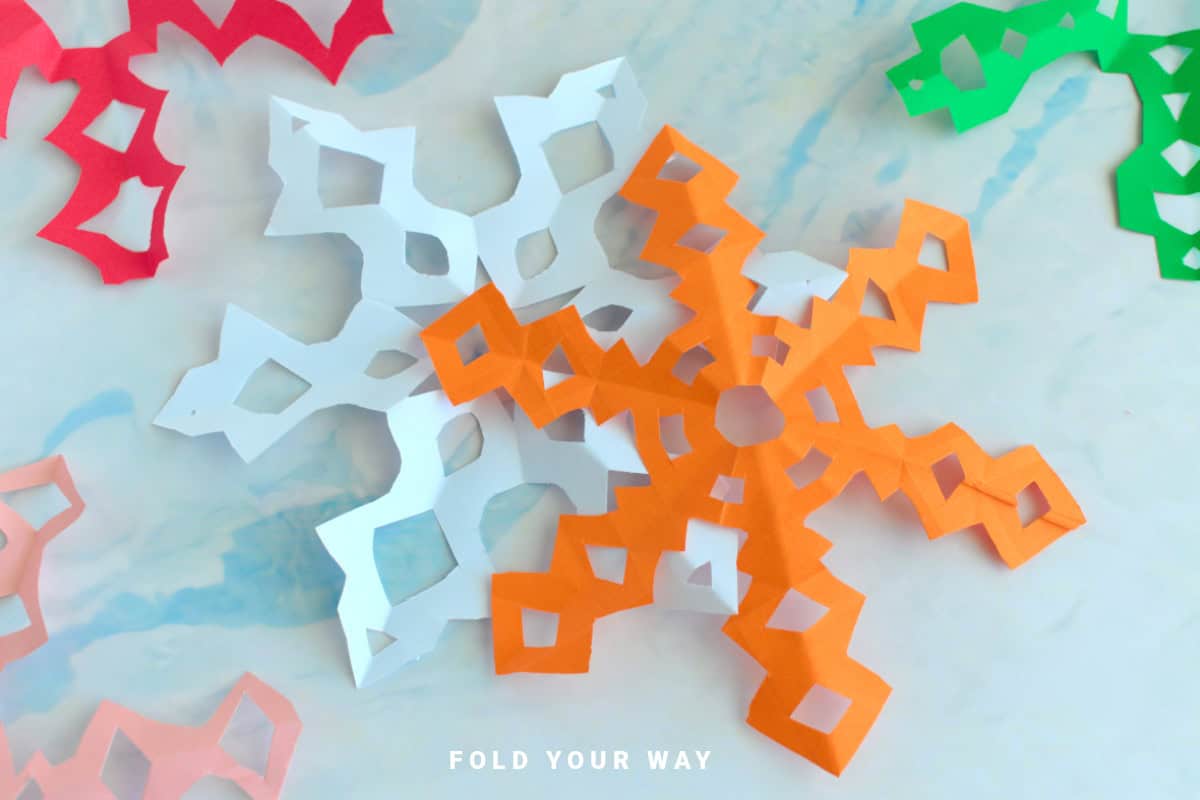
Steps 10: Carefully open out your snowflake. Completed snowflake.

Tips For Success
- Be gentle when unfolding your snowflake to avoid tearing any of the edges.
- Use a pencil to lightly sketch your design first so you know where to cut.
- Experiment with different paper colors and patterns to create unique effects.
- Make several smaller snowflakes to decorate gift tags or create a garland for your tree or mantel.
Common Mistakes & How To Avoid Them
- Tears when unfolding: Always fold gently and avoid cutting all the way to the edges.
- Inconsistent cuts: Use sharp scissors for clean, precise cuts, especially when cutting intricate patterns.
Color, Paper Ideas, and Variations
- Traditional paper snowflakes are usually white, but try adding metallic paper for a sophisticated look.
- For a non-traditional look, try using colored paper or patterned scrapbook paper.
- Use snowflakes in different sizes and colors to match your holiday décor or winter wonderland theme.
- Snowflake garland: String several snowflakes together to create a beautiful garland for your fireplace or tree.
- Decorate your snowflakes with glitter, stickers, or sequins for a little extra sparkle.
FAQ
Each snowflake takes just a few minutes, so you can easily make several in one sitting.
Yes! Simply adjust the size of the paper you’re using to create larger or smaller snowflakes.
Absolutely! Kids will love making these snowflakes, and they can practice cutting and folding with adult supervision.
You can use them as decorations, gift toppers, or even frame them to hang on your wall for a beautiful winter display.
Other Paper Crafts You Might Like To Try:
Helpful Tips and Common Mistakes For Paper Crafts
Paper crafting and origami can be hard sometimes. Which is why we've made this printable PDF just for you.
It outlines helpful tips so that you can successfully complete your craft, and some of the most common mistakes people come across.
You can download the helpful tips and common mistakes for paper crafts printable PDF here.
Stay Connected
Made this pattern? Let us know how it went in the comments below!
Pin this post - Pin now to take your paper crafting skills to the next level.
Share on Instagram or Facebook - Capture the beauty of your finished paper craft project and share it on Instagram or Facebook! Tag us @foldyourway so we can see your work!
Other Patterns You Might Like To Try:
Looking for other easy patterns like this? Try these:


Comments
No Comments