
This easy origami apple is a fun and charming paper craft that’s perfect for back-to-school gifts, teacher appreciation days, fall crafts, or just a sweet little handmade decoration.
All you need is one square sheet of paper!
Jump to:
If you're looking for a quick, cute, and meaningful craft project, this origami apple is a perfect choice.
Made with just one square sheet of paper, it's a simple paper fold that kids and adults alike can enjoy.
It’s ideal for seasonal decorations (think fall or harvest displays), or as a small handmade token for teachers and educators.
You can even turn it into a card topper, fridge magnet, or string a few together for a charming paper garland.
This project doesn’t require any glue, cutting, or special materials—just paper and a few minutes of your time.
Whether you're putting together a themed party, prepping for back-to-school season, or simply want a cheerful desk decoration, this origami apple is an easy way to bring a bit of handmade joy into the moment.
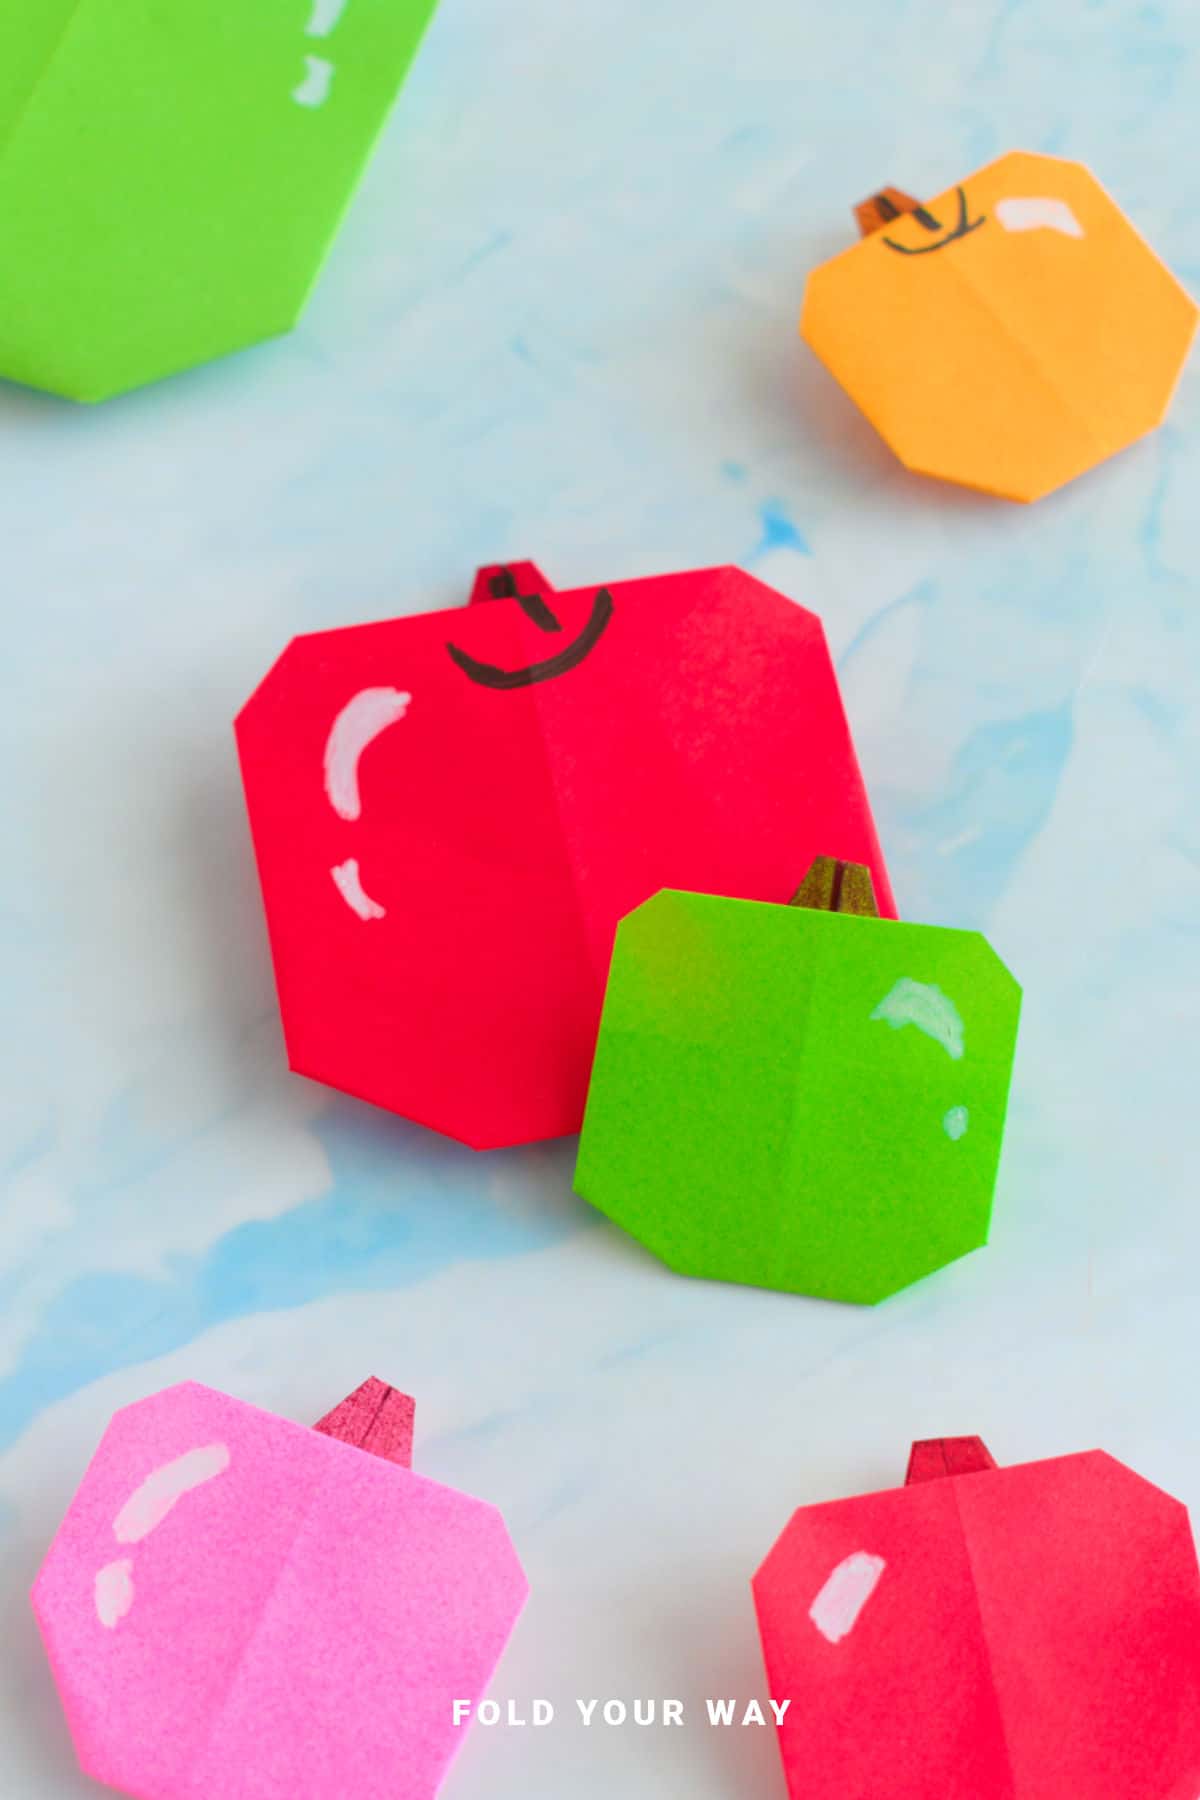
Use red for a classic apple look, or branch out with yellow, green, or even patterned paper for a fun twist.
You can personalize it further with a drawn-on face or leaf, or turn it into a tag for a thoughtful, homemade gift.
It's a sweet, versatile craft that works for school projects, teacher gifts, classroom activities, or fall-inspired DIY fun.

Why You'll Love This Pattern
- Quick and easy craft for kids or adults.
- No glue or scissors required—just one square piece of paper.
- Great for teacher gifts, back-to-school events, and fall decor.
- Easy to customize with different paper colors or drawn details.
- A fun addition to seasonal garlands, cards, or table settings.
Skill Level
★☆☆☆☆ (Very Easy)
Materials Needed
1 square sheet of paper (red, green, yellow, or patterned)
Optional: markers or pen for drawing a face or leaf detail
Instructions
Step 1: Start with the color you want your apple to be facing down. Arrange the paper to sit like a diamond shape.
Step 2: Fold the left point to meet the right point.
Step 3: Unfold previous step.
Step 4: Fold both the bottom left and bottom right edges in to meet the middle crease.
Step 5: Fold the top point down to meet the edge of the flaps you just folded in the previous step.
Step 6: Fold the bottom point up, overlapping it over the top edge as shown.

✨ You're almost there! ✨
To unlock the final steps and complete your pattern, create a free account with Grow.me. below.
Make sure you tick the box to subscribe to our newsletter and stay up to date with the latest patterns, tips, and more!
Once you're signed up, you'll get instant access to finish your project and enjoy exclusive content in the future.
Already signed up? Hit the button below and select ‘Switch to Log In’ to pick up where you left off and finish your project!
Step 7: Fold the paper in along the lines shown.
Step 8: Fold both the bottom left and bottom right corners in along the lines shown.
Step 9: Flip your paper over. Decorate with markers as you like. Completed apple.

Tips For Success
- Make sure your creases are sharp—use a ruler or flat tool if needed.
- Start with colored paper to avoid needing to decorate it afterward.
- Practice on scrap paper before using your favorite sheet.
- Turn your finished apple into a magnet by gluing a magnet on the back.
- String several apples together for a DIY garland or mobile.

Common Mistakes & How To Avoid Them
- Using thick paper: Makes it harder to get neat folds. Stick with lightweight paper.
- Uneven folds: Take your time lining up edges carefully.
Color, Paper Ideas, and Variations
- Classic red apple: Use red paper with a little green leaf drawn or added.
- Granny Smith green: Bright green paper makes a fun twist.
- Add a face: Draw a cute kawaii face for an adorable touch.
- Use patterned paper: Gingham or school-themed patterns work great.
- Turn it into a tag: Punch a hole in the top, add string, and use as a gift tag.
FAQ
Yes! It’s beginner-friendly, though younger kids may need help with a couple of folds.
It makes a great teacher gift, fall decoration, card embellishment, or garland piece.
Yes, just cut it into a square first. Lightweight is better than thick paper.
Just glue a small magnet to the back once your apple is finished and flattened.
Other Paper Crafts You Might Like To Try:
Stay Connected
Made this pattern? Let us know how it went in the comments below!
Pin this post - Pin now to take your paper crafting skills to the next level.
Share on Instagram or Facebook - Capture the beauty of your finished paper craft project and share it on Instagram or Facebook! Tag us @foldyourway so we can see your work!

Other Patterns You Might Like To Try:
Looking for other easy patterns like this? Try these:


Comments
No Comments