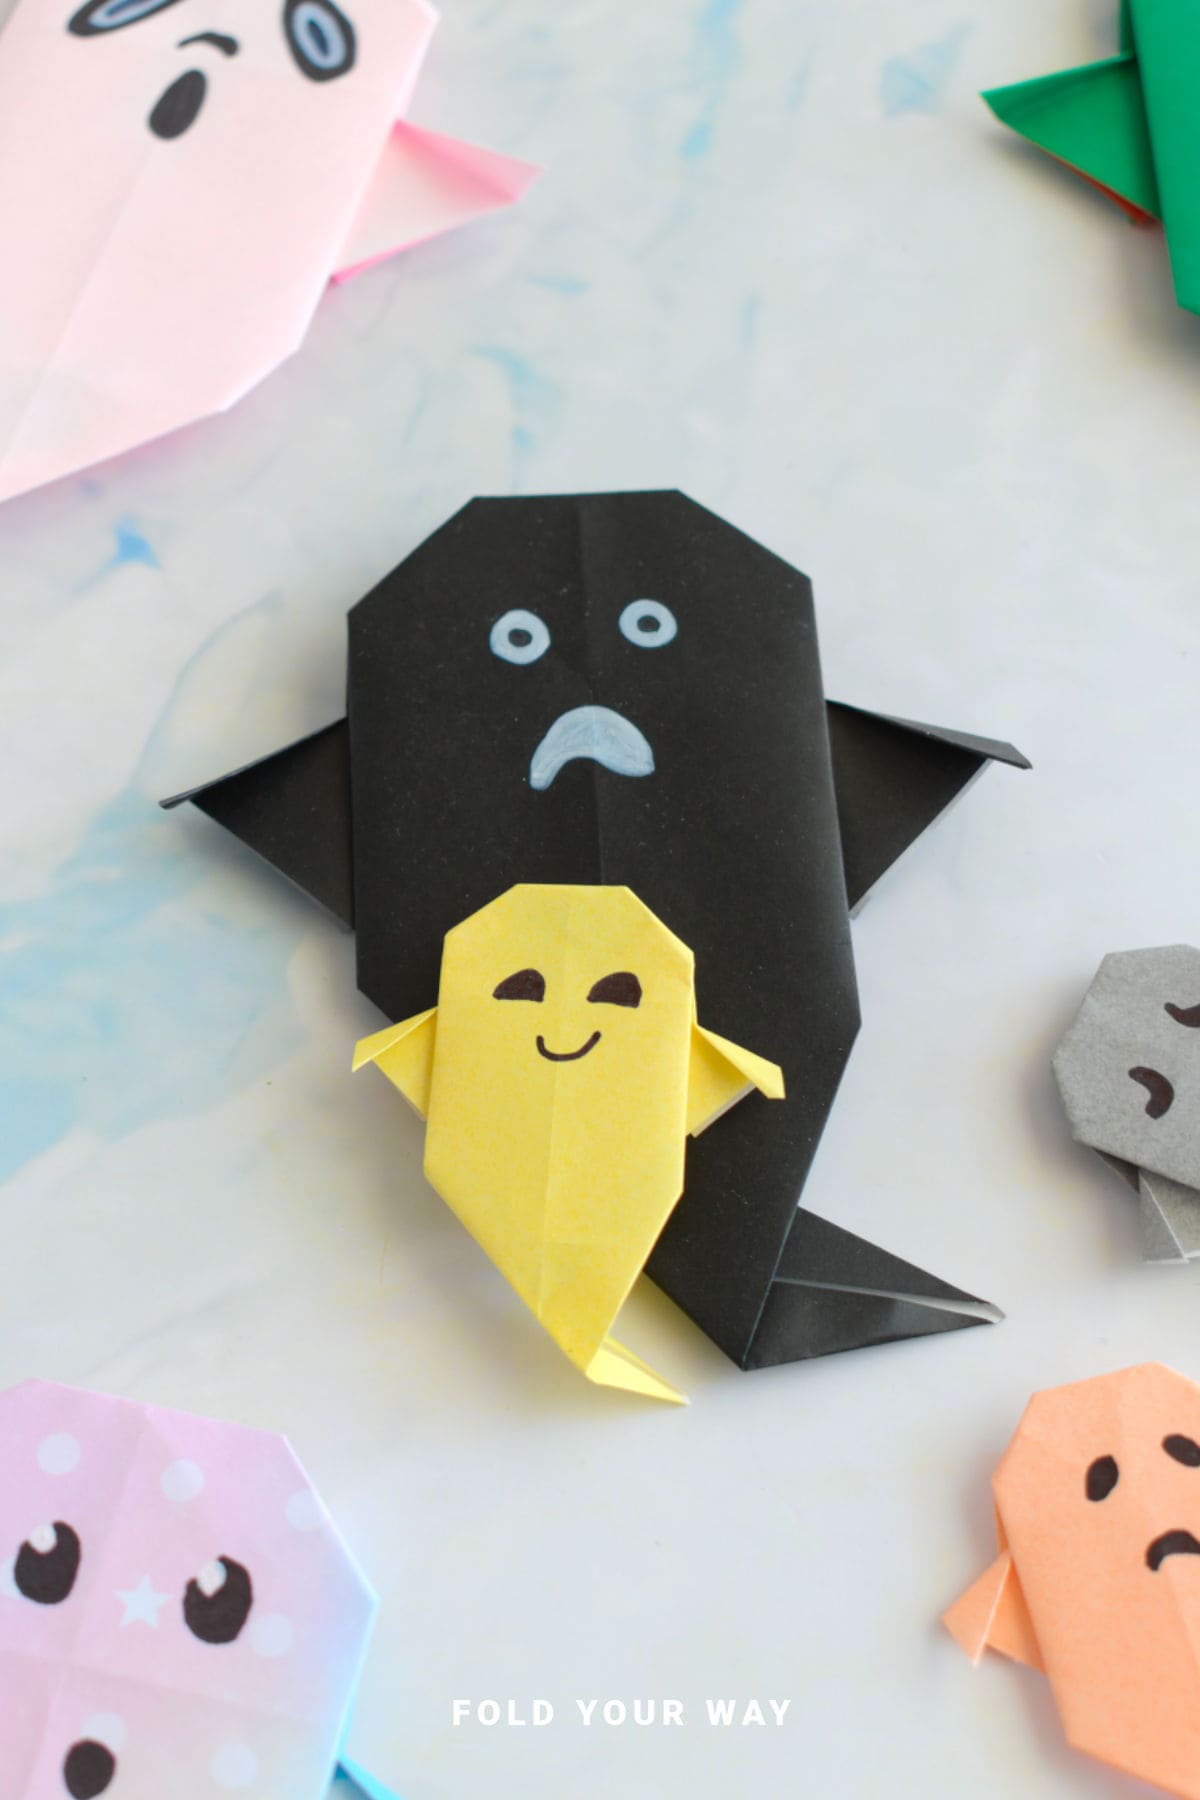
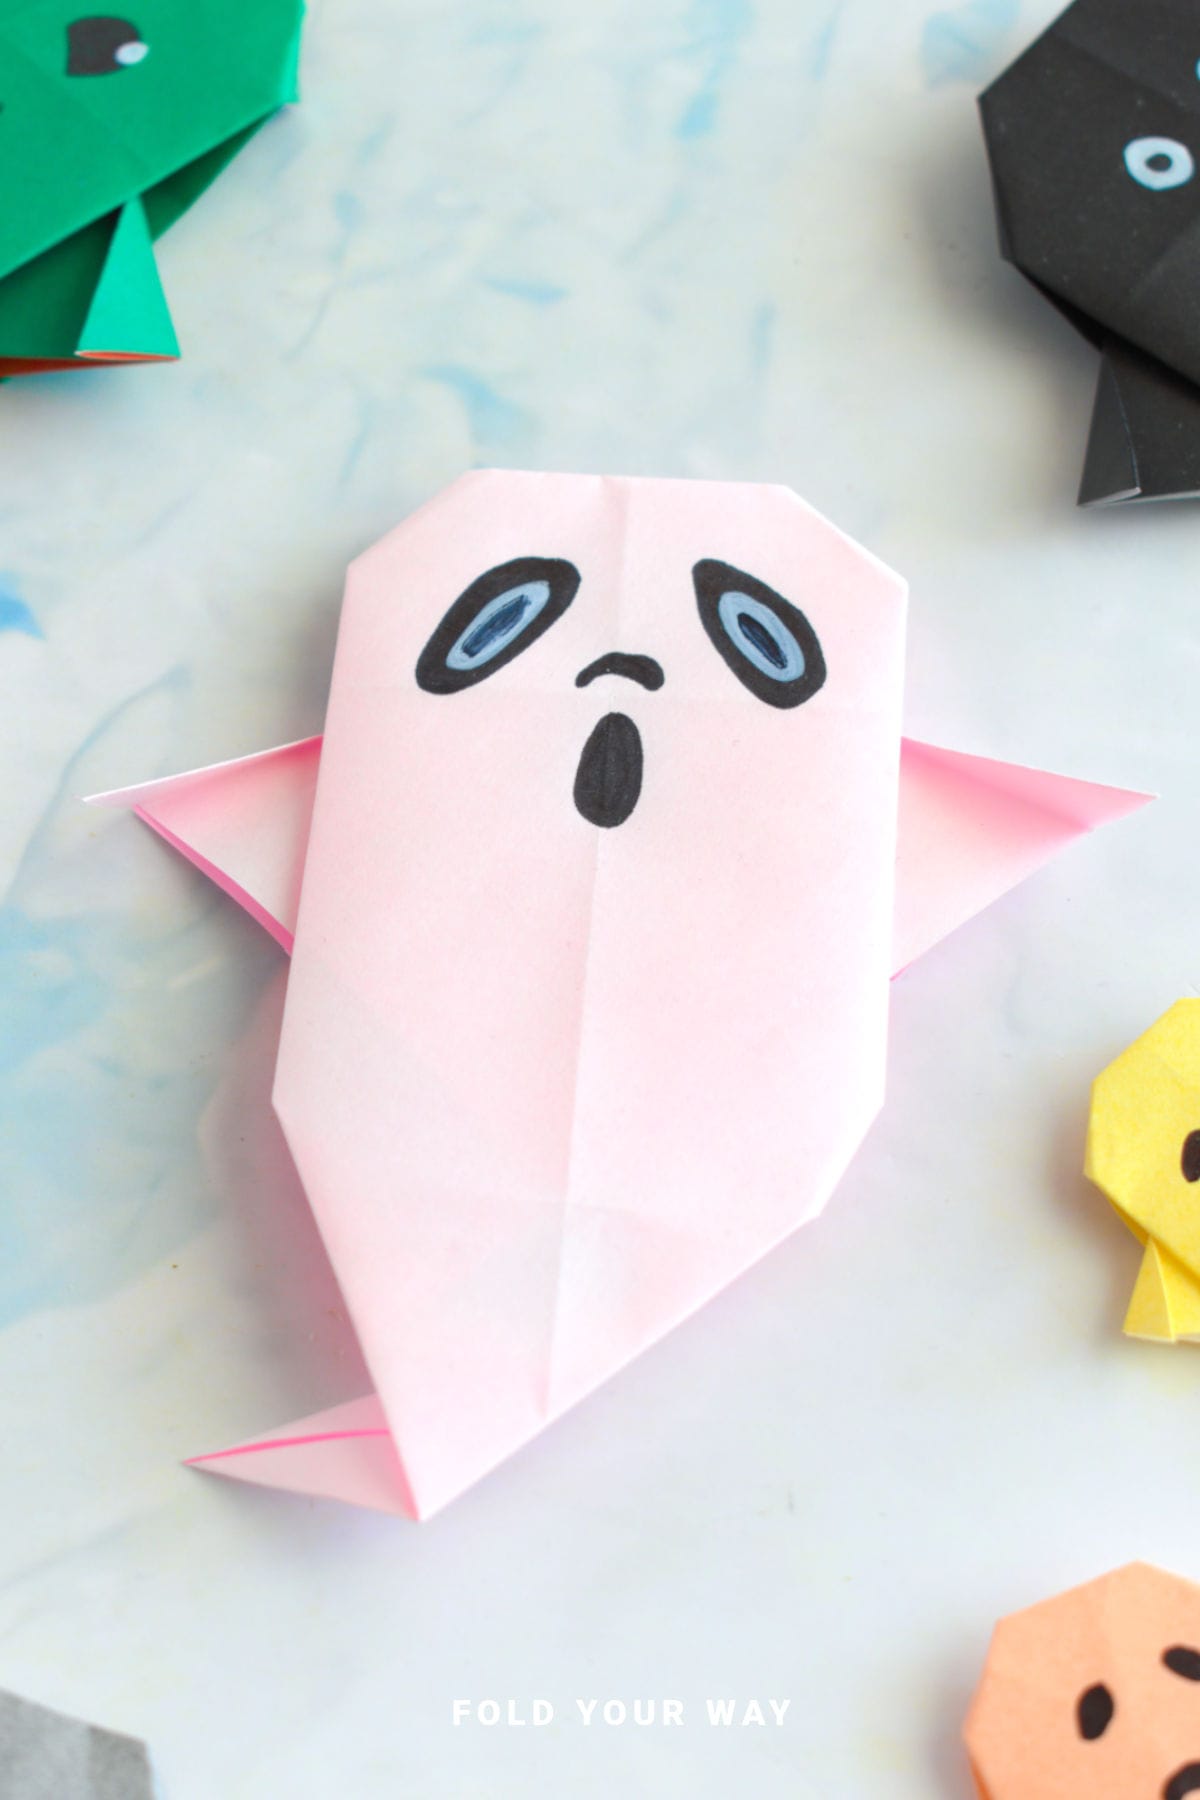
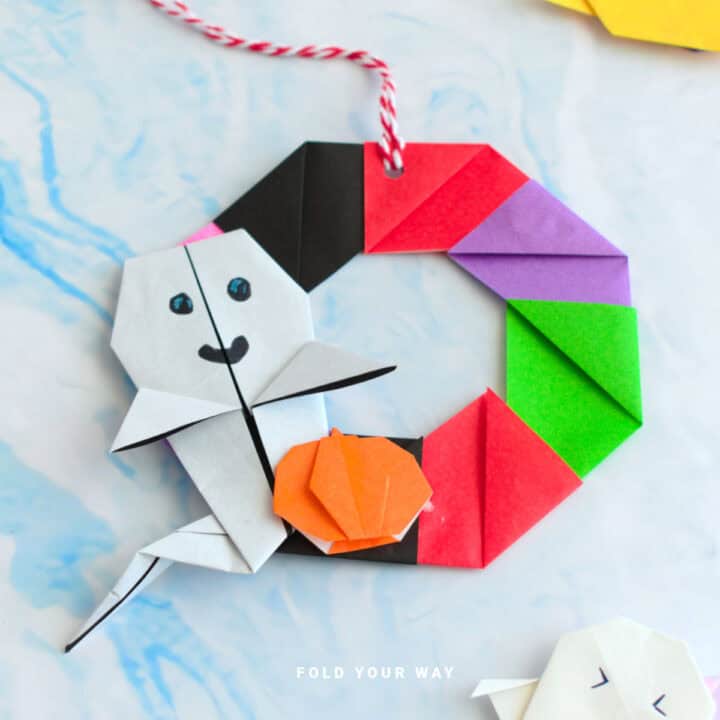
This easy origami ghost is a spooky-cute project for Halloween!
It’s quick to fold, kid-friendly, and perfect for decorating, gifting, or just having a little fun with paper.
Jump to:
Halloween crafts don’t have to be complicated or messy.
This easy origami ghost is a perfect example—it’s fast, fun, and only needs a single sheet of square paper.
You’ll end up with a spooky (but not too spooky) ghost that you can hang, stick on a card, or use to decorate your space.
The design is great for all ages, including beginners, and makes a fun classroom or party activity.
Kids can personalize their ghosts by drawing on little faces or using different colored paper.
It’s also a great way to introduce easy origami ideas around Halloween without needing any special supplies.
You can make one in under five minutes, and once you learn the fold, it’s fun to create a whole group of ghosts with different expressions.
White paper gives you a classic ghost look, but feel free to get creative—light gray, glow-in-the-dark paper, or even printed tissue paper can add some character.
Whether you’re decorating a treat bag, adding a handmade touch to a Halloween card, or just looking for a fast paper craft, this easy origami ghost tutorial is a great pick.
Why You'll Love This Pattern
- Only needs one square sheet of paper
- Turn these paper ghosts into ornaments for your Halloween tree, or string them up as part of a garland.
- Super fast and beginner-friendly
- Great for Halloween parties or classroom crafts
- Easy to customize with faces or stickers
- No glue or scissors required
- Looks cute anywhere—from cards to garlands
Skill Level
★☆☆☆☆ (Very Easy)
Materials Needed
- 1 square sheet of paper
- Optional: black marker to draw on the face
Instructions
Step 1: Start with the color you want your ghost to be facing down. Arrange your paper to sit like a diamond.
Step 2: Fold the bottom point up to meet the top point.
Step 3: Unfold previous step.
Step 4: Fold the left point to meet the right point.
Step 5: Unfold previous step.
Step 6: Fold the bottom point up to meet the middle point, creasing only in the centre as shown.
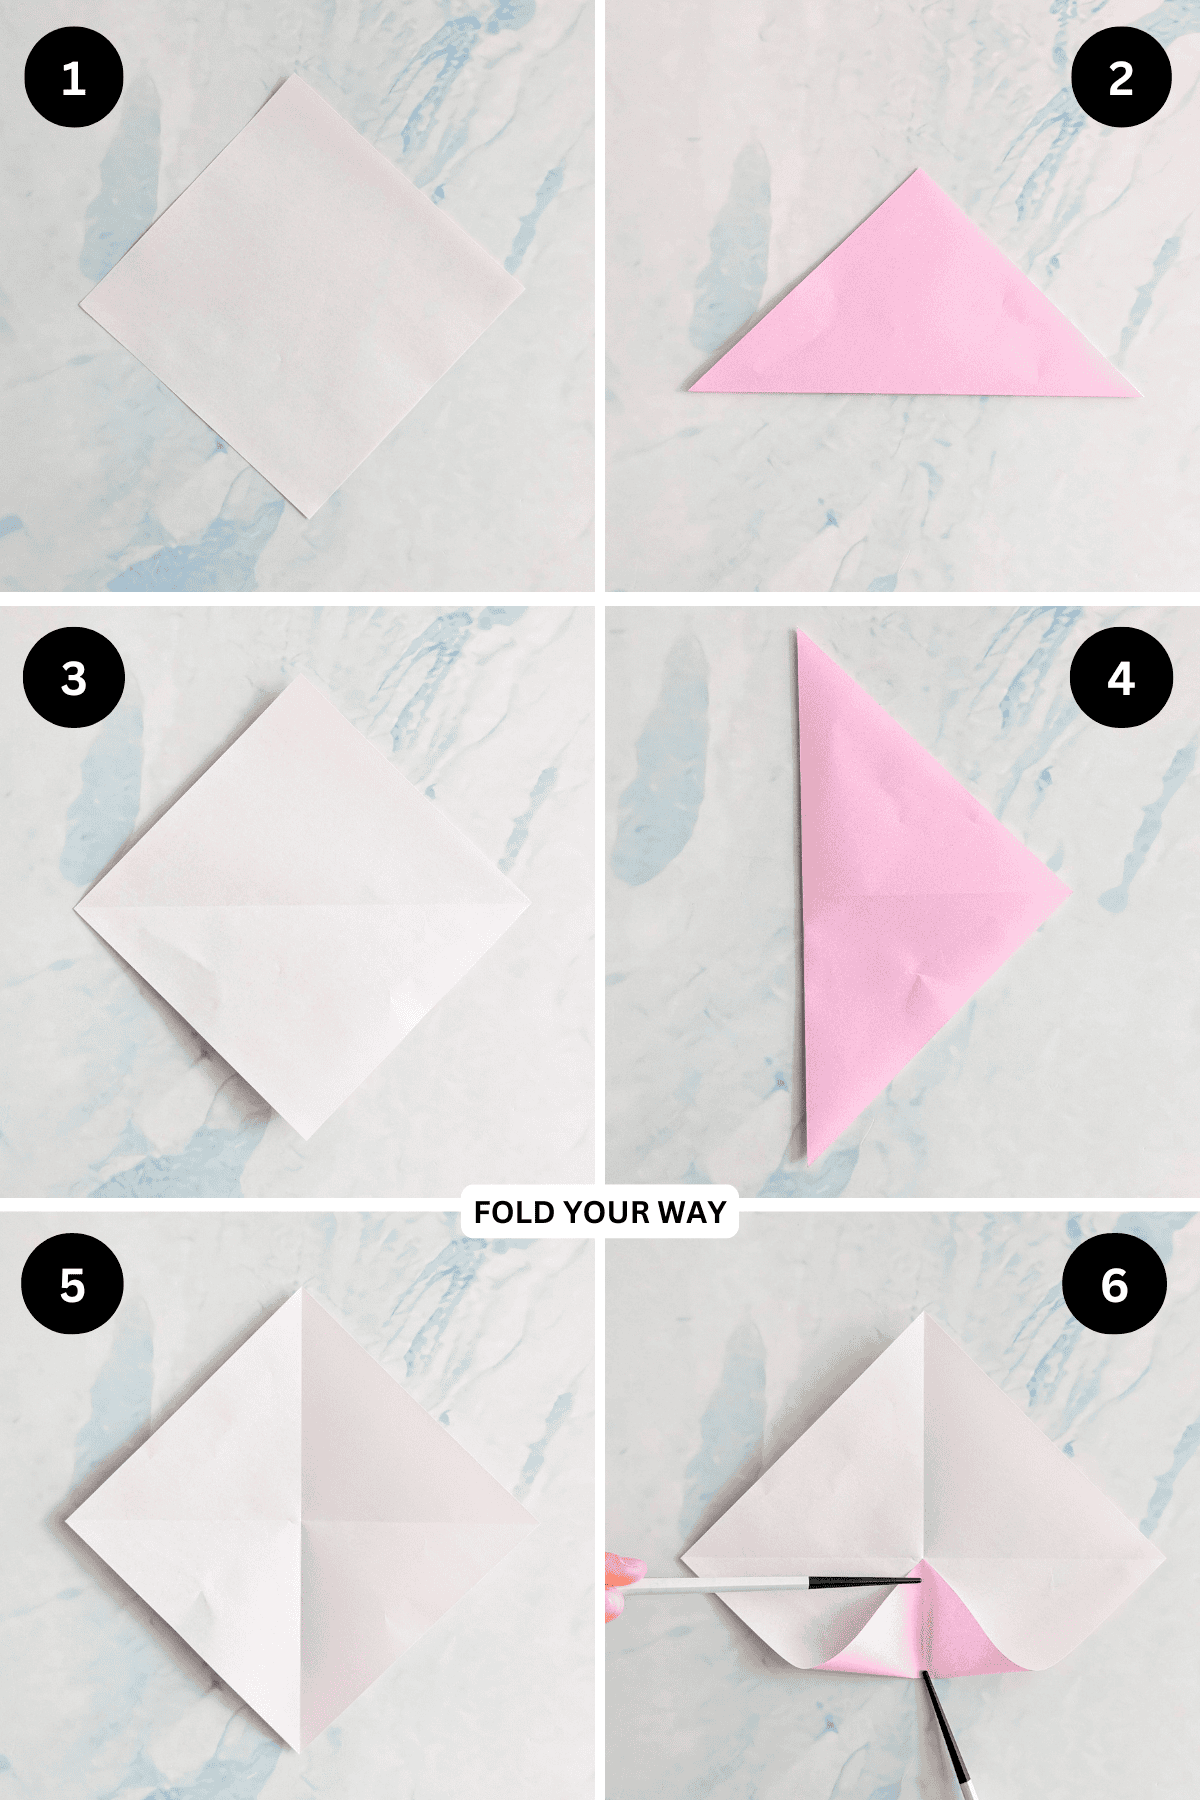
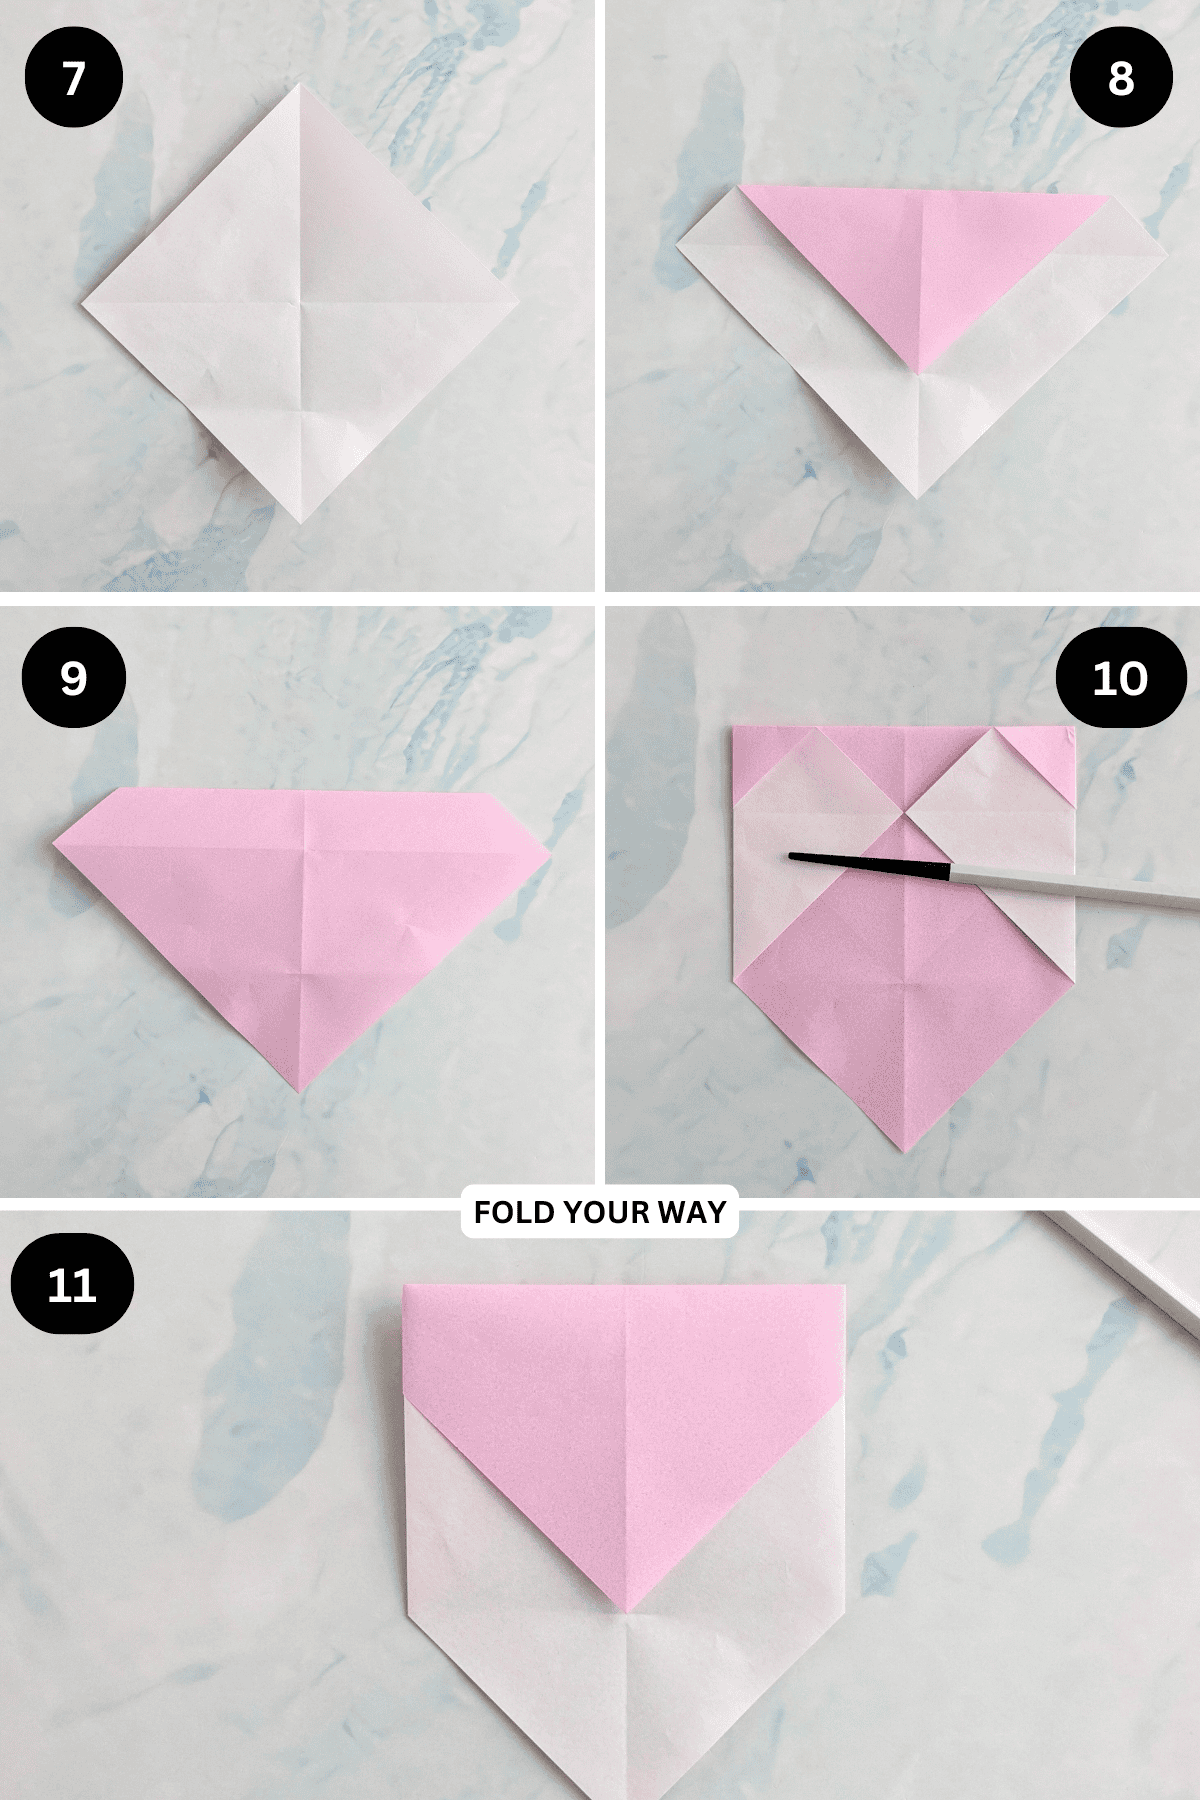
Step 7: Unfold previous step.
Step 8: Fold the top point down to meet the crease mark you made in step 6.
Step 9: Flip your paper over from left to right.
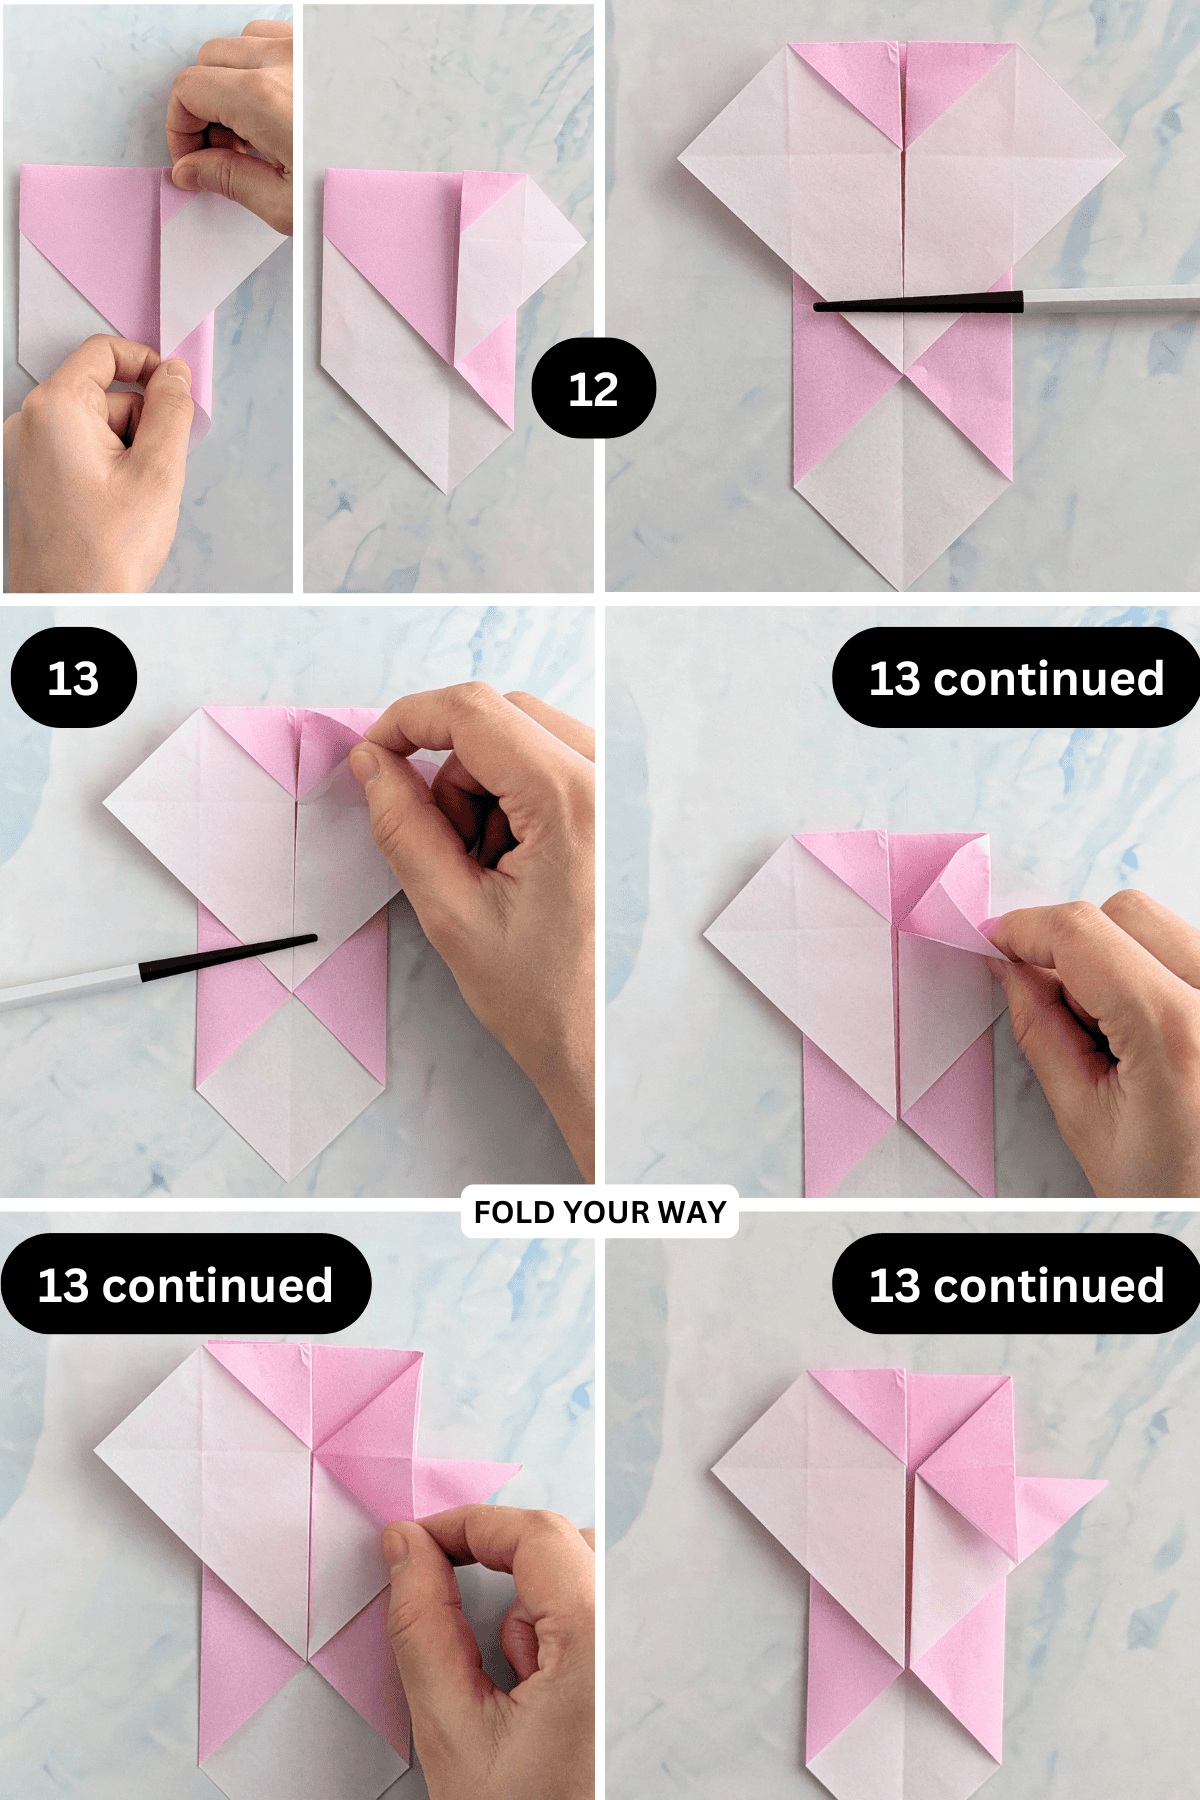
Step 10: Fold both the left and right points in to meet the middle.
Step 11: Flip your paper over from left to right.
✨ You're almost there! ✨
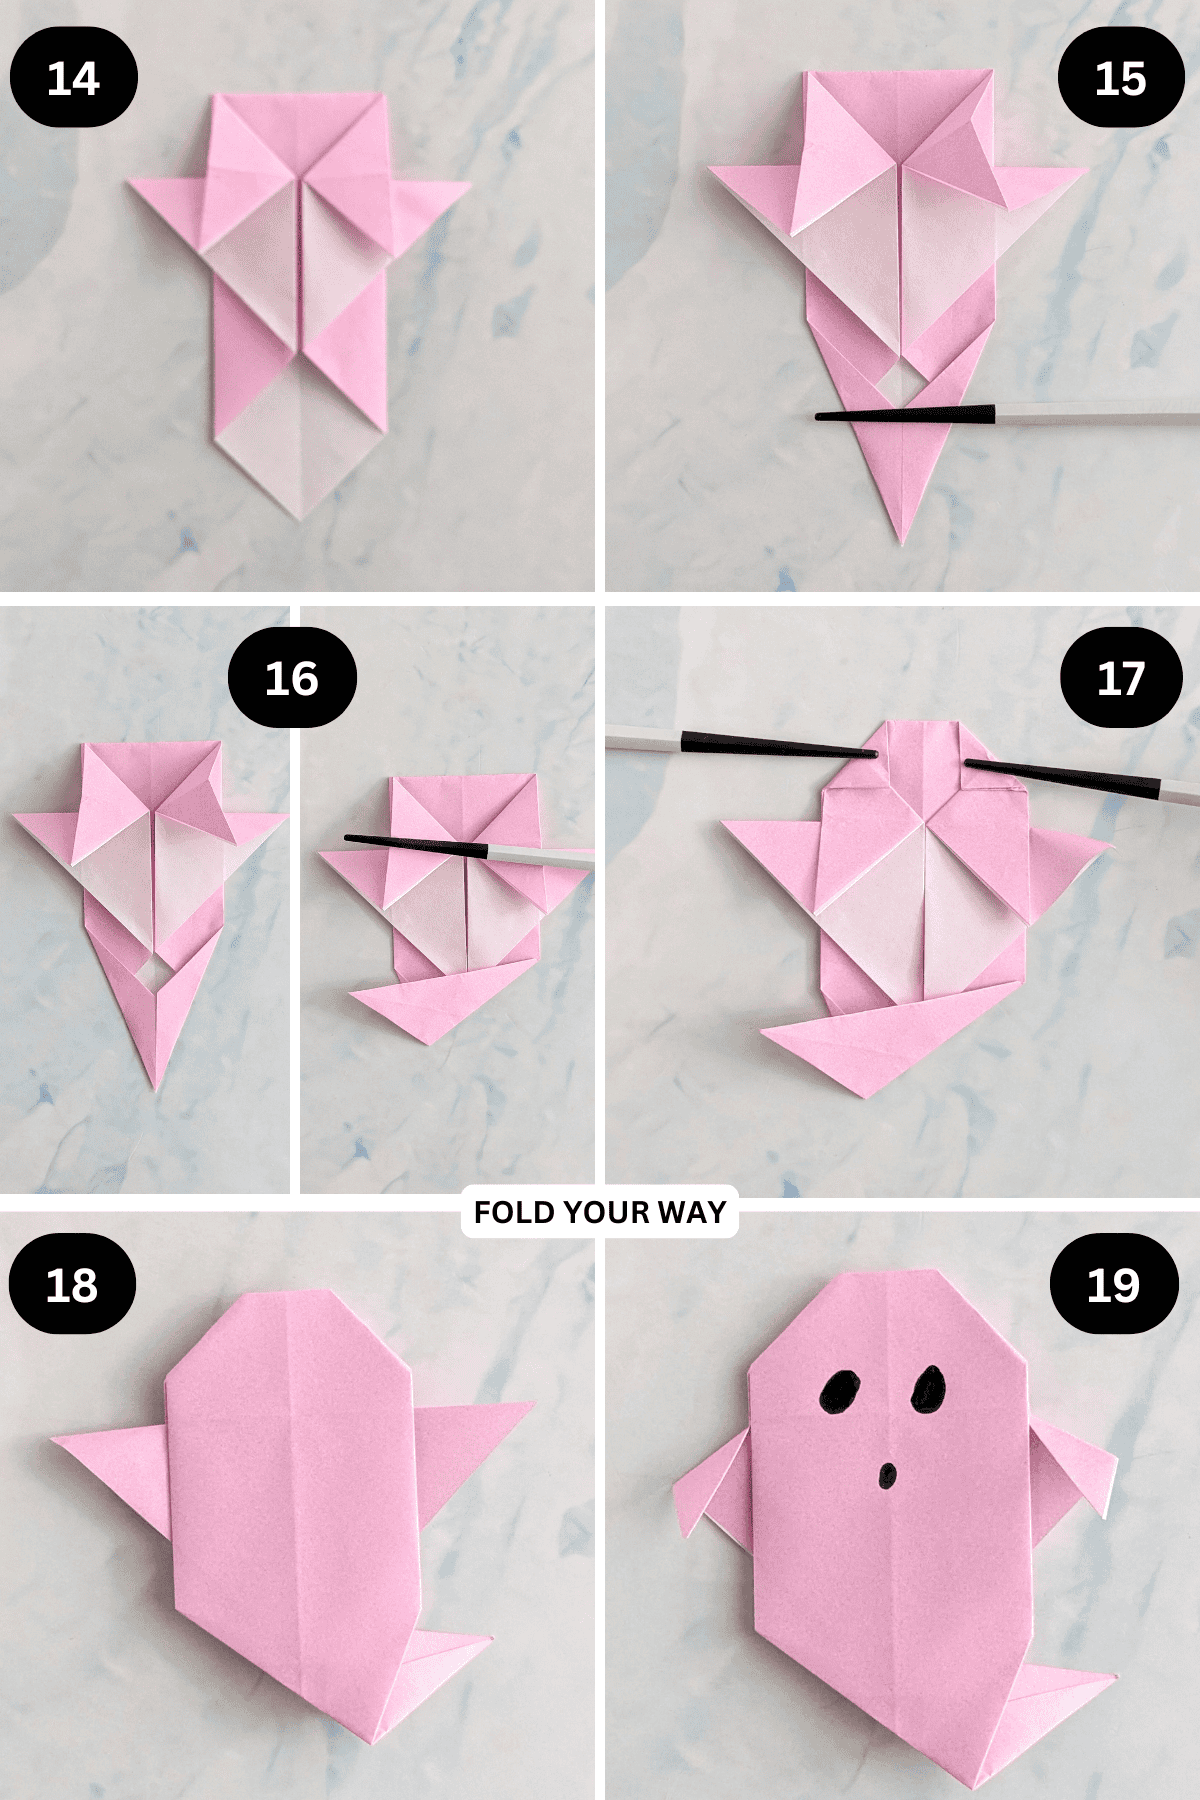
To unlock the final steps and complete your pattern, create a free account with Grow.me. below.
Make sure you tick the box to subscribe to our newsletter and stay up to date with the latest patterns, tips, and more!
Once you're signed up, you'll get instant access to finish your project and enjoy exclusive content in the future.
Already signed up? Hit the button below and select ‘Switch to Log In’ to pick up where you left off and finish your project!
Tips For Success
- Use thinner origami paper so folds stay crisp and flat
- Draw the face last so you can position it just right
- Fold carefully at the head to shape a nice rounded ghost top
- Try folding a few at once for a floating ghost garland
- Use glow-in-the-dark or translucent paper for a cool effect
- Attach a string to the back to hang them as decorations
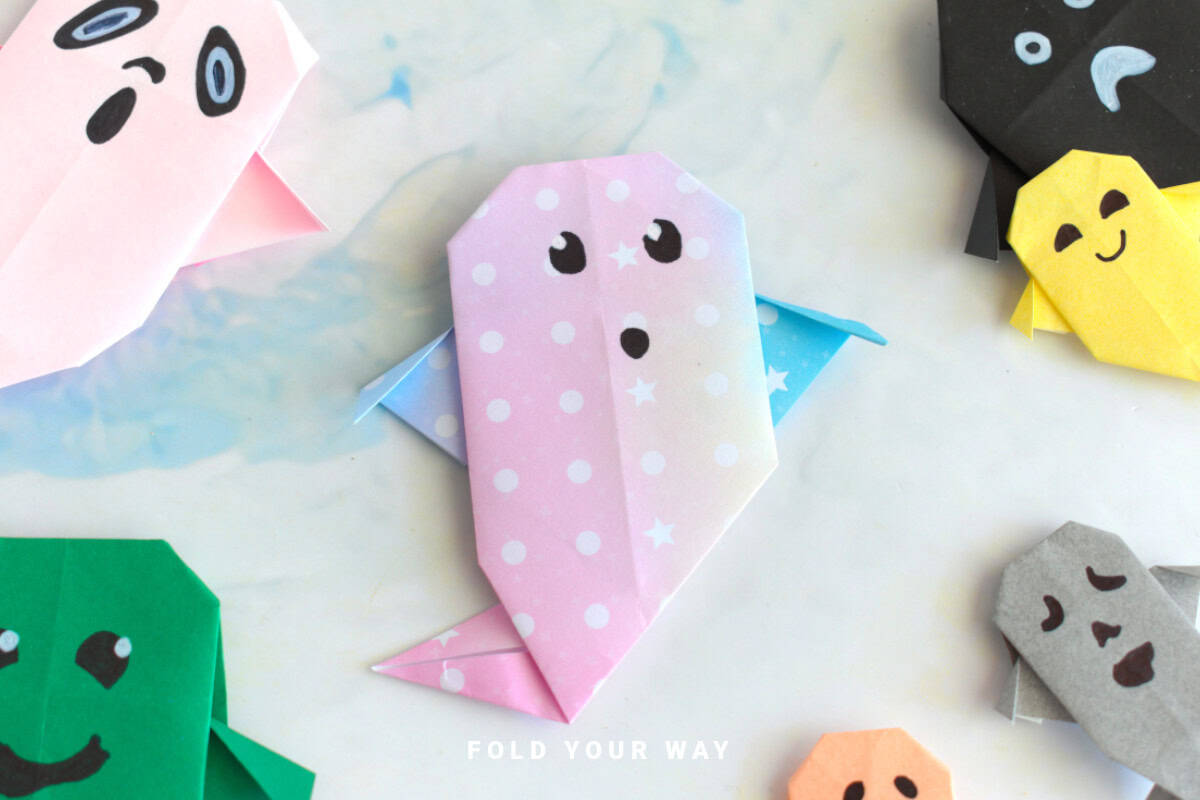
Color, Paper Ideas, and Variations
- White origami paper – Classic ghost look
- Gray or light blue paper – Slightly spooky but still readable
- Glow-in-the-dark paper – Extra fun for hanging ghosts
- Mini versions – Great for cards, gift tags, or decorations
- Printed faces – Use stickers or stamps for a clean finish
- Ghost garland – Fold a set and string them up for Halloween decor
FAQ
No—this ghost uses only folds. You can draw or stick the face on, but it’s optional.
Yes, just cut it into a square first and make sure it’s not too thick.
Other Paper Crafts You Might Like To Try:
Stay Connected
Made this pattern? Let us know how it went in the comments below!
Pin this post - Pin now to take your paper crafting skills to the next level.
Share on Instagram or Facebook - Capture the beauty of your finished paper craft project and share it on Instagram or Facebook! Tag us @foldyourway so we can see your work!
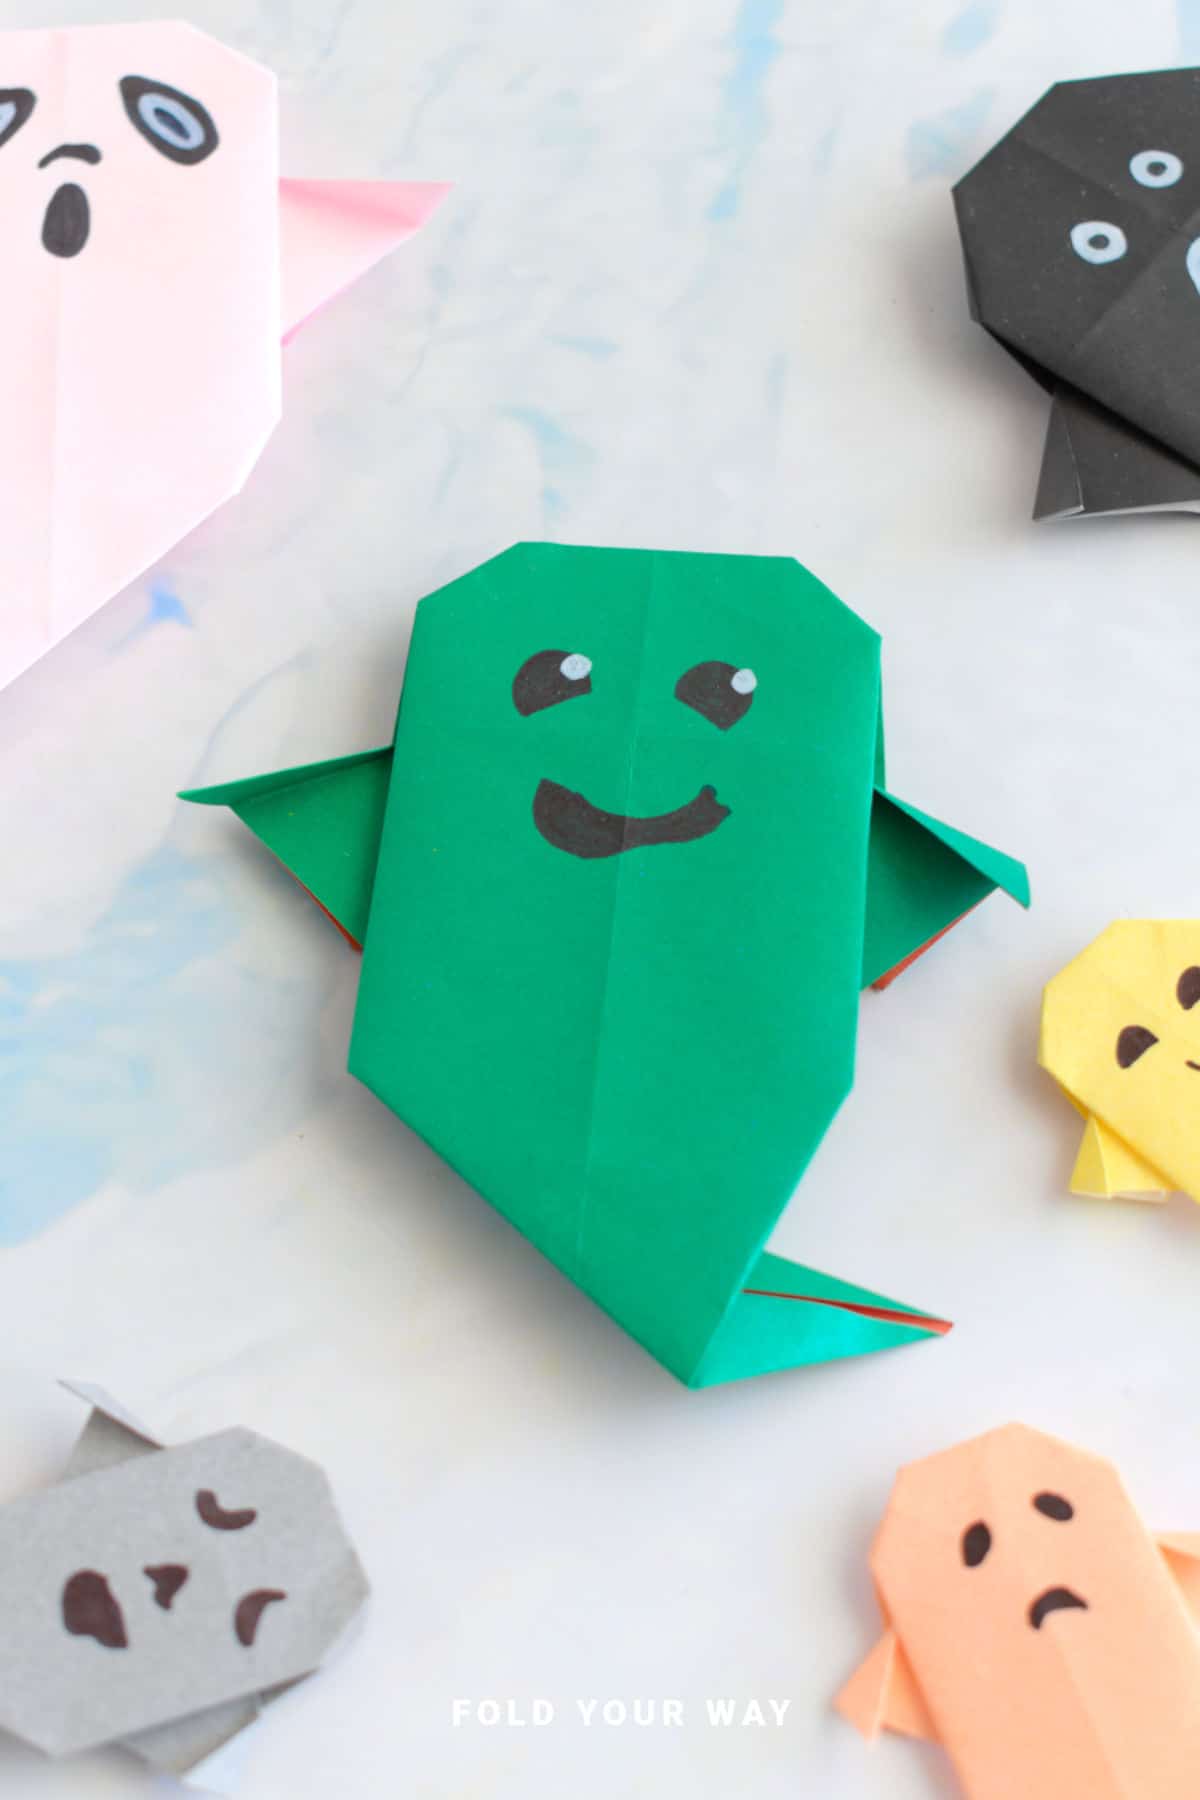
Other Patterns You Might Like To Try:
Looking for other easy patterns like this? Try these:



Comments
No Comments