
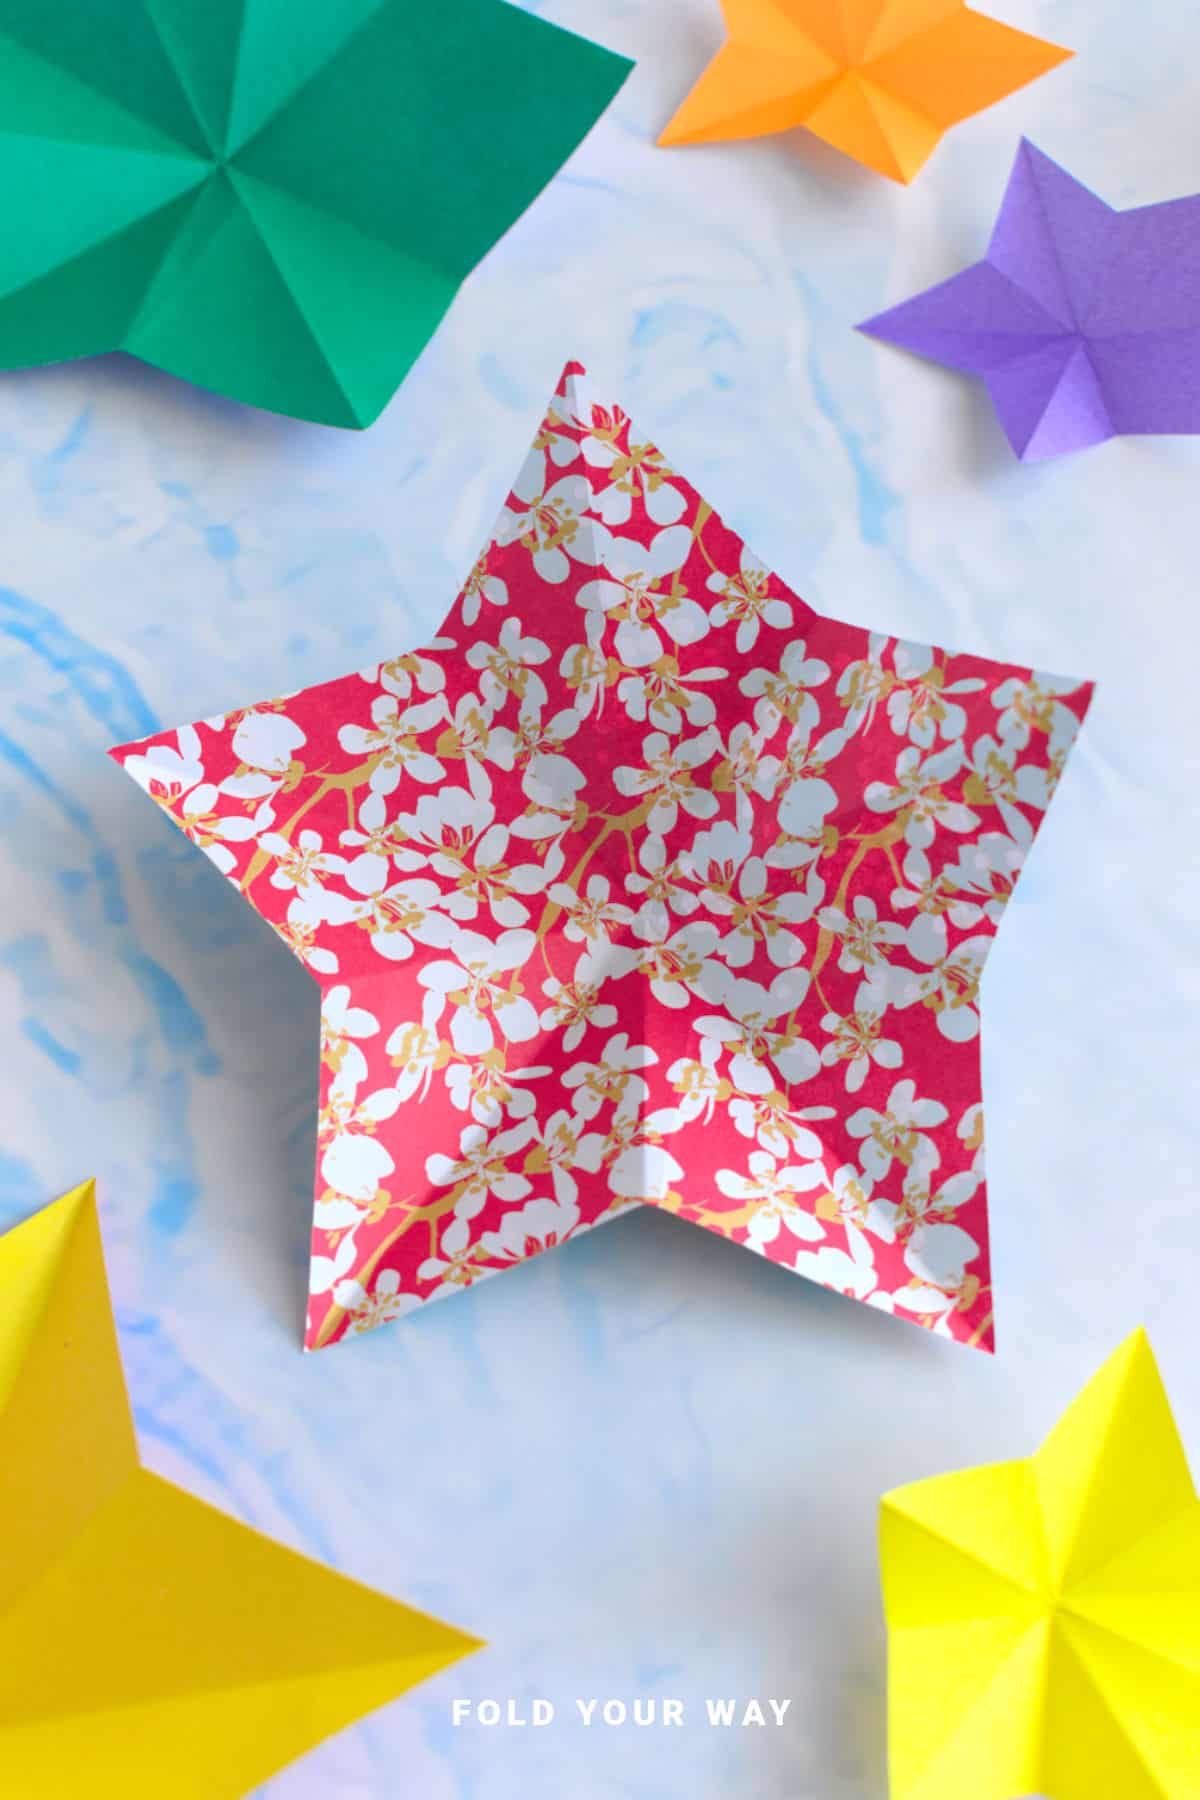
Looking for an easy and fun paper craft? This simple paper star tutorial is the perfect project!
With just a sheet of paper and a pair of scissors, you’ll create a beautiful star that’s great for decorating gifts, parties, or even your walls.

Jump to:
If you're looking for a quick, satisfying project that feels a little magical at the end, this paper star tutorial is perfect.
You only need a square sheet of paper, a pair of scissors, and a few folds to make a gorgeous five-pointed star.
It’s a wonderful project for all skill levels — whether you're crafting with kids, decorating for a party, or just looking for a relaxing DIY.
These paper stars are incredibly versatile too.
Use them for Christmas tree ornaments, birthday party decorations, garlands, classroom decor, or even as simple gift toppers.
You can make them tiny for cards, or large for statement pieces at events like weddings, baby showers, and holiday parties.
They’re also a fantastic way to use up leftover scrapbooking or origami paper!
Because you can create these stars so quickly, they’re great when you need last-minute decorations or want to add a handmade touch to a celebration.
Plus, they’re flat, which means they're easy to mail or use as tags.
If you love projects that are simple, creative, and genuinely useful, you'll definitely enjoy this one.
Whether you want a cozy afternoon craft or a fun group project, learning how to make your own paper stars is a wonderful skill you’ll keep coming back to!
Why You'll Love This Pattern
- Super simple materials: Just paper and scissors — that’s it!
- Fast and satisfying: Make a star in just a few minutes once you get the hang of it.
- Great for all ages: Perfect for kids, teens, adults, and family craft time.
- Use them for Christmas, birthdays, New Year’s celebrations, weddings, baby showers, and more.
- Customizable: Change the look completely with different colors, patterns, and sizes.
- Budget-friendly: A beautiful craft you can make with supplies you already have.
Skill Level
★☆☆☆☆ (Very Easy)
Materials Needed
- 1 square sheet of origami paper
- Scissors
| Paper Size | Final Paper Star Size | |
| Small Paper Star | 3 inches x 3 inches (7.5 cm x 7.5 cm) | 2.5 inches (7 cm) in width |
| Large Paper Star | 6 inches x 6 inches (15 cm x 15 cm) | 5.5 inches (14.5 cm) in width |
Instructions
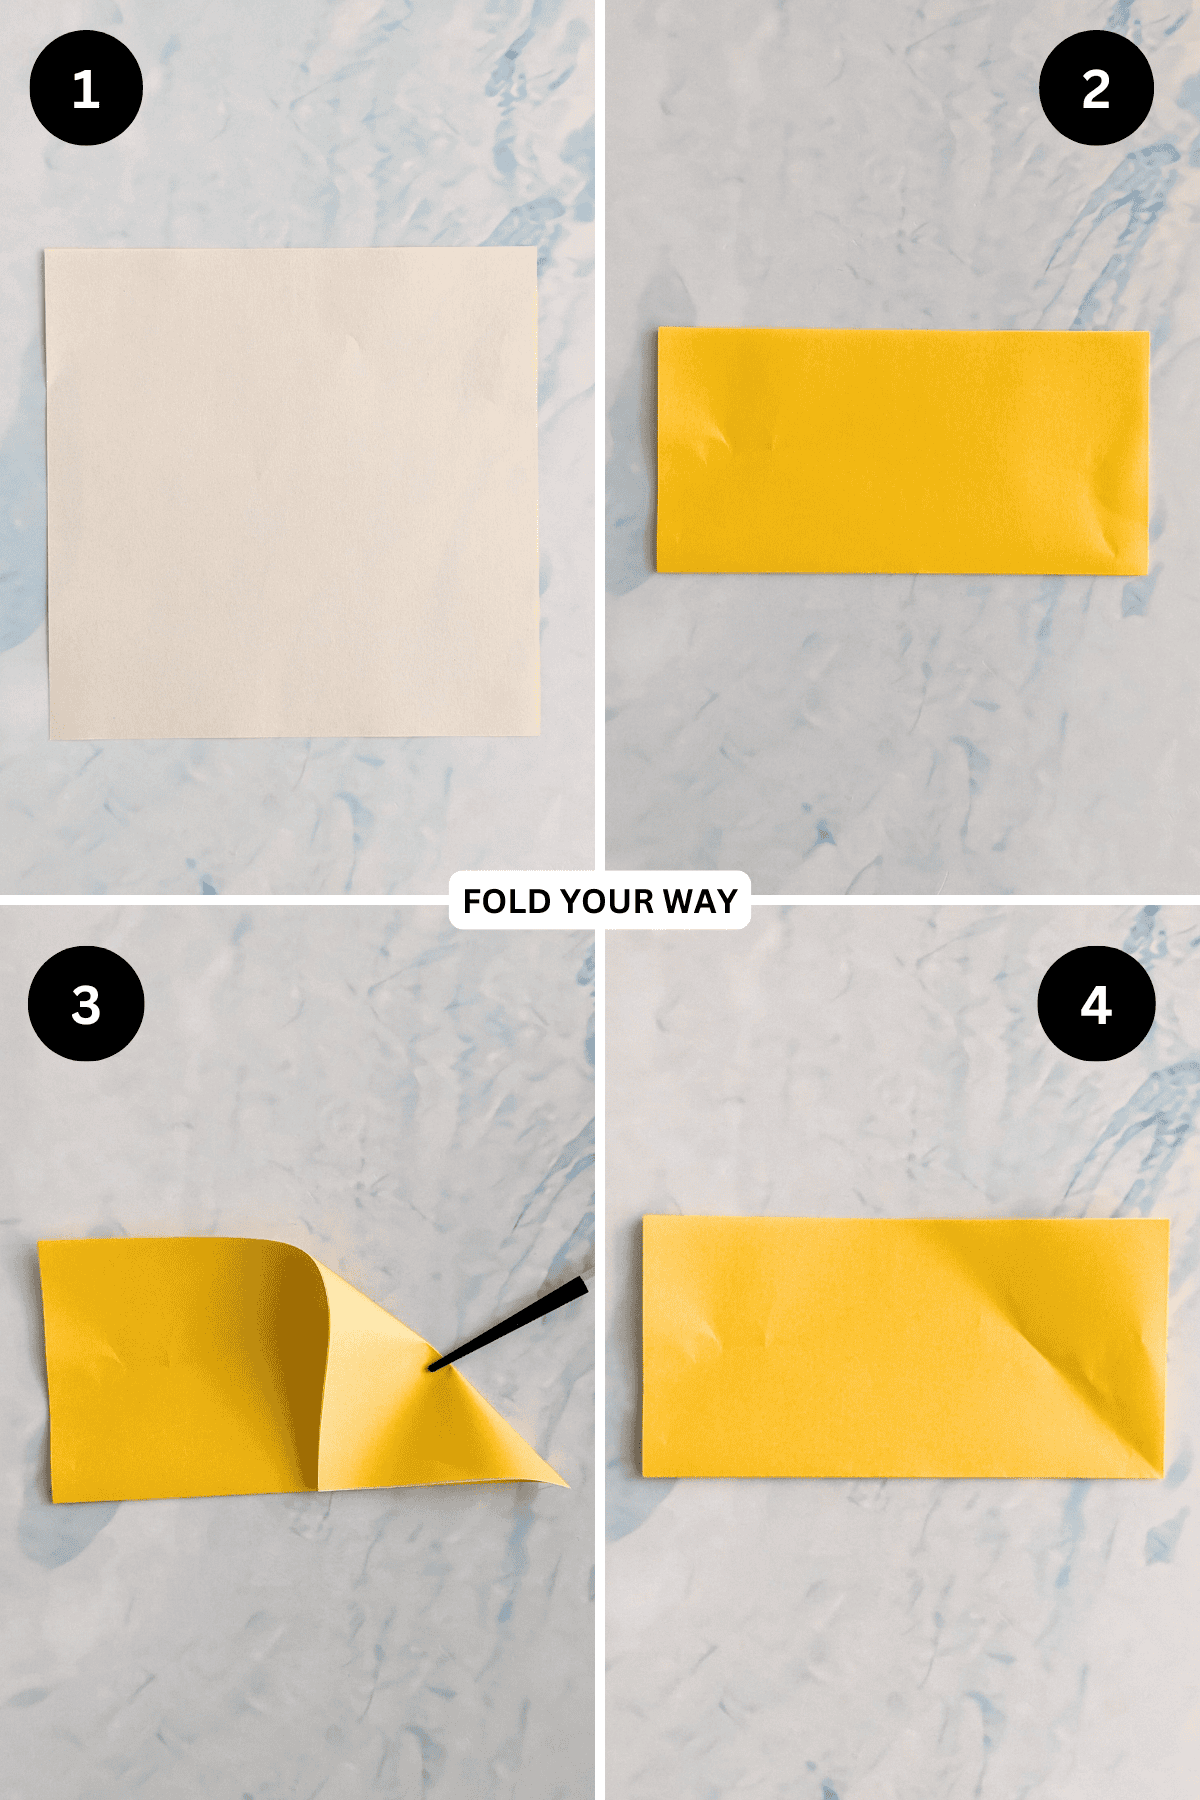
Step 1: Start with the color you want your star to be facing down.
Step 2: Fold the bottom edge up to meet the top edge.
Step 3: Fold the top right corner down to meet the bottom edge. ONLY crease in the centre of this fold.
Step 4: Unfold previous step.
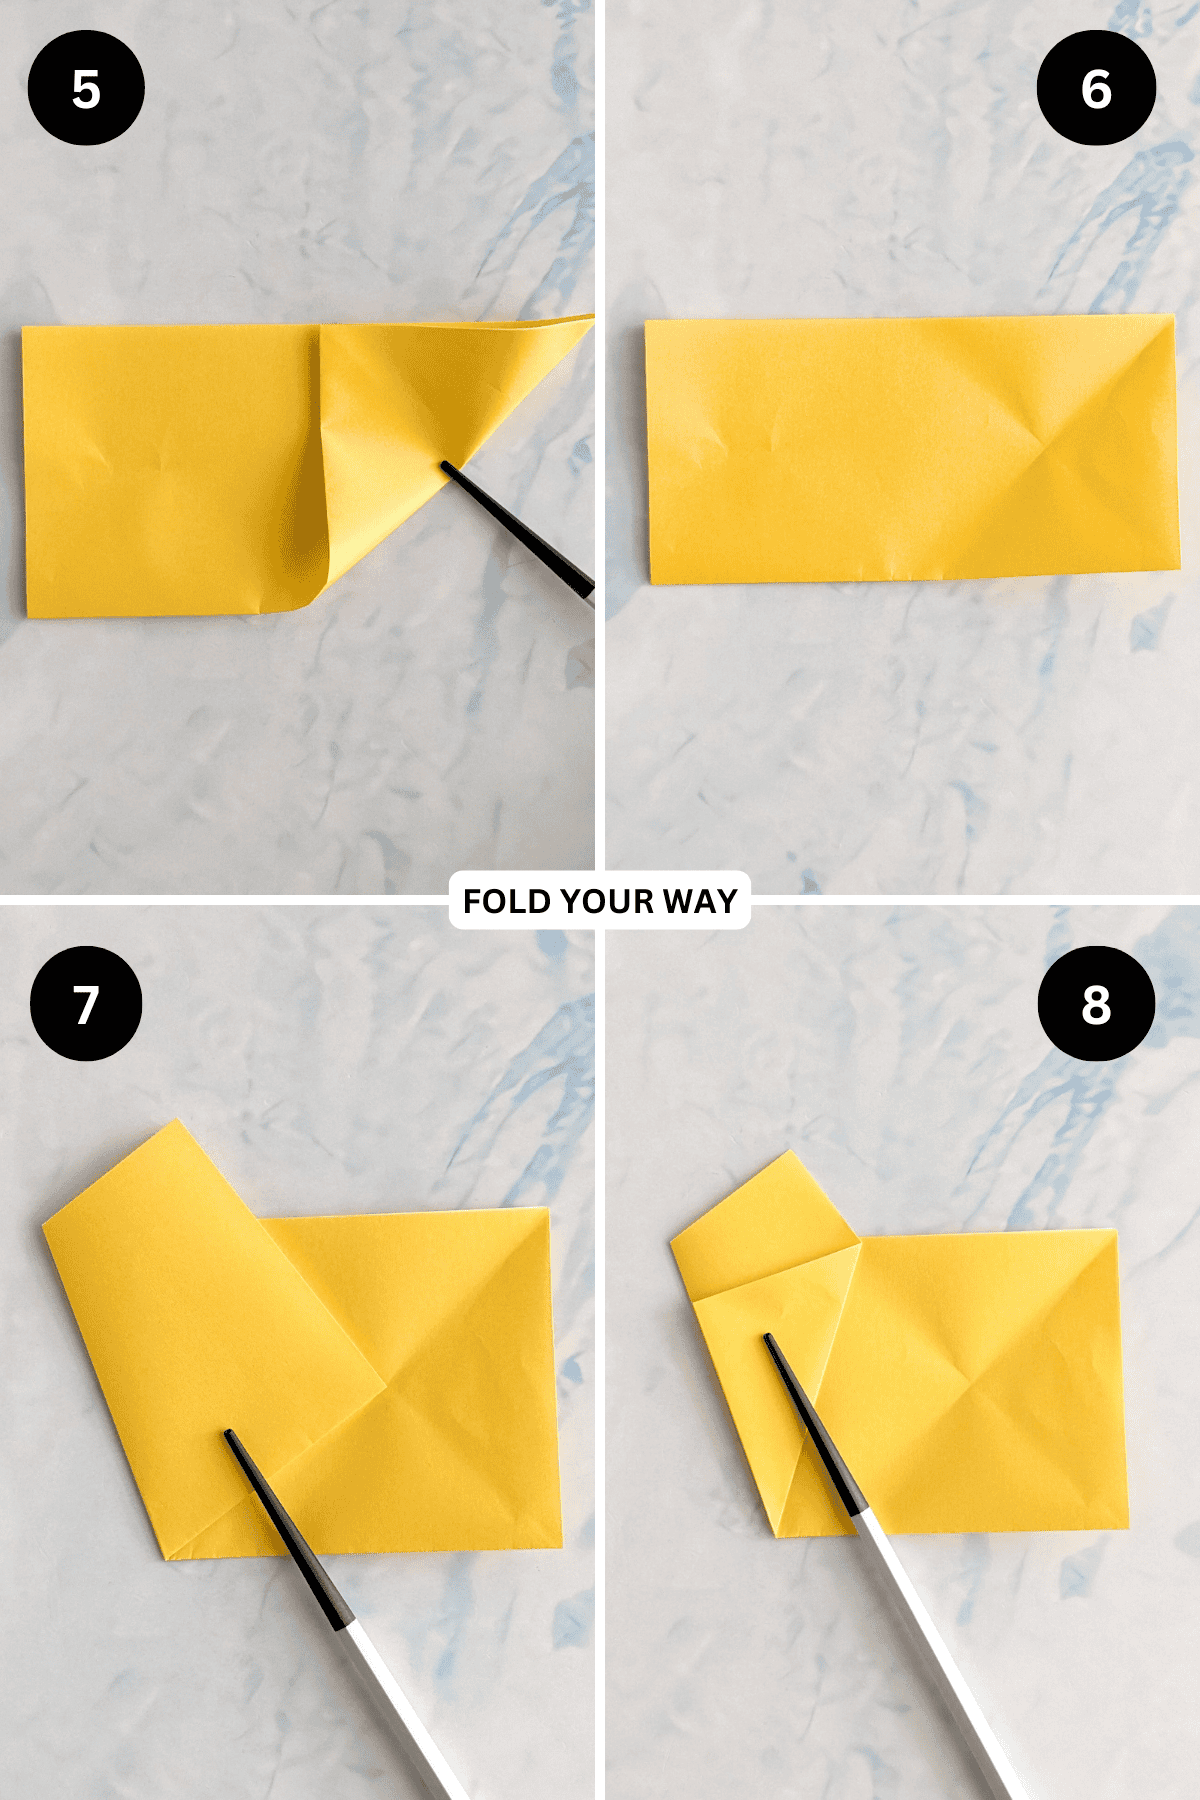
Step 5: Fold the bottom right corner up to meet the top edge. Crease only in the centre of this fold.
Step 6: Unfold previous step.
Step 7: Fold the bottom left corner to meet the centre of the creases you just made.
Step 8: Fold the top flap back on itself to meet its outside edge.
✨ You're almost there! ✨
To unlock the final steps and complete your pattern, create a free account with Grow.me. below.
Make sure you tick the box to subscribe to our newsletter and stay up to date with the latest patterns, tips, and more!
Once you're signed up, you'll get instant access to finish your project and enjoy exclusive content in the future.
Already signed up? Hit the button below and select ‘Switch to Log In’ to pick up where you left off and finish your project!
Step 9: Fold the bottom edge up on an angle to meet the edge of the flap you made instep 8.
Step 10: Fold the paper in half backwards and flatten.

Step 11: Cut along the line shown.
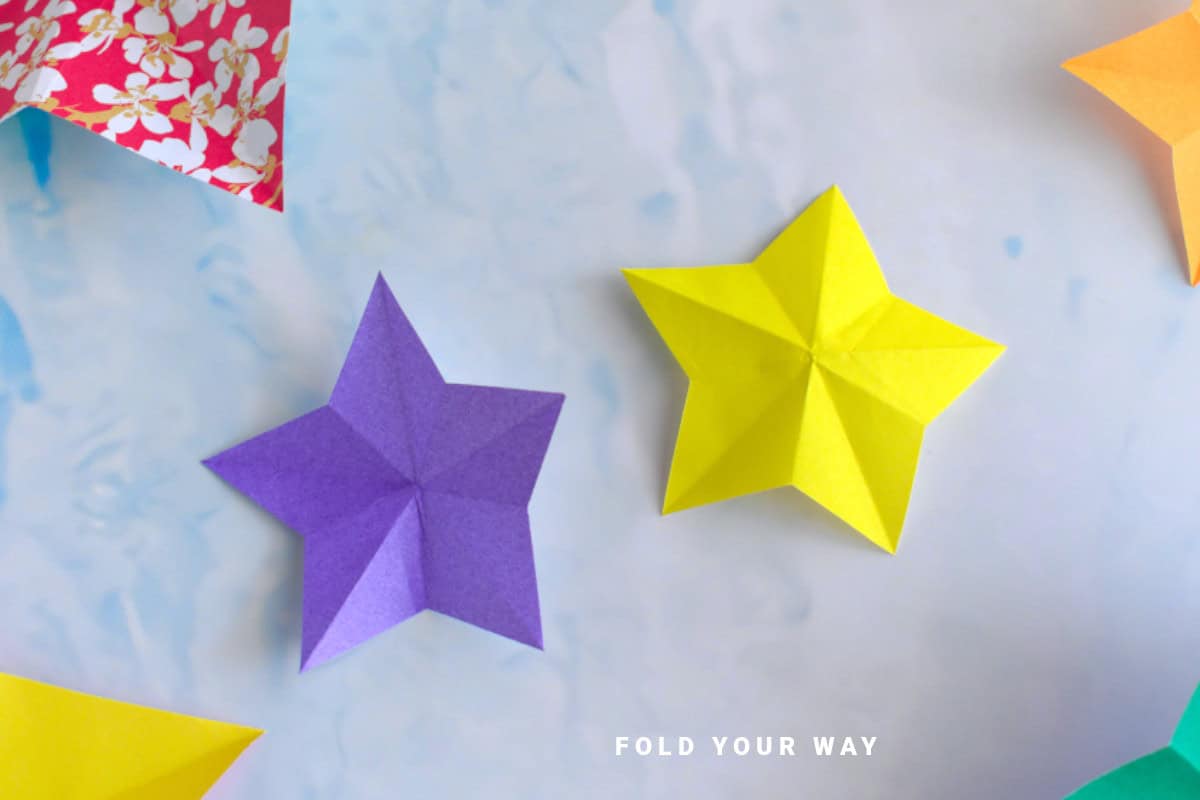
Step 12: Unfold your paper. Completed star.

How to turn your paper star into a garland or ornament
These easy paper stars aren’t just pretty on their own — you can quickly turn them into festive garlands or ornaments too!
To make a garland:
- Punch a small hole near the top of each star.
- Thread the stars onto string, twine, or thin ribbon, spacing them out however you like.
- You can also tape the stars directly onto a long piece of string if you prefer not to punch holes.
- Hang your garland across a mantel, window, doorway, or party table.
This makes a fun decoration for Christmas, New Year's parties, Easter brunches, birthdays, or any celebration where you want a pop of color and something a little handmade. You could make different sized stars and use them on your garland.
To make individual ornaments:
- Punch a small hole at the top of each star and loop a piece of ribbon, thread, or baker’s twine through it.
- Tie the ends together and hang the stars on your Christmas tree, a springtime Easter tree, gift bags, or around the house for an extra festive touch.
These little stars also look adorable grouped together in clusters or strung vertically for a more unique garland idea!
Color, Paper Ideas, and Variations
- Double-Sided Origami Paper: Makes beautiful two-tone stars that look pretty from any angle.
- Metallic or Glitter Paper: Perfect for festive events like Christmas or New Year's parties.
- Pastel Paper: Lovely for baby showers, spring birthdays, and Easter decorations
- Bold, Bright Colors: Great for kids' rooms, classrooms, or colorful party themes.
- Recycled Paper: Use old magazines, sheet music, or wrapping paper scraps for eco-friendly crafts.
- Mini Stars: Use smaller squares to make tiny stars for cards or gift tags
- Large Stars: Start with a bigger square to make wall or window decorations.
FAQ
Any size works, but a 6 inch x 6 inch (15x15 cm) sheet is a great size to start with!
Nope! Any lightweight paper will do, but origami paper folds easily and comes in lots of fun colors and patterns.
Absolutely! Just punch a small hole at the top and thread with ribbon, string, or clear fishing line.
Yes! Older kids can make these easily. Younger ones might need a little help with the folds and scissors.
Definitely! Add stickers, glitter, or hand-drawn patterns to personalize your stars even more.
Other Paper Crafts You Might Like To Try:
Stay Connected
Made this pattern? Let us know how it went in the comments below!
Pin this post - Pin now to take your paper crafting skills to the next level.
Share on Instagram or Facebook - Capture the beauty of your finished paper craft project and share it on Instagram or Facebook! Tag us @foldyourway so we can see your work!
Other Patterns You Might Like To Try:
Looking for other easy patterns like this? Try these:


Comments
No Comments